GIMP - SCSCC · • A GIMP “image” is comprised of one or more layers, stacked vertically. The...
18
Sun City Summerlin Computer Club Seminar Introduction to Image Editing With GIMP Tom Burt February 23, 2017
Transcript of GIMP - SCSCC · • A GIMP “image” is comprised of one or more layers, stacked vertically. The...

Sun City Summerlin Computer Club
Seminar
Introduction toImage Editing With
GIMPTom Burt
February 23, 2017

Introduction to GIMP
Where to Find the Materials
• Sun City Summer Computer Club Website:• http://www.scscc.club/smnr
• Direct Hyperlink• http://www.scscc.club/smnr/Introduction_to_GIMP.pdf

Introduction to GIMP
Seminar Agenda
• Introduction
• Getting and Installing GIMP
• The GIMP Main Window
• The GIMP Tool Palette
• Basic Image Editing Actions
• The GIMP Color Window
• The GIMP Menu Bar
• Using GIMP Layers
• Using GIMP Special Tools
• Saving in Various Formats
• Printing

Introduction to GIMP
Introduction
• GIMP = GNU Image Manipulation Program
• GIMP is a FREE “open source” image editor.
• Versions for Windows, MacOS, Linux, Unix, Android
• Has many nice features.
• Can be as simple as MS Paint or almost as complex as
Photoshop.
• This seminar will focus on most useful features for “mere
mortals”.
• Ask questions as we go.
• We’ll work on several interesting photo projects.
Introduction to GIMP
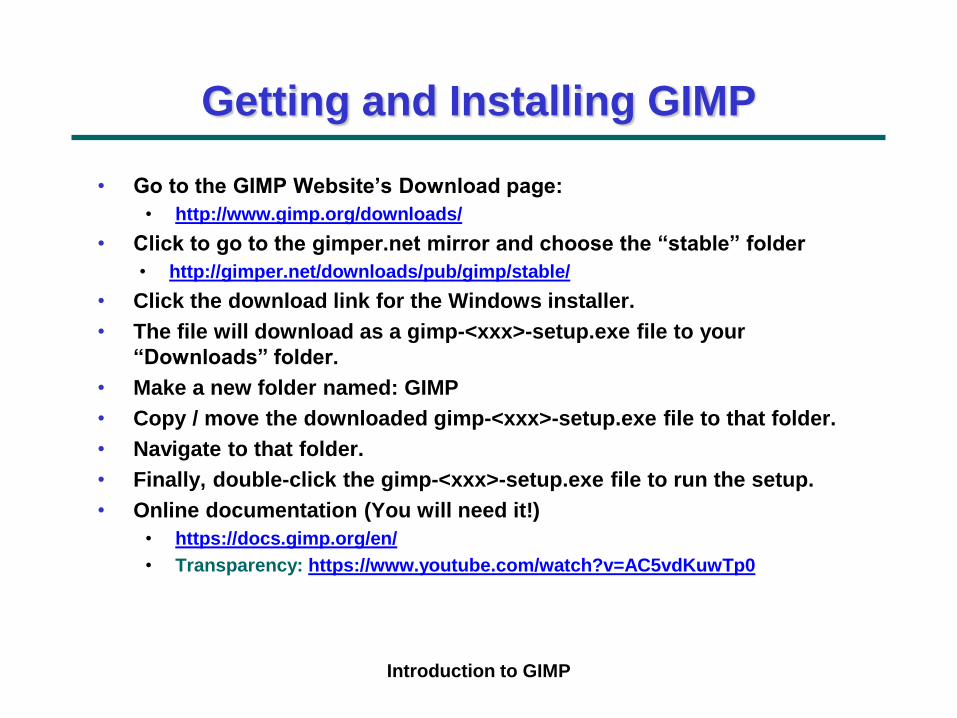
Getting and Installing GIMP
• Go to the GIMP Website’s Download page:
• http://www.gimp.org/downloads/
• Click to go to the gimper.net mirror and choose the “stable” folder
• http://gimper.net/downloads/pub/gimp/stable/
• Click the download link for the Windows installer.
• The file will download as a gimp-<xxx>-setup.exe file to your
“Downloads” folder.
• Make a new folder named: GIMP
• Copy / move the downloaded gimp-<xxx>-setup.exe file to that folder.
• Navigate to that folder.
• Finally, double-click the gimp-<xxx>-setup.exe file to run the setup.
• Online documentation (You will need it!)
• https://docs.gimp.org/en/
• Transparency: https://www.youtube.com/watch?v=AC5vdKuwTp0
Introduction to GIMP
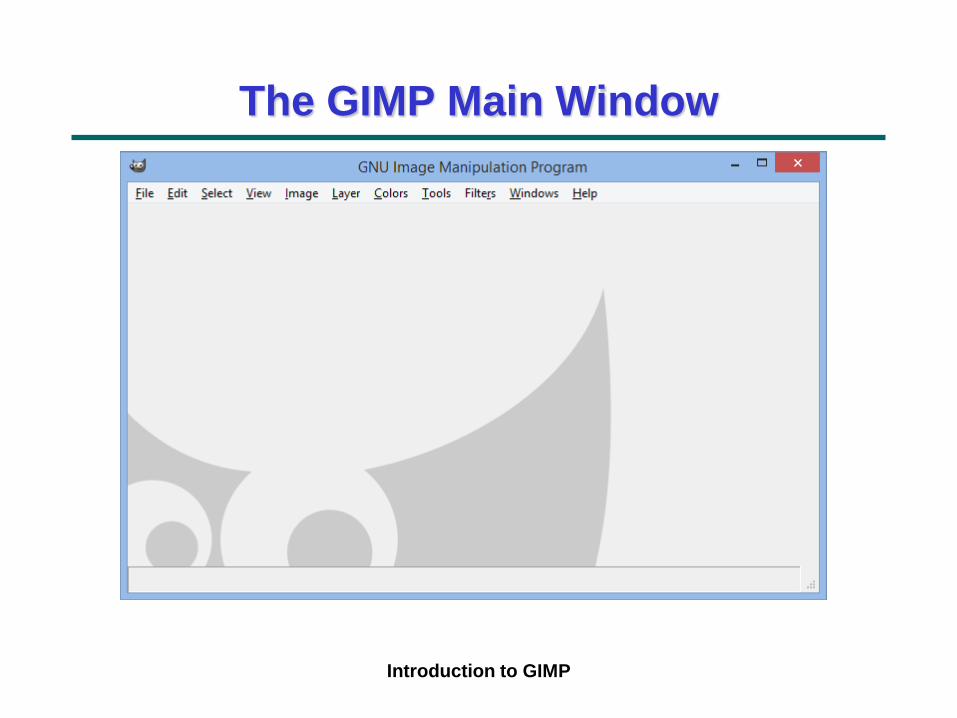
The GIMP Main Window

Introduction to GIMP
GIMP Tool Palette
• Hover over each tool to get a tool-tip name
• The various tools let you select or act on areas
of the image or current layer.
• The tools that paint or edit pixels interact
closely with the color window.
• Now we’ll run through a demo of the most
commonly used tools …

Introduction to GIMP
GIMP Color Window
• Reworked in V 2.8
• You can set a primary and a
secondary color.
• You can work in RGB or HSV.
• You will often set the color by
using the eyedropper tool.
• You can enter HTML color names.
• Let’s demo the color window.

Introduction to GIMP
Exploring the GIMP Menu Bar
• The photo editing capability of GIMP is in the menu bar.
• Very plain, Windows 95-style – no toolbar.
• The Image menu provides cropping, resizing and rotation.
• The Colors menu provides brightness/contrast, hue /
saturation, black / white, levels and other adjustments.
• The Filters menu provides a rich array of special effects,
plus some common actions like red-eye removal.
• Let’s explore some of the menu bar actions.

Introduction to GIMP
BIO BREAK

Introduction to GIMP
Using GIMP Special Tools
• Scale Tool
• Shear Tool
• Perspective Tool
• Ink – Calligraphy Tool
• Healing Brush
• Clone Tool

Introduction to GIMP
GIMP Layers
• A GIMP “image” is comprised of one or more layers,
stacked vertically. The image you see is the composite of
viewing through all the layers, top to bottom.
• The background layer is usually the base image,
sometimes a background pattern or image.
• Each layer applies its modifications to the layers below it.
• You can reorder the layers to change how they affect the
composite image.
• You can also merge or flatten layers when you have the
desired effects.
• Let’s look at some simple layer actions.

Introduction to GIMP
Example Project (1) – Outdoor Retouch
• Cropping the photo
• Use the rectangle select, then crop image to selection.
• Eliminating “undesired” elements
• Use the paint brush, pencil and clone tool to get rid of people, poles,
power lines, etc.
• Adjusting brightness, contrast and light / dark levels, hue /
saturation
• Use Colors menu as needed.
• Use the Filters menu to fix red-eye, if needed.
• Resize the photo (as appropriate).
• Export the final result to an image file and print or publish.

Example Project (2) – Portrait Retouch
• http://www.wikihow.com/Make-a-Transparent-Image-Using-Gimp
• Take an existing portrait (head shot) and re-do the
background color.
• Use the Fuzzy Select or Color Select tool.
• Use the color window.
• Use the Paint Bucket tool.
• Can also delete the selected background.
• Then composite the foreground with a different background in a
separate layer.
• Then adjust the lightness of the background.
• Use the Fuzzy Select or Color Select again.
• The use the Adjustments menu.
• Also adjust the overall contrast of the image.
Introduction to GIMP

Example Project (3) – Restore an Old Photo
• Rotate or Straighten as needed.
• Crop as needed using rectangle select or crop tool.
• May need to fill in corners after rotation.
• Also adjust the overall contrast of the image.
• Try the desaturate adjustment.
• Adjust contrast & brightness.
• Experiment with the Levels tool.
• Then repair blemishes (spots, cracks)
• Caution – easy to overdo it.
• Use the clone tool or healing brush tool.
• Use the pencil & paintbrush.
Introduction to GIMP

Introduction to GIMP
Saving / Exporting in Various Image Formats
• Click the File menu.
• A list of action choices will appear in the menu.
• Click “Export As”.
• This will open a classic “Save As” dialog.
• You can choose the file name, folder and file type.
• “Flattened” types include: .BMP, .PNG, .GIF, .JPG, .TIFF and .TGA
• You can also save the file as a .XCF (GIMP) file, which retains all the
separate layers. Use this if you are saving in the middle of working on
a complex image project.
• When you have the Save settings defined, click the “Export”
button.
• GIMP will display a second dialog that is dependent on the file type,
asking for more specifics. Choose the desired settings and then click
OK.
• Let’s explore Exporting further… (demo).

Introduction to GIMP
Printing GIMP Images
• Click File > Print to get to the Print dialog.
• You can select the printer, paper size, quality and copy count.
• You can also specify a variety of settings for how the image will
be rendered to the printed page.
• When you’ve made your selections, just click the “Print”
button.

Introduction to GIMP
Final Q and A
Final
Questions
and
Answers