Adobe Photoshop Identification Workspace Title bar Adobe Bridge, Go to Bridge Palettes/Palette well...
44
Adobe Photoshop
Transcript of Adobe Photoshop Identification Workspace Title bar Adobe Bridge, Go to Bridge Palettes/Palette well...
Adobe Photoshop
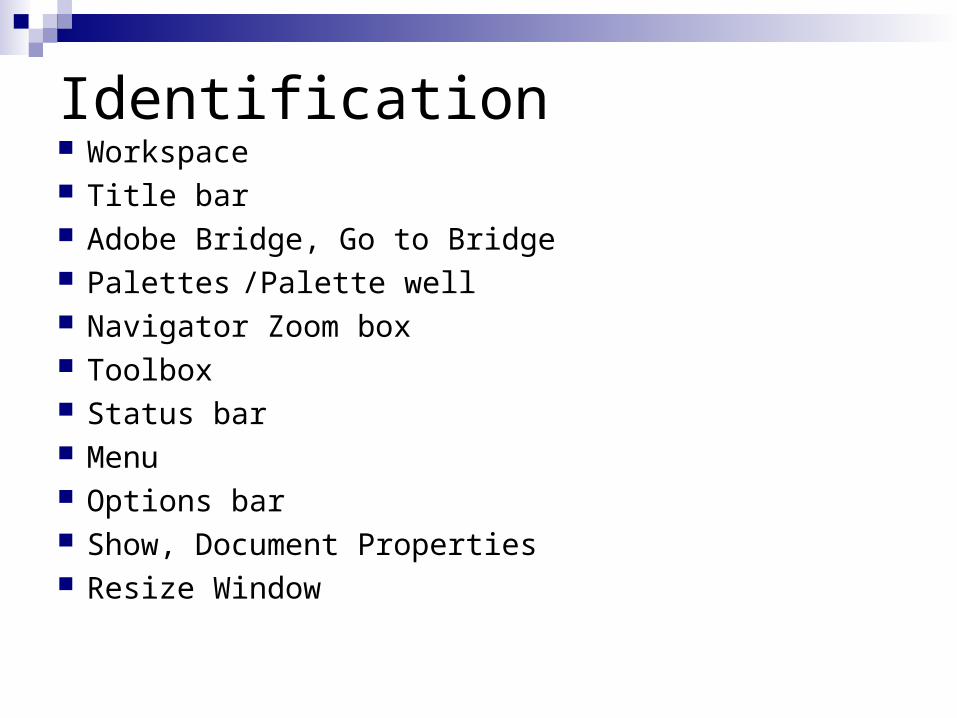
Identification Workspace Title bar Adobe Bridge, Go to Bridge Palettes /Palette well Navigator Zoom box Toolbox Status bar Menu Options bar Show, Document Properties Resize Window
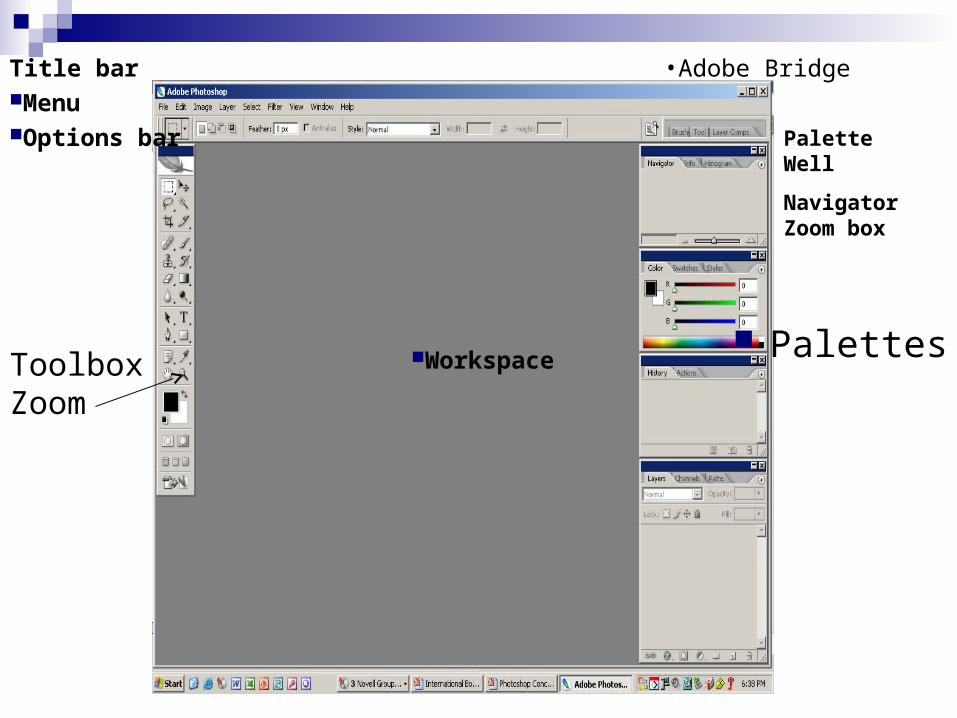
WorkspaceToolboxZoom
Palettes
Title barMenuOptions bar
•Adobe Bridge
Palette Well
Navigator Zoom box

Pixel Small squares of light in a photo that is the basic
unit used to create digital images.
Resizing images
Adding or subtracting the number of pixels Interpolation or resampling Resolution—Number of small squares
known as pixels Resize button
Ways to Zoom
Zoom tool Magnification percent in status bar Navigator palette
Magnification percent Slider Zoom in/out Proxy view area/view box
Key commands Ctrl + Ctrl –
Photoshop File
PSD Photoshop Document Up to 2 gigabytes (GB) in size
Why crop?
Not all photographers capture the object in full-frame.
Crop allows you to select an area of a image and discard everything else
It allows you to change area of focus. Eliminate unwanted area of a photograph. It allows you to straighten crooked
photographs.
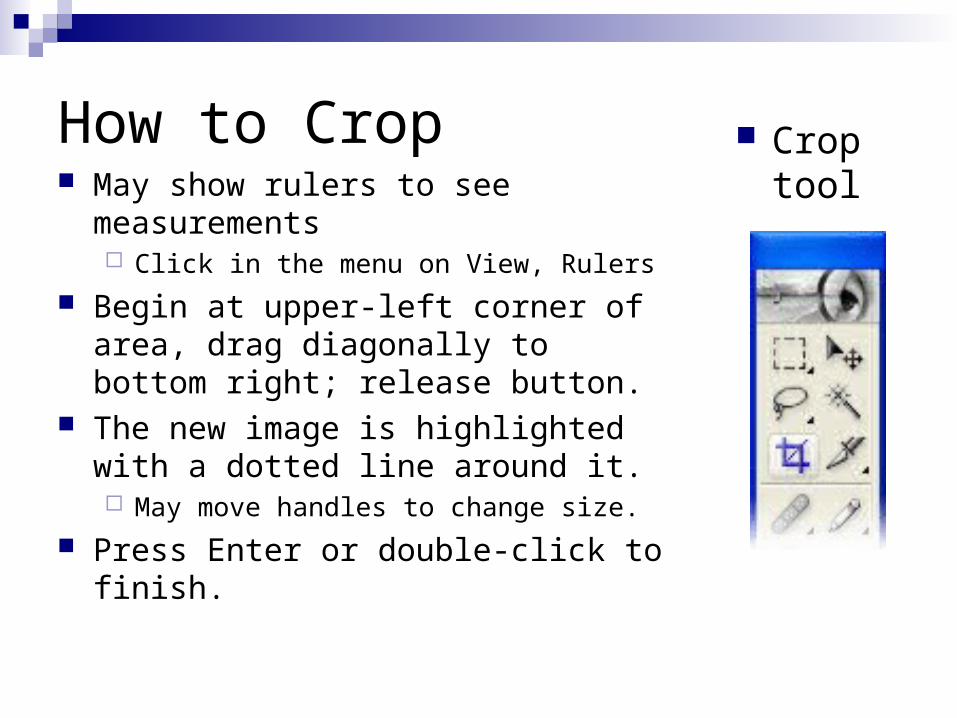
How to Crop May show rulers to see measurements
Click in the menu on View, Rulers
Begin at upper-left corner of area, drag diagonally to bottom right; release button.
The new image is highlighted with a dotted line around it. May move handles to change size.
Press Enter or double-click to finish.
Crop tool
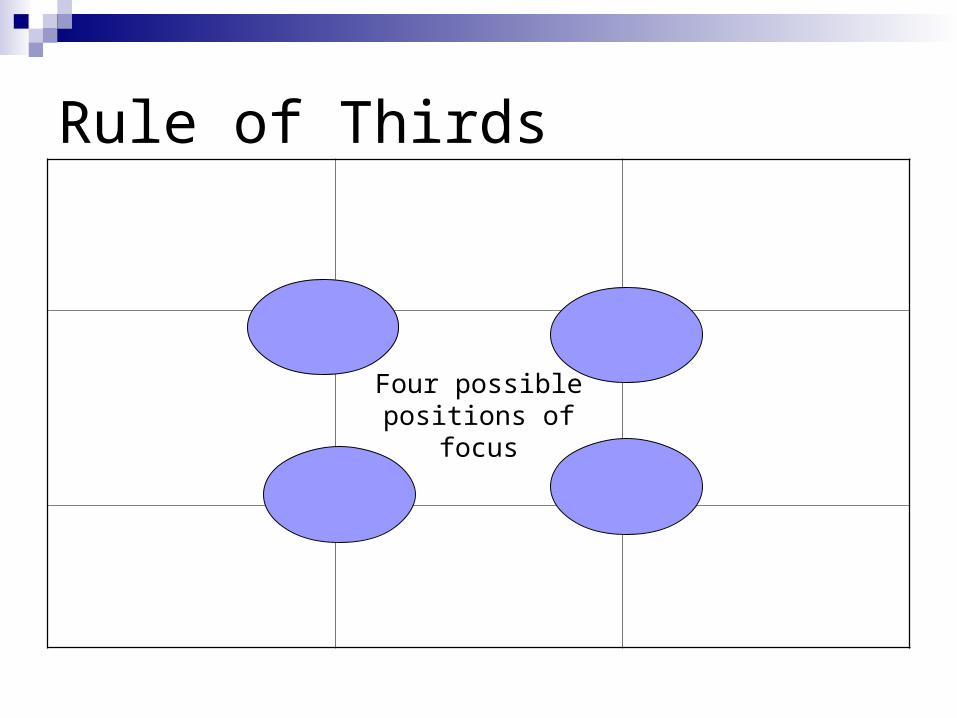
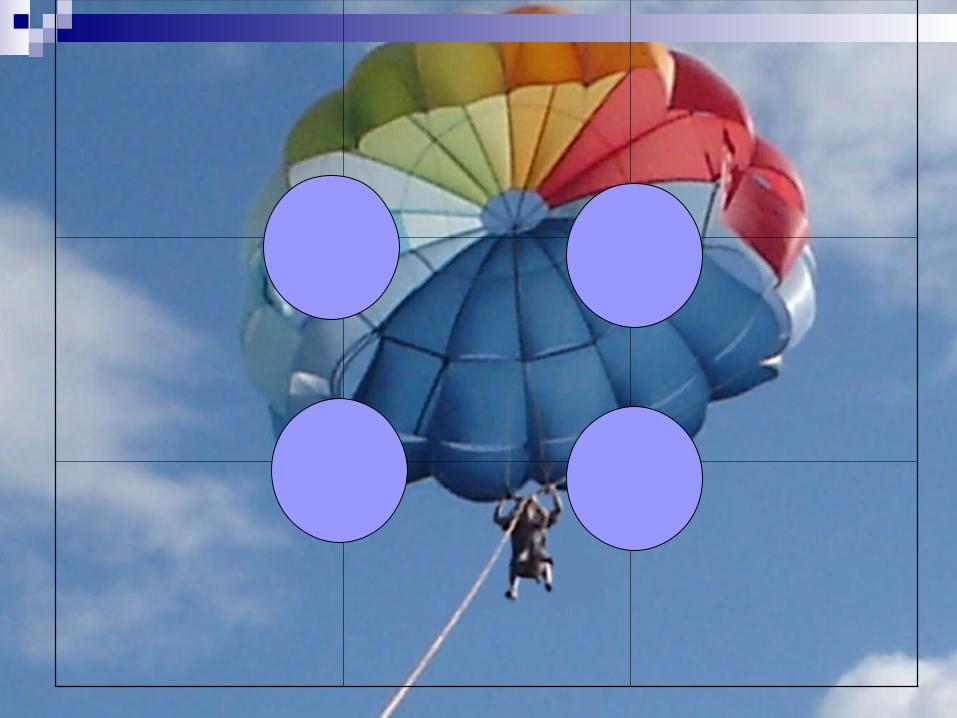
Rule of Thirds
Four possible positions of focus
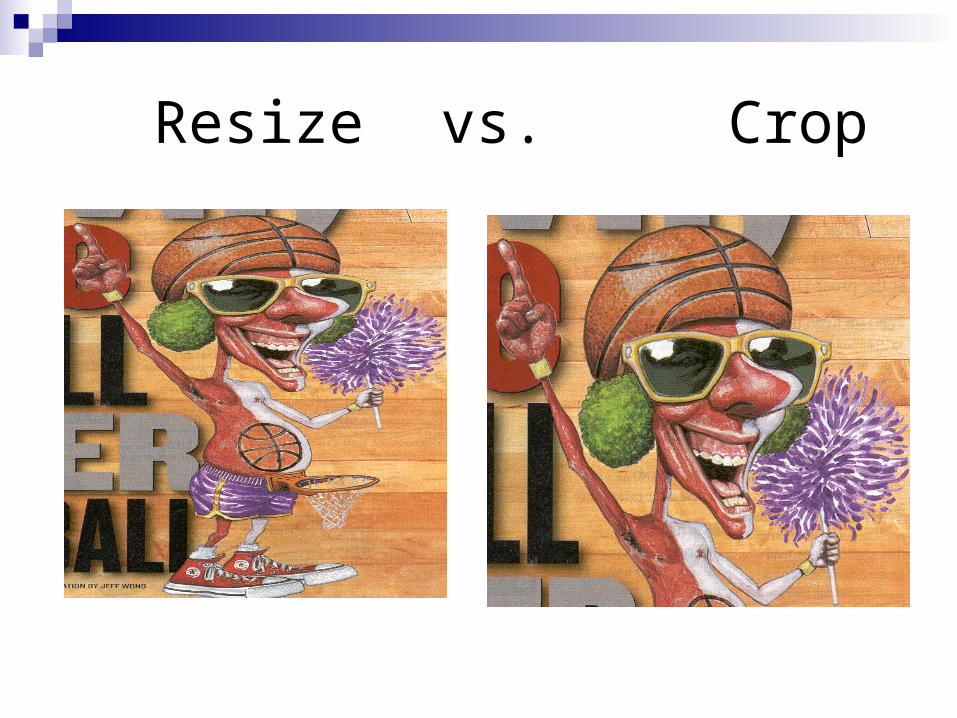
Resize vs. Crop
Resize vs. Crop
Resize--photo keeps the entire picture and just changes the size.
Crop—actually cut out part the picture.

OOPS!
ESC key Edit, Undo or Ctrl + Z History palette
Each edit or state is recorded sequentiallyClick on edit to revisitDelete current state button to delete
Creating a Border Helps define the edge of a picture. Use selection
In the menu click on Select, All or Ctrl+A Select, Modify, Border,
Type number in width, OK. Add features to the border: Add color. Click in the menu Edit, Fill, or use Shift +F5
Foreground color—color in objects Background color—color behind objects Color (palette), Patterns, History, Black, 50% Gray, White
Add effects. In the menu Select, Modify, Border, choose either Smooth, Expand or Contract the border
Use rectangular marquee tool. Draw border, click in the menu Edit, Stroke, define size and
color, Location and Blending.
Selection Tools Button tool in first section of Toolbox
Right-click the right bottom corner black triangle for additional tools
Rectangular (can size as square)Elliptical MarqueeSingle Row and Single Line Marquee
Lasso ToolPolygonalMagnetic
Fill a Selection
When you fill a selection you blend a color or pattern into it.
Blending modes are the ways in which pixels in the image are affected by a color. Normal, darken, lighten, etc.
Opacity refers to the level you can see through the color to the layer beneath. 1% opacity is nearly transparent 100% opacity appears completely opaque (colored).
To Add Color to the Border
In Edit, click Fill, list of colors. Click the Mode box arrow and Normal in
the list, OK
Deselect
Click anywhere in the document window. Right-click with the mouse, Deselect. Ctrl + D
Resize Image Wizard
A Wizard asks you questions and creates that feature based upon your answers.
Click in Help menu, Resize Image Click Next once you have chosen options Click Finish to end

Saving a Photo for the Web
Compromise between quality and file size
Great Looking Time to load
Terms
OptimizationChanging a photo to make it most
effective for its purposeSave for Web command
Preview optimized images in different file formats and with different file attributes.
Web Formats
GIF—Graphics Interchange FormatA bit-mapped format.
HTML—Hypertext Markup LanguageNecessary information to display the photo.
BrowserExplorer
DitherApproximate the colors that it cannot display by
blending colors that it can.

In the Menu, Help, Photoshop HelpType in a Word or Phrase BoxMore Resources—Tutorials, etc.
Press F1 (Universal Help key) Start, Programs, Adobe Help Center
Warp Text
Distort text to conform to a variety of shapes.
Horizontal Type Tool (T) Warp icon in Options bar
Painting ToolsBrush Tool Change types of brushes:
Options barContents menu (right-click).Use History palette to choose a different
action: Remembers 20 actions Take snapshot to keep an action
Painting ToolsClone Stamp Tool
Duplicates area of picture Use when picture has detail. Use when texture changes.
Change area in Options bar.Set a sample point:
Move cursor to same level of top point to change (circle).
Press Alt key (circle has crosshair in it) and click with the mouse.
Release Alt key.Begin filling in the area
Painting ToolsSpot Healing Brush Blends area around it. Set area in Options bar. No Sample Point must be set. Covers area with a dark gray color that
disappears.
Painting Tools Healing Brush Found in Spot Healing Brush icon. (Right-click
black triangle in right-corner of icon.) Correct flaws and imperfections in an image. Matches texture, luminosity and shading Set a sample point:
Move cursor to same level of top point to change (circle) Press Alt key (circle has crosshair in it) and click with the
mouse. Release Alt key.
Begin filling in the area.
Painting ToolsPatch Found in Spot Healing Brush icon. (Right-click
black triangle in right-corner of icon.) Allows you to disguise problems and flaws by
cloning or copying pixels from another similar part of the image.
Draw around area to be changed. Best used by selecting small areas. Drag it to the area you want to match.
Painting ToolsRed Eye Found in Spot Healing Brush icon. (Right-
click black triangle in right-corner of icon.) Click on the tool and then the eye to
change. Notice the Channels palette and the
changes that were made in RGB. May use other tools for touch-up.
Restorations--Document Unique aging features:
Discoloration—acid deterioration due to alum-resin sizing agents. Useful life=50 years.
Foxing—dry and brittle creases caused by folding or rolling documents and brown spots due to water stains or fungus, brown edges due to airborne pollutants, loss of strong colors due to light damage, mold, bacteria, improper storage, and animal or insect damage
Restoration--Document
Remove all yellow and brown Convert it to Grayscale mode which discards
all color information in the original image In the Menu, Image, Mode, Grayscale When prompted to discard all color, click OK
Setting Levels Adjust levels of tonal range and contrast In the menu, Image, Adjustments, Levels Set levels by dragging sliders or typing in numbers

Restoration--Document
Histogram is a graph that charts the frequency of shade in the tonal range
If an image displays a low or nonexistent frequency of tone at one end of the scale, it means there are few shadows.
that slider should be adjusted first by dragging toward the center.
Then adjust the other outer slider.Finally, adjust the middle or midtone slider by very small
increments to a point where the tones are balanced.Watch your changes in the document as you move the
slider.
Restoration--Document
Sharpening ImagesUnsharp Mask—filter used to sharpen
images.More precise than Sharpen or Sharpen MoreThree settings—Amount, Radius, and
Threshold.
Unsharp Mask Settings
Amount—specifies how much of the effect to apply to the image.
Radius—specifies the width of the sharpened edge, measured in pixels.
Threshold—specifies how different the sharpened pixels must be from the surrounding area.
Painting Tools
Dodge—lightens area Burn—darkens area Sponge—changes the color saturation
(intensity)
Lens Correction Angle and perspective errors
Filter, Distort Show grid lines Vertical perspective Horizontal perspective Angle Edge Extension
Fills in area where the corrections created some blank or transparent areas.
Graphics Interchange Format
.gif Compressed file format Helps reduce file size Good for web Based on indexed colors (palette of 256) Not as good for photos
(smaller color range)
Bitmap
.bmpWindows fileCombination of pixelsZoom in get blocky
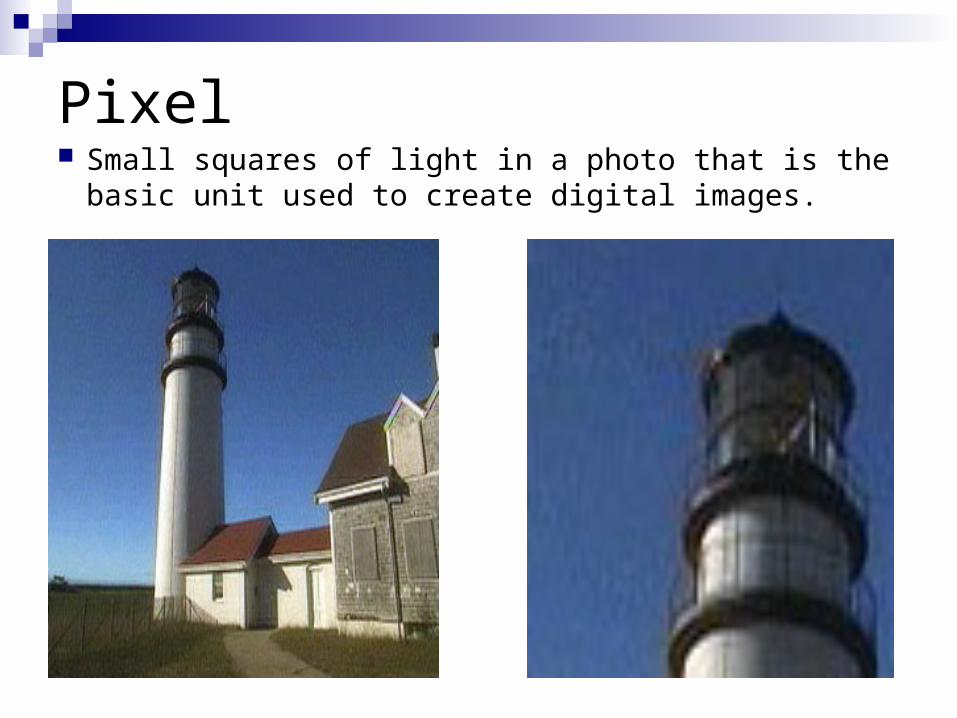
Pixel Small squares of light in a photo that is the basic
unit used to create digital images.

JPEG File JPG or JPEG Joint Photographic Experts Group
Name of committee that developed the format Used by photo hardware devices
Digital cameras, Scanners Keeps all color information in an RGB image and
supports different color modes (Red, Green, Blue) Compresses file size by selectively discarding data Popular file type for Web graphics
Best for compressing photographic images
Sound files
Most popular extension
.wav