Power Steering Cylinder for 1963-82 Corvettes - CSSB Steering Cylinder for 1963-82 Corvettes . 1)...
13
Power Steering Cylinder for 1963-82 Corvettes 1) After removing the power steering cylinder from the car, holding the cylinder with the ball stud upwards, push and pull on the shaft to drain the steering fluid. Please dispose of the steering fluid by taking it to your local recycling station. **********While pushing & pulling on the shaft; look at the mid section of the shaft (about half way out ) inspecting the chrome, the chrome must not be worn. If the chrome is worn on this mid section (normal driving area) the cylinder needs a new shaft installed by our rebuilding department. Call 1-800-262-9595 for assistance.*********If your cylinder does not have seals that look like the ones in these instructions; call us. Also, if your cylinder does not have a snap ring on the back side of the ball stud area, you cannot rebuild it! #PSC-2 Some kits may not have the 2 large washers pictured upper left.
-
Upload
phungkhanh -
Category
Documents
-
view
220 -
download
2
Transcript of Power Steering Cylinder for 1963-82 Corvettes - CSSB Steering Cylinder for 1963-82 Corvettes . 1)...

Power Steering Cylinder for 1963-82 Corvettes
1) After removing the power steering cylinder from the car, holding the cylinder with the ball stud upwards, push and pull on the shaft to drain the steering fluid. Please dispose of the steering fluid by taking it to your local recycling station.
**********While pushing & pulling on the shaft; look at the mid section of the shaft (about half way out ) inspecting the chrome, the chrome must not be worn. If the chrome is worn on this mid section (normal driving area) the cylinder needs a new shaft installed by our rebuilding department. Call 1-800-262-9595 for assistance.*********If your cylinder does not have seals that look like the ones in these instructions; call us. Also, if your cylinder does not have a snap ring on the back side of the ball stud area, you cannot rebuild it!
#PSC-2 Some kits may not have the 2 large washers pictured upper left.
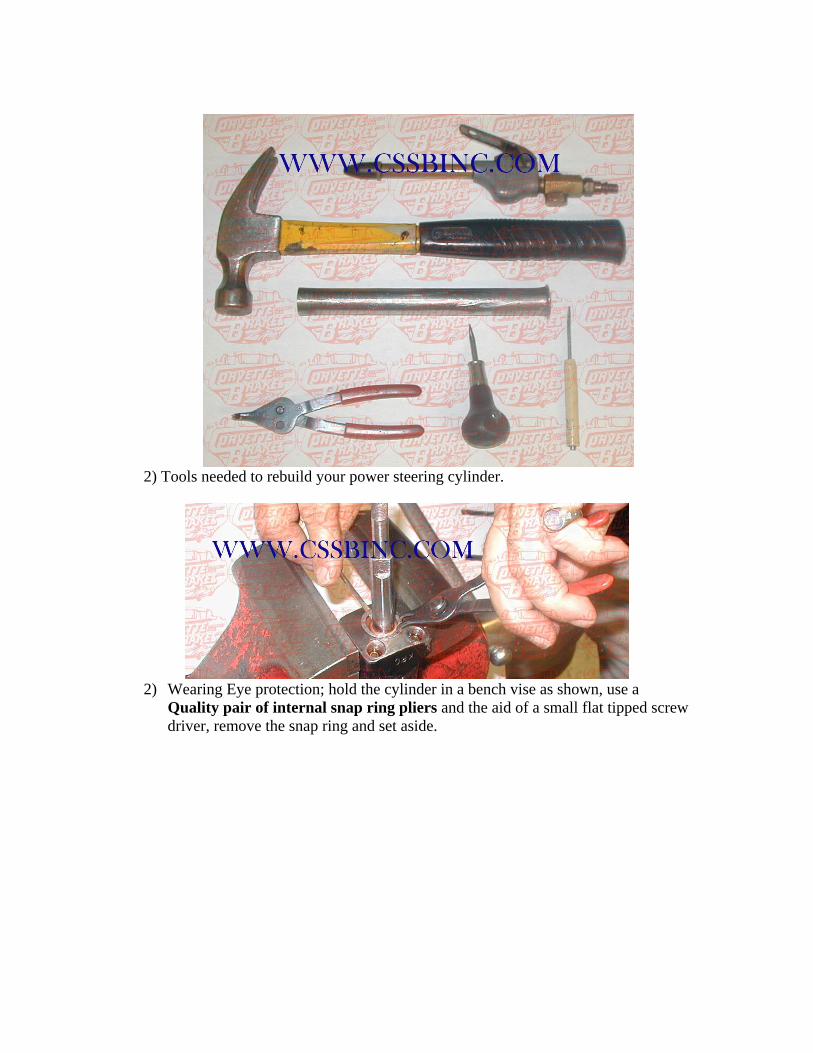
2) Tools needed to rebuild your power steering cylinder.
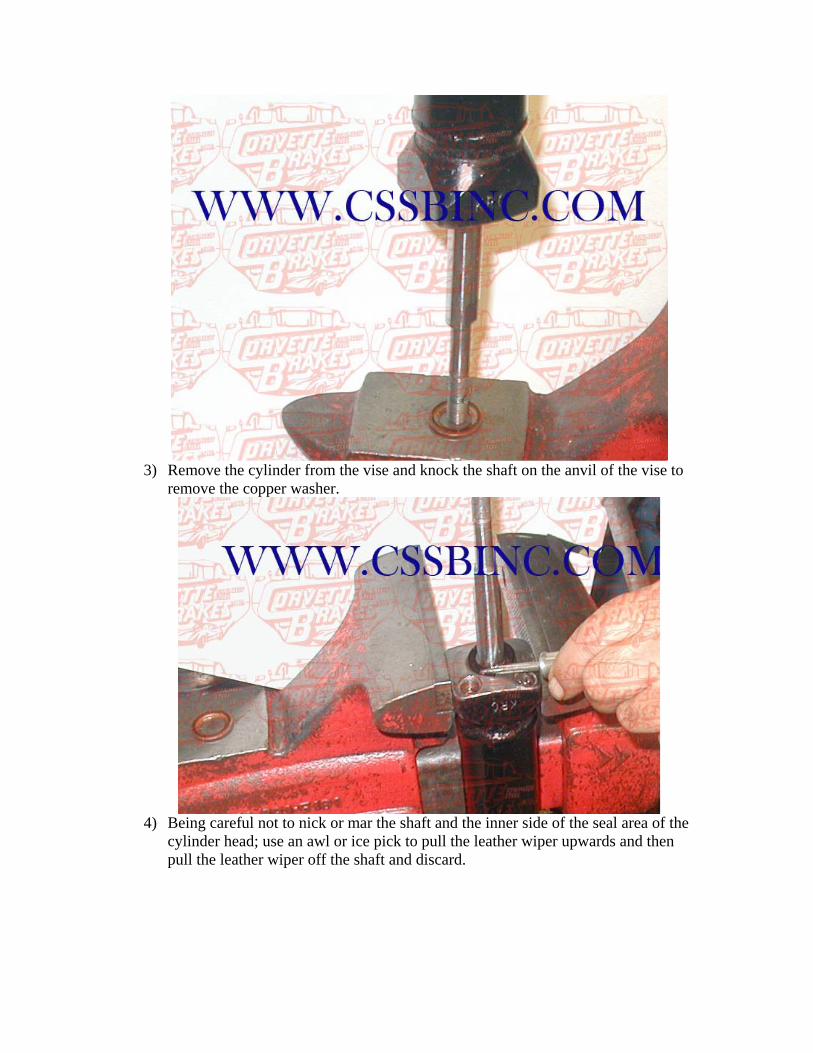
2) Wearing Eye protection; hold the cylinder in a bench vise as shown, use a
Quality pair of internal snap ring pliers and the aid of a small flat tipped screw driver, remove the snap ring and set aside.
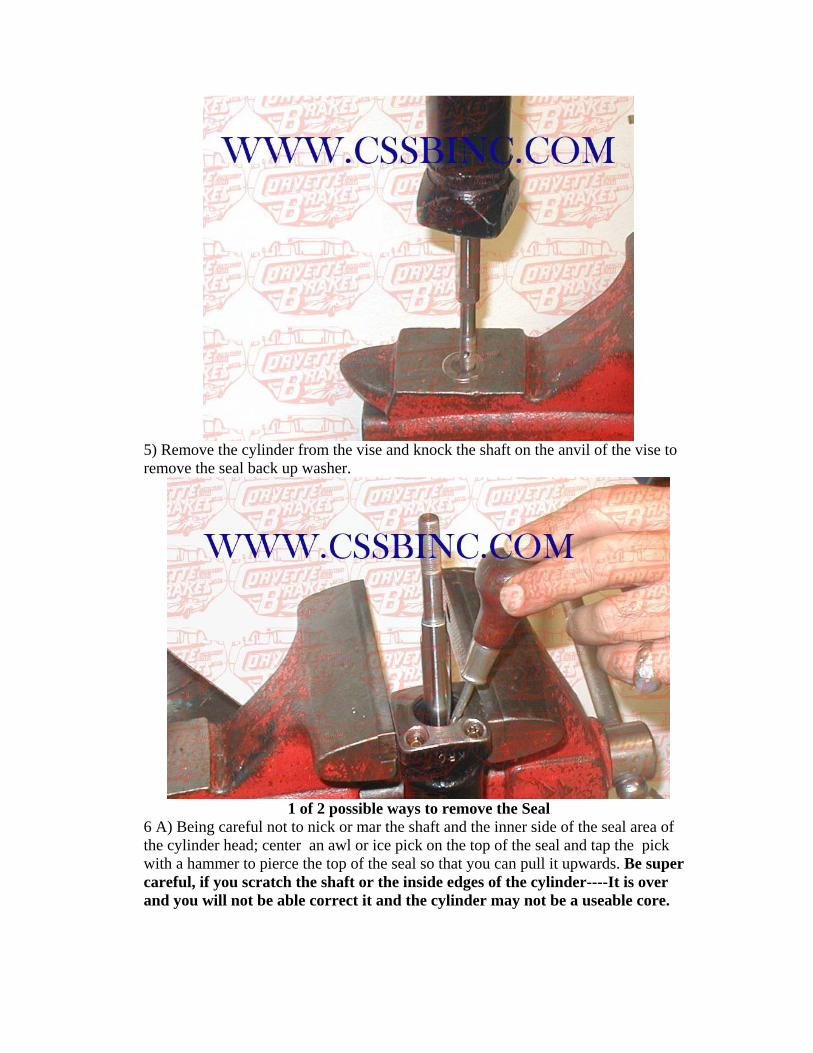
3) Remove the cylinder from the vise and knock the shaft on the anvil of the vise to
remove the copper washer.
4) Being careful not to nick or mar the shaft and the inner side of the seal area of the
cylinder head; use an awl or ice pick to pull the leather wiper upwards and then pull the leather wiper off the shaft and discard.
5) Remove the cylinder from the vise and knock the shaft on the anvil of the vise to remove the seal back up washer.
1 of 2 possible ways to remove the Seal
6 A) Being careful not to nick or mar the shaft and the inner side of the seal area of the cylinder head; center an awl or ice pick on the top of the seal and tap the pick with a hammer to pierce the top of the seal so that you can pull it upwards. Be super careful, if you scratch the shaft or the inside edges of the cylinder----It is over and you will not be able correct it and the cylinder may not be a useable core.

2 of 2 possible ways to remove the Seal
6 B) Wearing Eye & Ear Protection; Use an Air Blower with a rubber tip and push down on the port as shown, then cover the opposite port with a rag to keep any oil or debris from flying out ( if you blow on the incorrect port, the shaft will shoot out and cause injury!). Apply quick burst of air causing the rubber seal to pop out.
7) Now that the seal is loose from its set area, pull the seal off the shaft and discard

. 8) Wearing eye & ear protection; use the air blower to blow out any loose dirt and residual oil from seal area.
9) Take time to inspect the seal area, any scratches on the inside edges where the seal sets or on the shaft, will cause the cylinder to leak. Take a look the port threads too!

10) Using a small brush; coat the inside area with power steering fluid.
11) Pack axle grease into the garter spring area (under side of seal) of the rubber seal. This will keep the garter spring from popping out when installing on the shaft.

12) Install seal exactly as shown!
13) Correct installation of seal on the shaft. Make sure the garter spring did not fall out.

14) Wearing eye protection; use a piece of pipe or conduit that fits loosely into seal are and a hammer to knock the seal in place. DO NOT BEAT THE SEAL INTO PLACE! Knock it in! 1 Tap!!!!! The top of the seal will be flush with the edge of the smaller I.D. area when installed correctly.
15) Slide the seal back-up washer on the shaft; letting it drop down inside.

16) Slide the leather wiper seal over shaft with the beveled side down and the flat side up.
17) Use your piece of pipe to set leather seal into place as shown.
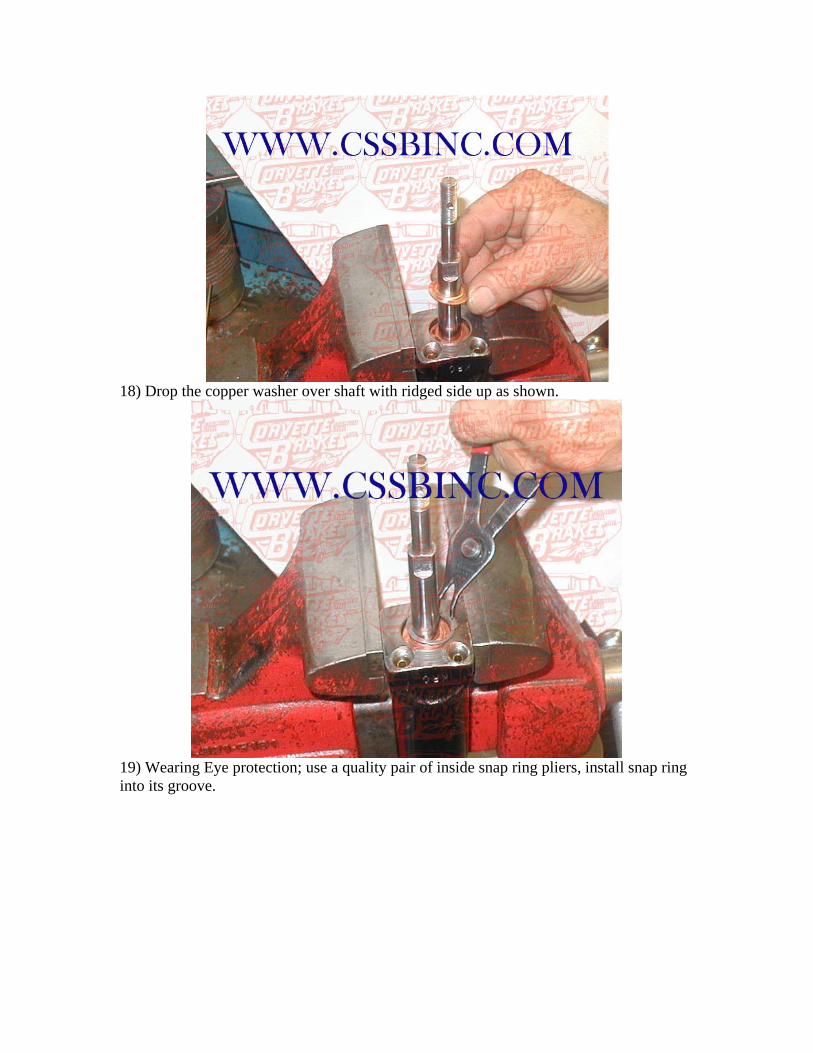
18) Drop the copper washer over shaft with ridged side up as shown.
19) Wearing Eye protection; use a quality pair of inside snap ring pliers, install snap ring into its groove.

20) Install the shaft end bushings and hardware.
21) Coat the smaller inside edge of the ball stud boot with power steering fluid.
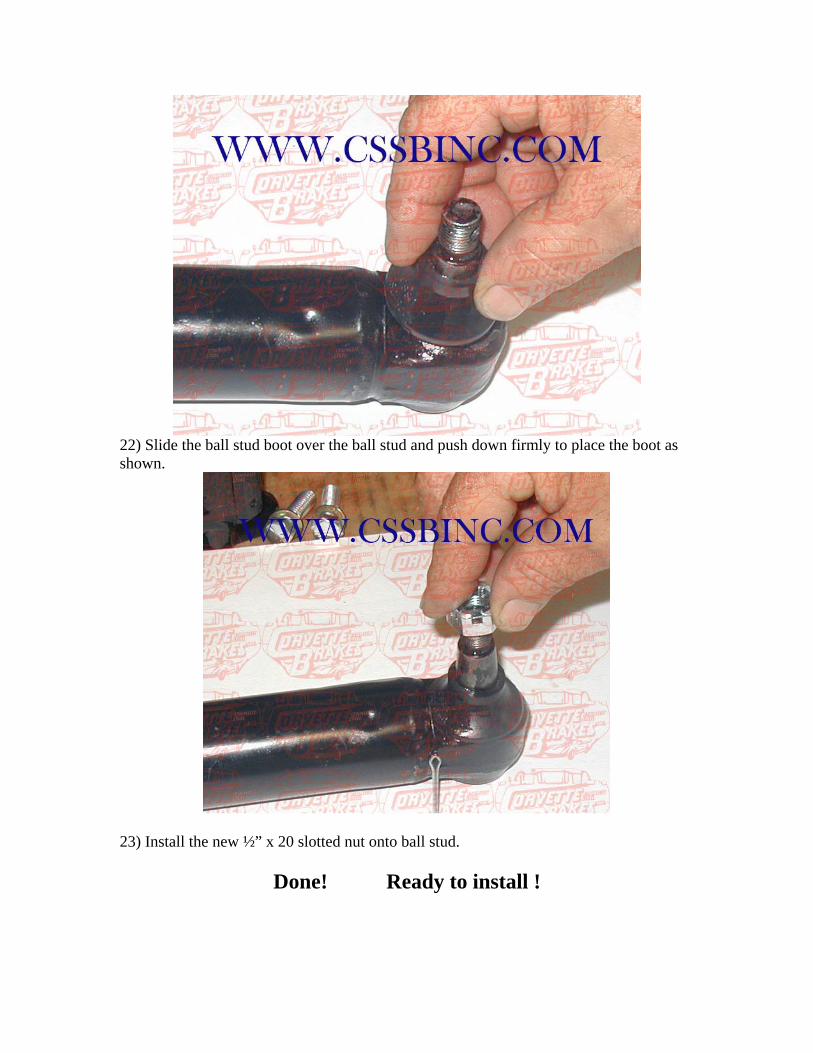
22) Slide the ball stud boot over the ball stud and push down firmly to place the boot as shown.
23) Install the new ½” x 20 slotted nut onto ball stud.
Done! Ready to install !