Launch Panel User Guide
20
Oracle® Hospitality Cruise Shipboard Property Management System Launch Panel User Guide Release 20.2 F44473-01 September 2021
Transcript of Launch Panel User Guide

Oracle® Hospitality Cruise ShipboardProperty Management SystemLaunch Panel User Guide
Release 20.2F44473-01September 2021

Oracle Hospitality Cruise Shipboard Property Management System Launch Panel User Guide, Release 20.2
F44473-01
Copyright © 1995, 2021, Oracle and/or its affiliates.
This software and related documentation are provided under a license agreement containing restrictions onuse and disclosure and are protected by intellectual property laws. Except as expressly permitted in yourlicense agreement or allowed by law, you may not use, copy, reproduce, translate, broadcast, modify, license,transmit, distribute, exhibit, perform, publish, or display any part, in any form, or by any means. Reverseengineering, disassembly, or decompilation of this software, unless required by law for interoperability, isprohibited.
The information contained herein is subject to change without notice and is not warranted to be error-free. Ifyou find any errors, please report them to us in writing.
If this is software or related documentation that is delivered to the U.S. Government or anyone licensing it onbehalf of the U.S. Government, then the following notice is applicable:
U.S. GOVERNMENT END USERS: Oracle programs (including any operating system, integrated software,any programs embedded, installed or activated on delivered hardware, and modifications of such programs)and Oracle computer documentation or other Oracle data delivered to or accessed by U.S. Government endusers are "commercial computer software" or "commercial computer software documentation" pursuant to theapplicable Federal Acquisition Regulation and agency-specific supplemental regulations. As such, the use,reproduction, duplication, release, display, disclosure, modification, preparation of derivative works, and/oradaptation of i) Oracle programs (including any operating system, integrated software, any programsembedded, installed or activated on delivered hardware, and modifications of such programs), ii) Oraclecomputer documentation and/or iii) other Oracle data, is subject to the rights and limitations specified in thelicense contained in the applicable contract. The terms governing the U.S. Government’s use of Oracle cloudservices are defined by the applicable contract for such services. No other rights are granted to the U.S.Government.
This software or hardware is developed for general use in a variety of information management applications.It is not developed or intended for use in any inherently dangerous applications, including applications thatmay create a risk of personal injury. If you use this software or hardware in dangerous applications, then youshall be responsible to take all appropriate fail-safe, backup, redundancy, and other measures to ensure itssafe use. Oracle Corporation and its affiliates disclaim any liability for any damages caused by use of thissoftware or hardware in dangerous applications.
Oracle, Java, and MySQL are registered trademarks of Oracle and/or its affiliates. Other names may betrademarks of their respective owners.
Intel and Intel Inside are trademarks or registered trademarks of Intel Corporation. All SPARC trademarks areused under license and are trademarks or registered trademarks of SPARC International, Inc. AMD, Epyc,and the AMD logo are trademarks or registered trademarks of Advanced Micro Devices. UNIX is a registeredtrademark of The Open Group.
This software or hardware and documentation may provide access to or information about content, products,and services from third parties. Oracle Corporation and its affiliates are not responsible for and expresslydisclaim all warranties of any kind with respect to third-party content, products, and services unless otherwiseset forth in an applicable agreement between you and Oracle. Oracle Corporation and its affiliates will not beresponsible for any loss, costs, or damages incurred due to your access to or use of third-party content,products, or services, except as set forth in an applicable agreement between you and Oracle.

Contents
Preface
Prerequisites, Supported Systems and Compatibility
1 Launch Panel Overview
2 Launch Panel Application
3 User Access Rights
4 Forgot Password
iii

Preface
The Launch Panel is a platform to access the Oracle Hospitality Cruise ShipboardManagement System (SPMS) program. Apart from the platform functionality, LaunchPanel also administer the user access to the system..
Audience
This document is intended for project managers, application specialists and users ofOracle Hospitality Cruise Shipboard Property Management System.
Customer Support
To contact Oracle Customer Support, access My Oracle Support at the following URL:
https://support.oracle.com
When contacting Customer Support, please provide the following:
• Product version and program/module name
• Functional and technical description of the problem (include business impact)
• Detailed step-by-step instructions to re-create
• Exact error message received
• Screenshots of each step you take
Documentation
Oracle Hospitality product documentation is available on the Oracle Help Center at http://docs.oracle.com/en/industries/hospitality/.
Revision History
Table 1 Revision History
Date Description of Change
September 2021 Initial Publication
Preface
iv

Prerequisites, Supported Systems andCompatibility
This section describes the minimum requirements for Launch Panel.
Prerequisites
• OHC Launch Panel.exe
• OHC Updater.exe
• OHCSPMSUtils.dll
Supported Operating System
• See Compatibility Matrix at http://docs.oracle.com/en/industries/hospitality/.
Compatibility
SPMS version 20.2 or later. For customers operating on version 20.2 and below, databaseupgrade to the recommended or latest version is required
v

1Launch Panel Overview
The Launch Panel is the main panel where you access the SPMS modules. Applicationshortcuts are created for ease of access, allowing you to launch applications from a singlelocation.
Event Overview
The Event Overview screen is a planner that shows the important information such aspassengers expected to embark, cruise plans and so forth, and these are shared with otherusers.
Figure 1-1 Launch Panel Event Overview
At the top of the Launch Panel, you can choose the information to display using these filters.
• Event type: Cruise Plan, Cruise Plan-with time, expected to embark
• Vessel: Current Cruise
• Date: Month / Year
Event Summary Overview
A summarized view of important information are displayed on the right pane of the EventSummary screen based on the following filters:
1-1

• Today… (Expected Embarking of the day)
• Port Agent
• System Check
• User Online
• Vendor
Figure 1-2 Launch Panel Event Summary
System Status Overview
The System Status Overview displays the important system information such asVessel, Database (DB) Encryption Key Expiration Date, Pretty Good Privacy (PGP)Encryption Expiration Date, Material Management System (MMS) Version, OracleDatabase Version and so forth.
Property Management Tab
The Property Management tab lists the application added to this panel for ease ofaccess, and the system download the latest version, if found. You can add theapplication using the Add Function or F12 function key, and this would require anAdministrator login.
Figure 1-3 Property Management Tab
Chapter 1
1-2

Utilities Management Tab
The Utilities Management tab is where user access is granted or revoked, or when a programis updated using the Updater.
Figure 1-4 Launch Panel Utilities Tab
Chapter 1
1-3

2Launch Panel Application
This section describes the steps to upload the required application into the Launch Panel.
Adding an Application
1. Run the Launch Panel from Oracle Hospitality Cruise folder.
2. Right-click the blank space of the tab and select Add or press F12 to open the LaunchPanel Application and System File Update window.
3. Select the group from the drop-down menu.
Figure 2-1 Launch Panel Applications and Systems File Update
4. Click Add to open the Add Application Wizard dialog box.
5. In the Add Application Wizard dialog box, Display Name field, insert the program name toadd, and then click Next.
Figure 2-2 Add Application Wizard Step 1
2-1

6. Click the ellipsis button and browse to the application location.
7. Select the required program to add and then click Next. The application’s file size,version and the date created is shown underneath the application name.
Figure 2-3 Application Wizard Step 2
8. Select an Icon for the application or click Next to use the system default icon.
Figure 2-4 Application Wizard Step 3
9. Select the users for this application and then click the right-angle bracket (>) toenable the access or double-right angle bracket (>>) to enable all.
Chapter 2
2-2

Figure 2-5 Application Wizard Step 5
10. Click Finish and exit the application.
Inserting an Application Using F12 Key
1. Run the Launch Panel program from Oracle Hospitality Cruise folder.
2. Bypass the Updater by pressing the ALT key and click on the female icon to login.
3. In the Launch Panel, press F12 function key to open the Launch Panel Applications andSystem Files Update window.
4. Select the Property Management category from the drop-down list and click Add, asshown in Figure 2-1. Below are the applications/programs for each of the categories.
a. Property Management:
• Administration.
• Crew
• Management
• Tools or any executable that the user uses to perform their task.
b. REGASM Files category:
• Wrapper.dll
c. System Files category
• OHCSPMSBusiness.dll
• OHCSPMSData.dll
• OHCSPMSUI.dll
• OHCSPMSMobile.dll
d. Utilities category
• Launch Panel
• Updater
• UpdaterWatchdog
• UserSecurity
5. Exit the Launch Panel.
Chapter 2
2-3

6. Run the Launch Panel again to access the application and allow the system todownload the latest version from the server.
Manual Updating an Application
Below steps describes the process to update each application manually when thelatest application release becomes available.
1. Repeat step 1 and 3 of the above section.
2. Select Property Management category from the drop-down menu, then thedesired program and click Properties. See Figure 2-1.
3. In the Folder Properties window, click Update File
Figure 2-6 Launch Panel Application Folder Properties
4. Browse and locate the latest application file from the Oracle Hospitality Cruisefolder and click the Open button.
5. During the update, a progress bar is shown. Click OK to close the FolderProperties window. Repeat the above steps to update the other application.
Updating the Application by Batch
This topic describes the steps taken to update the registered application in LaunchPanel by batch.
1. Repeat step 1 and 3 of the Inserting an Application using the F12 function key.
2. In the Launch Panel Applications and System Files Update window, click theGroup button. See Figure 2-1
Chapter 2
2-4

3. Browse and locate the folder where the latest application files reside.
4. The progress of the application files updated is shown at the bottom left of the window insequential order.
Figure 2-7 Launch Panel Application Update in Progress
5. Once the update completes, all the application are shown in the Launch PanelApplication and the System Files Update window. Click Exit to close the window.
Chapter 2
2-5

3User Access Rights
A user access to the system is managed in the User Security application. These accessesare granted at a group level, and not at individual level.
User Security
The User Security function comprises four main area.
1. Menu bar
2. Security Group
3. Access Level by module
• Group: Indicates the module the function is attached to.
• Privilege: Indicator if the user rights are assigned.
• Ref: System Security Access Rights Reference
• Security Description: Description of the security rights.
4. User Groups.
Figure 3-1 User Security
To access the User Security application,
1. Run the Launch Panel application and navigate to Utilities tab.
2. Double-click the User Security application.
Creating a User Group
1. From the User Security screen, click Add Group.
3-1

2. In the Add User Group window, enter the new User Group’s Name andDescription. The name field is limited to six alphanumeric and description is 50alphanumeric characters.
Figure 3-2 Add User Window
3. Click Apply to create the new user group. Newly created security group is shownunder Security Groups and User Groups section.
4. In the User Groups section, select the newly created group.
5. Navigate to the System Rights tab and check the respective privilege checkboxes to assign. You can use the search bar to look up the privilege by keyword.
6. Navigate to Application Access tab and check mark the application this UserGroup can access.
7. Navigate to Launcher Views tab and check mark the view this User Group canaccess.
8. Click Exit to close the application.
Copying a Group
1. Select a Security Group from the Security Group list.
2. Click Copy Group.
3. In the Copy User Group ‘GroupName’ window, enter the new group name anddescription.
Figure 3-3 Copy User Group
4. Click Apply to copy and add the group in security group and user group.
Chapter 3
3-2

5. The System Rights of the group are identical to the Security group you copied from
Removing User Group
To remove a group, select the Security Group, click Remove Group and select Yes whenprompt.
Adding a User
Figure 3-4 User Security Add User Window
Table 3-1 Add User Window Field Definitions
Field Name Description
Login Name Login ID for SPMS application.
Login Description User full name
User Groups Group user is assigned to, multiple selections isallowed.
Password User Password
User cannot change password Checking this prohibit the user from changing theirpassword.
Password never expires User password has no expiry date
Account is Disabled Checking this will lock the account and prevent theuser from logging in
Change Password Next Login This prompts and enforce user to change theirpassword at next login.
Crew Name Linked user ID to a Crew profile.
Chapter 3
3-3
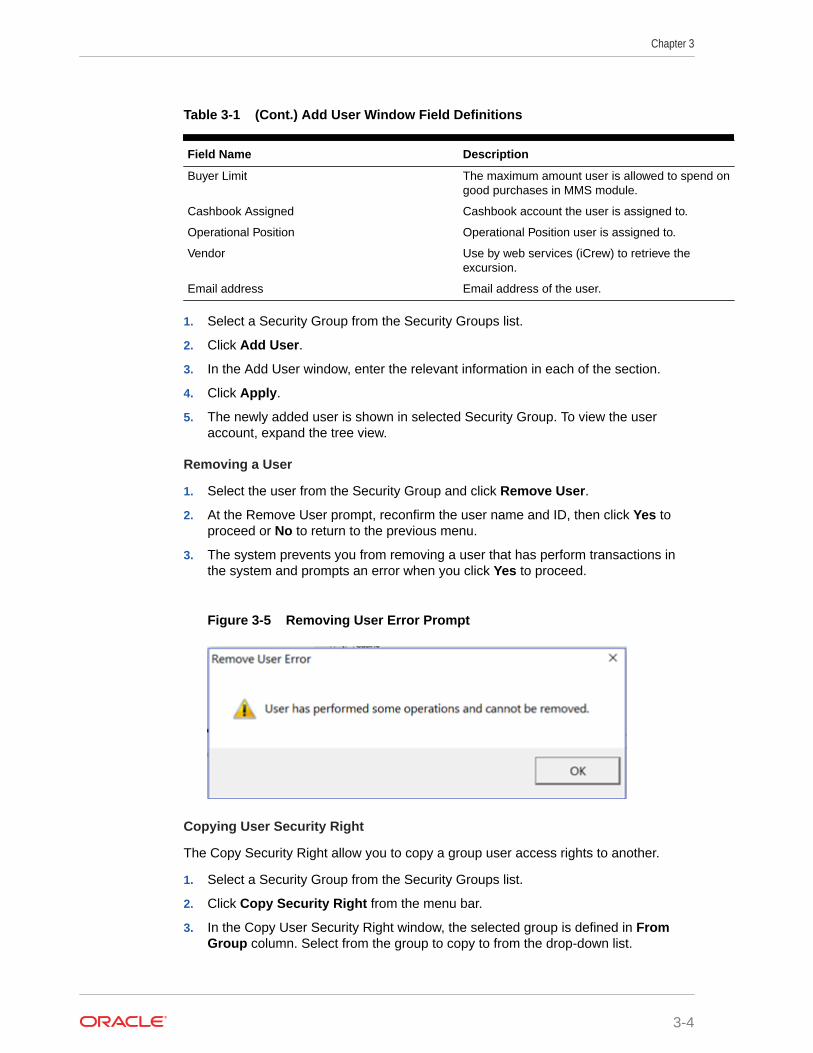
Table 3-1 (Cont.) Add User Window Field Definitions
Field Name Description
Buyer Limit The maximum amount user is allowed to spend ongood purchases in MMS module.
Cashbook Assigned Cashbook account the user is assigned to.
Operational Position Operational Position user is assigned to.
Vendor Use by web services (iCrew) to retrieve theexcursion.
Email address Email address of the user.
1. Select a Security Group from the Security Groups list.
2. Click Add User.
3. In the Add User window, enter the relevant information in each of the section.
4. Click Apply.
5. The newly added user is shown in selected Security Group. To view the useraccount, expand the tree view.
Removing a User
1. Select the user from the Security Group and click Remove User.
2. At the Remove User prompt, reconfirm the user name and ID, then click Yes toproceed or No to return to the previous menu.
3. The system prevents you from removing a user that has perform transactions inthe system and prompts an error when you click Yes to proceed.
Figure 3-5 Removing User Error Prompt
Copying User Security Right
The Copy Security Right allow you to copy a group user access rights to another.
1. Select a Security Group from the Security Groups list.
2. Click Copy Security Right from the menu bar.
3. In the Copy User Security Right window, the selected group is defined in FromGroup column. Select from the group to copy to from the drop-down list.
Chapter 3
3-4

Figure 3-6 Copy User Security Right
4. Click Apply to proceed and the access rights you copied from is added to the group.
Changing Password
1. Select a user from the Security Group list.
2. Click Change Password from the menu bar.
3. In the Change Password for [User Name] window, enter the new password and confirmthe password.
Figure 3-7 Password Change Window
4. Click Apply to proceed. A message box prompting “Password has been changed” whenthe password is applied successfully.
5. Click OK to close the message box.
Searching for Access Rights
The User Security function has a built-in search function that allow you to search for asecurity groups or user rights. See Figure 3-1
1. In System Rights tab of List of Security Access section, select the access group to filterfrom the drop-down list.
2. Tab to the next field and insert the keyword to filter, for example, Posting.
3. Click Filter to display the access rights that contain the keyword.
4. The return results are exportable to Microsoft Excel. To export, click the Export to Excelto export the Security Access Rights.
Chapter 3
3-5

4Forgot Password
The Forgot Password is a password reset feature. This feature is only available in LaunchPanel Login screen.
Setting Up Password Reset
1. Login to Administration module.
2. Select Database Parameter, Promo group and define the SMTP settings in the followingparameters:
• SMTP Server IP Address
• SMTP Server IP Port
• Sender Name
• Sender Email Address
• SMTP Require SSL. Depends on organization requirement
• SMTP Server Require Login Authentication. If parameter enabled, define thefollowing:
– SMTP User Name
– SMTP User Password
3. In the Launch Panel, select User Security. Define the Email address for the login user.See Figure 3-4.
Password Reset Feature
1. At the Launch Panel application window, click the Options button.
Figure 4-1 Launch Panel Forgot Password
4-1

2. Click the Forgot Password button. You are require to enter the user login ID andemail address that matches the email defined in user login account.
Figure 4-2 Forgot Password Account Credential
3. Click the Send button. The system will prompt an “Invalid Email Address”message if the email address does not match. If the email matches, you willreceive a temporary password and a notification message “An email withinstruction how to reset your password has been sent EMAIL ADD” shall prompt.
4. The old password is no longer valid once a request for a password reset istriggered. Enter the temporary password at the Login window and click Login.
Figure 4-3 Sample Password Reset Notification Template
5. The system prompts for password to be changed. Click OK and proceed tochange the password.
Chapter 4
4-2