Welding Techniques
21
SMAW Pipe Welding Techniques by Mohammed Haroon Javeed
-
Upload
sharafudheens -
Category
Documents
-
view
18 -
download
3
description
Describes common welding techniques
Transcript of Welding Techniques
SMAWPipe WeldingTechniquesby Mohammed Haroon Javeed
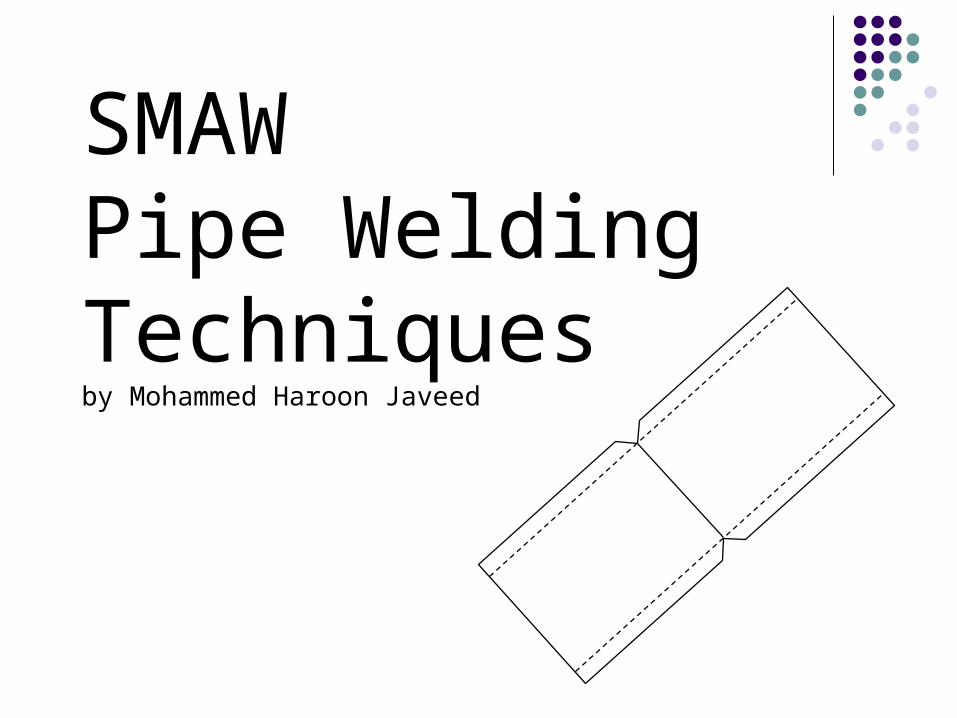
Welding Positions
1G
2G
5G
6G
• 1F
• 2F
• 2FR
• 4F
• 5F
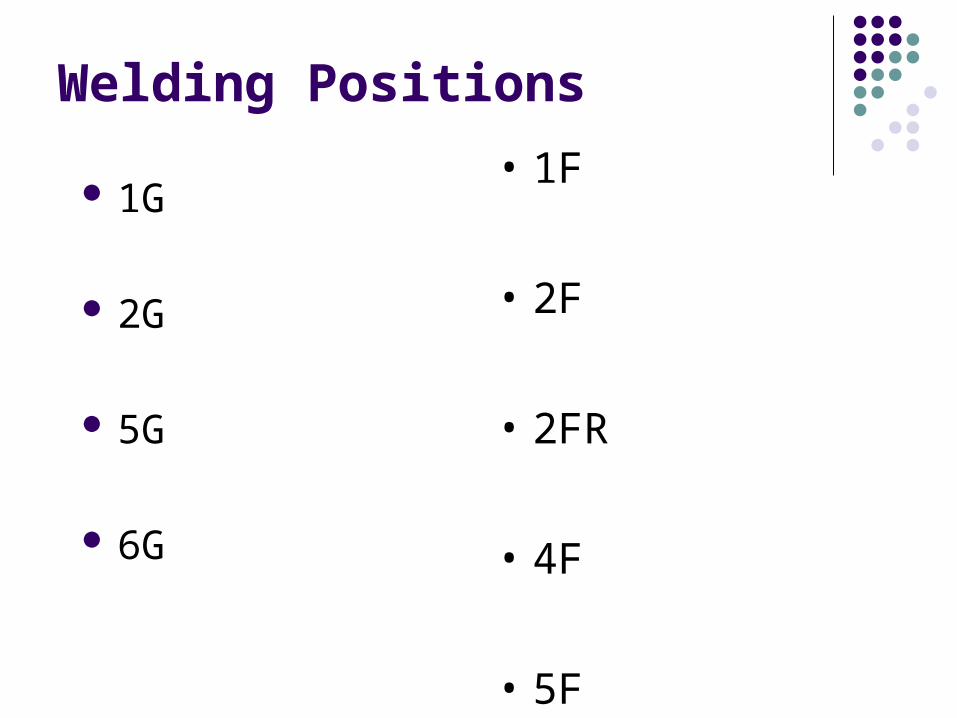
1G Position
Pipe rotated, Electrode is always at the top
Either a split bead or weave technique may be used
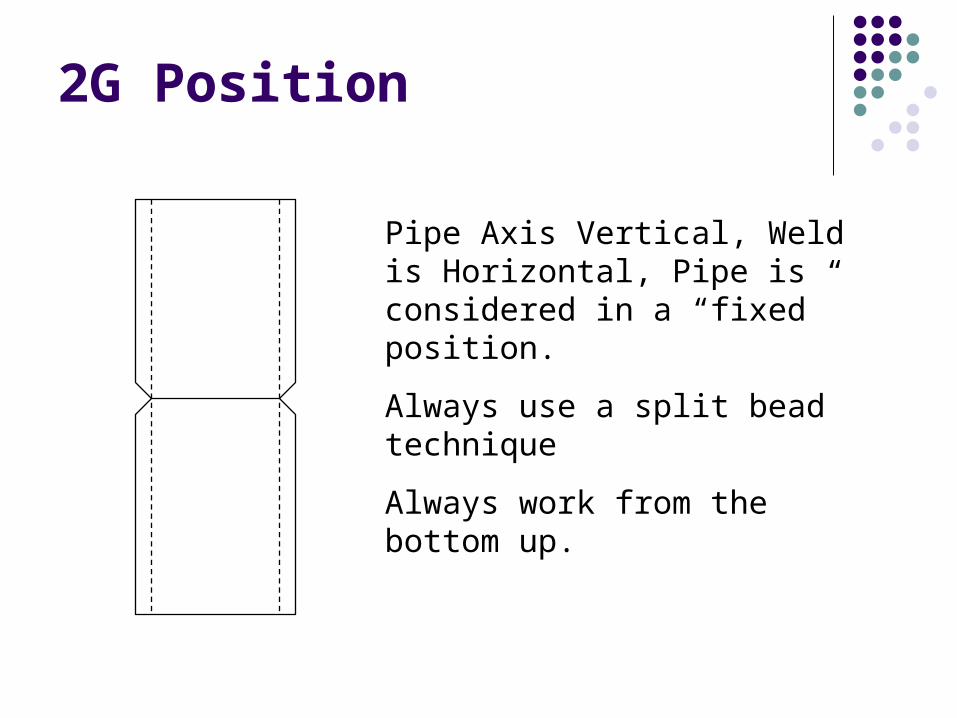
2G Position
Pipe Axis Vertical, Weld is Horizontal, Pipe is considered in a “fixed” position.
Always use a split bead technique
Always work from the bottom up.
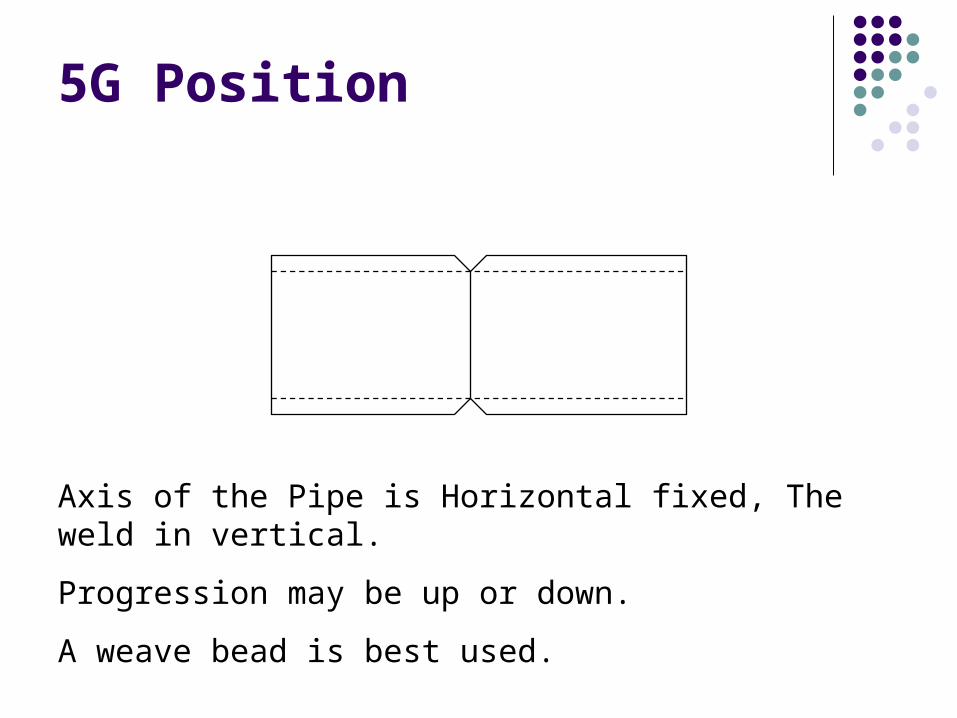
5G Position
Axis of the Pipe is Horizontal fixed, The weld in vertical.
Progression may be up or down.
A weave bead is best used.
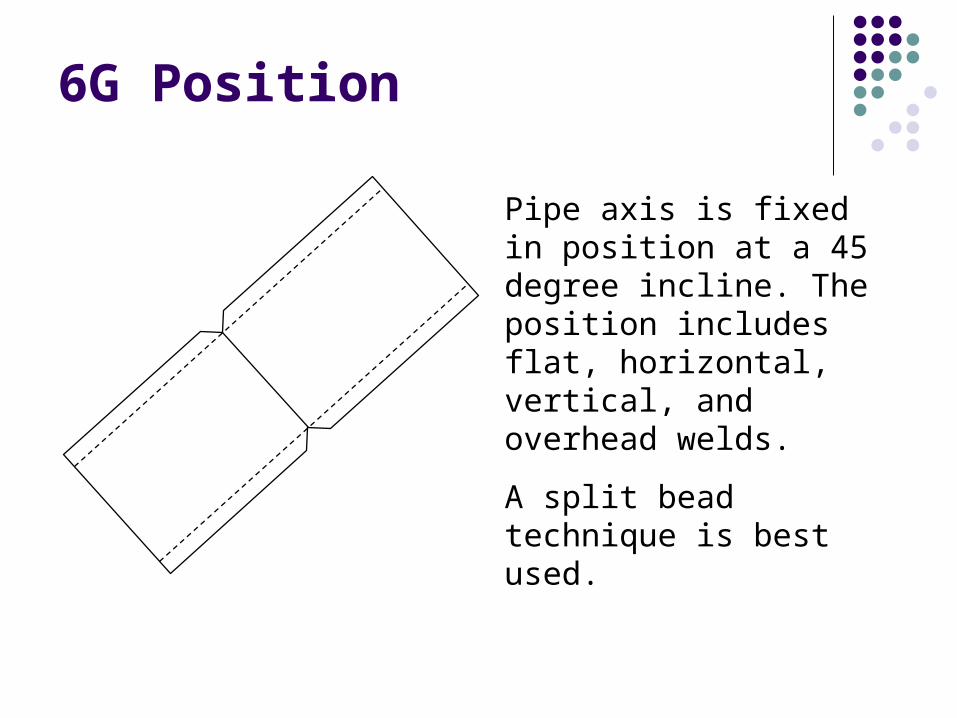
6G Position
Pipe axis is fixed in position at a 45 degree incline. The position includes flat, horizontal, vertical, and overhead welds.
A split bead technique is best used.
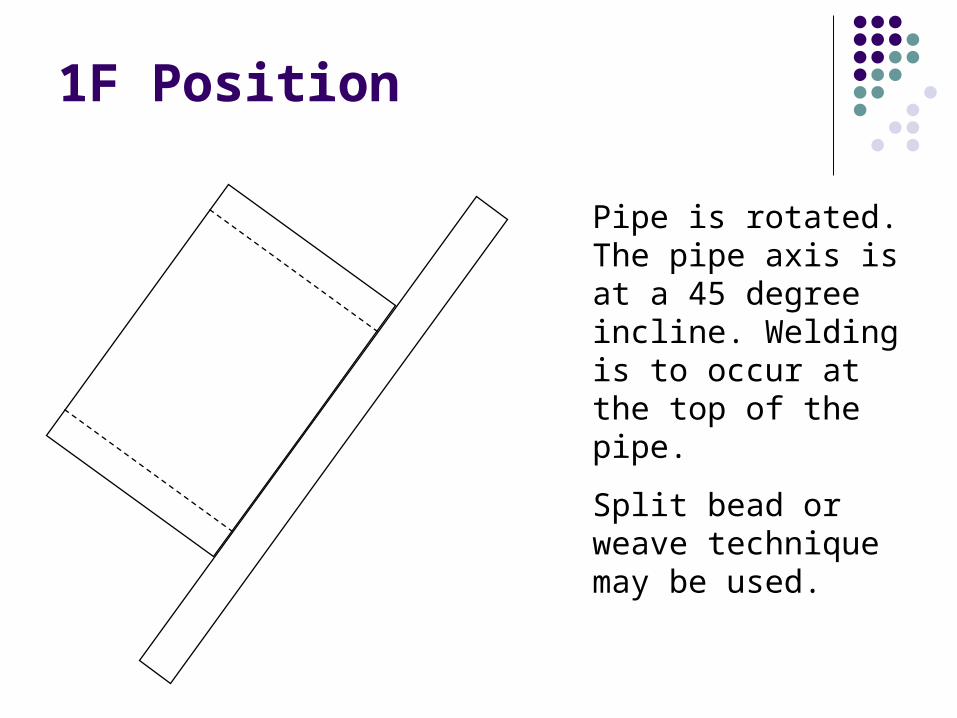
1F Position
Pipe is rotated. The pipe axis is at a 45 degree incline. Welding is to occur at the top of the pipe.
Split bead or weave technique may be used.
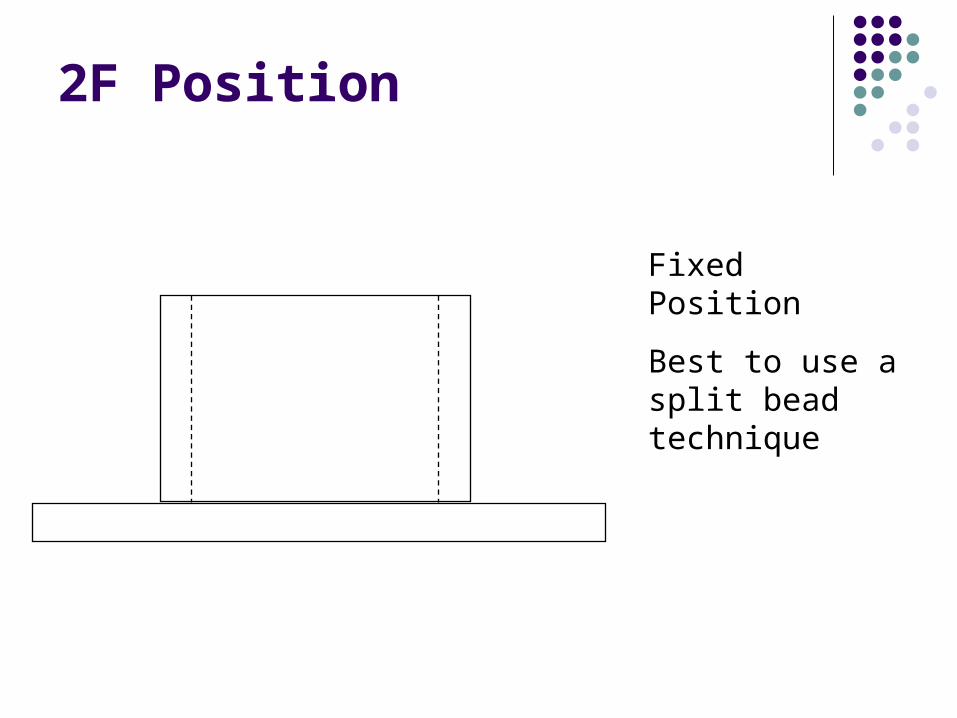
2F Position
Fixed Position
Best to use a split bead technique
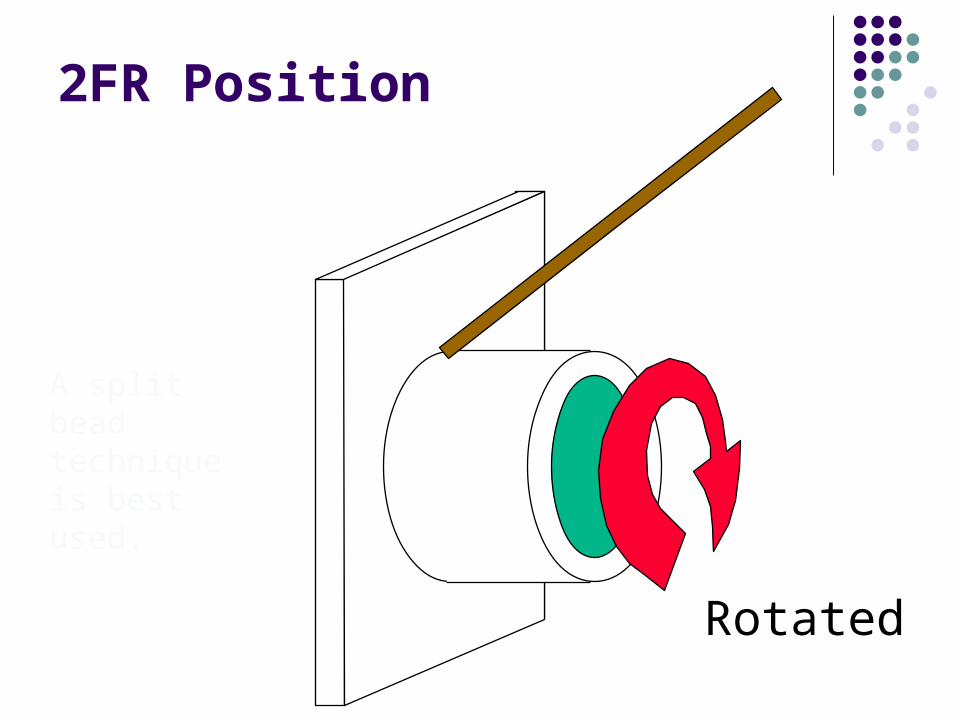
2FR Position
Rotated
A split bead technique is best used.
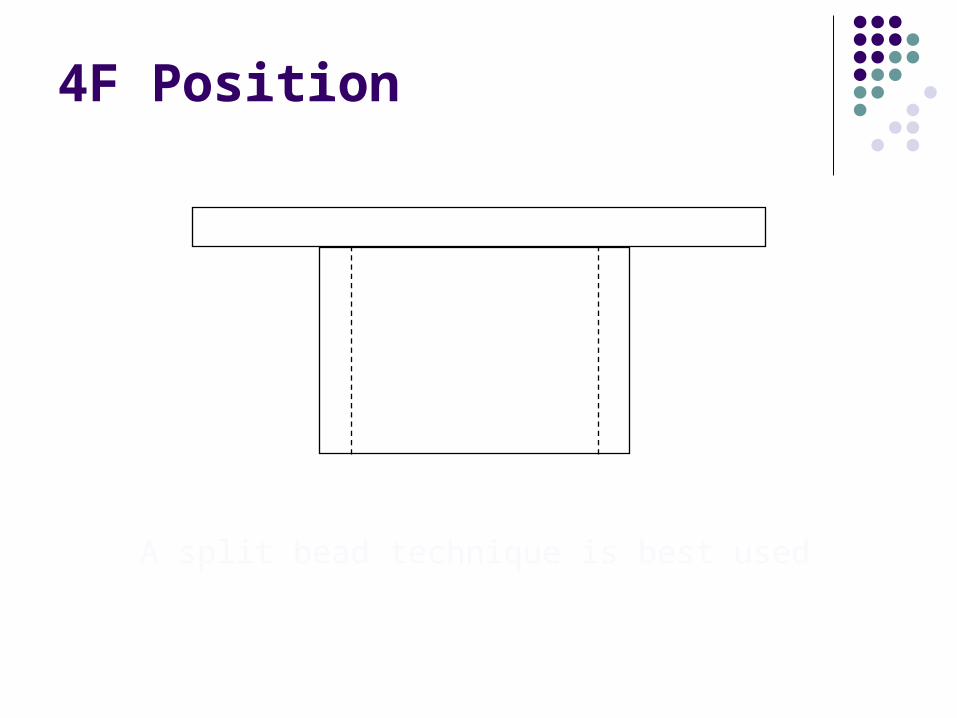
4F Position
A split bead technique is best used
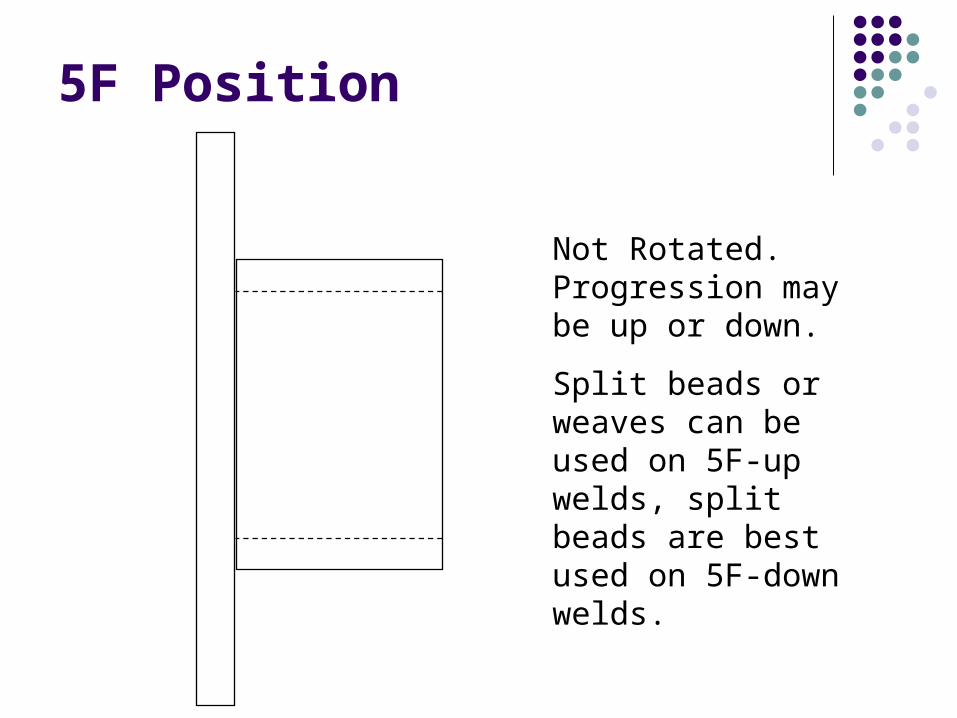
5F Position
Not Rotated. Progression may be up or down.
Split beads or weaves can be used on 5F-up welds, split beads are best used on 5F-down welds.
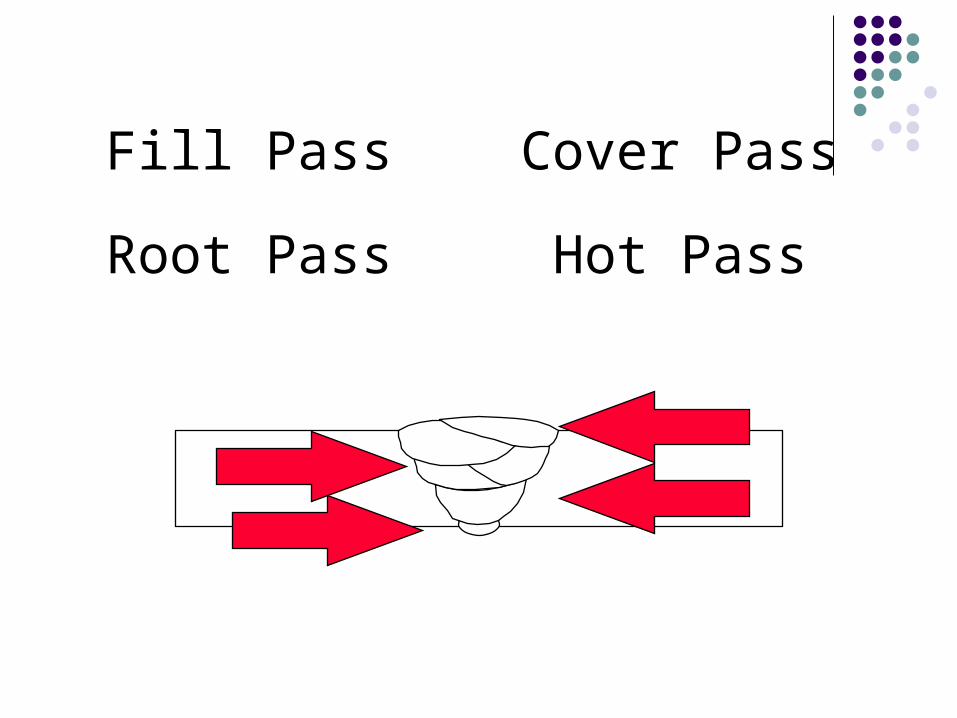
Root Pass Hot Pass
Fill Pass Cover Pass
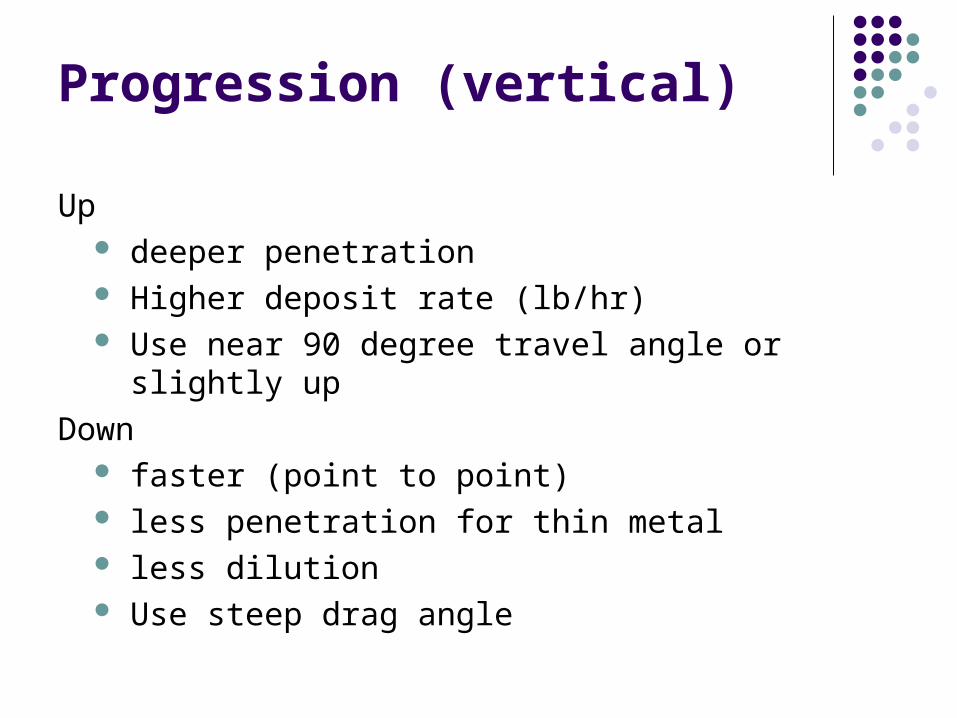
Progression (vertical)
Up deeper penetration Higher deposit rate (lb/hr) Use near 90 degree travel angle or slightly up
Down faster (point to point) less penetration for thin metal less dilution Use steep drag angle
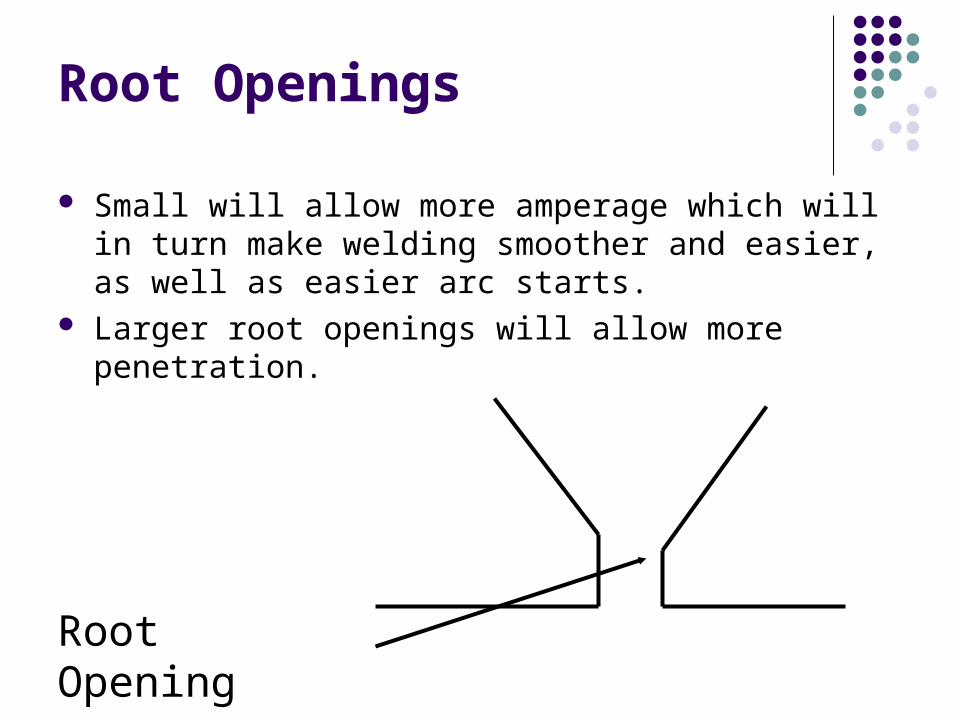
Root Openings
Small will allow more amperage which will in turn make welding smoother and easier, as well as easier arc starts.
Larger root openings will allow more penetration.
Root Opening
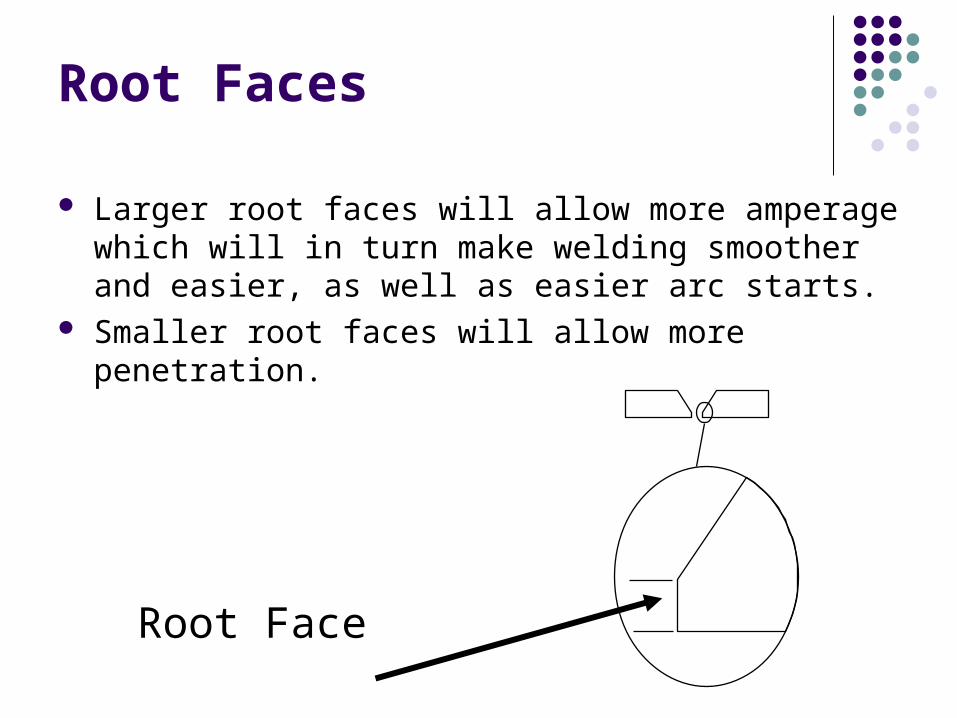
Root Faces
Larger root faces will allow more amperage which will in turn make welding smoother and easier, as well as easier arc starts.
Smaller root faces will allow more penetration.
Root Face

Root faces - 0
450 included angle
Remove all mill scales and rust
Tacking - not in groove
Tack away from coupon area.
Flush on backing
Butt Joint Preparation(With Backing)
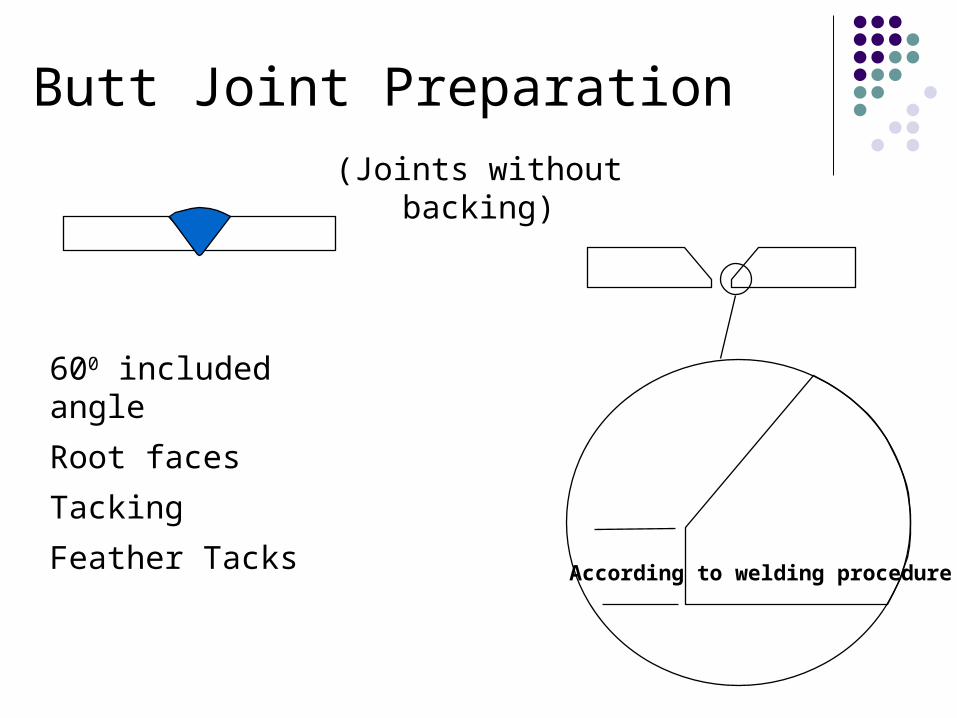
600 included angle
Root faces
Tacking
Feather Tacks
Butt Joint Preparation
According to welding procedure
(Joints without backing)
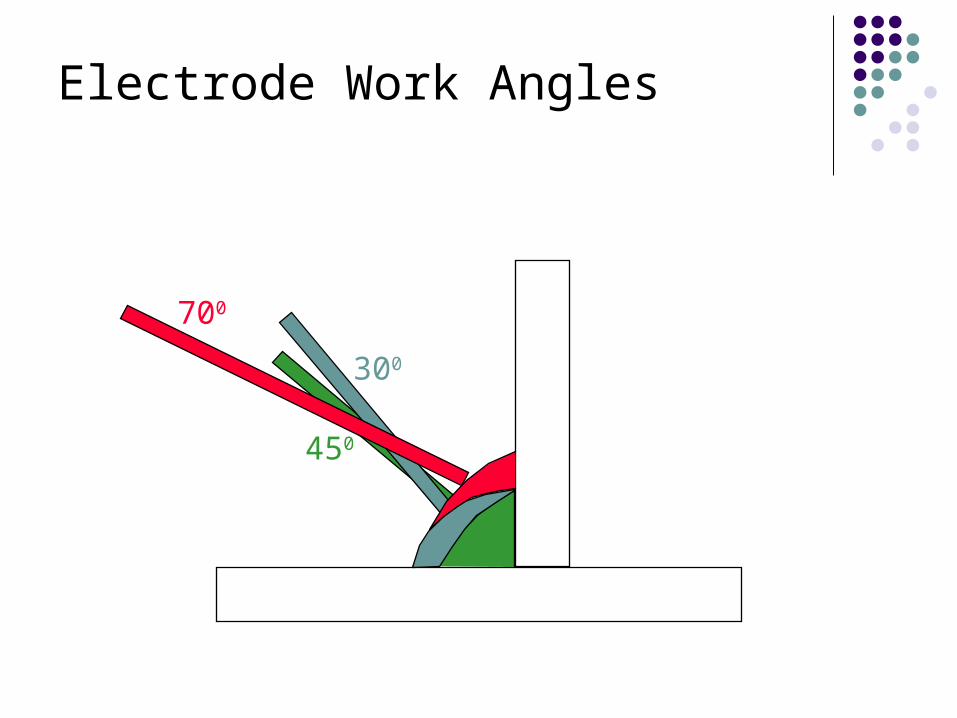
Electrode Work Angles
450
300
700
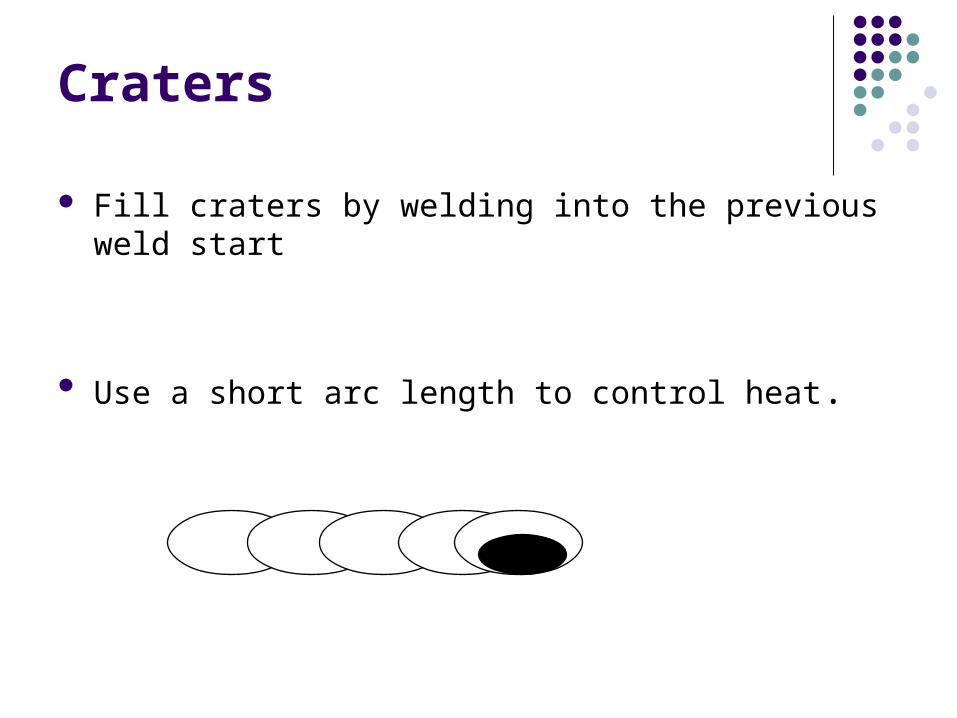
Craters
Fill craters by welding into the previous weld start
Use a short arc length to control heat.
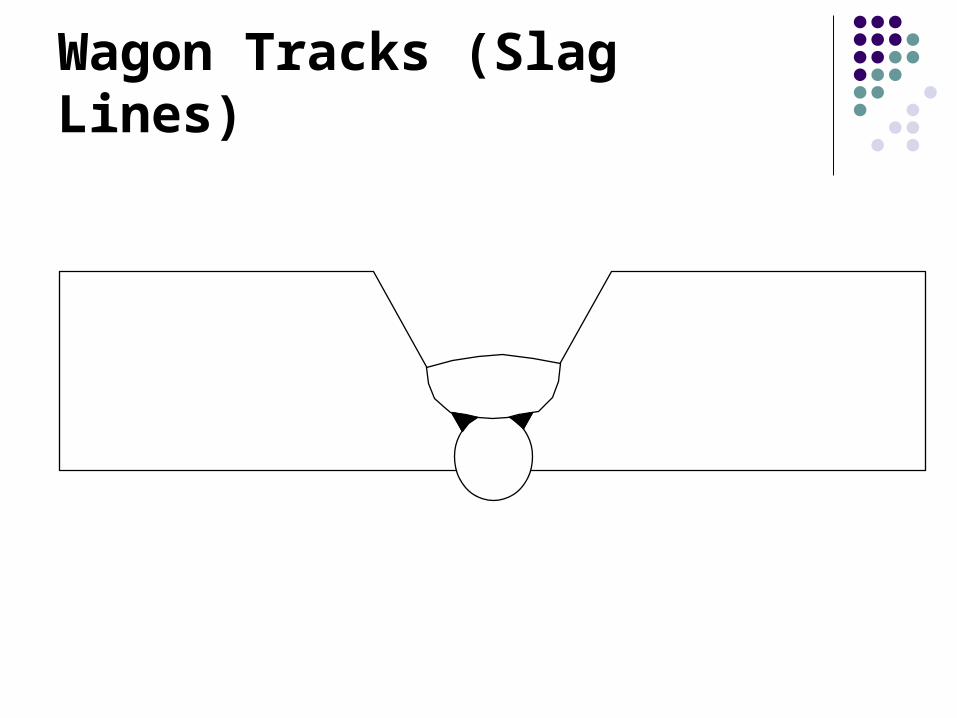
Wagon Tracks (Slag Lines)
Arc Length
Longer arc lengths = increased puddle heat, flatter welds, deeper penetration
Shorter arc lengths = less puddle heat, flatter welds, less penetration
Use arc length to control puddle size, penetration, and burn through.
Use a slightly longer arc length during a start or restart.