Unity 3D Workflow
5
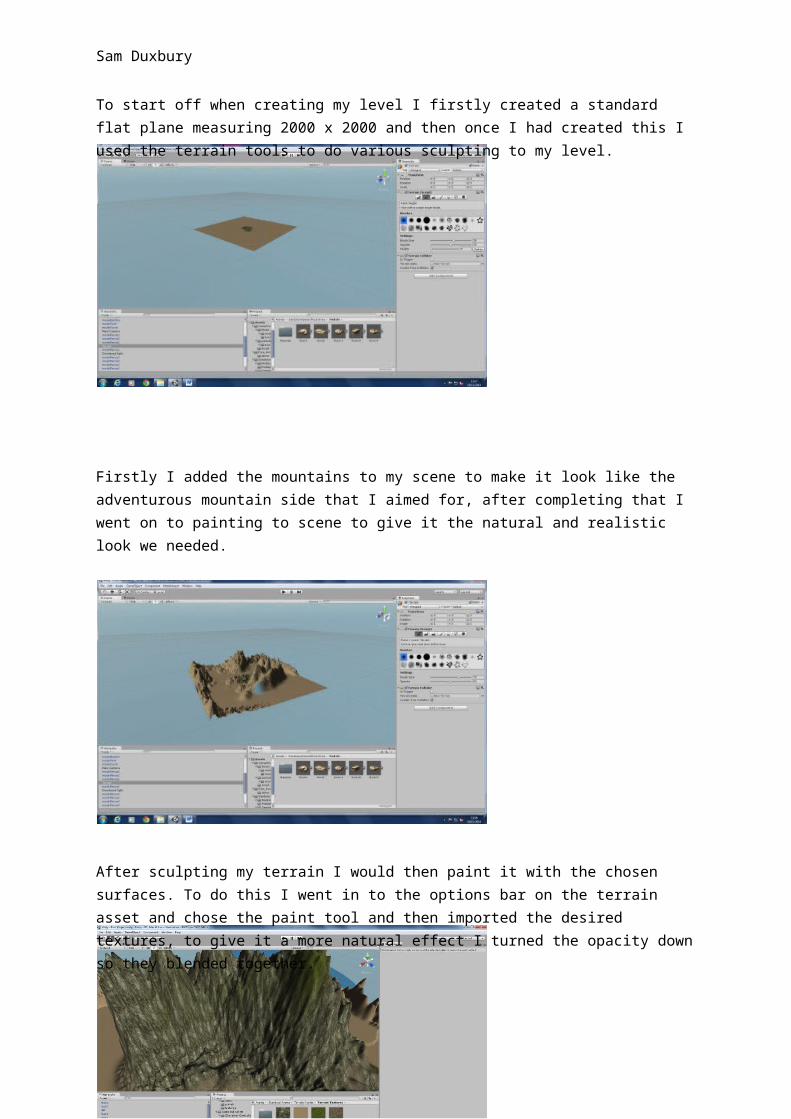
Sam Duxbury To start off when creating my level I firstly created a standard flat plane measuring 2000 x 2000 and then once I had created this I used the terrain tools to do various sculpting to my level. Firstly I added the mountains to my scene to make it look like the adventurous mountain side that I aimed for, after completing that I went on to painting to scene to give it the natural and realistic look we needed. After sculpting my terrain I would then paint it with the chosen surfaces. To do this I went in to the options bar on the terrain asset and chose the paint tool and then imported the desired textures, to give it a more natural effect I turned the opacity down so they blended together.
-
Upload
samduxburygds -
Category
Education
-
view
91 -
download
5
Transcript of Unity 3D Workflow
Sam Duxbury
To start off when creating my level I firstly created a standard flat plane measuring 2000 x 2000 and then once I had created this I used the terrain tools to do various sculpting to my level.
Firstly I added the mountains to my scene to make it look like the adventurous mountain side that I aimed for, after completing that I went on to painting to scene to give it the natural and realistic look we needed.
After sculpting my terrain I would then paint it with the chosen surfaces. To do this I went in to the options bar on the terrain asset and chose the paint tool and then imported the desired textures, to give it a more natural effect I turned the opacity down so they blended together.
Sam Duxbury
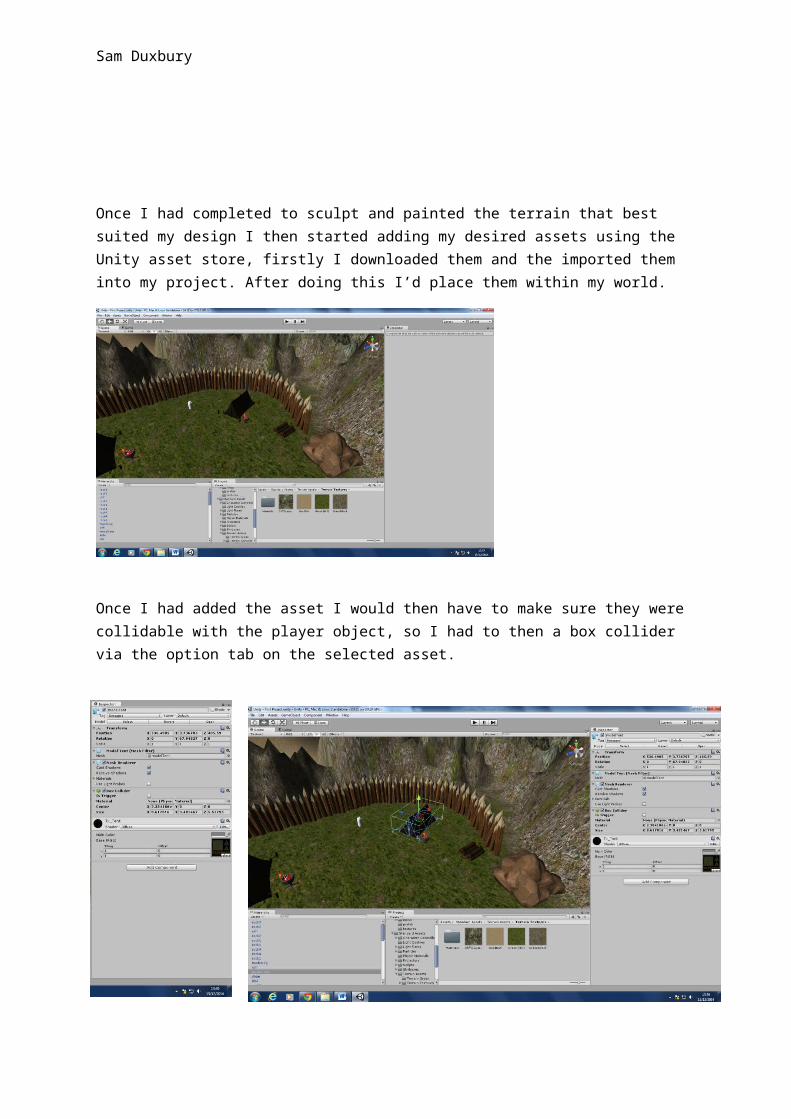
Once I had completed to sculpt and painted the terrain that best suited my design I then started adding my desired assets using the Unity asset store, firstly I downloaded them and the imported them into my project. After doing this I’d place them within my world.
Once I had added the asset I would then have to make sure they were collidable with the player object, so I had to then a box collider via the option tab on the selected asset.
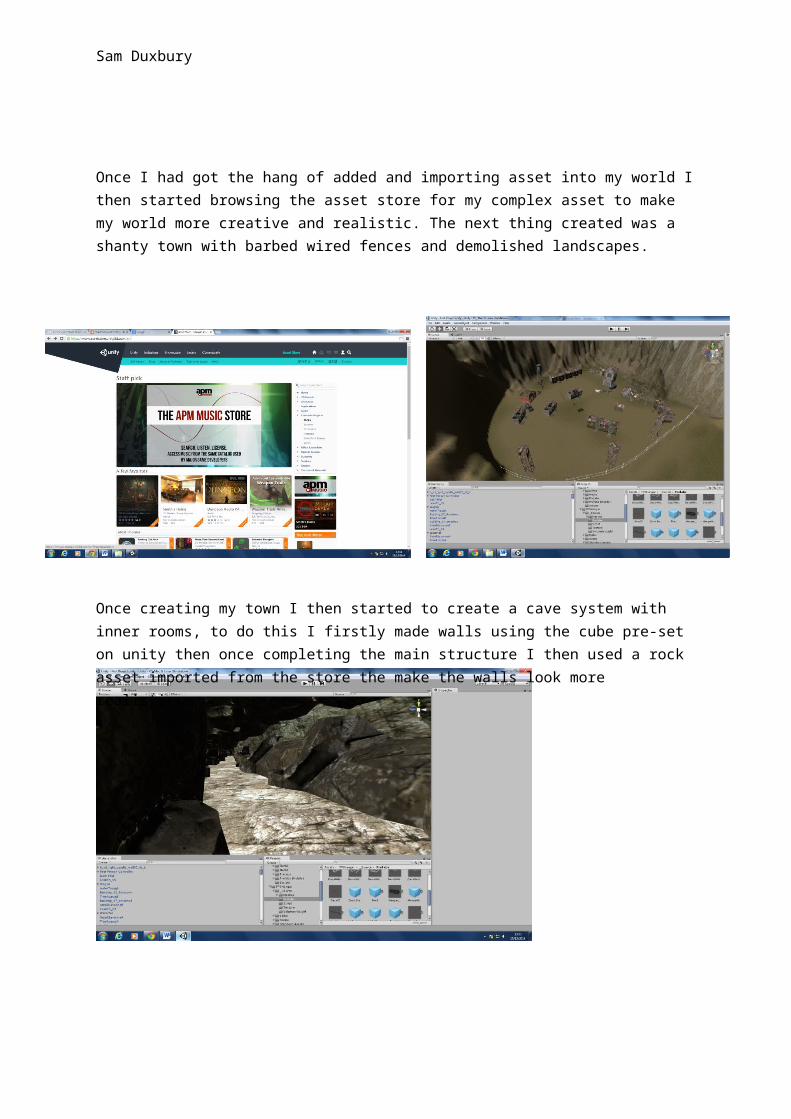
Once I had got the hang of added and importing asset into my world I then started browsing the asset store for my complex asset to make my world more creative and realistic. The next thing created was a shanty town with barbed wired fences and demolished landscapes.
Sam Duxbury
Once creating my town I then started to create a cave system with inner rooms, to do this I firstly made walls using the cube pre-set on unity then once completing the main structure I then used a rock asset imported from the store the make the walls look more realistic.
Once I had done the corridors I design the inner room with chosen asset to make it look like a blacksmiths cave for creating weapons and other objects. To make the room look realistic as possible I added rocks to the roofs and walls to make it look like it was surrounded by thick levels of rock.

Sam Duxbury
After completing the interior for the cave system, I once again used the rock asset to make a mountain side so that known of the interior caving was shown unless inside it. Along with this I added a particle affect to the entrance of the cave to make It look spookier.
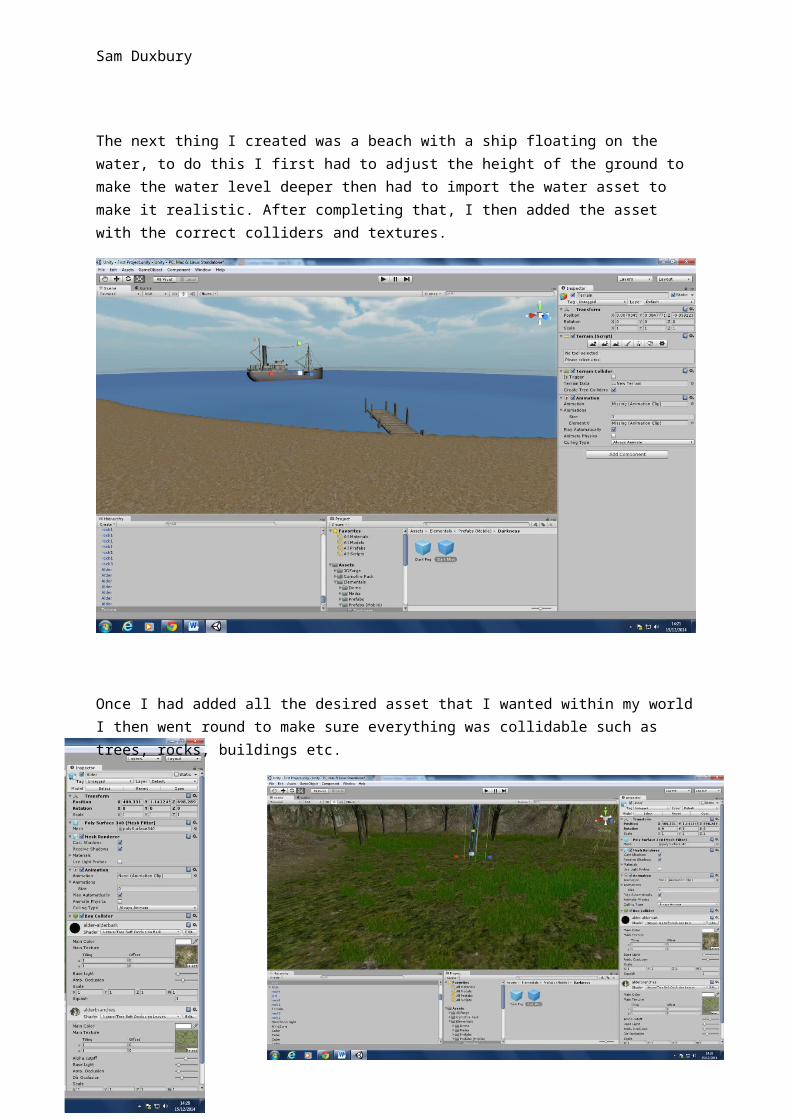
The next thing I created was a beach with a ship floating on the water, to do this I first had to adjust the height of the ground to make the water level deeper then had to import the water asset to make it realistic. After completing that, I then added the asset with the correct colliders and textures.
Sam Duxbury
Once I had added all the desired asset that I wanted within my world I then went round to make sure everything was collidable such as trees, rocks, buildings etc.