TRAINING MANUAL - Quality Trading Coqualitytradingco.com/pdf/training_manual.pdf · ·...
25
W WEBSITE: www.qualitytradingco.com TRAINING MANUAL Prepared by: Mr. Bobby Libor Exclusive Distributor of Cleenol UK Manufacturers of Quality Cleaning & Hygiene Products
Transcript of TRAINING MANUAL - Quality Trading Coqualitytradingco.com/pdf/training_manual.pdf · ·...

W
WEBSITE: www.qualitytradingco.com
TRAINING MANUAL
Prepared by: Mr. Bobby Libor
Exclusive Distributor of Cleenol UK
Manufacturers of Quality Cleaning & Hygiene Products

CEO and Trainor
What you should know? Quality Trading Co. is the exclusive distributor of Cleenol – UK (MS and IMEC HYGIENE CHEMICALS .ISO 9001) which manufactured and distribute in a very high quality chemical products to a wide range of industries and markets such as Petrol Station, Catering, Housekeeping, Hospitals, Laundry and Dry Cleaning. Besides, Quality Trading Co also specializes in all janitorial machines / equipments and all Kinds of automatic hygiene dispensers, plus all kinds of paper hygiene disposable products. A service support team of engineers to install commission and calibrate auto dosing equipments. Our engineers also provide regular service check-up and service reports. For assistance call; Office : (0974) 44328270 Mobile : (0974) 55390334 Fax : (0974) 44328278 BAHRAIN MOBL 00974 38384758 Cleenol is an independent family run company which is today recognized as one of the UK’s leading developers, manufacturers and suppliers of cleaning and hygiene products to a wide range of industries and market.

CLEENOL Manufacturers of Quality & Hygiene Products
Cleenol has an extensive manufactured product range and stocks a large range of ancillary products, making it a single source for an extensive and complete range of cleaning and janitorial materials to meet even the most demanding of cleaning requirements.
The Quality Brands from

THE GLOBAL HYGIENE
SOLUTION
PROVIDER


CLEENOL GUIDELINES FOR EFFICIENT
DISHWASHING
A. PREPARATION

B. WASHING PROCEDURE


C. SHUTDOWN
I - Personal Hygiene
Required Supplies & Equipment:
· Hand Washing Supplies · Clean, Neat Uniform · Polished Shoes · Identification Badge · Hair Nets Personal Hygiene Purpose: To provide a clean, hygienic custodial staff.
Custodial Procedure

1. Preparation - Cleanliness requires a daily bath and a change to clean underclothing. Use a deodorant to prevent body odor. Shave daily. Give teeth and hair proper care, everyday. Keep fingernails short and clean. Use cosmetics in moderation. Refrain from the use of heavy scents.
2. Hand Washing - In order to control cross-contamination, hands should be washed after performing cleaning duties. Before continuing on to the next area, wash your hands. Also, wash before meals and after going to the restroom. Massage hand cleaner around the fingers, knuckles, and hands. Scrub fingernails with a brush. Keep your hands lower than your elbows when washing. Wash vigorously for two minutes. The tap water should be running during the entire process. Use medicated hand moisturizer when skin becomes dry or chapped. 2. Protect Yourself - Use the proper Personal Protective Equipment (PPE) for each cleaning task you perform.
II - Dust Mopping Procedure
Required Supplies & Equipment:
· Dust Mop · Dust Mop Treatment · Dust Pan and Brush · Putty Knife · Stiff Bristle Brush Dust Mopping Purpose: To remove dust, and light litter or soil from floors as a daily cleaning procedure, or in preparation for wet cleaning procedures.
1. Preparation - Take properly treated dust mop to the area to be cleaned.
2. Dust Mop Area - Use a dust mop of the appropriate size for the floor space that needs to be dusted. Start at one end of area. Hold the mop handle at approximately a 45 degree angle. Push the dust mop straight ahead. Shake the mop to unload it frequently. Avoid lifting the mop from the floor or moving it backwards during the dust mopping procedure. Remove gum with putty knife. Turn at the end of the pass and dust mop in the opposite direction. Overlap about ten inches. When dust mopping obstructed areas, such as offices or classrooms, use a small (24" or 30") dust mop. Start dust mopping at the entrance to the room. Work from the sides of the room to the center. Move furniture as you dust mop and
replace it in its correct position. Dust mop carefully around equipment. Remove any gum with a putty knife. 3. Pick Up Trash and Dirt - Use a dust pan and counter brush to sweep up accumulated trash. Empty this into a trash chute or trash container. 4. Clean Up - Take the dust mop to the janitor's closet. Close the closet door and brush out dust mop with a stiff bristle brush or place the dust mop head in a plastic liner and shake it sharply several times. Cure the dust mop with dust mop treatment at the end of the cleaning operation. This allows time for the dust mop treatment to spread throughout the dust mop. It also eliminates a wet, oily streak on the floors, from the dust mop. Replace the mop head when it is soiled and return the soiled mop head to the laundry. Always hang dust mops with yarn facing away from walls. Wash hands.
III - Damp Mopping Procedure
Required Supplies & Equipment:
· Clean Dust Mop · Dust Pan and Brush · Automatic Floor Machine with Pad Driver or Brush · Clean Mop Bucket and Wringer · Wet Mop Handle with Clean Looped-End Banded Mop · Squeegee with Handle · Floor Pads · Putty Knife · Appropriate Detergent Solution Appropriate to the Area · Set of Wet Floor Signs · Clean Wipers Damp Mopping Purpose: To provide a clean, and attractive condition to all resilient tile, or hard floor surfaces, such as terrazzo. 1. Prepare Area - Set up the Wet Floor Sign. Move all obstacles and furniture.
2. Dust Mop Area - Follow the Dust Mopping Procedure. 3. Apply Mopping Solution - Place the mop in the detergent solution; wring it out until the mop is only damp. Mop the area lengthwise along the baseboards (be careful not to allow the mop to come in contact with the wall side of the baseboard). Then use a "figure 8" stroke on the balance of the area. Turn the mop over. Use both sides. Rinse the mop frequently. Use the heel of the mop
with a hand pad to remove stubborn spots. Wipe off baseboards, immediately, if any water has been splashed on them. 4. Change Solution and Mop Frequently - Use the proper dilution of the correct detergent. Always measure detergent solutions. The solution should be changed whenever it becomes dirty. 5. When Floor Has Dried - Remove signs. Return furniture and other items cleared from the area to their proper positions. 6. Clean Up - Immediately clean up equipment at the conclusion of the procedure. All buckets and wringers must be thoroughly washed, rinsed and allowed to dry. All mops must be thoroughly washed and hung to dry, away from walls. All other equipment is either washed or wiped down and stored in the proper location. Wash hands.
iV - Spray Buffing Floors
Required Supplies & Equipment:
· Clean Dust Mop · Dust Pan and Brush · Floor Machine (175-400 rpm) · Wet Mop Handle · Clean Floor Polish Pads · Clean Looped-End Banded Mop · Clean Mop Bucket& Wringer · Floor Stripping Concentrate · Set of Wet Floor Signs · Approved Detergent Solution
Purpose: To maintain shiny, attractive floors.
1.Prepare Area - Set up Wet Floor Signs. Move all obstacles such as furniture.
2. Dust Mop Floor - Follow the Dust Mopping Procedure. 3. Damp Mop - Follow the Damp Mop Procedure.
4. Machine Buff Floor - Place the floor machine in position. Spray the floor with the spray buff solution and spread damp solution across the floor with the floor machine. Work in areas approximately 4' x 6'. Use a side to side motion; be careful to avoid bumping walls and furniture. Allow a slight overlapping on each pass. Buff until the haze is gone and the floor area has a shine. Do not allow floor pads to load up. Turn them over or change them frequently.
5. Dust Mop Again - Pick up any dust resulting from buffing operation. Use a clean, oil free, dust mop.

6. When Finished - Remove the caution signs. Return the furniture and other items cleared from the area to their proper positions.
7. Clean Up - Immediately clean up equipment at the conclusion of the procedure. All floor pads must be thoroughly washed and allowed to dry. All other equipment must be either washed or wiped down and stored in the proper location. Wash hands.
V - Restroom Cleaning
Required Supplies & Equipment:
· Toilet Bowl Cleaner · Hand Pads · Mop Bucket with Wringer · Disposable Gloves · Hand Pail · Creme Cleanser · Spray Deodorizer · Plastic Liners · Paper Towels · Germicidal Solution · Restroom Closed Sign · Hand Soap · Dust Pan and Broom · Wet Mop Handle · Dust Mop · Looped-End Banded Mop · Glass Cleaner Spray · Deck Scrub Brush · Supply of Clean Cloths · Hand Mirror · Toilet Bowl Brush · Door Stop · Putty Knife · Toilet Tissue
Purpose: To maintain clean, hygienic and attractive restrooms. 1. Prepare Area - Knock on the outside door. Open it slightly and announce your intention to enter. If the restroom is occupied, wait until it is empty. Then open and "stop" the door and post a "Closed for Cleaning" sign.
2. Toilet Bowls and Urinals - Apply toilet bowl disinfectant cleaner to toilets and urinals. Follow the instructions printed on container. Let the cleaner stand while the balance of the restroom is being cleaned.
3. Replenish Supplies - Refill all hand soap, hand towel, toilet tissue and sanitary napkin dispensers. Check the deodorizers and refill them when it is necessary. Check the working condition of all the dispensers in the restroom.
4. High Dust - Remove all dust webs with a lambswool duster. Clean the wall vents, top of doors and partitions with wipers dampened with disinfectant solution. 5. Clean Light Fixtures and Mirrors - Wipe off the light fixtures and mirrors
with glass cleaner and clean wipers. Move around the restroom untill all are cleaned.
6. Clean Wash Basins - Using a creme cleanser, mild acid cleanser, or germicidal solution (depending on soil levels) clean the interior surfaces of all wash basins. Exterior surfaces, faucets, and piping under basins should also be cleaned daily. Wipe chrome dry with a sodt cloth or wiper. Wash basin should be disinfected during each cleaning operation. Do not use powerful acid toilet bowl and urinal cleaners in wash basins. Wash basins are made of baked enamel that will be removed by strong acids or scrubbing with harsh abrasives. Use strong acid cleaners only on vitreous china toilets and urinals. Check faucets for dripping and ease of operation; also check the drain flow to see that each drain is clean and empties the wash basin 7. Spot Clean Walls and Partitions - Dampen a cloth with a germicidal solution or spray germicidal cleaner directly to the surface. Wipe off shelves, dispensers, receptacles, doors and partitions. 6. Clean Inside of Toilets and Urinals - Clean toilet bowls and urinals thoroughly with toilet brush or swab and disinfectant cleaner or proper acid cleaner. Check toilets and urinals with a flashlight mirror for stains and incrustations that are under the rim. Do not damage the smooth surface of vitreous china toilets and urinals by heavy scrubbing with abrasvie materials. Flush, agitate with the brush or bowl swab. Flush again.
VI - Toilet & Urinal Disinfection & Cleaning
Required Supplies & Equipment:
· Disinfectant/Cleaner Solution · Bowl Caddy · Protective Gloves · Safety Eyewear · Flashlight Inspection Mirror · Clean Wiper
Purpose: To provide a clean, hygienic, toilet and urinal.
1. Preparation - Assemble all necessary supplies. Flush toilet and urinal before beginning the procedure.
2. Disinfection / Cleaning Toilets and Urinals - Apply Disinfectant/Cleaner to the inside of the bowls and urinals. Wet the flushing rim of the toilet thoroughly. Leave the chemical in the bowl while you disinfect and clean the other areas around the fixture. Spray the top of the toilet seat with the disinfectant/cleaner. Raise the seat and spray on the underside. Spray seat hinges until they are saturated. Spray all of the hardware in the toilet or urinal including flush handles and pipes that may came in contact with human touch.

Apply additional Disinfectant/Cleaner by saturating a bowl mop, held directly over the toilet or urinal, and applying the solution to the inside of the surfaces. Be sure to clean the flushing rim and waterline areas carefully. Scrub these areas with a bowl brush.
After the inside of the fixture is cleaned, flush it and rinse out the bowl mop and brush. Wring the mop out against the inside of the fixture or in an attached cup/wringer. Do not tough either cleaning tool with exposed skin.
Spray the outside and bottom surfaces with the Disinfectant/Cleaner. Rub these areas with a clean wiper.
Wipe both sides of the toilet seat dry with a clean disposable wiper. Flush to remove any remaining disinfectant solution, which may splash on the next person to use the toilet or urinal.
3. Clean Up - In order to control cross-infection, hands should be washed after performing these cleaning duties. Before continuing on to the next area, wash your hands.
VII - Window Cleaning (Lift Window Cleaner)
Required Supplies & Equipment:
· Window Cleaning Detergent · Window Brush or Strip Washer · Window Cleaner's Bucket · Chamois · Squeegee · Scraper · Clean Wipers or Rags Purpose: To provide clean, translucent windows. 1. Preparation - Assemble all necessary supplies and take them to windows to be washed.
2. Window Cleaning - Mix window cleaning solution in the bucket.
Apply solution to the window evenly with a window brush or strip washer; be sure to cover the area completely.

Start to squeegee the window by placing the squeegee at the top and glide the squeegee to the corner of the window. Glide the squeegee downward to the corner of the window. Use a consistent, even pressure on the squeegee all the way down to the bottom corner of the window.
Wipe off the squeegee with a rag or chamois and begin at the top of the window again. Slant the squeegee downward on the dry, clean side of the glass. Continue all the way down the glass to the bottom of the window. Repeat this until the window is cleaned completely.
When you finish the window, wipe the sills clean and dry with wipers or rags.
3. Clean Up - Wash out the bucket and dry it. Wash out chamois with clean water and hang up to air dry. Wash rags. Rinse squeegees and wipe them dry. Store squeegees in a cool, dry place. Do not store squeegees on their blades.
Wash hands after performing these cleaning duties.
HAZARD COMMUNICATION: THE RIGHT TO KNOW LAW
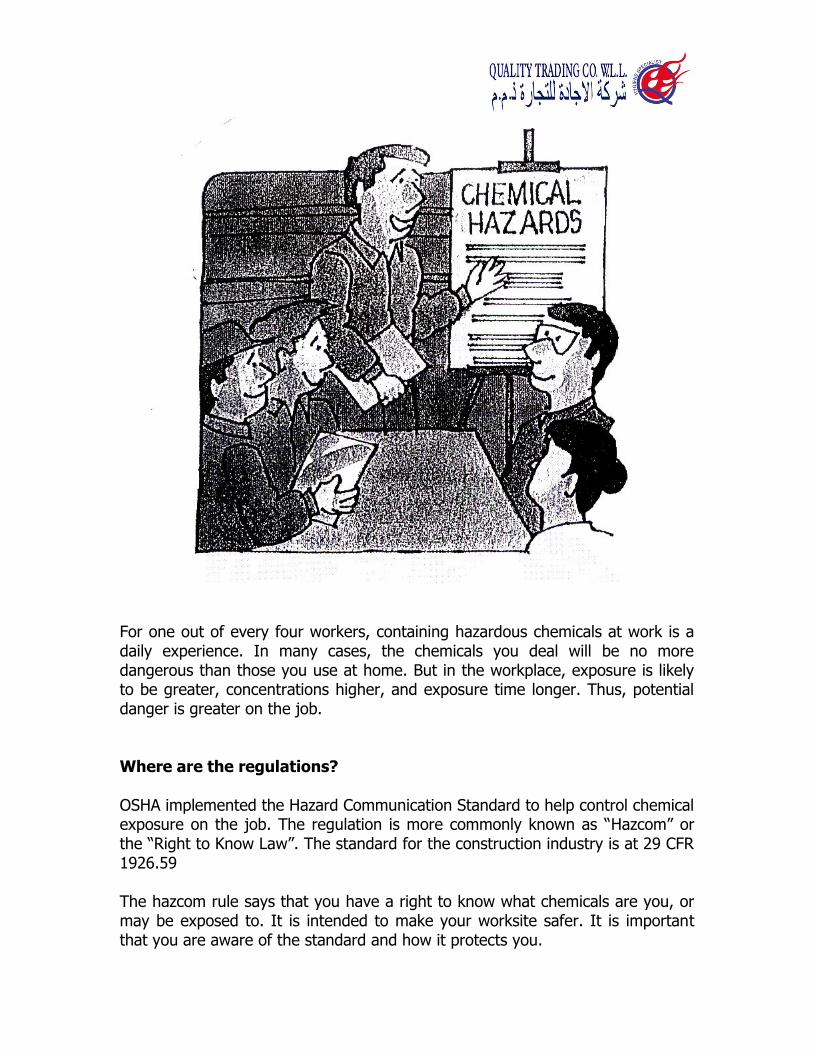
For one out of every four workers, containing hazardous chemicals at work is a daily experience. In many cases, the chemicals you deal will be no more dangerous than those you use at home. But in the workplace, exposure is likely to be greater, concentrations higher, and exposure time longer. Thus, potential danger is greater on the job. Where are the regulations? OSHA implemented the Hazard Communication Standard to help control chemical exposure on the job. The regulation is more commonly known as “Hazcom” or the “Right to Know Law”. The standard for the construction industry is at 29 CFR 1926.59 The hazcom rule says that you have a right to know what chemicals are you, or may be exposed to. It is intended to make your worksite safer. It is important that you are aware of the standard and how it protects you.

The standard requires that all chemicals at your worksite be fully evaluated for possible physical or health hazards. And, it mandates that all information relating to these hazards be made available to you. Who and what does the standard cover? The hazard communication standard involves just about anyone who comes into contact with hazardous chemicals. Everyone needs to know what hazardous chemicals they work with and how to protect themselves. You and your coworkers will learn about the chemicals you work with and how to take precautions against any potentially negative effects associated with them. Both training and written materials will inform you about chemicals you work with. Ask your supervisor about any questions you might have when looking at Material Safety Data Sheet (MSDSs) or the written program. The areas specifically covered in the standard include:
Determining the hazards of chemicals. Material Safety Data Sheets (MSDSs). Labels and Labeling. A written hazard communication program. Employee information and Training.
Trade Secrets. The hazard communication standard is intended to cover all employees who may be exposed to hazardous chemicals under normal working conditions or where chemical emergencies could occur. As mentioned previously, the standard applies to those chemicals which pose either a physical or health hazard. What are Physical and Health Hazards? Physical Hazards are by certain chemicals due to their physical properties – flammability, reactivity, etc. These chemicals fall into the following classes:
Flammable Liquids or solids. Combustible liquids.
Compressed gases. Explosives. Organic peroxides.
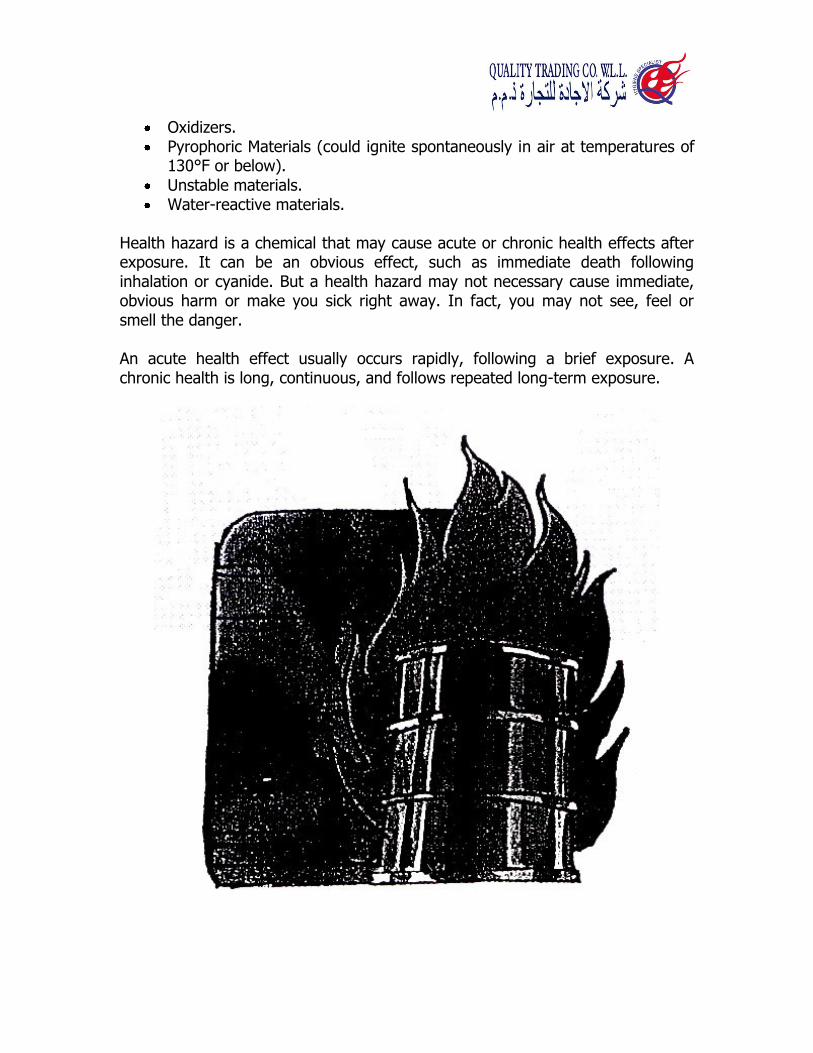
Oxidizers. Pyrophoric Materials (could ignite spontaneously in air at temperatures of
130°F or below).
Unstable materials. Water-reactive materials.
Health hazard is a chemical that may cause acute or chronic health effects after exposure. It can be an obvious effect, such as immediate death following inhalation or cyanide. But a health hazard may not necessary cause immediate, obvious harm or make you sick right away. In fact, you may not see, feel or smell the danger. An acute health effect usually occurs rapidly, following a brief exposure. A chronic health is long, continuous, and follows repeated long-term exposure.

What kinds of chemicals Causes Health Hazards? Some examples of chemicals which exhibit health hazards are: Type of Chemicals Example of Type Carcinogens (Cancer-causers) Formaldehyde or benzene Toxic agents Lawn and garden insecticides Arsenic compounds Reproductive toxins Thalidomide or nitrous oxide Irritants Bleaches or ammonia Corrosives Battery Acid or caustic soda Sensitizers Creosote or epoxy resins Organ-specific agents act on Sulfuric Acid (Affect skin), Specific organs or parts of the or asbestos (affects Lungs) Body The hazard communication standard doesn’t apply to: hazardous waste regulated by the Environments Protection Agency; tobacco products; many wood or wood products; or food, cosmetics, and certain drugs. The Material Safety Data Sheet A Material Safety Data Sheet (MSDS) is a fact sheet for a chemical posing a physical or health hazard at your worksite. MSDSs must be in English and contain the following information:
Identity of the chemical (as used on the label). Physical Hazards.
Health hazards. Primary routes of entry. Whether it is a carcinogen. Precautions for the safe handling and use. Emergency and first aid procedures.
Date of preparation of latest revision. Name, address, and telephone number of manufacturer, importer, or
other responsible party. If relevant information in one of the categories was unavailable at the time of preparation, the MSDS must indicate that non information was found. Blank spaces are not permitted. If you find a blank space on the MSDS, contact your supervisor.

Your company must have an MSDS for each hazardous chemical it uses. Copies must be made readily available at the worksite. When you must travel between worksites during the day, MSDSs nay be kept at the central location. If there are workers from other companies at your worksite, they must be made aware of the chemicals you use and the location of your MSDSs. They must do the same for you. All MSDSs can be at central location and managed by the general contractor.

Labels and Labeling Requirements Containers of hazardous chemicals must be labeled in English. Information may also be presented in other language for non English speaking employees, but English is required. It is required that labels contain the following information:
Identity of the hazardous chemicals.
Appropriate hazards warnings. Name and address of the chemical manufacturer, importer, ot other
responsible party.
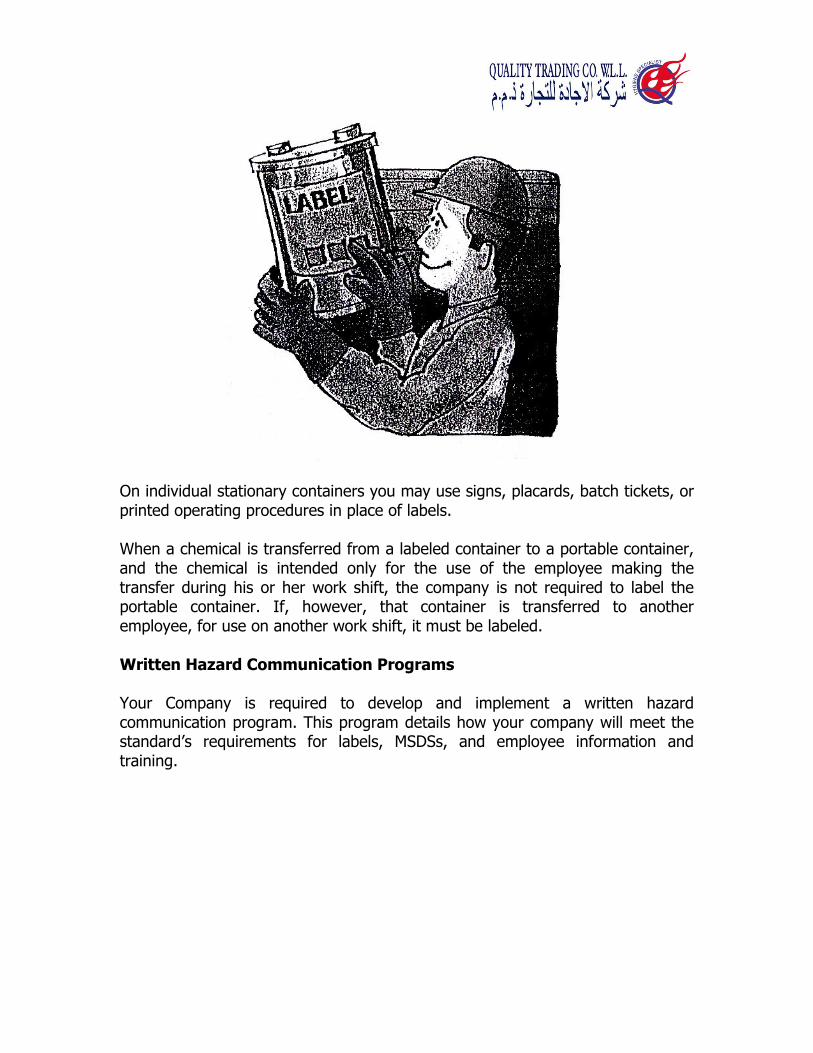
On individual stationary containers you may use signs, placards, batch tickets, or printed operating procedures in place of labels. When a chemical is transferred from a labeled container to a portable container, and the chemical is intended only for the use of the employee making the transfer during his or her work shift, the company is not required to label the portable container. If, however, that container is transferred to another employee, for use on another work shift, it must be labeled. Written Hazard Communication Programs Your Company is required to develop and implement a written hazard communication program. This program details how your company will meet the standard’s requirements for labels, MSDSs, and employee information and training.

Your company written program needs to include:
A list of the hazardous chemicals known to be present at your worksite. How the MSDS requirements are being met. What type of labeling system, if any, is used? Detailed information on training compliance. Methods your company will use to inform you of the hazards of non-
routine tasks and such things as unlabeled piping.
Methods your company will use to inform employers of other workers at your site, such as service representatives and subcontractors.
You Must Be Trained You must be trained at the time of your initial employment or assignment, as well as whenever a new hazard is introduced to your worksite. According to the hazard communication standard, you are to be informed of the requirements of the standard. You are to be informed of any operations in the work area where hazardous chemicals are present. You also need to be informed of the location and availability of your company’s written hazard communication program. Even more important, the location and availability of the MSDS file should be stated. Your training must contain all the following elements:

Methods or observations used to detect the presence or release of hazardous chemicals at your worksite.
Physical and health hazards of chemicals at your worksite. Measures you can take to protect yourself from the hazards, including
work practices and personal protective equipment. Details of your employer’s hazard communication program, including
complete information on labels and MSDSs.
Work at Working Safety Training is the key to your success and safety as an employee dealing with hazardous chemicals at the worksite. Take it seriously. Get as much as you can from it. Learn about MSDSs, labeling, you company’s written program, measures to protect yourself, and what hazardous chemicals you work with. Your good health may depend on how much you learn from your company’s training program.