
MONDEO - Ford IT · 68 ˘ˇ ˇ ˆˇ ˙˝˛ ˆˇ ˚˜˝˛ ˆˇ ! ˜ ˚ ˚˚ ˘ ˜ ...

Pattern may be downloaded for personal use only. No electronic or printed reproduction permitted without the prior written consent of Meredith Corporation. ©Meredith Corporation 2018. All rights reserved.
1
APQ LOGOS 10.5.2016
Logo use for 2.25 inches wide or smaller
APQ LOGO SMALL USE (black and white versions)
PATTERN BROUGHT TO YOU BY:
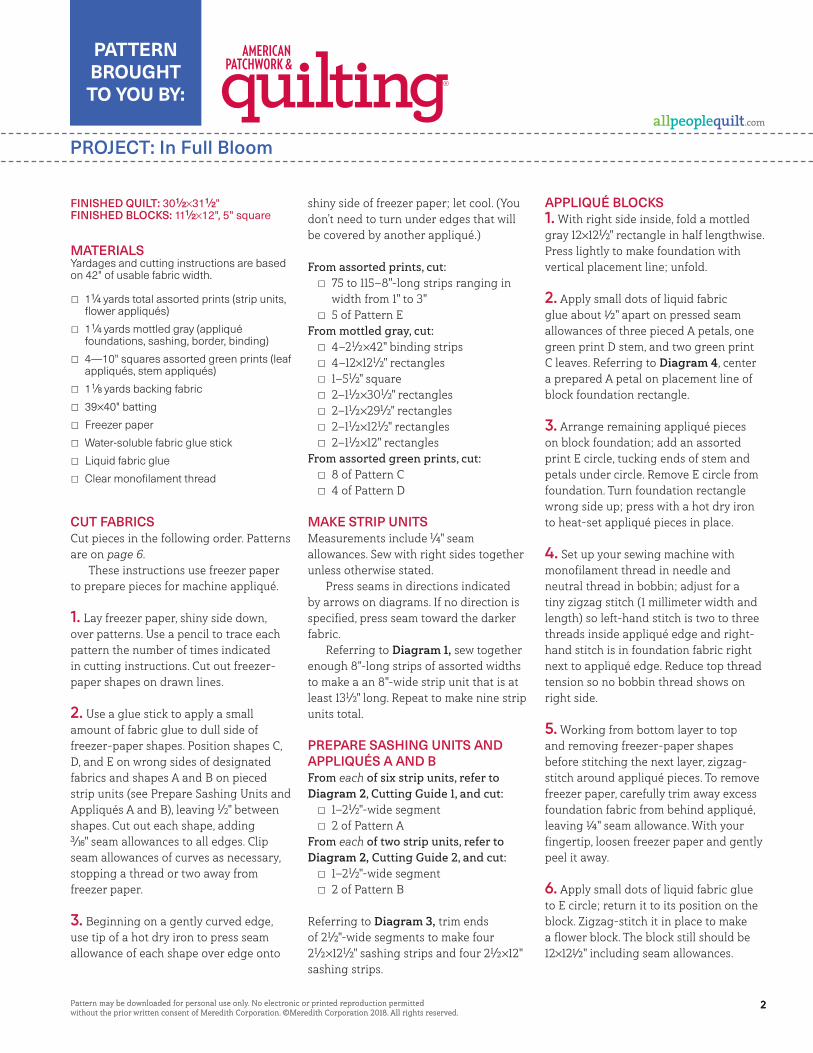
PROJECT: In Full Bloom
FABRICS are from the First Romance collection by Kristyne Czepuryk for Moda Fabrics (modafabrics.com).
String-piece flowers in bright fabrics for a scrappy summertime wall hanging.INSPIRED BY: Wild Flowers from designer Sharon Tucker (grassrootsquilting.blogspot.com)QUILT TESTER: Monique Jacobs
Pattern may be downloaded for personal use only. No electronic or printed reproduction permitted without the prior written consent of Meredith Corporation. ©Meredith Corporation 2018. All rights reserved.
2
APQ LOGOS 10.5.2016
Logo use for 2.25 inches wide or smaller
APQ LOGO SMALL USE (black and white versions)
PROJECT: In Full Bloom
FINISHED QUILT: 301⁄2×311⁄2" FINISHED BLOCKS: 111⁄2×12", 5" square
MATERIALSYardages and cutting instructions are based on 42" of usable fabric width.
▫ 11⁄4 yards total assorted prints (strip units, flower appliqués)
▫ 1 1⁄4 yards mottled gray (appliqué foundations, sashing, border, binding)
▫ 4—10" squares assorted green prints (leaf appliqués, stem appliqués)
▫ 1 1⁄8 yards backing fabric
▫ 39×40" batting
▫ Freezer paper
▫ Water-soluble fabric glue stick
▫ Liquid fabric glue
▫ Clear monofilament thread
CUT FABRICSCut pieces in the following order. Patterns are on page 6. These instructions use freezer paper to prepare pieces for machine appliqué.
1. Lay freezer paper, shiny side down, over patterns. Use a pencil to trace each pattern the number of times indicated in cutting instructions. Cut out freezer-paper shapes on drawn lines.
2. Use a glue stick to apply a small amount of fabric glue to dull side of freezer-paper shapes. Position shapes C, D, and E on wrong sides of designated fabrics and shapes A and B on pieced strip units (see Prepare Sashing Units and Appliqués A and B), leaving 1⁄2" between shapes. Cut out each shape, adding 3⁄16" seam allowances to all edges. Clip seam allowances of curves as necessary, stopping a thread or two away from freezer paper. 3. Beginning on a gently curved edge, use tip of a hot dry iron to press seam allowance of each shape over edge onto
shiny side of freezer paper; let cool. (You don’t need to turn under edges that will be covered by another appliqué.)
From assorted prints, cut:▫ 75 to 115—8"-long strips ranging in
width from 1" to 3"▫ 5 of Pattern E
From mottled gray, cut:▫ 4—2 1⁄2 ×42" binding strips▫ 4—12×12 1⁄2" rectangles▫ 1—5 1⁄2" square▫ 2—1 1⁄2 ×30 1⁄2" rectangles▫ 2—1 1⁄2 ×29 1⁄2" rectangles▫ 2—1 1⁄2 ×12 1⁄2" rectangles▫ 2—1 1⁄2 ×12" rectangles
From assorted green prints, cut:▫ 8 of Pattern C▫ 4 of Pattern D
MAKE STRIP UNITSMeasurements include 1⁄4" seam allowances. Sew with right sides together unless otherwise stated. Press seams in directions indicated by arrows on diagrams. If no direction is specified, press seam toward the darker fabric. Referring to Diagram 1, sew together enough 8"-long strips of assorted widths to make a an 8"-wide strip unit that is at least 13 1⁄2" long. Repeat to make nine strip units total.
PREPARE SASHING UNITS AND APPLIQUÉS A AND BFrom each of six strip units, refer to Diagram 2, Cutting Guide 1, and cut: ▫ 1—2 1⁄2"-wide segment▫ 2 of Pattern A
From each of two strip units, refer to Diagram 2, Cutting Guide 2, and cut:▫ 1—2 1⁄2"-wide segment▫ 2 of Pattern B
Referring to Diagram 3, trim ends of 2 1⁄2"-wide segments to make four 2 1⁄2 ×12 1⁄2" sashing strips and four 2 1⁄2 ×12" sashing strips.
APPLIQUÉ BLOCKS1. With right side inside, fold a mottled gray 12×12 1⁄2" rectangle in half lengthwise. Press lightly to make foundation with vertical placement line; unfold.
2. Apply small dots of liquid fabric glue about 1⁄2" apart on pressed seam allowances of three pieced A petals, one green print D stem, and two green print C leaves. Referring to Diagram 4, center a prepared A petal on placement line of block foundation rectangle.
3. Arrange remaining appliqué pieces on block foundation; add an assorted print E circle, tucking ends of stem and petals under circle. Remove E circle from foundation. Turn foundation rectangle wrong side up; press with a hot dry iron to heat-set appliqué pieces in place.
4. Set up your sewing machine with monofilament thread in needle and neutral thread in bobbin; adjust for a tiny zigzag stitch (1 millimeter width and length) so left-hand stitch is two to three threads inside appliqué edge and right-hand stitch is in foundation fabric right next to appliqué edge. Reduce top thread tension so no bobbin thread shows on right side.
5. Working from bottom layer to top and removing freezer-paper shapes before stitching the next layer, zigzag-stitch around appliqué pieces. To remove freezer paper, carefully trim away excess foundation fabric from behind appliqué, leaving 1⁄4" seam allowance. With your fingertip, loosen freezer paper and gently peel it away.
6. Apply small dots of liquid fabric glue to E circle; return it to its position on the block. Zigzag-stitch it in place to make a flower block. The block still should be 12×121⁄2" including seam allowances.
PATTERN BROUGHT TO YOU BY:
Pattern may be downloaded for personal use only. No electronic or printed reproduction permitted without the prior written consent of Meredith Corporation. ©Meredith Corporation 2018. All rights reserved.
2

Pattern may be downloaded for personal use only. No electronic or printed reproduction permitted without the prior written consent of Meredith Corporation. ©Meredith Corporation 2018. All rights reserved.
3
APQ LOGOS 10.5.2016
Logo use for 2.25 inches wide or smaller
APQ LOGO SMALL USE (black and white versions)
PATTERN BROUGHT TO YOU BY:
PROJECT: In Full Bloom
ASSEMBLE QUILT TOP1. Referring to Quilt Assembly Diagram, lay out flower and center blocks and sashing units in three rows. Sew together pieces in rows. Press seams toward blocks. 2. Join rows to make quilt center. Press seams away from middle row.
3. Sew mottled gray 1 1⁄2 ×29 1⁄2" rectangles to opposite edges of quilt center. Add mottled gray 1 1⁄2 ×30 1⁄2" rectangles to remaining edges to complete quilt top. Press all seams toward border.
FINISH QUILT1. Layer quilt top, batting, and backing; baste.
2. Quilt as desired. Handi Quilter studio educator Vicki Hoth stitched in the ditch around the appliqué pieces (Quilting Diagram). She added a ribbon candy design in the sashing units, freehand quilted swirls in the flower petals, and stitched wavy veins in the leaves.
3. Bind with mottled gray binding strips.
7. Repeat steps 1–6, reversing the stem position on two, to make four flower blocks total.
8. With right side inside, fold mottled gray 5 1⁄2" square in half diagonally twice. Press lightly to make foundation with diagonal placement lines; unfold.
9. Apply small dots of liquid fabric glue about 1⁄2" apart on pressed seam allowances of pieced B petals. Referring to Diagram 5, position petals on block foundation square, aligning centers on placement lines. Add remaining print E circle, tucking petal ends under it. Remove circle from foundation. Turn foundation square wrong side up; press with a hot dry iron to heat-set petals in place.
10. Repeat steps 4 and 5 to machine-appliqué petals to foundation square.
11. Apply small dots of liquid fabric glue to E circle; return it to its position on the block. Zigzag-stitch it in place to make center block. Block still should be 51⁄2" square including seam allowances.
ASSEMBLE SASHING UNITS1. Referring to Diagram 6, sew together two 2 1⁄2 ×12 1⁄2" sashing strips and one mottled gray 1 1⁄2 ×12 1⁄2" rectangle to make a pieced vertical sashing unit. Unit should be 5 1⁄2 ×12 1⁄2" including seam allowances. Repeat to make a second pieced vertical sashing unit.
2. Referring to Diagram 7, sew together two 2 1⁄2 ×12" sashing strips and one mottled gray 1 1⁄2 ×12" rectangle to make a pieced horizontal sashing unit. Unit should be 5 1⁄2 ×12" including seam allowances. Repeat to make a second pieced horizontal sashing unit.

Pattern may be downloaded for personal use only. No electronic or printed reproduction permitted without the prior written consent of Meredith Corporation. ©Meredith Corporation 2018. All rights reserved.
4
APQ LOGOS 10.5.2016
Logo use for 2.25 inches wide or smaller
APQ LOGO SMALL USE (black and white versions)
PROJECT: In Full Bloom
PATTERN BROUGHT TO YOU BY:
13–131/ 2"
8"
Diagram 1
21/2" 21/2"
Cutting Guide 1 Cutting Guide 2Diagram 2
A
A B
B
121 /2" 12"
Diagram 3
Diagram 4
C CD
AA A
121 /2"
12"
E
B B
B BE
Diagram 5
51/2"sq.
11/ 2×
121 / 2"
Diagram 6
11/2×12"
Diagram 7
11/2×301/2"
11/ 2×
291/ 2"
Quilt Assembly Diagram

Pattern may be downloaded for personal use only. No electronic or printed reproduction permitted without the prior written consent of Meredith Corporation. ©Meredith Corporation 2018. All rights reserved.
5
APQ LOGOS 10.5.2016
Logo use for 2.25 inches wide or smaller
APQ LOGO SMALL USE (black and white versions)
PATTERN BROUGHT TO YOU BY:
PROJECT: In Full Bloom
Quilting Diagram

APQ LOGOS 10.5.2016
Logo use for 2.25 inches wide or smaller
APQ LOGO SMALL USE (black and white versions)
Pattern may be downloaded for personal use only. No electronic or printed reproduction permitted without the prior written consent of Meredith Corporation. ©Meredith Corporation 2018. All rights reserved.
6
PROJECT: In Full Bloom
PATTERN BROUGHT TO YOU BY:
When printing a downloadable PDF, set Page Scaling preference to None to print patterns at 100%. Do not use Shrink to Fit or Fit to Printable Area.
This box should measure 1".
In Full BloomPattern A
In Full BloomPattern B
In Full BloomPattern E
In Full BloomPattern C
In Full BloomPattern D
In Full BloomPattern A
In Full BloomPattern B
In Full BloomPattern E
In Full BloomPattern C
In Full BloomPattern D
In Full BloomPattern A
In Full BloomPattern B
In Full BloomPattern E
In Full BloomPattern C
In Full BloomPattern D
In Full BloomPattern A
In Full BloomPattern B
In Full BloomPattern E
In Full BloomPattern C
In Full BloomPattern D
In Full BloomPattern A
In Full BloomPattern B
In Full BloomPattern E
In Full BloomPattern C
In Full BloomPattern D


![Home []€¦ · ˘ˇˆ˘˙˝ ˛˚˜˜ ˇ !˜"# ˇ˙$% &ˇ ˇ˙$ ’"() *˙&+˚+$*˘˙*,˜ˇ ˜˘ˆˇ˜˘ ""&+ ˘+ $ ˇ "˙˜# ’*# $" ˘ !("ˆˇ ˜˘ˆ˘˙˝ +$*˙&*(&+ *˙& ˇ ...](https://static.fdocuments.net/doc/165x107/5fa216b10dead57aae1e01fc/home-oeoe-oe-a-oe.jpg)