eCost SL1000 Getting Started Y2012.01 - eDev...
16
Revision History Date Revision Description Author Information 01/02/2012 1.0 Initial Draft Tyrone Nason Initial Document Draft 06/02/2012 1.1 Addition Tyrone Nason Added NEC SL1000 Configuration Steps
Transcript of eCost SL1000 Getting Started Y2012.01 - eDev...
Revision History Date Revision Description Author Information
01/02/2012 1.0 Initial Draft Tyrone Nason Initial Document Draft
06/02/2012 1.1 Addition Tyrone Nason Added NEC SL1000 Configuration Steps

Overview: This document describes the 7 steps required to successfully install the “eCost” telephone management software application onto a windows workstation and connecting “eCost” to the NEC SL1000.
STEP 1: eCost Software installation Process:
Installation of the eCost Software can be easily accomplished in just a few minutes (often less than 5 minutes).
CD-ROM Installation: If the eCost solution is being installed from a cd-rom or similar, insert the eCost installation CD into your host system and locate the “eCost Setup.exe installation file.
Once you have started the installation process, you will see a series of setup screens. We recommend that you review each screen and make the appropriate selections to complete or abort the successful installation of eCost
Software Application. Where possible, select default options as this simplifies the eCost setup configuration.
• Click ‘ NEXT > ’ to begin the setup process. Click ‘ Cancel ’ to abort the installation process from any
screen
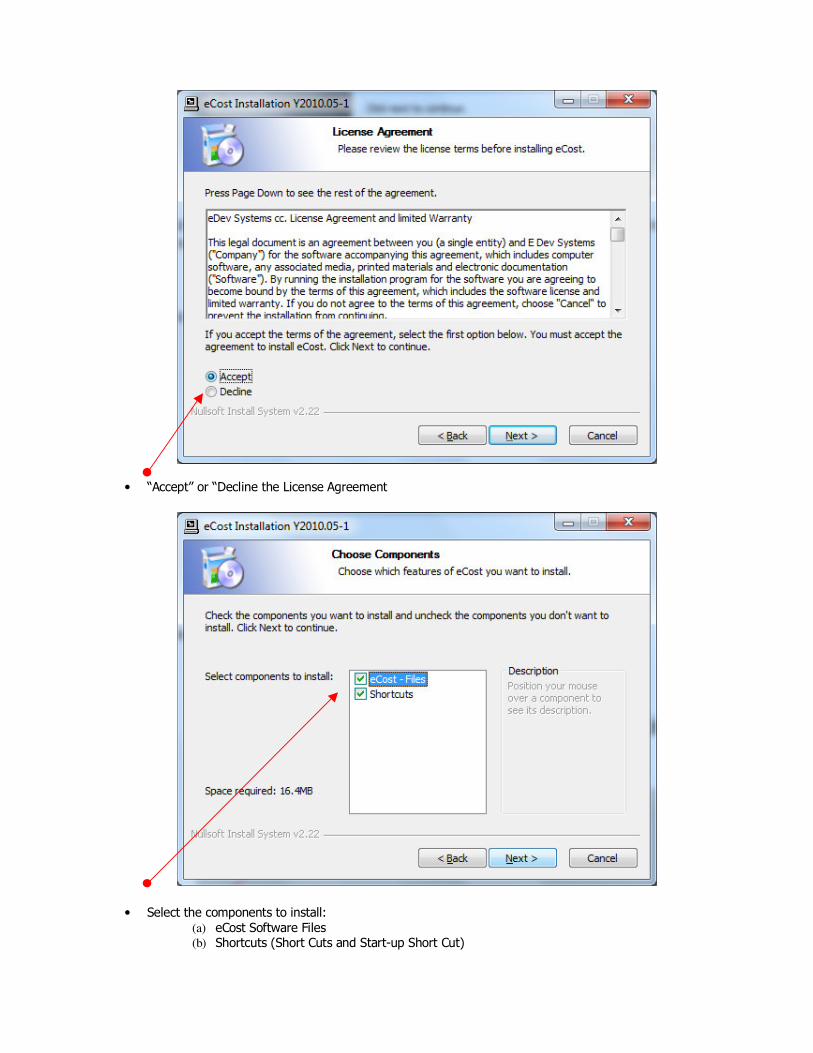
• “Accept” or “Decline the License Agreement
• Select the components to install:
(a) eCost Software Files (b) Shortcuts (Short Cuts and Start-up Short Cut)

• Choose the installation location where eCost must be installed
• Choose Start Menu Folder Description and press Install to begin the installation

• eCost software installation will start and the progress will be shown
• Once the installation has been completed, visit the web for product New, Tips and FAQ’s

STEP 2: SSD 9000 / SSD 9001 / DX10 Driver installation The eCost Telephone Management software is accompanied by two sets of hardware. Depending on the customer’s requirements, either a SSD buffer or D10 dongle is installed.
(a) Smart Storage Device (SSD 9000 | SSD 9001)
The SSD buffer box hardware is installed when large buffered storage is required. The standard SSD9000 or SSD9001 can buffer about 25000 records.
(b) DX10 Dongle The D10 Dongle is installed when the internal onboard buffer (320 Call records) of the SL1000 is
Sufficient. Once the DX10 Dongle has been installed, a direct TCP/IP connection from the eCost software is opened, allowing direct communication with the SL1000 TCP/IP ports.
The driver installation process of the SSD buffers and D10 Dongle are very similar. The only difference is where you collect the driver from. So during the installation process (documented below), it will be highlighted on what
driver you loaded for what hardware.
Driver installation Procedure (1) Insert the hardware (SSD or DX10 Dongle) into an available USB port on the customers PC.
Once you install the hardware, depending on the windows operating systems being used, a installing drive
detection window will appear in the bottom right corner.
Open the device manager from the control panel
You will notice, under “Other Devices”, USB Serial Port. Right click on the ‘USB Serial Port’, select properties.

The “USB port properties window is displayed. Select Driver Tab page
Press the “Update Driver” button
You will be show a “Update Driver Software” window. This window allow you to load the particular driver for the SSD and DX10 Dongles.
Select the “Browse my computer for driver software” button.

At this stage of the driver installation, it is important to select the correct path for the correct equipment being installed.
(a) USB Driver Folder
When installing the USB driver for the SSD9000 or SSD9001 buffer box hardware, you must select the USB
Driver folder
(b) DX10 Dongle Driver Folder When installing the USB driver for the SSD9000 or SSD9001 buffer box hardware, you must select the DX10
Driver folder
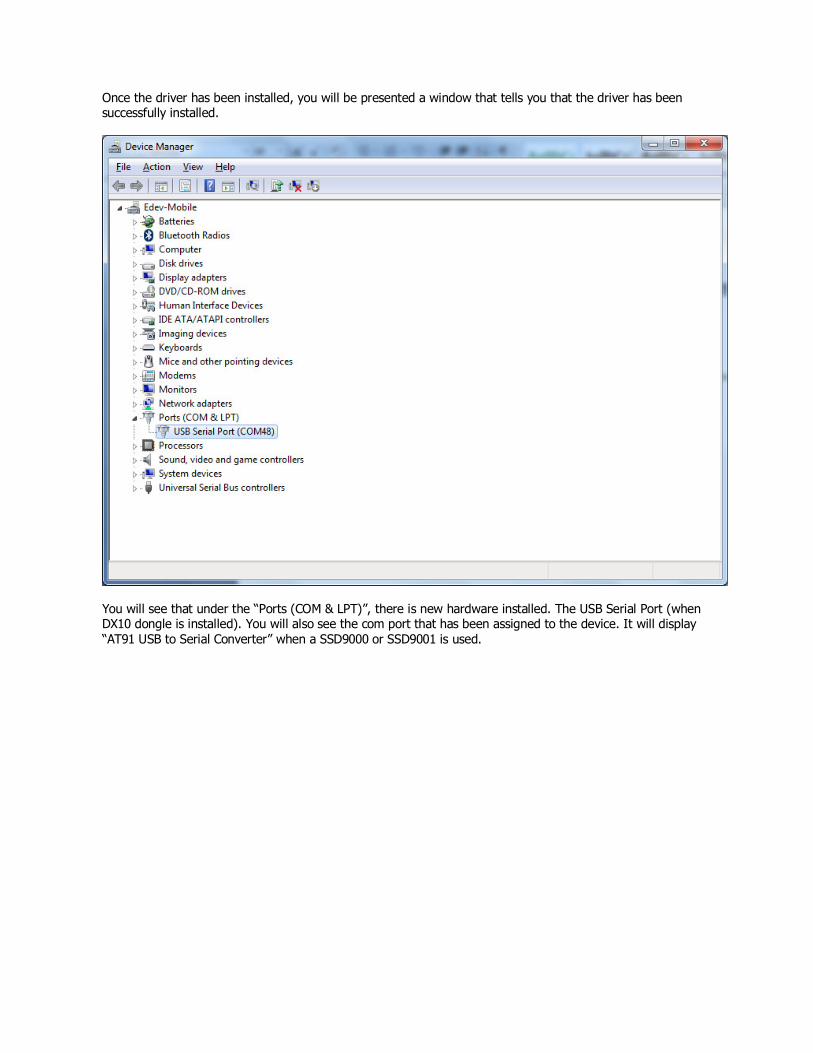
Once the driver has been installed, you will be presented a window that tells you that the driver has been successfully installed.
You will see that under the “Ports (COM & LPT)”, there is new hardware installed. The USB Serial Port (when DX10 dongle is installed). You will also see the com port that has been assigned to the device. It will display
“AT91 USB to Serial Converter” when a SSD9000 or SSD9001 is used.
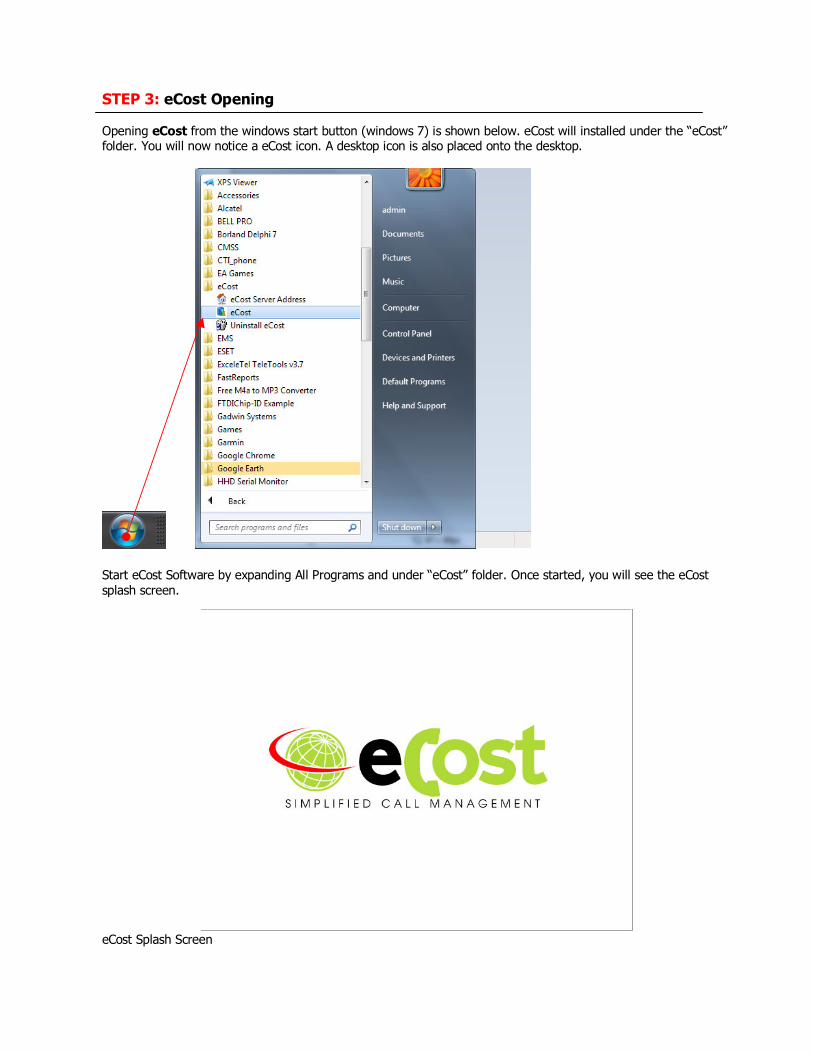
STEP 3: eCost Opening
Opening eCost from the windows start button (windows 7) is shown below. eCost will installed under the “eCost” folder. You will now notice a eCost icon. A desktop icon is also placed onto the desktop.
Start eCost Software by expanding All Programs and under “eCost” folder. Once started, you will see the eCost
splash screen.
eCost Splash Screen

STEP 4: eCost Startup Wizard
The first time, eCost is opened and RUN, you will be presented a Wizard setup screen.
On this screen, you can setup the initial technical settings, (a) Geo-Position -> The Geo-Position is used by the costing engine. It is used as a base start point when
determining call distances. Enter you national dialing code and last 4-digits of the telephone
number.

(b) Tariff Plans -> Tariff plans are used to cost calls from different carriers
(c) Configuration -> The configuration tab page is used to add ranges of numbers i.e. Extensions (d) Pbx-Types -> The Pbx-Types is used when you want to select a Pbx system from the start. It can be configured directly from the setting page.
STEP 5: eCost Hardware configuration for SL1000
This step is where the eCost Telephone Management software is configured to connect to the SL1000 PBX systems.
Once eCost has been opened, enter the Technical password “admin” (default) by selecting the
Navigate to Setting menu. You will see menu items, SSD | PABX | Ethernet | DX10 Dongle
When the DX10 Dongle has been installed correctly you will see the DX10 Dongle button.
(a) SL1000 Setup D10 Dongle
This will explain the steps required when using the DX10 Dongle and direct communication to the SL1000 PABX system.
The only requirements when connected directly is that in order to collect call records from the internal 320 call buffer, the eCost software must be open and running.

Pressing the D10 Dongle button will open a new screen. This screen shown below, is where you configure the IP address information of the SL1000 {Block 10-12-01}. The port is also require {Block 10-20-05}. You need to
enter the values from the SL1000 configuration.
Once you have entered the information, select the “check box” – Communicate and press apply.
If the settings are correct, you will notice on the statusbar that the word “Offline” will change to “online”. When you see “online”, that indicates that the connection to the SL1000 was successful and eCost will accept call records.
eCost has a 5 minute timer that runs when connected to the SL1000 using the DX10 Dongle. If no call records are received in a 5 minute interval, eCost will release the connection to the SL1000. 5 minutes later, eCost will try establish a fresh connection. If however call records are received from the SL1000 whilst “online”, then the 5
minute time is refreshed with every call record received.
This timer was developed to ensure that if the PC Ethernet cable is unplugged from the SL1000 at any time, eCost will recover and collect the call records that are internally buffered.
When in the “online” mode, you will see the raw data in the large white block. This is direct call record SMDR data from the SL1000.

(b) SL1000 Setup when using a SSD 9001
When you have installed a SSD9001 and need to configure the SL1000 IP parameters, you first have to establish communication with the SSD. Select the SSD button from the Settings menu.
The SSD buffer devices communicate over USB. So select the USB tab. eCost will perform a pre-check on the com ports and indicate which com ports are available. If you remove the
SSD from the USB port and the insert the SSD back into the USB port, then open the SSD screen as shown above, you will notice the “SSD DEVICE USB” . This the exact USB port that was assigned to the SSD device under windows.
Selecting the port, the wording will change to “connected” and you will see {S}----- in the white block. You will see the {S}---- every 6-8 seconds being added to the bottom of the white block. This indicates that connection to the SSD is active and live.
You now need to configure the SL1000 IP setting and program them into the SSD buffer device. This will then
allow the SSD to communicate with the SL1000 and store the records.

Select the “Ethernet” button from the settings menu
You will notice that there are parameters programmed into the SSD as a default.
Enter the SL1000 IP address {Block 10-12-01} Enter the SL1000 Port number {Block 10-20-05}
NB: The SSD buffer must be within the same IP range as the SL1000 Once the SL1000 IP configuration information has been entered into the above screen, then select the “Apply” button. You will hear the SSD beep with every correct entry that is saved from the eCost software.
Static or DHCP IP addresses
Active or Passive connection to SL1000
When connected to a SL1000 – “ACTIVE = CLIENT” MUST be selected

STEP 6: eCost Filter Setup
The next set is to configure the eCost to read and process the RAW call record data sent from the SL1000.
Select from the Settings Menu -> Filter 1
You can read the raw data and set the filter setting manually or you can select from a list provided from previous connections.
Select Load Filter to load a pre-set configuration. NB: You must verify that the loaded filter is working and is correct by reading the settings manually. Verify all loaded filters.
If the filters are correct and you have verified the filter mechanisms, with every call received, you will now see the call record on the download screen.
You now need to configure customer information i.e Extension, Trunk lines, Department info etc.
Latest Software:
WWW.EDEVSYSTEMS.COM/PRODUCT_UPDATES/ECOST/ECOST_SETUP.EXE
END…..