Creating a Digipack
32
Today in class we got our first taste of designing digipacks…
-
Upload
a2set52013 -
Category
Design
-
view
293 -
download
0
Transcript of Creating a Digipack

Today in class we got our first taste of designing digipacks…

But

But With a twist…

The teachers supplied us with low quality images and two hours

The teachers supplied us with low quality images and two hours


Sad face for low-res

The image I chose was this one

The image I chose was this one

The image I chose was this one

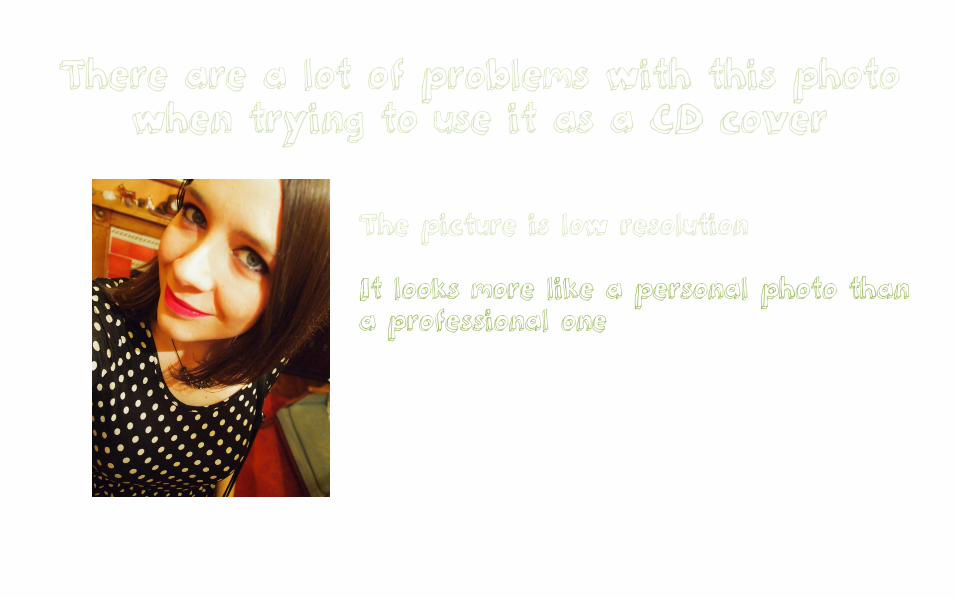
There are a lot of problems with this photo when trying to use it as a CD cover

There are a lot of problems with this photo when trying to use it as a CD cover
The picture is low resolution
There are a lot of problems with this photo when trying to use it as a CD cover
The picture is low resolution It looks more like a personal photo than a professional one

There are a lot of problems with this photo when trying to use it as a CD cover
The picture is low resolution It looks more like a personal photo than a professional one It is taken at an unflattering angle

There are a lot of problems with this photo when trying to use it as a CD cover
The picture is low resolution It looks more like a personal photo than a professional one It is taken at an unflattering angle The background is unprofessional

I looked at these errors and tried to fix them in Photoshop to make it
more believable as a CD

I changed the image to black and white to give it a more serious tone

I also added a name for the make believe artist and a title for the album – I also added in a spine

I created a track list for the album based on the tone I felt would be appropriate for the image

I added fake copyright info to the outside cover for ‘legal purposes’

I added some logos and a barcode onto the CD to give it realistic qualities

I also created the inside of the digipack by: Adding the track list with track times, adding production information, adding contact information adding design info and finally creating the look of the CD

I also created the inside of the digipack by: Adding the track list with track times, adding production information, adding contact information adding design info and finally creating the look of the CD

I also created the inside of the digipack by: Adding the track list with track times, adding production information, adding contact information adding design info and finally creating the look of the CD

I also created the inside of the digipack by: Adding the track list with track times, adding production information, adding contact information adding design info and finally creating the look of the CD

I also created the inside of the digipack by: Adding the track list with track times, adding production information, adding contact information adding design info and finally creating the look of the CD

AND SO HERE IS MY FINAL DESIGN!


I am proud of what I created out of what was given to me
and I feel it was good practice for the final digipack I will
create for ROMY

I am proud of what I created out of what was given to me
and I feel it was good practice for the final digipack I will
create for ROMY