Ronald M. Cerniglia Director Office of Retail Market Development
Upload
stephany-wellsCategory
view
215download
1
An Introduction to Web-Supplemented Blackboard Sites
Connie Cerniglia
X 2259
Spring 2003

• Click on the Distance Learning link on the right side of the GTCC Homepage –
• www.gtcc.edu

• You are now at the Distance Learning Homepage.
• Click on the GTCConline logo.• You can get to the login
directly by typing www.gtcconline.gtcc.cc.nc.us in your browser.
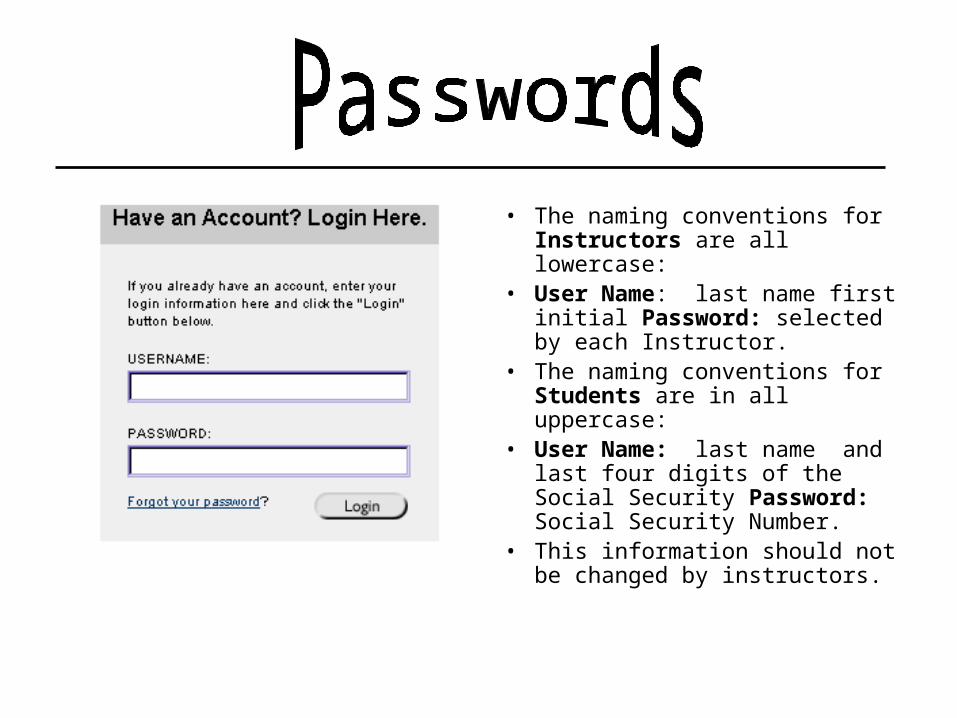
• The naming conventions for Instructors are all lowercase:
• User Name: last name first initial Password: selected by each Instructor.
• The naming conventions for Students are in all uppercase:
• User Name: last name and last four digits of the Social Security Password: Social Security Number.
• This information should not be changed by instructors.

• After you login, the next screen you come to is the “My Institution” screen.
• This screen lists your courses along with other external information.
• Click on the name of the course you would like to begin developing.

• Syllabus• Announcements• Faculty Contact
Information• Handouts• Web Assignments
• Practice Quizzes• Tests• Gradebook• Discussion Board
Questions• Virtual Office Hours
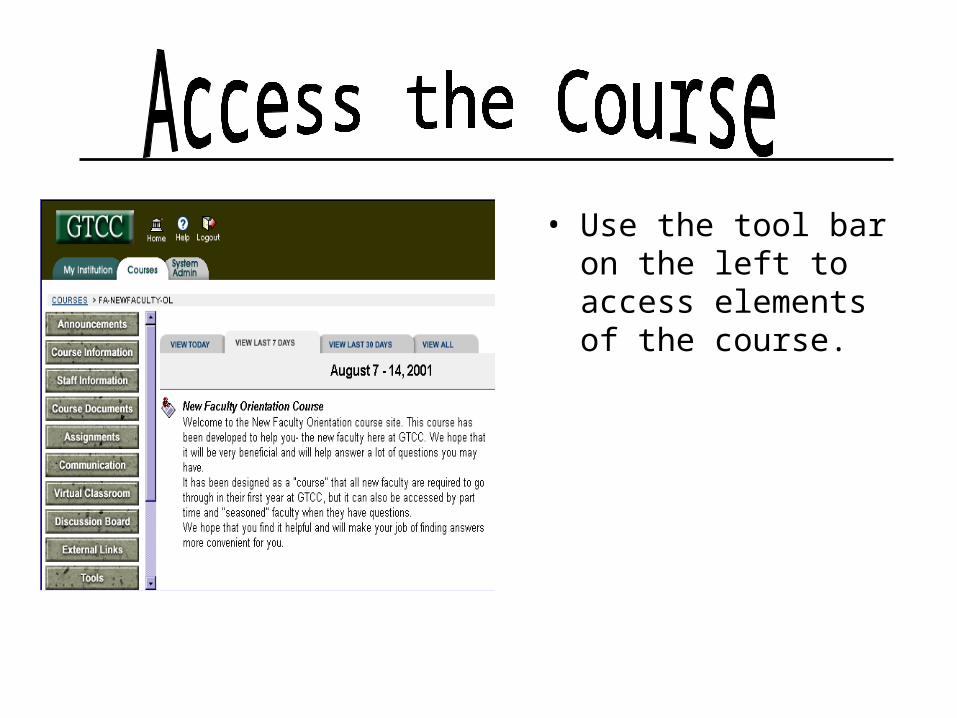
• Use the tool bar on the left to access elements of the course.

• Announcements will show on the main screen.
• You can set your default to see all announcements or only the most recent ones.
• You will learn more about announcements in another class.
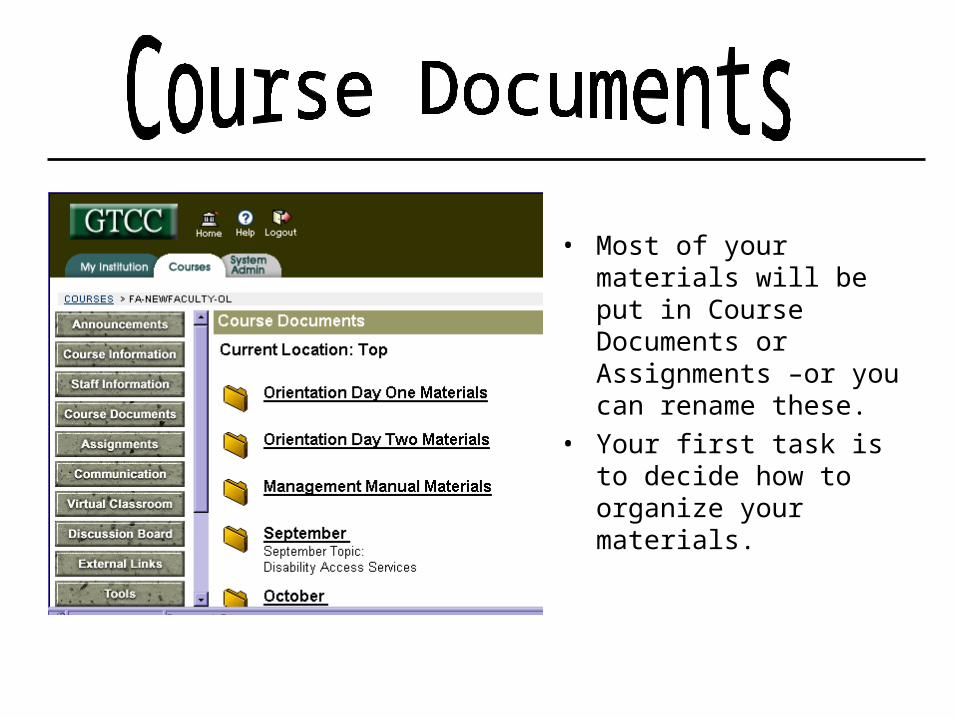
• Most of your materials will be put in Course Documents or Assignments –or you can rename these.
• Your first task is to decide how to organize your materials.
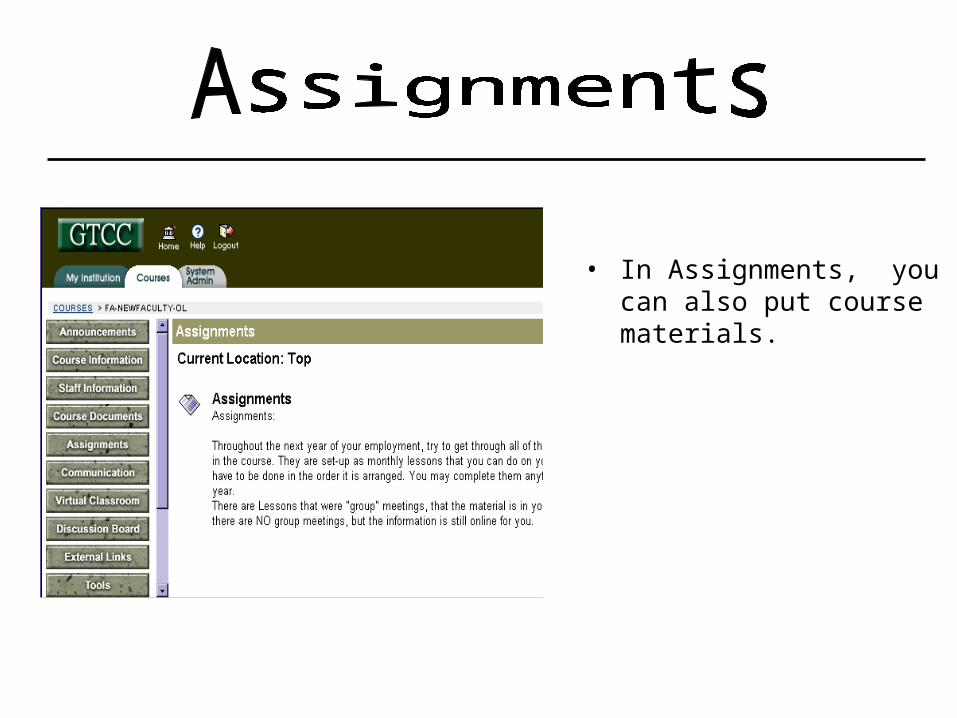
• In Assignments, you can also put course materials.
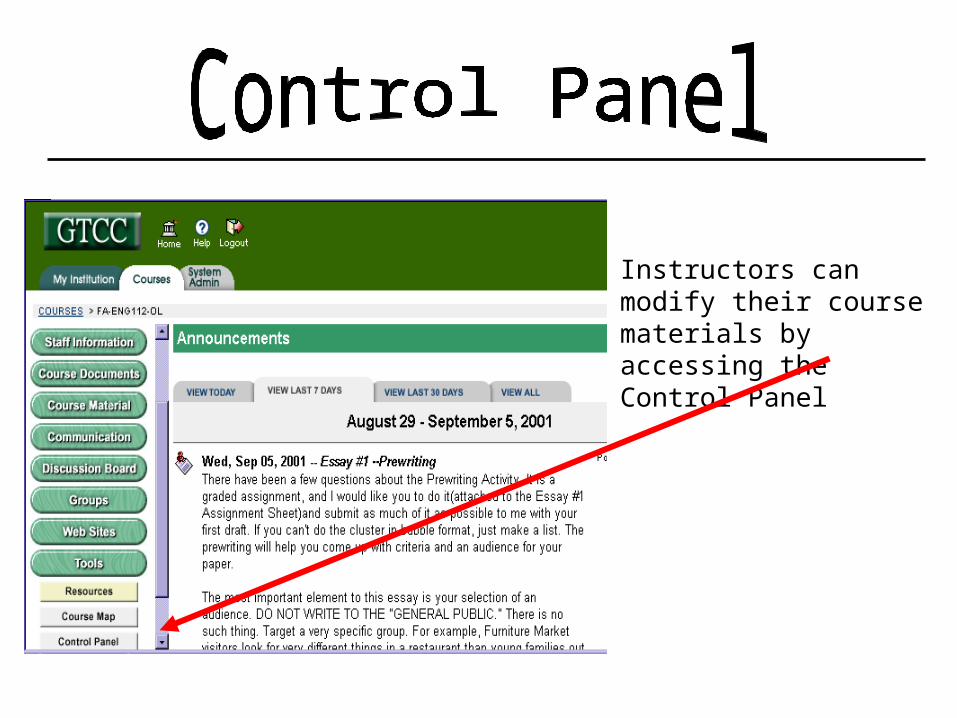
• Instructors can modify their course materials by accessing the Control Panel

• All changes to the content areas are made through the Control Panel.
• You also can make quizzes, access the grade book, or send email to students.

• You can personalize your “buttons” and colors in the Control Panel—Course Settings and Course Images.
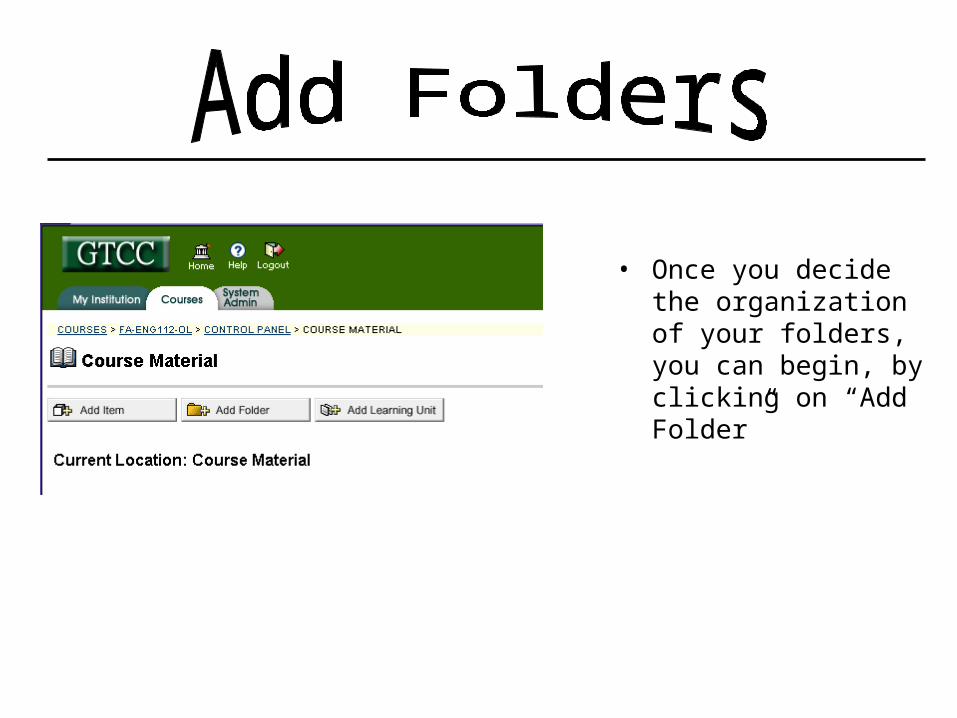
• Once you decide the organization of your folders, you can begin, by clicking on “Add Folder”

• Most of the time, you only need to enter the title for the folder.
• However, you can add some descriptive information, perhaps restating your primary objective.
(e.g. “In this unit, you will learn the three most important elements of good writing.”)

• To add a sub folder, click on the name of the folder.
• Modifying a folder, only allows you to change the name of the folder. It doesn’t let you add sub folders.

• Try to keep your folders parallel and easy to navigate.
• Once at your lowest level, you are ready to add the actual course materials.
• You can choose Add Item.

• The easiest way to add documents is to cut and paste into the text box.

• Adding a little HTML can increase readability.
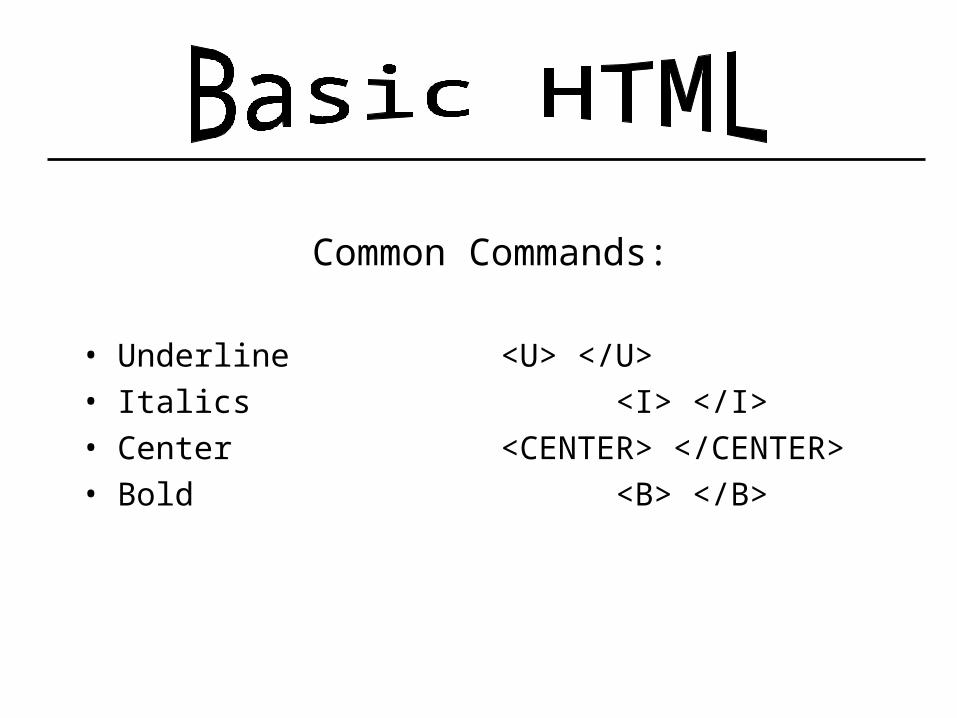
Common Commands:
• Underline <U> </U> • Italics <I> </I> • Center <CENTER> </CENTER>• Bold <B> </B>

More Advanced Commands:
• To create a hyperlink: <A HREF=”http://www.blackboard.com”>BlackBoard
Site</A>
• Font Size <FONT size=number> </font> (Use 1-7; 3 =12 pt)
• Font Color <FONT color="red"> </font>

• You can also attach a document.

• Start out by adding a forum to the Discussion Board.

– When first setting up the grade book, choose Spreadsheet View.

• Add Item will allow you to list an assignment.
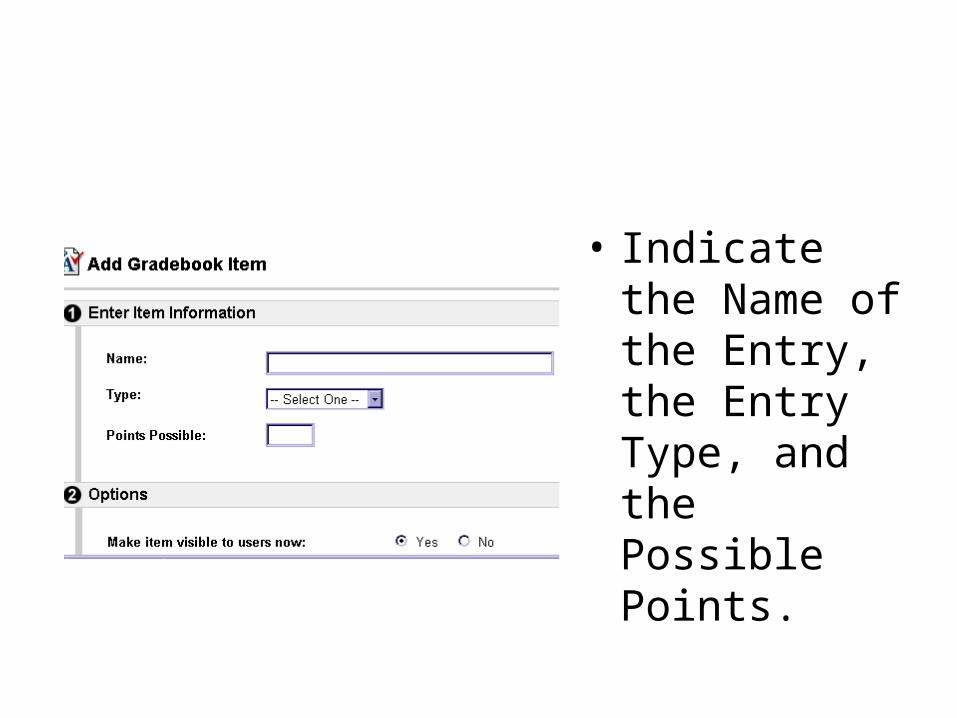
• Indicate the Name of the Entry, the Entry Type, and the Possible Points.

• After creating the assignment in the Spreadsheet, you can enter grades either by Item.
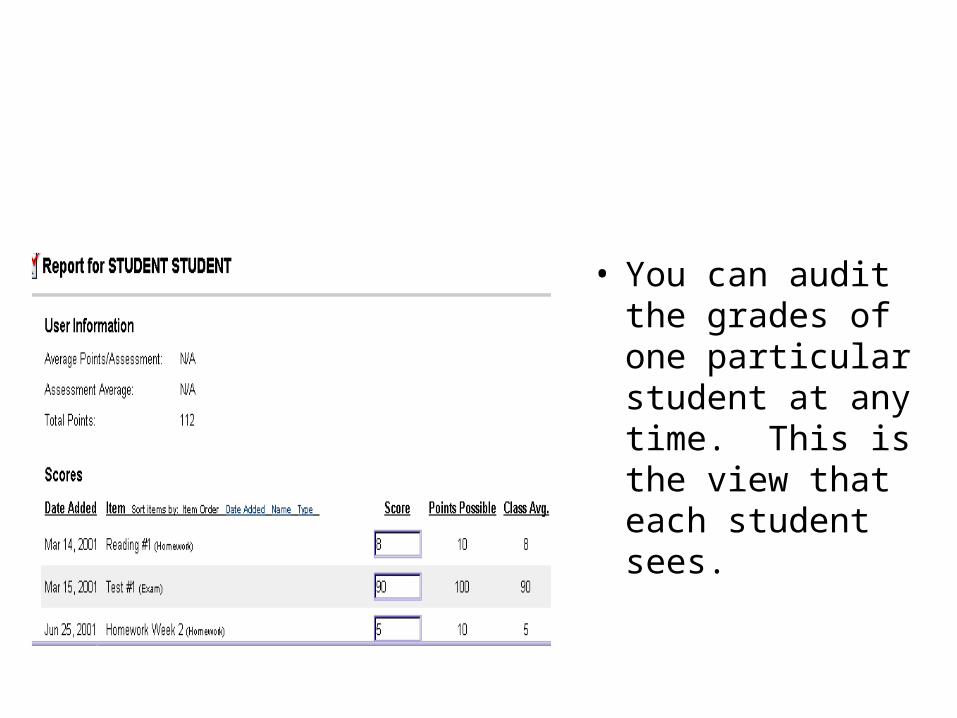
• You can audit the grades of one particular student at any time. This is the view that each student sees.

• The Export Gradebook automatically turns the gradebook into an Excel file. Export frequently to keep a backup copies of grades.

• Start Slowly
• Ask for Help
• Attend Training Classes
• Add a Little More Each Semester