


Languages
Pages
Legal

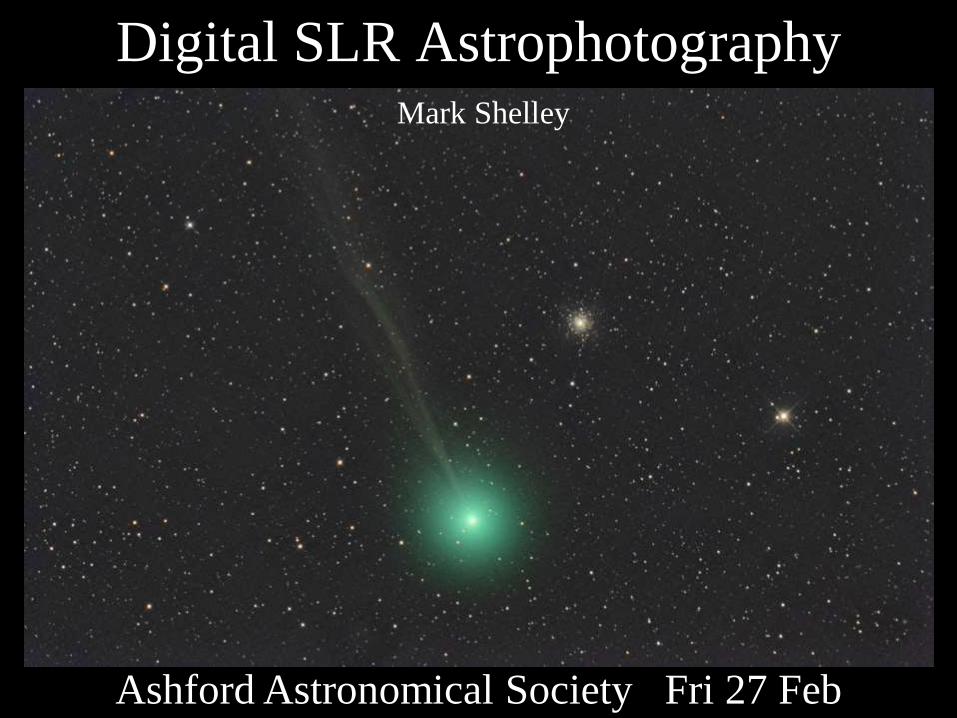
Digital SLR Astrophotography
Ashford Astronomical Society Fri 27 Feb
Mark Shelley
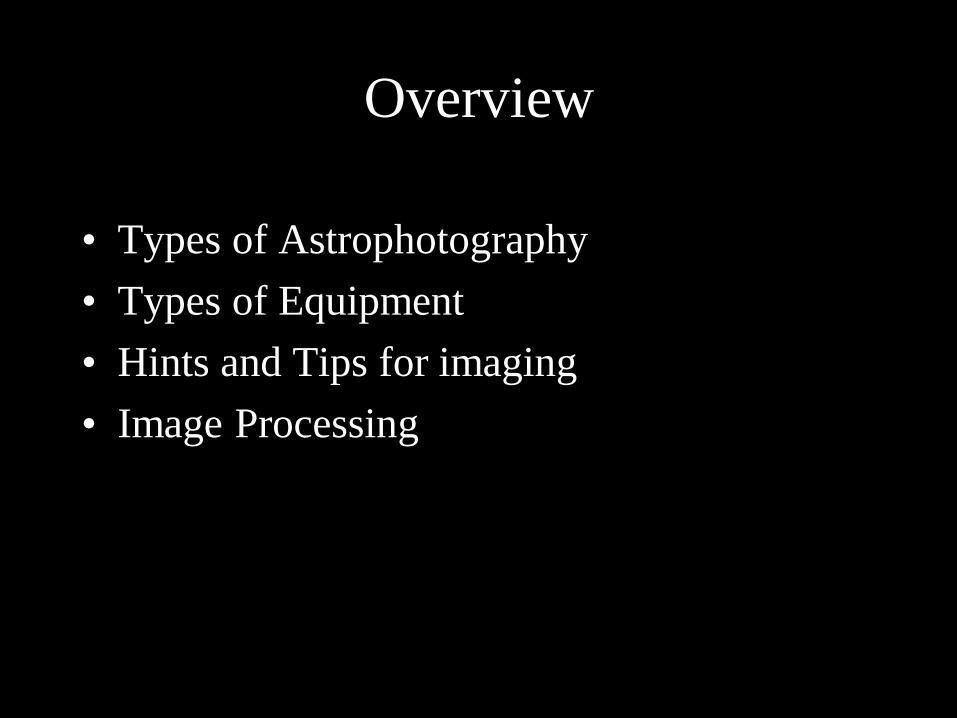
Overview
• Types of Astrophotography
• Types of Equipment
• Hints and Tips for imaging
• Image Processing
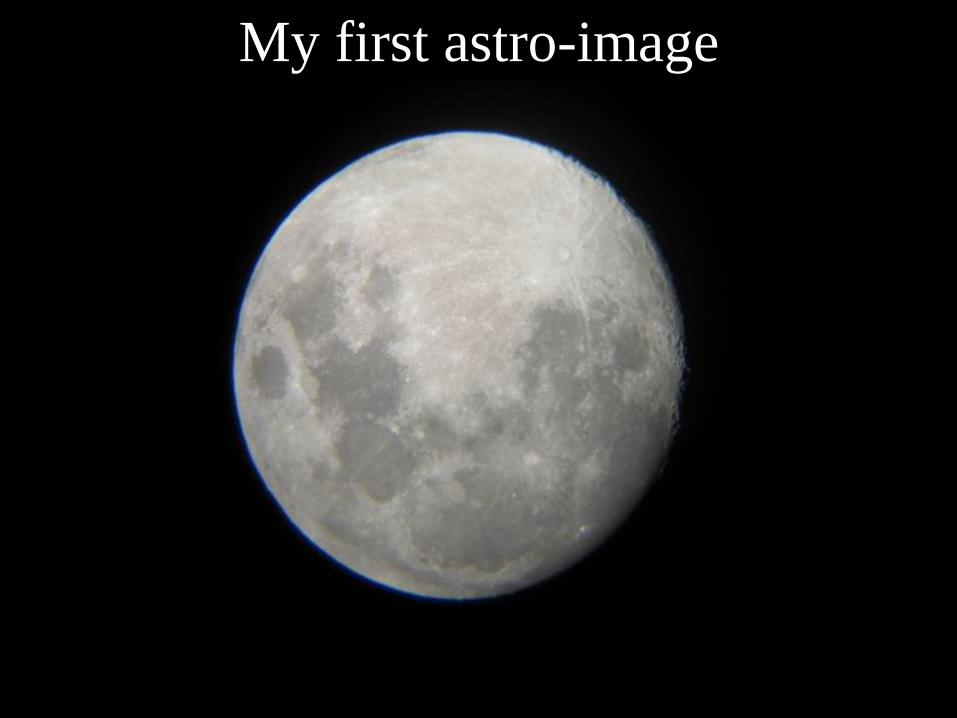
My first astro-image
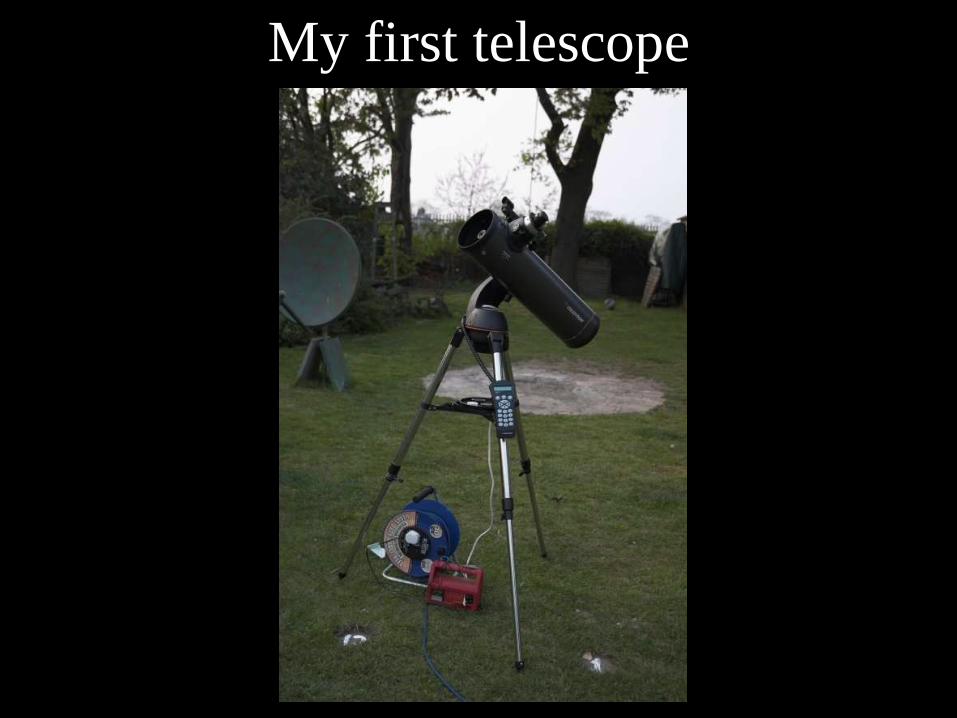
My first telescope
Types of Astrophotography
• Telescope not always required!
• Through the telescope eyepiece
• Camera with lens on tripod
• Camera with lens on motorised mount
• Camera attached to Telescope
• “Webcam” imaging (planetary imager)
• Guided imaging on motorised mount
Through the telescope eyepiece
• Mobile phone or compact camera
• Hand held or attached with bracket
– Eyepiece brackets can easily be bought
• Technique:
– Switch off flash!
– Carefully line up lens with eyepiece
– Adjust exposure if necessary (prevent overexposure)
– Remote control prevents shake
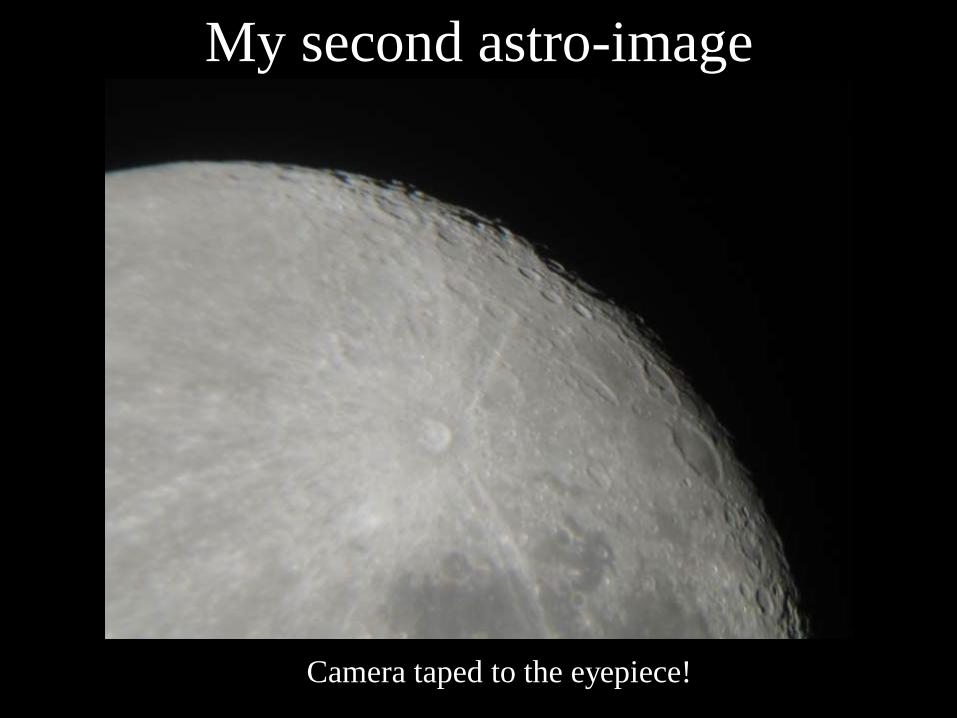
My second astro-image
Camera taped to the eyepiece!
On a Tripod
• Mobile phone, compact camera, DSLR
• No laptop required
• Intervalometer for multiple exposures
• Technique: – Switch off flash!
– Carefully focus
– Adjust exposure if necessary (prevent overexposure)
– Remote control prevents shake (pressing button)
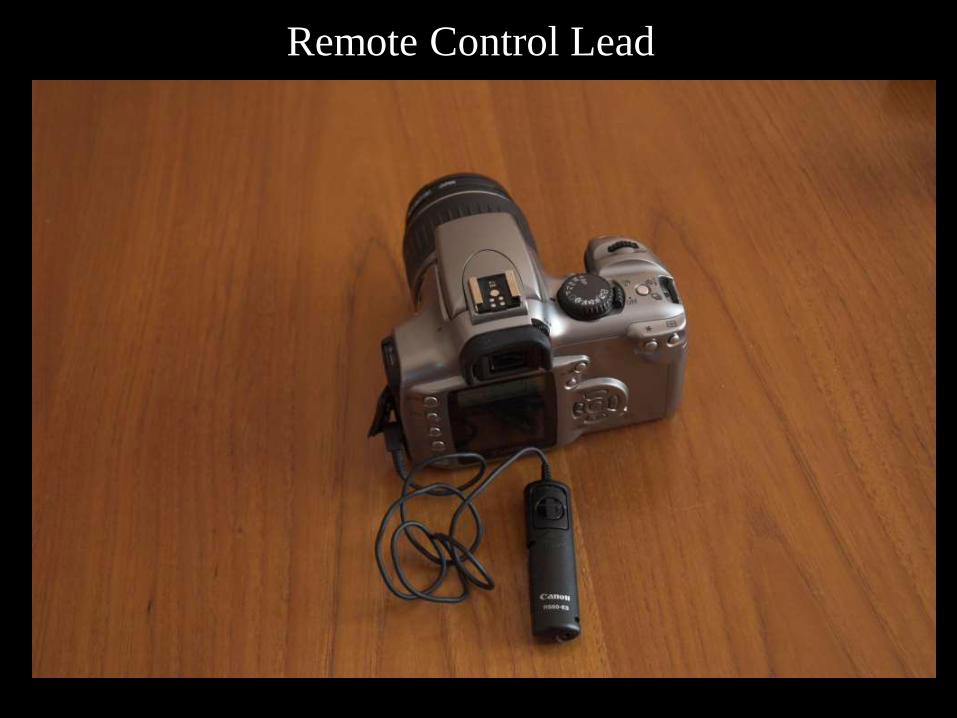
Remote Control Lead
Lens & Tripod Imaging
• No telescope required – use standard lens
• Short exposures prevent star trailing
• Multiple images can be stacked
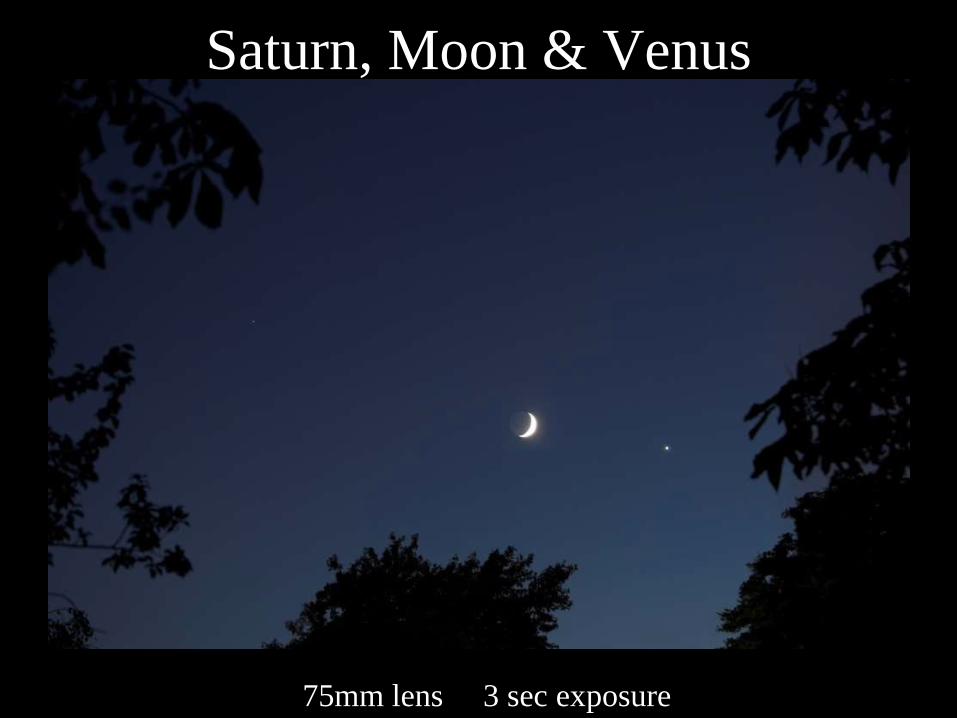
Saturn, Moon & Venus
75mm lens 3 sec exposure
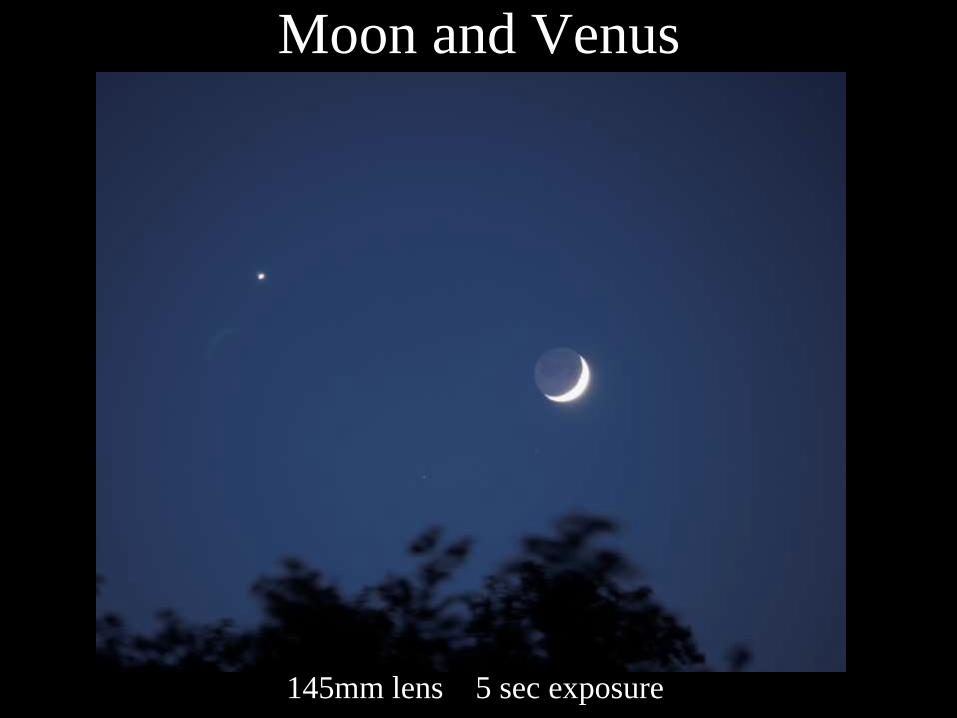
Moon and Venus
145mm lens 5 sec exposure
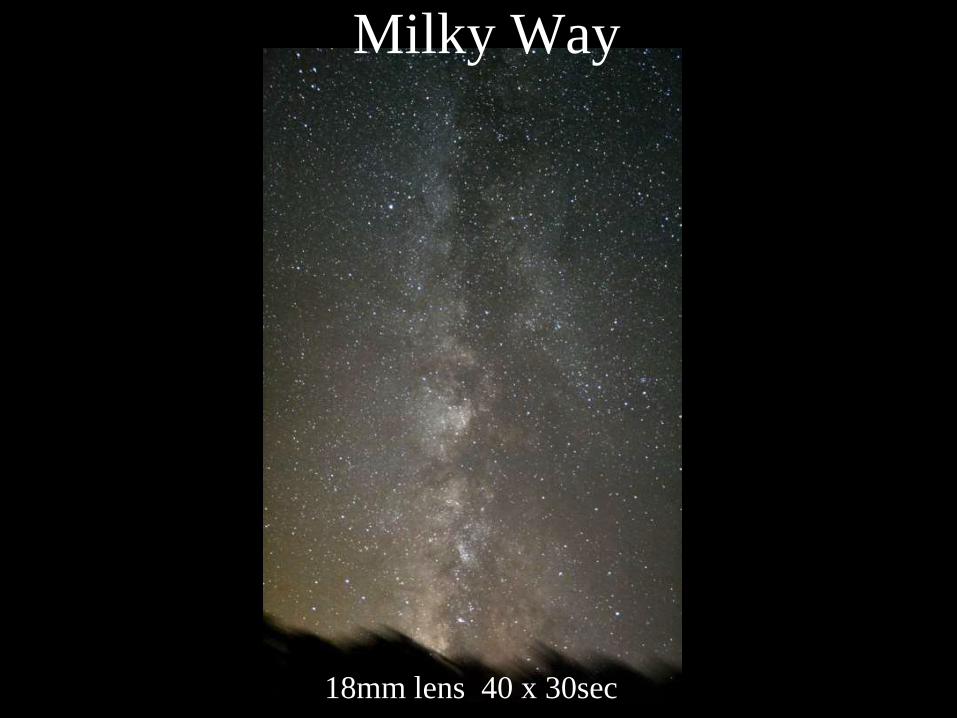
Milky Way
18mm lens 40 x 30sec
Problems and Solutions
Problem 1: Focusing
• Difficult to focus in darkness!
• For bright objects use autofocus
– Liveview can also work
• Otherwise use manual focus
– Make a series of test shots
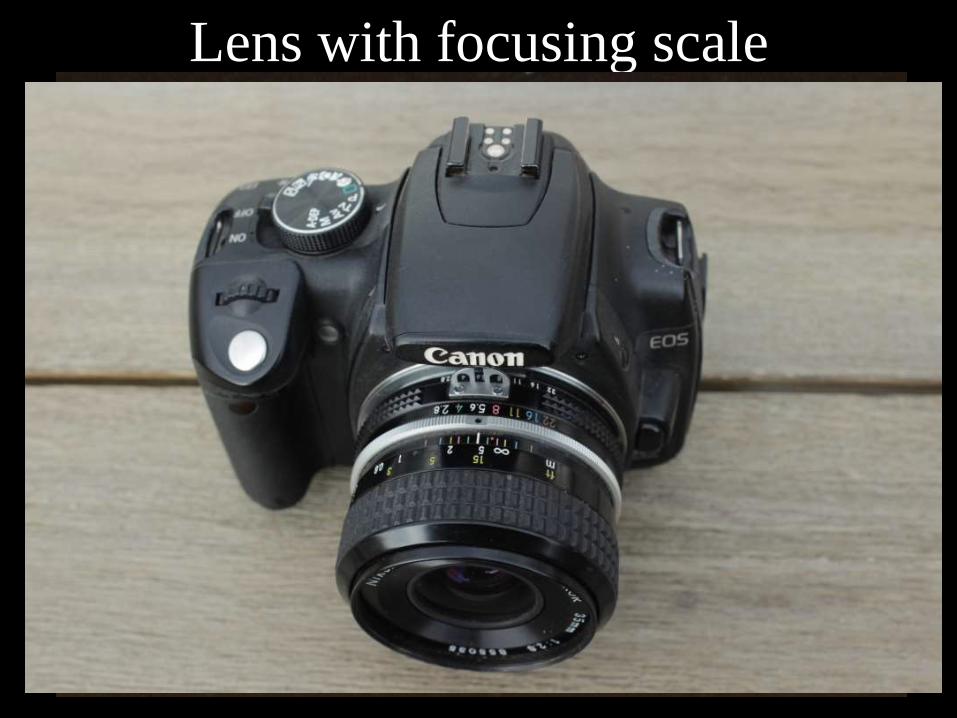
Lens with focusing scale
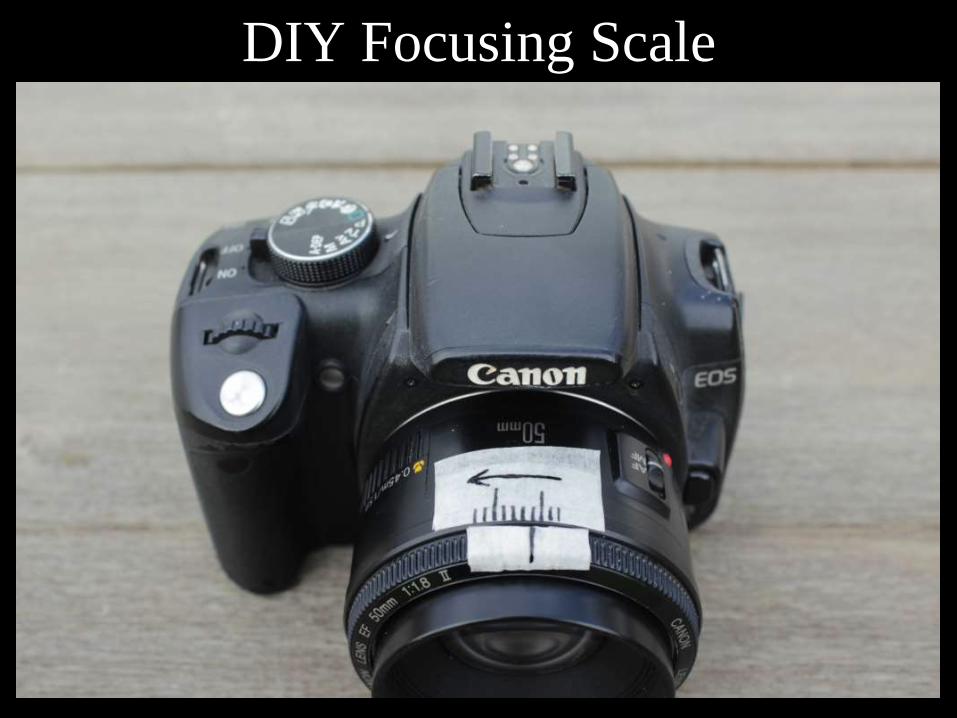
DIY Focusing Scale
Problem 2: Lens Aberrations
• Stars in image centre may look fine
• Stars nearer the corners may be “squiffy”
• Depends on lens quality
• Experiment with different focal ratios
– F/2 is fast • lens wide open
• squiffy stars in corners
– F/8 is slow • lens stopped down
• stars less squiffy
• Focal ratio is set in camera or manually set on lens
• Look at centre and corner when focusing
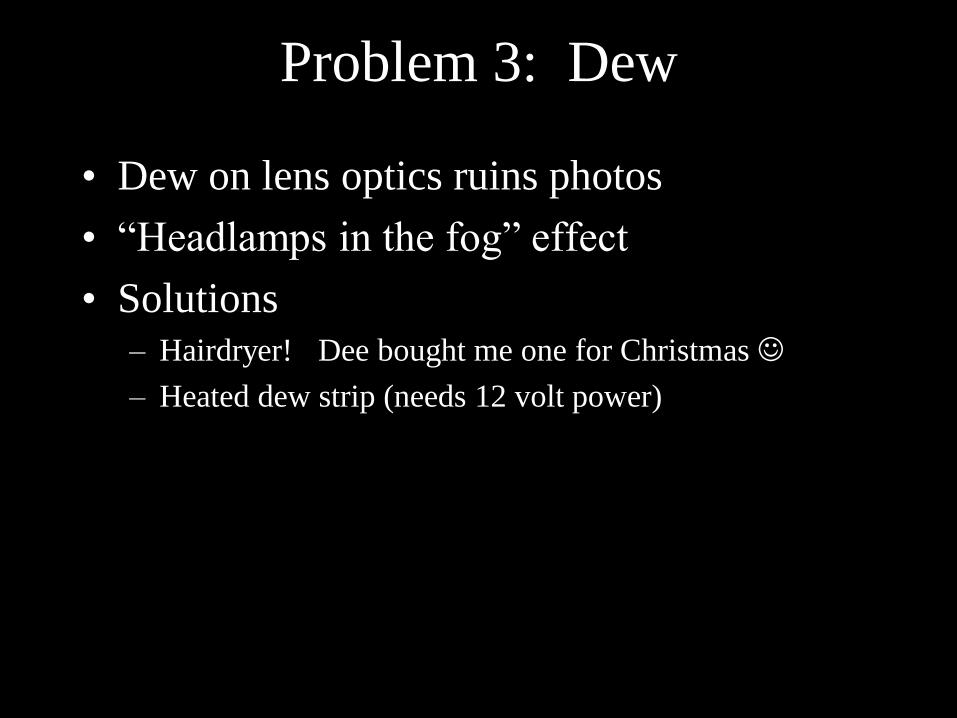
Problem 3: Dew
• Dew on lens optics ruins photos
• “Headlamps in the fog” effect
• Solutions
– Hairdryer! Dee bought me one for Christmas
– Heated dew strip (needs 12 volt power)
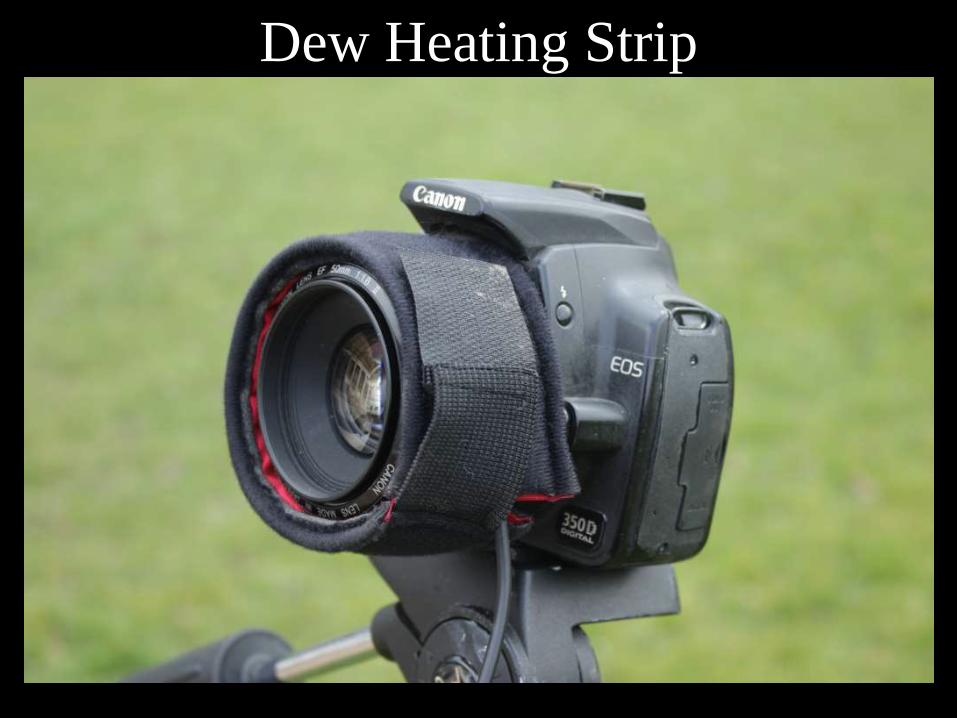
Dew Heating Strip
Problem 4: Star Trails
• Longer exposures = longer star trails
• Keep exposures short
• Later we’ll look at motorised mounts
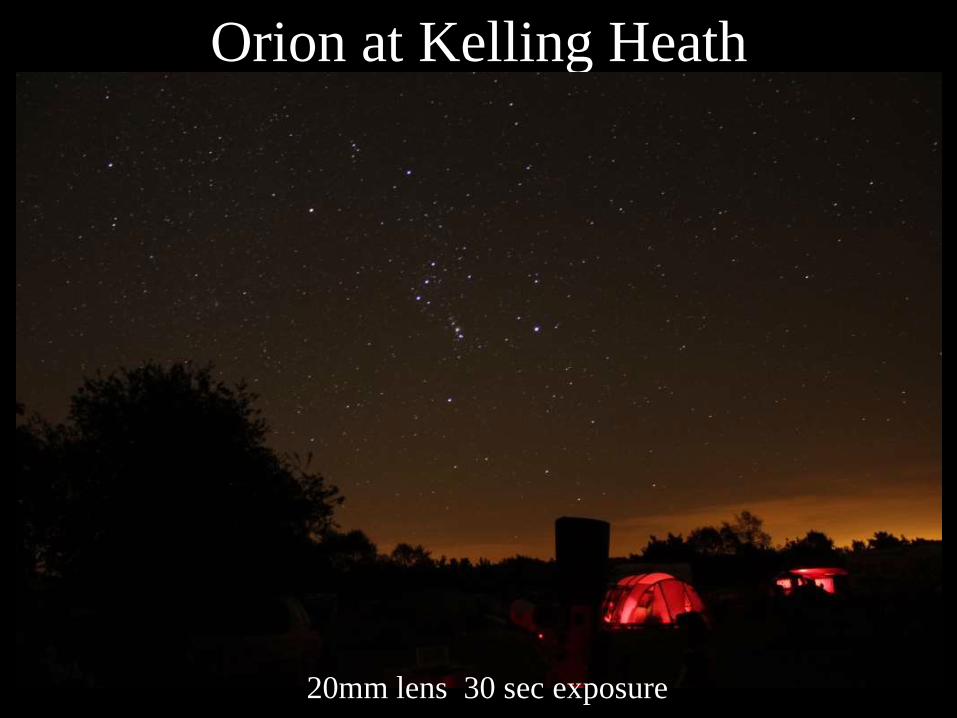
Orion at Kelling Heath
20mm lens 30 sec exposure
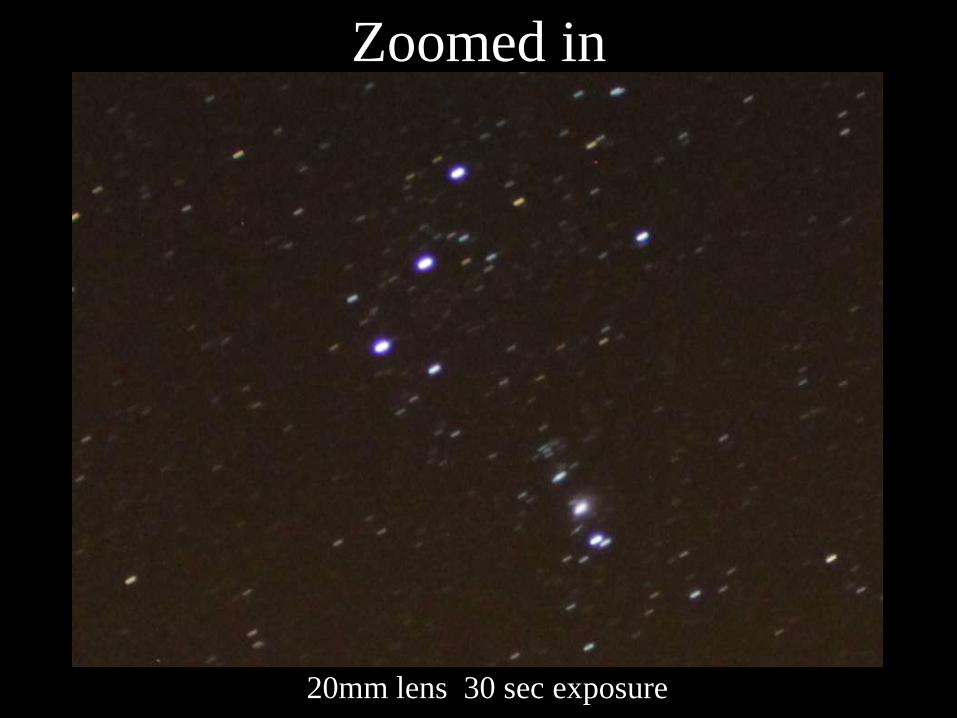
Zoomed in
20mm lens 30 sec exposure
Rule of 600
• “Rule of 600” is often quoted for a DSLR
• Multiply:
– Focal length in mm
– Exposure in seconds
• Keep this less than 600
• Other cameras would have similar rule
• I prefer Rule of 300 !!
Summary of Problems
• Focusing
– Manual with test images
• Lens Aberrations
– Experiment with focal ratio
• Dew
– Dew heating strip
• Star Trailing
– Rule of 300/600
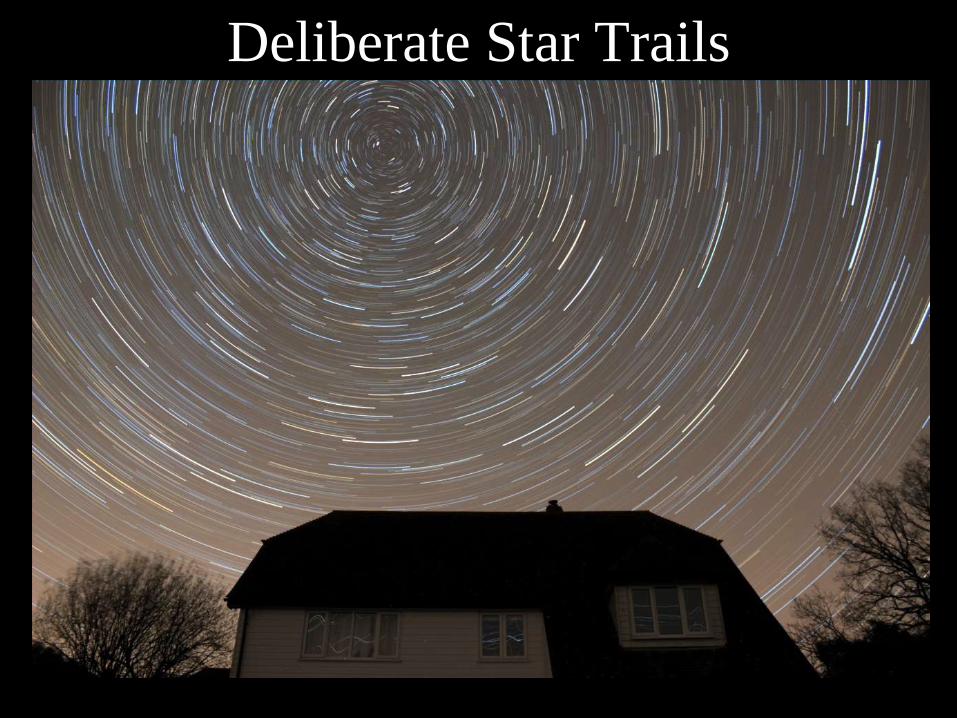
Deliberate Star Trails
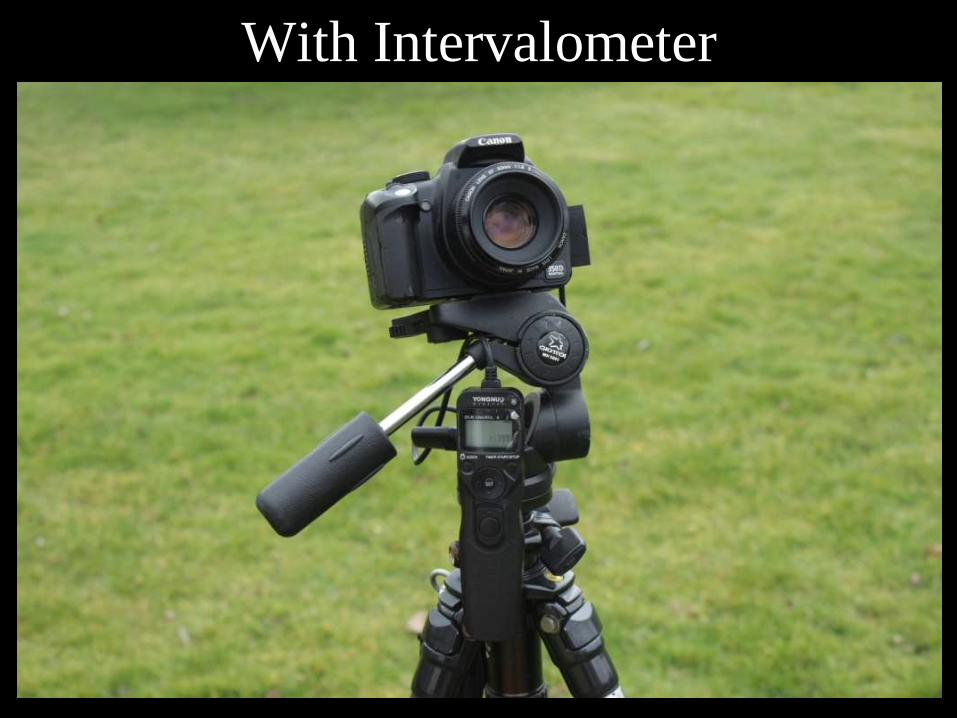
With Intervalometer
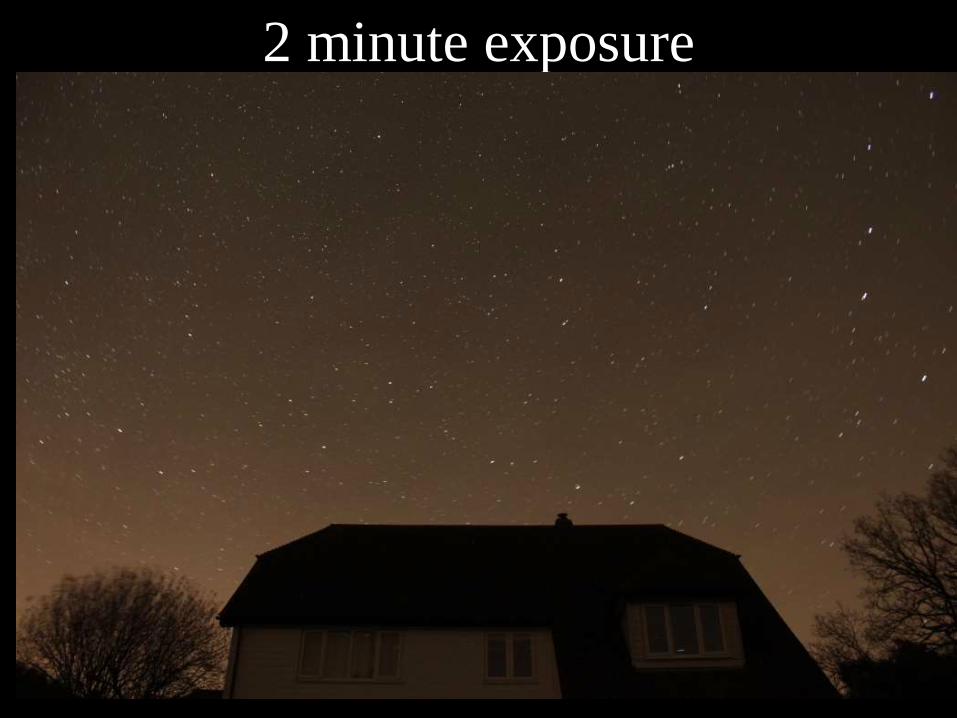
2 minute exposure
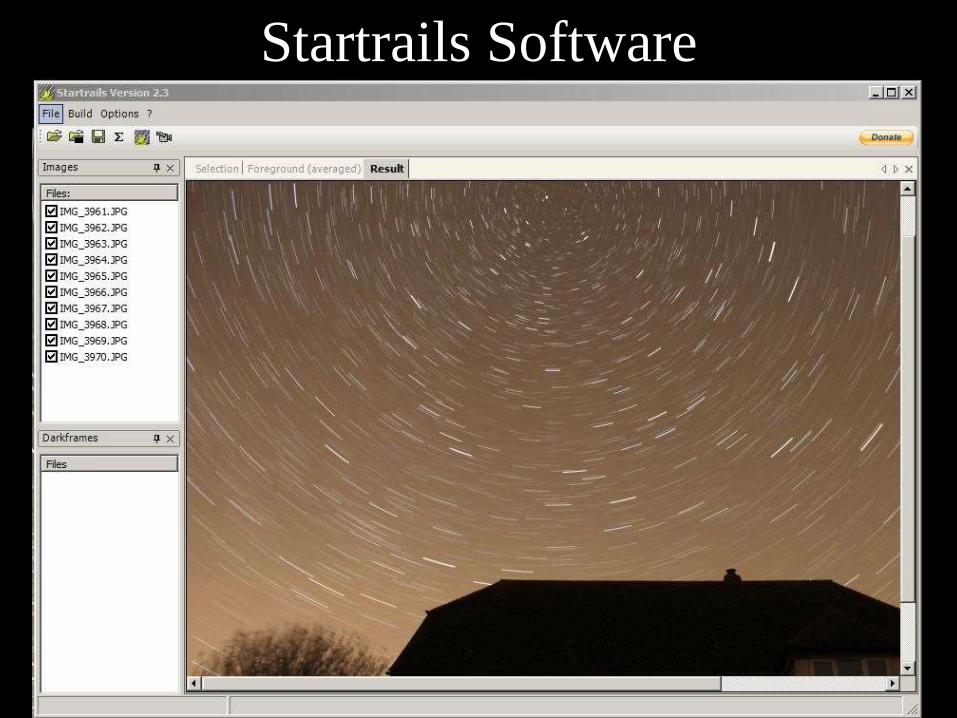
Startrails Software
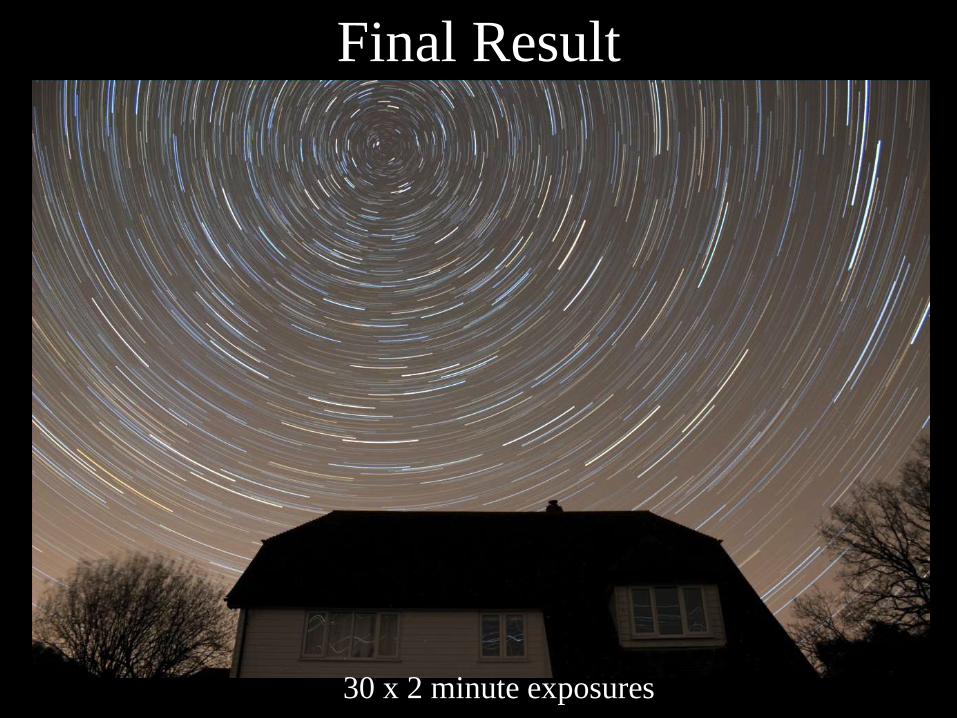
Final Result
30 x 2 minute exposures
Star Movement
• Stars rotate around the North Celestial Pole
• Pole star is near the NCP
• Rotation is 15deg/hour (approx)
– 360 degrees (approx!) in 24 hours
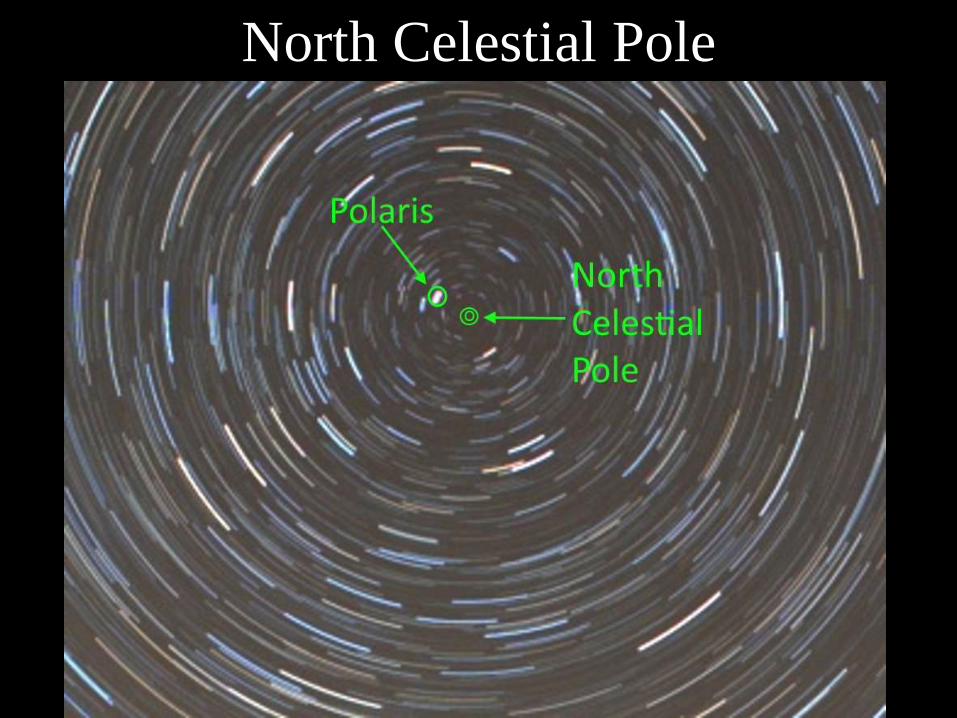
North Celestial Pole
Motorised Mount
• Camera attached to motor driven axis
• Axis points towards the NCP
• Axis rotates at 15deg/hour
– 360 degrees (approx!) in 24 hours
Motorised Mount?
• If you already have a motorised telescope …
… one solution is piggybacking
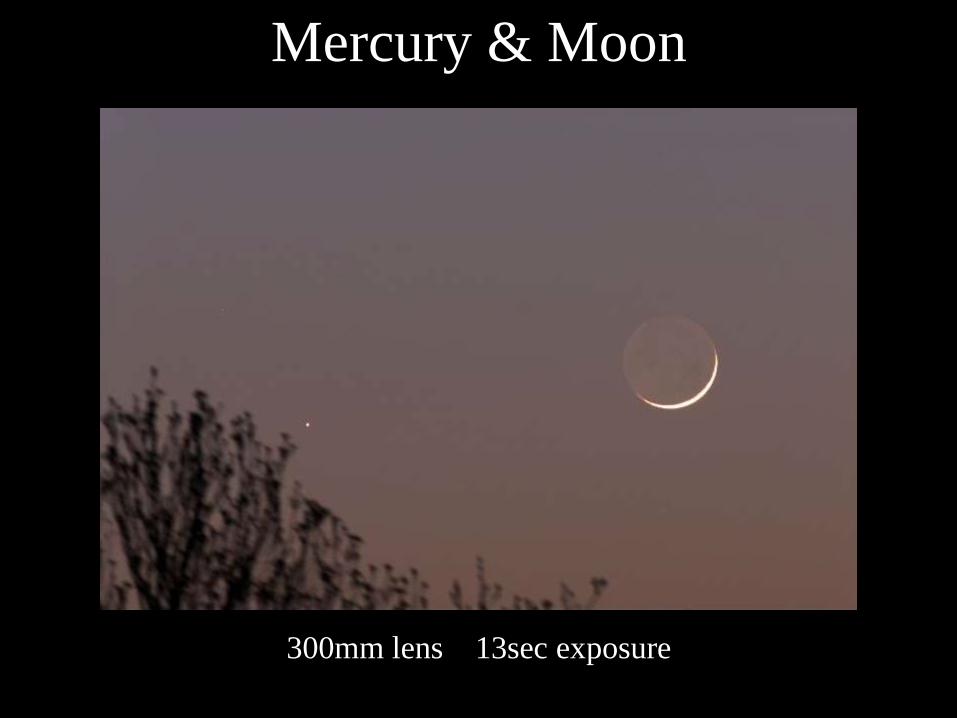
Mercury & Moon
300mm lens 13sec exposure
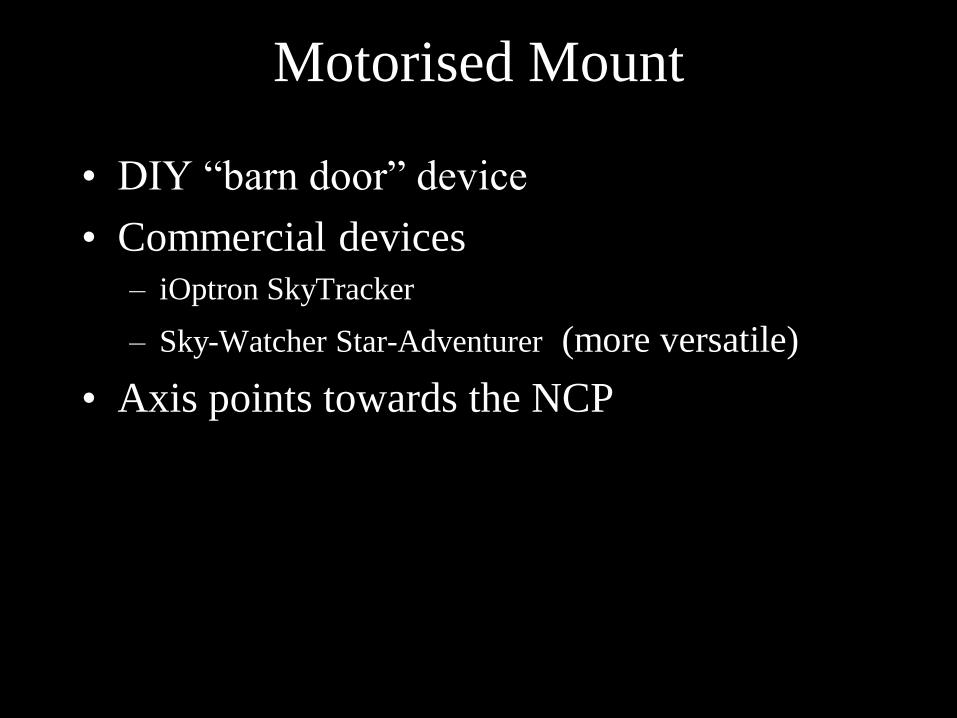
Motorised Mount
• DIY “barn door” device
• Commercial devices
– iOptron SkyTracker
– Sky-Watcher Star-Adventurer (more versatile)
• Axis points towards the NCP
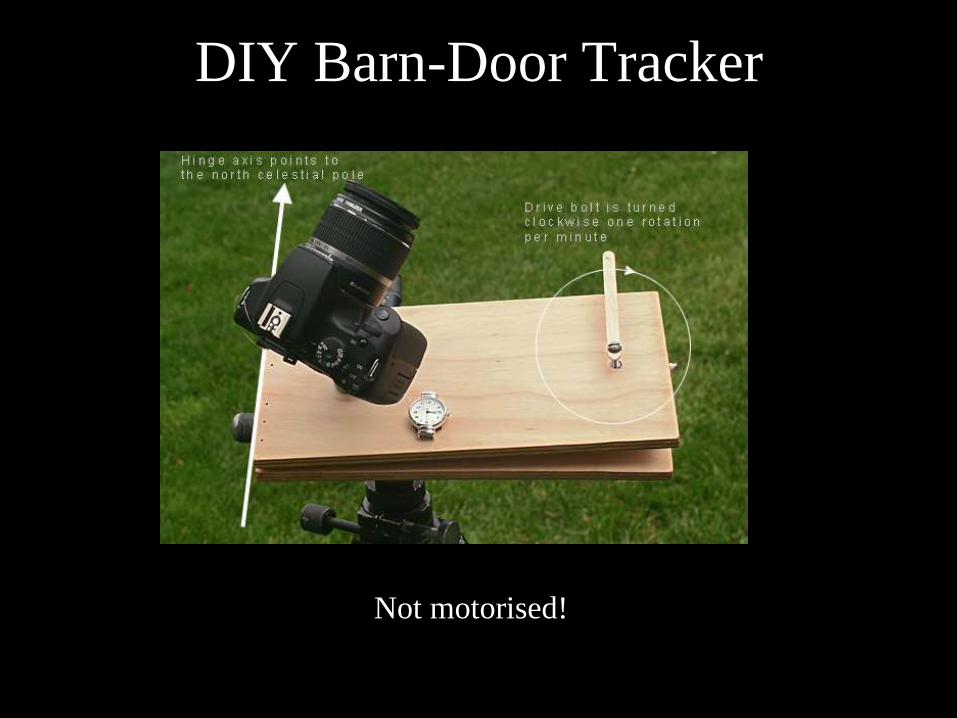
DIY Barn-Door Tracker
Not motorised!
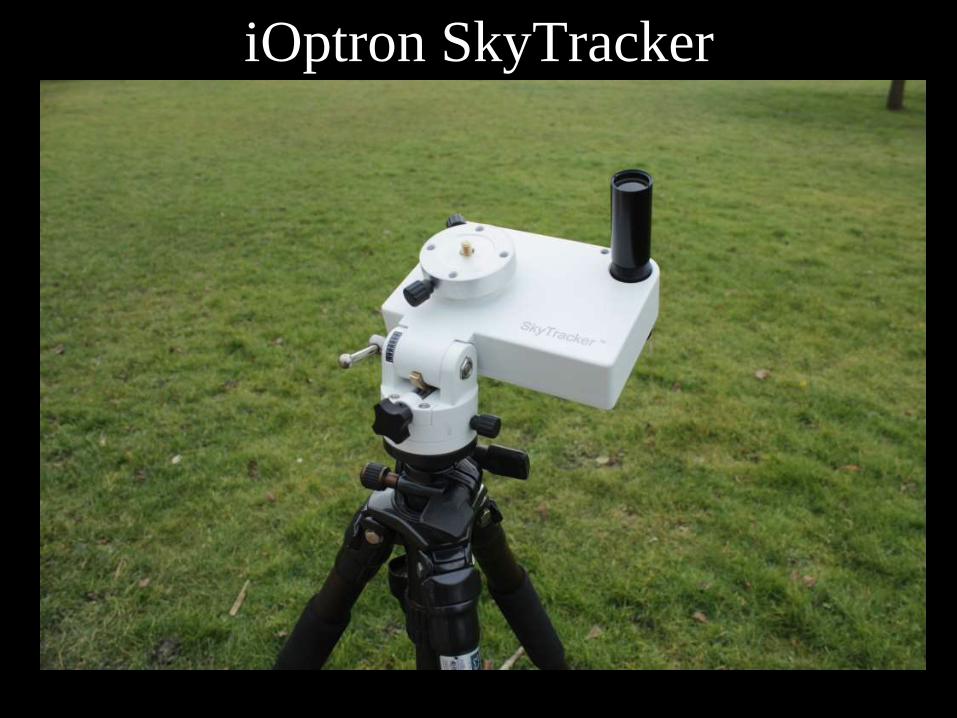
iOptron SkyTracker
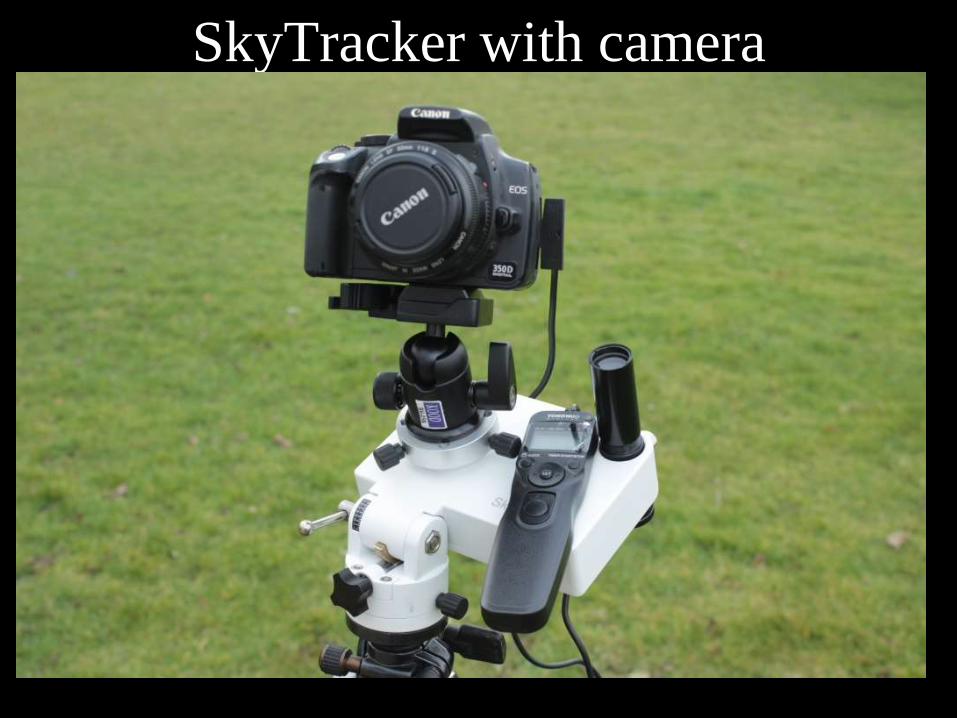
SkyTracker with camera
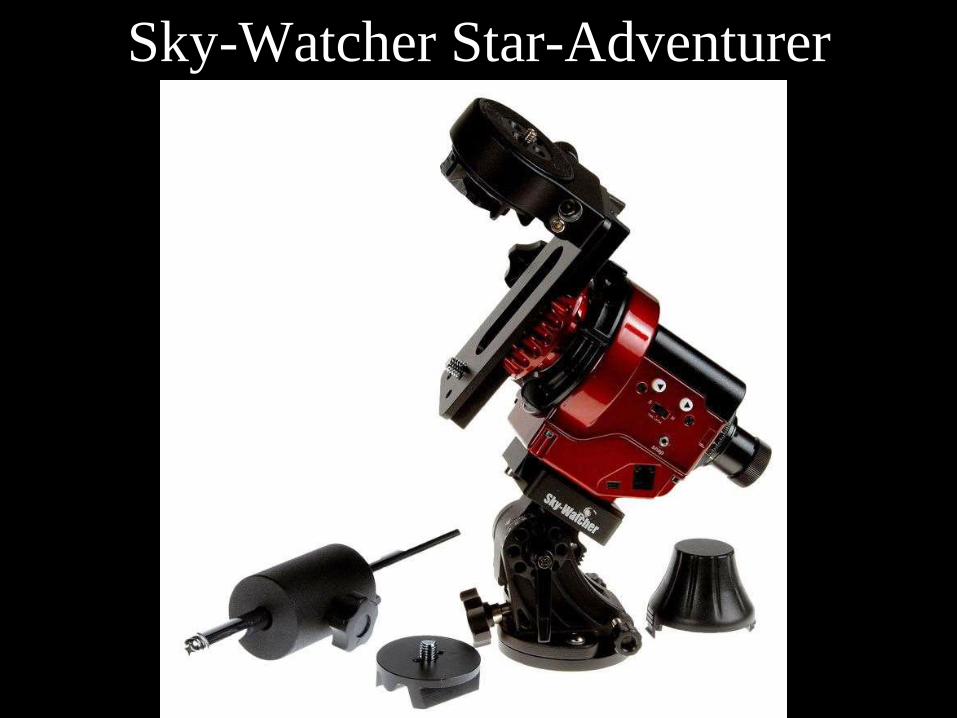
Sky-Watcher Star-Adventurer
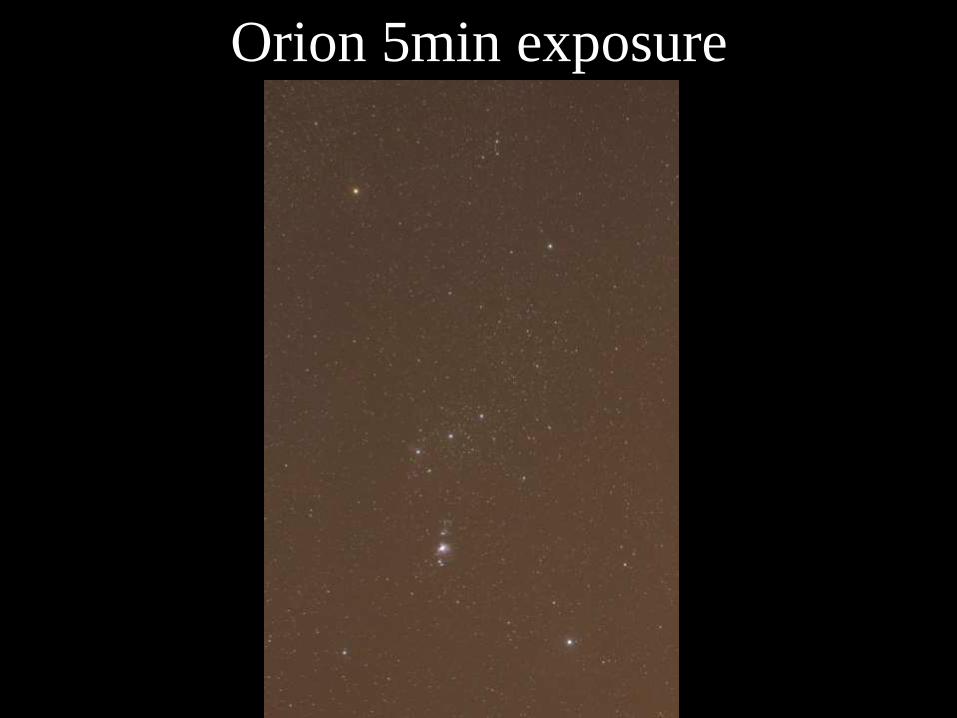
Orion 5min exposure
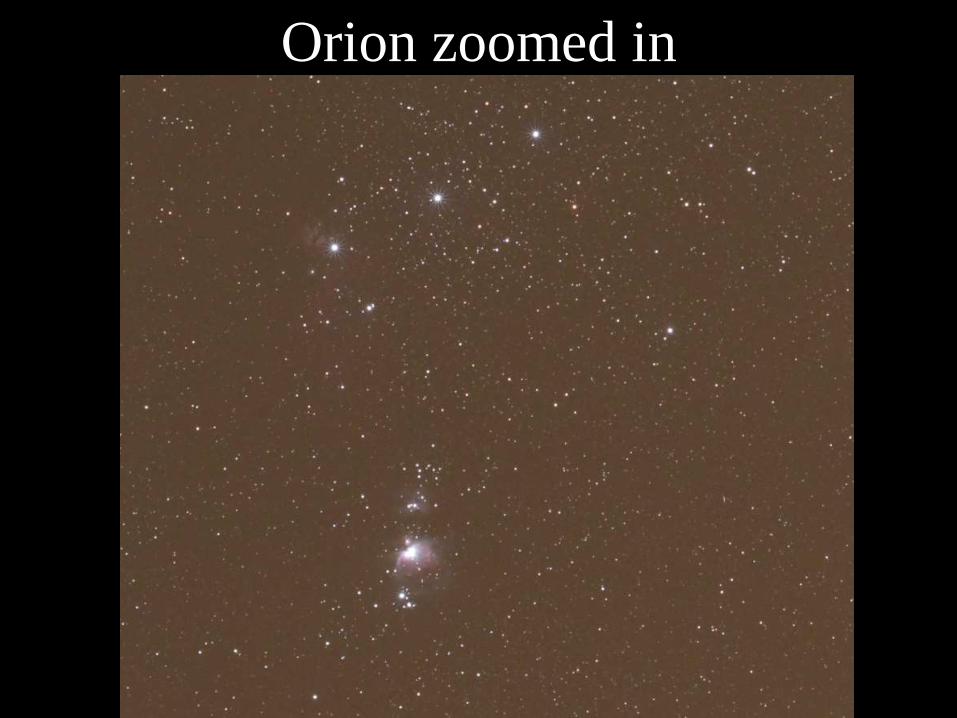
Orion zoomed in
Camera Types
• Film?
• Mobile Phone or Compact Cameras
– Small sensors
– Lack night time sensitivity
• DSLR and other mirrorless cameras
– Large sensors with good sensitivity
– Interchangable lenses
– Adapters for telescope attachment
• Astro-CCD
– Mono or colour. Good response to H-alpha
– Colour or narrowband filters needed for mono camera
– Cooled sensor
Why DSLR or Mirrorless?
• Large sensor creates great images
• One shot colour
• Cheap vs equivalent astro-CCD cameras – Manufacturing economy of scale
– Second hand on eBay!
• Excellent start to astro-imaging
• Which DSLR? – Canon cameras have best astro-community support
– This is slowly changing
– Nikon and Sony have better sensors at budget end
DSLR Disadvantages
• Sensor has no cooling
– Can affect quality of Summer imaging
– Astro-CCD has cooling
– But cooling increases price!
• H-alpha wavelength insensitivity
– Manufacturer internal filter
– This filter can be removed (see later)
– Mono astro-CCD is much more sensitive
Tips & Tricks
• Always take RAW images – JPEG compression causes artefacts
• Carry spare camera batteries – Or power adapter (e.g. from 12 volt)
• Remote control lead or intervalometer
• Focusing tricks – On lenses and telescopes

Astrophotographer Pet Hates
• Clouds! – The UK is in the wrong place …
• Cold Nights – Wrap up warm!
• Temperamental hardware and software – Wastes time on precious nights
• Dew – Heated dew bands and dew shields
• Light Pollution – Muddy brown or bright orange background
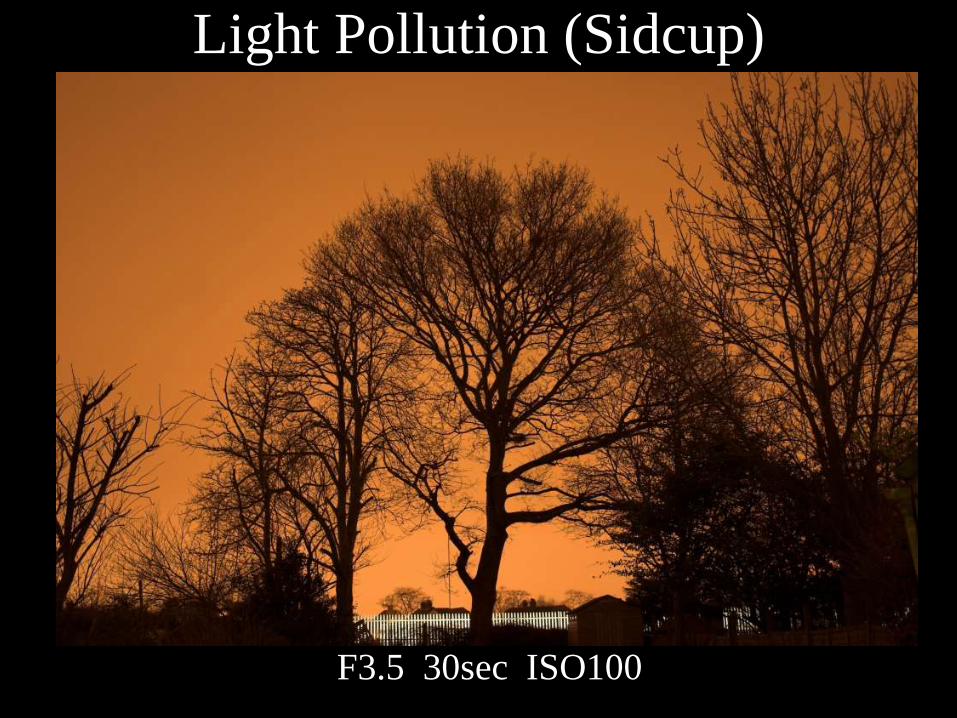
Light Pollution (Sidcup)
F3.5 30sec ISO100

Astronomik CLS filter profile
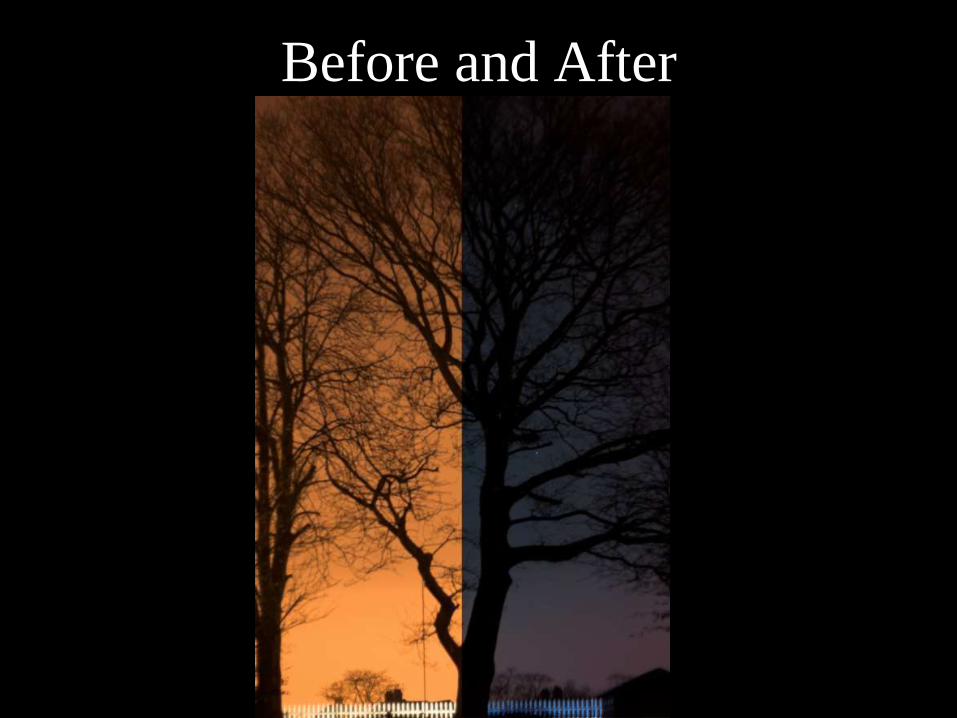
Before and After
Telescope Imaging
• T-Ring bayonet adapter attaches DSLRs
• Focal ratio is fixed (unlike lenses)
• Rule of 600 gives what exposure length?
– Motorised mount essential
Telescope Types
• Refractor
– What the general public recognises as a telescope!
– Lens at front (objective)
– Eyepiece at back
• Newtonian
– Big mirror at far end of tube
– Eyepiece of side
• Schmidt Cassegrain
– Glass corrector at front
– Big mirror at far end of tube
– Eyepiece at back
– Long focal length with folded lightpath
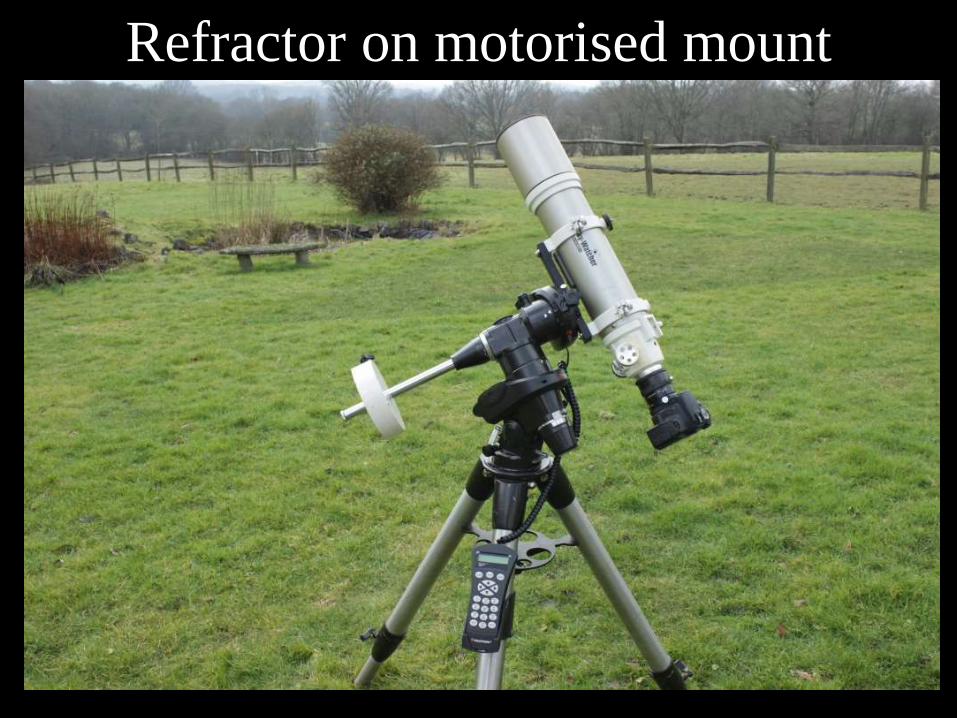
Refractor on motorised mount
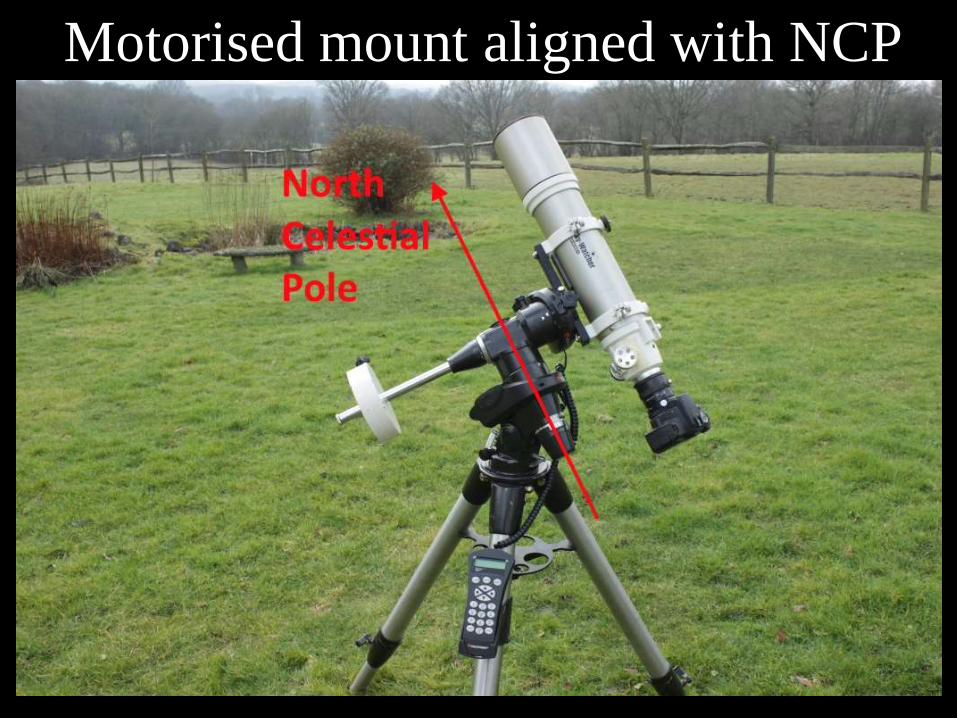
Motorised mount aligned with NCP
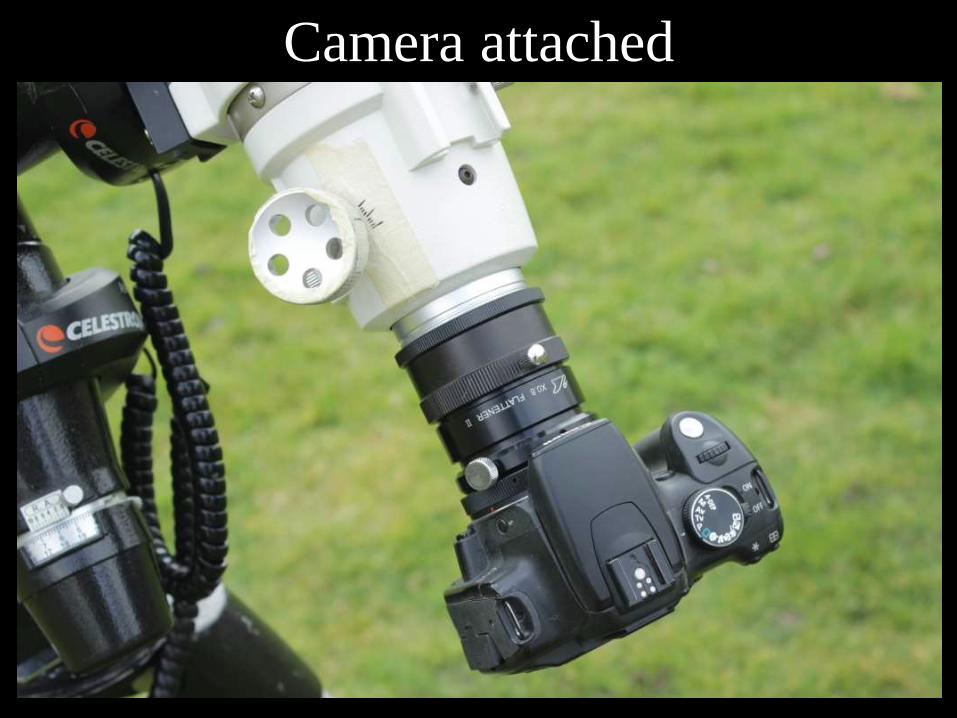
Camera attached
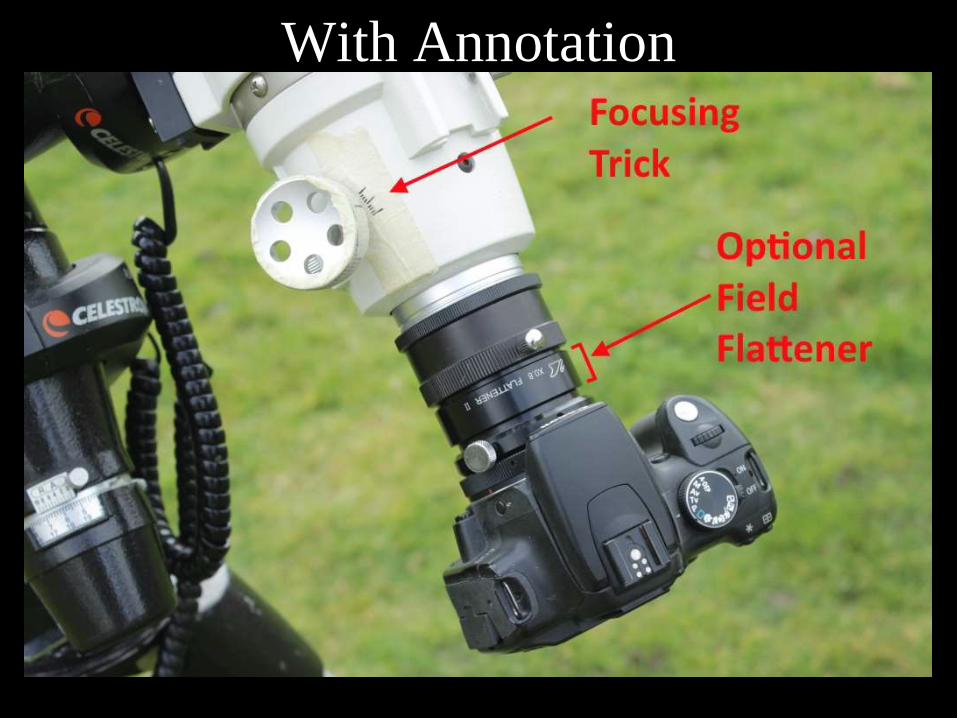
With Annotation
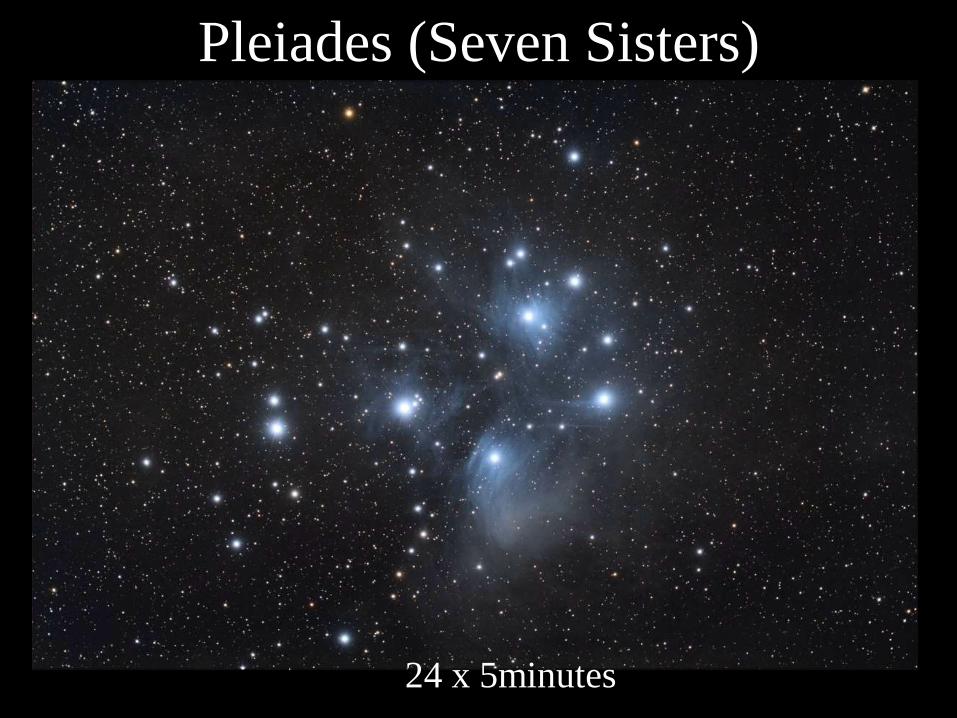
Pleiades (Seven Sisters)
24 x 5minutes

Andromeda Galaxy
60 x 5minutes
Guided Imaging
• Motorised Mount – Exposure length limited by motorised mount quality
• Guided Imaging – Overcomes tracking inaccuracies
• Guide scope is mounted parallel to imaging scope – Guide camera linked to laptop
– Locks onto a guide star
– Mount corrections sent every 1-2 seconds
• “Stand-alone” guiders also exist – No laptop required

Guided Imaging
Guided Imaging
• Free guiding software available
– e.g. PHD Guiding “Push Here Dummy”
• Old telephoto lens can work very well
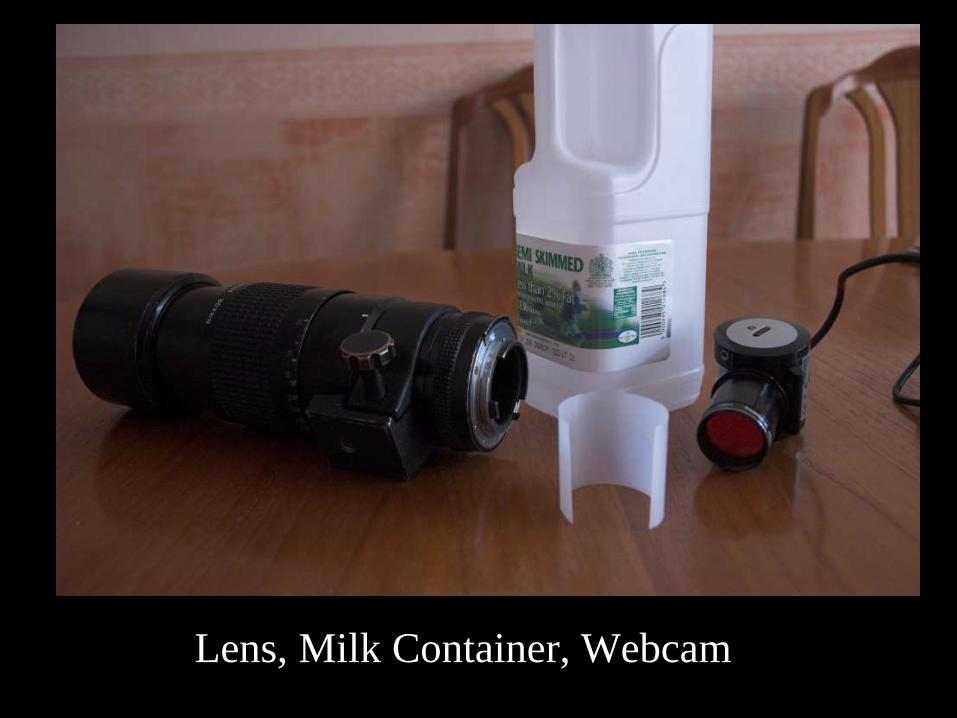
Lens, Milk Container, Webcam
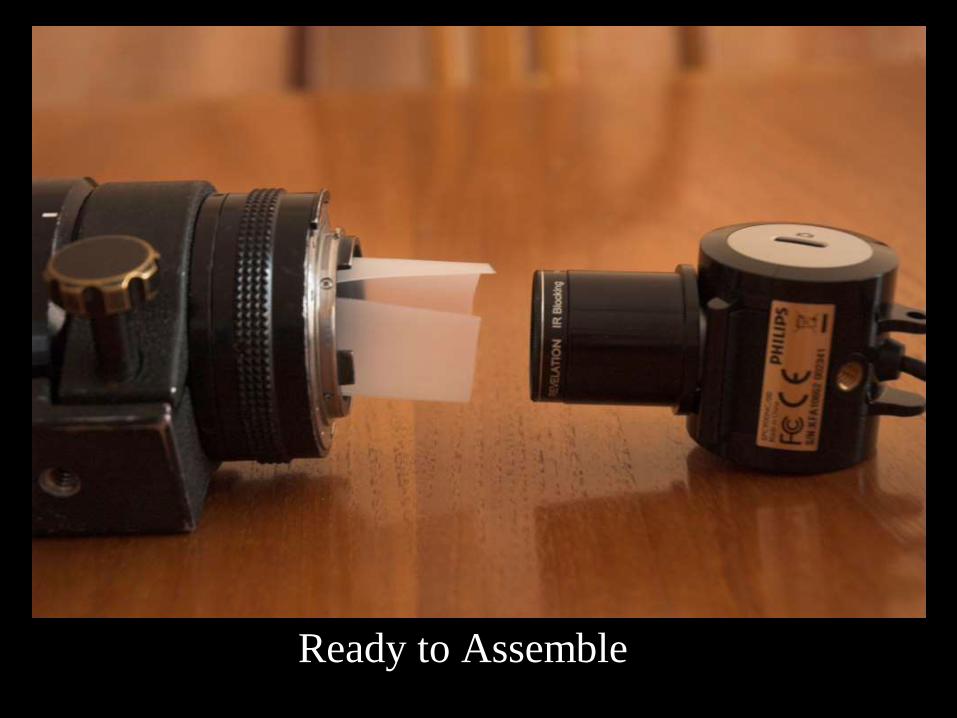
Ready to Assemble
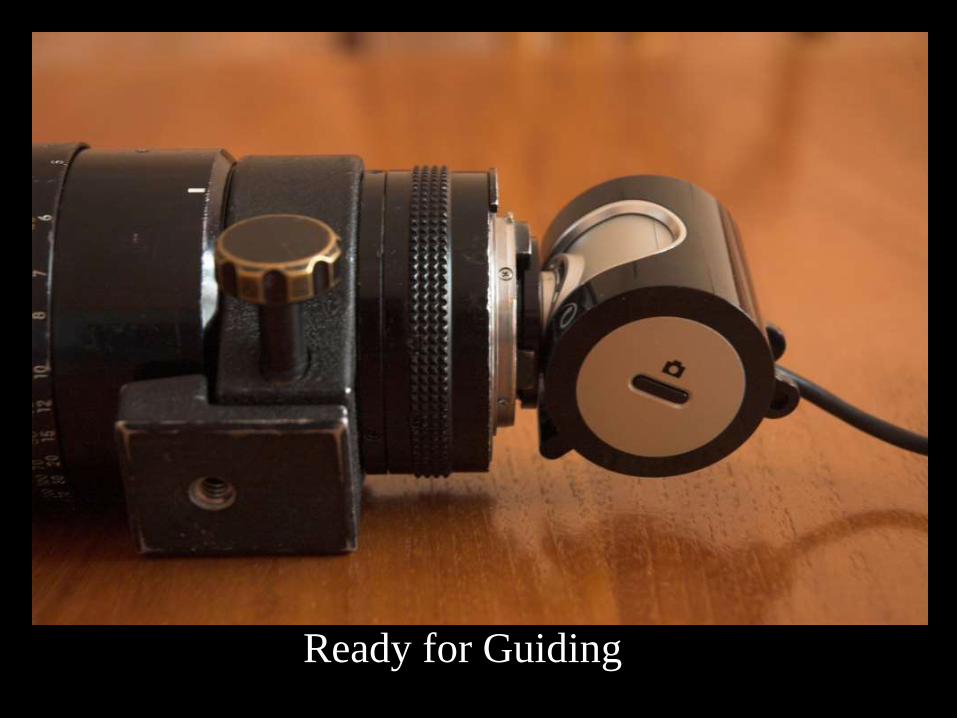
Ready for Guiding
Mount Types
• Equatorial
– Main Axis point at North Celestial Pole
– So it follows motion of the stars
• Alt-Azimuth
– Twisting base (azimuth)
– Up and down (altitude)
– Main problem is field rotation
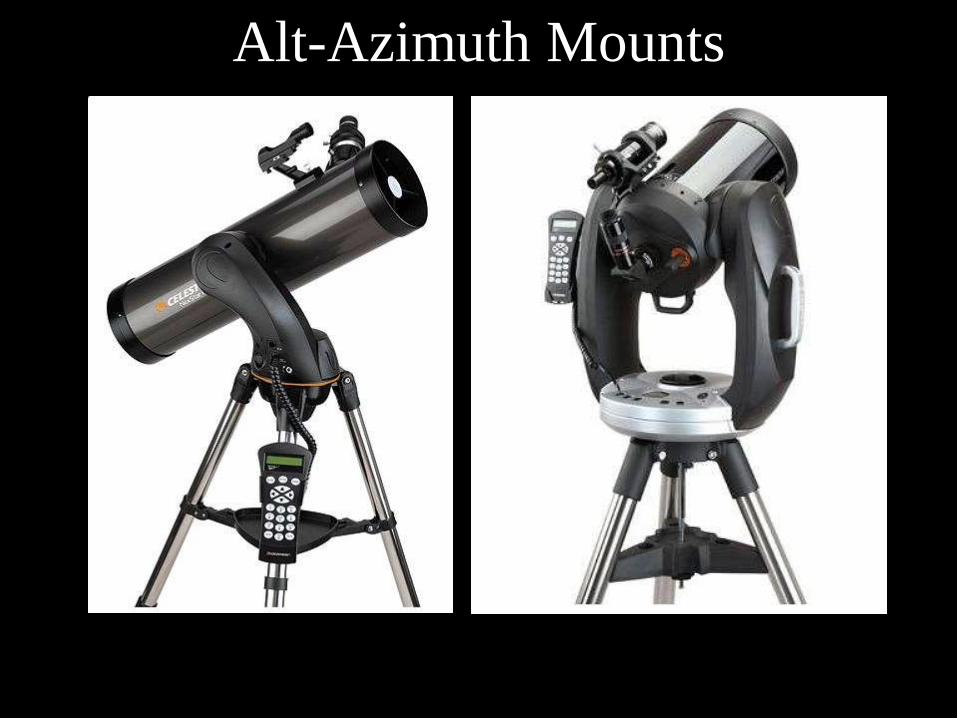
Alt-Azimuth Mounts
Field Rotation
• What is field rotation? – Think of Orion …
– Cue volunteer from audience …
• Limits the length of exposures
• Makes stacking more difficult
• Can buy a “wedge”
Telescopes – What they don’t tell you!
• Refractor, Newtonian, Schmidt Cassegrain
• All suffer from field curvature – i.e. the focal plane is curved
– Observatories used curved film
– But camera sensors are flat
• All suffer from other optical aberrations
– e.g coma
• Often have matched corrector lenses
• Astrographs have correcting lenses built-in
– Expensive!

With Annotation
Refractor
• Chromatic Aberration
– The objective splits the light
– Colour fringing on stars
– Hence buy Apochromatic (not achromatic)
• Often have matched corrector/flatteners
• Lens hood give some dew protection
– May need heated dew strip as well
Newtonian
• Rarely has enough focal travel for DSLR
– Unless designed for astrophotography
• Sometimes matched corrector/flatteners
– Otherwise buy generic coma corrector
• May need dew shield and heated dew strip
• Good Collimation required for imaging
– Offputting for beginners

Takahashi Epsilon 180ED
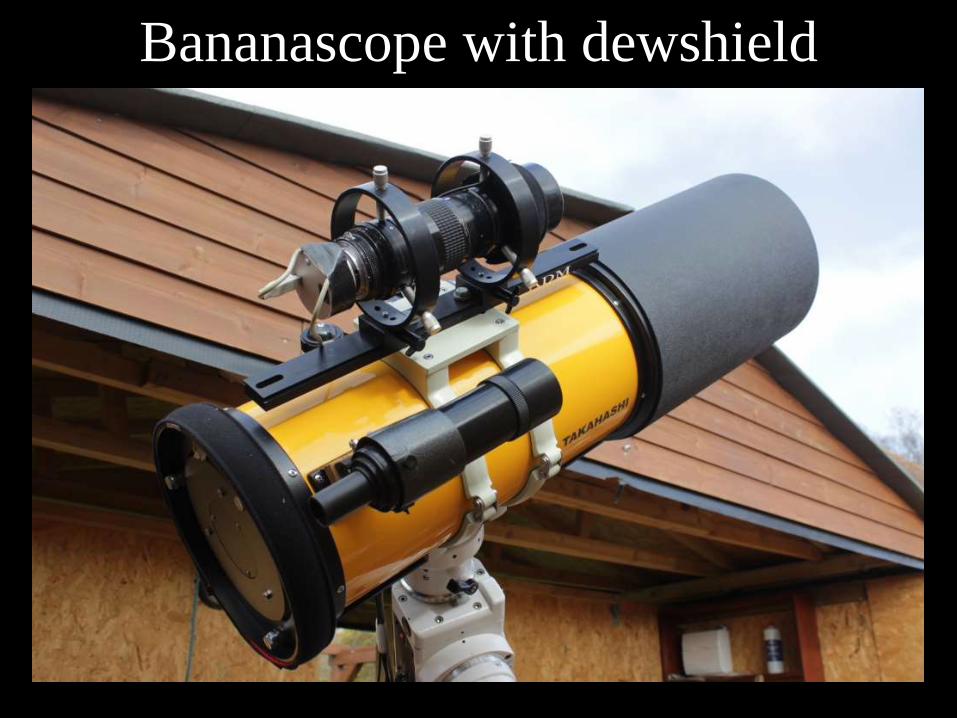
Bananascope with dewshield
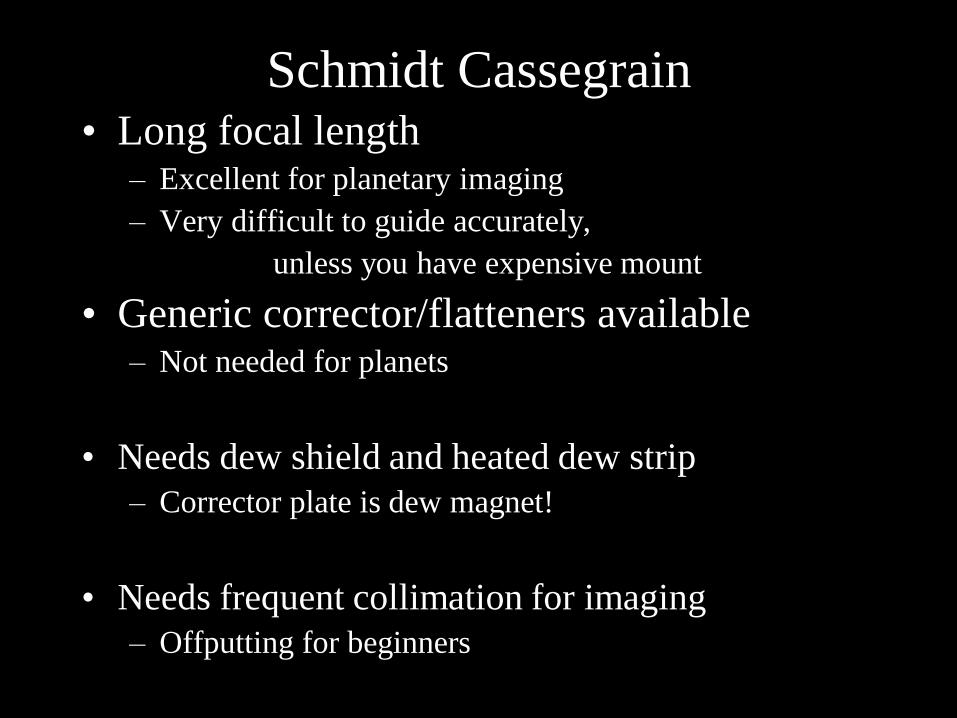
Schmidt Cassegrain • Long focal length
– Excellent for planetary imaging
– Very difficult to guide accurately,
unless you have expensive mount
• Generic corrector/flatteners available – Not needed for planets
• Needs dew shield and heated dew strip
– Corrector plate is dew magnet!
• Needs frequent collimation for imaging
– Offputting for beginners
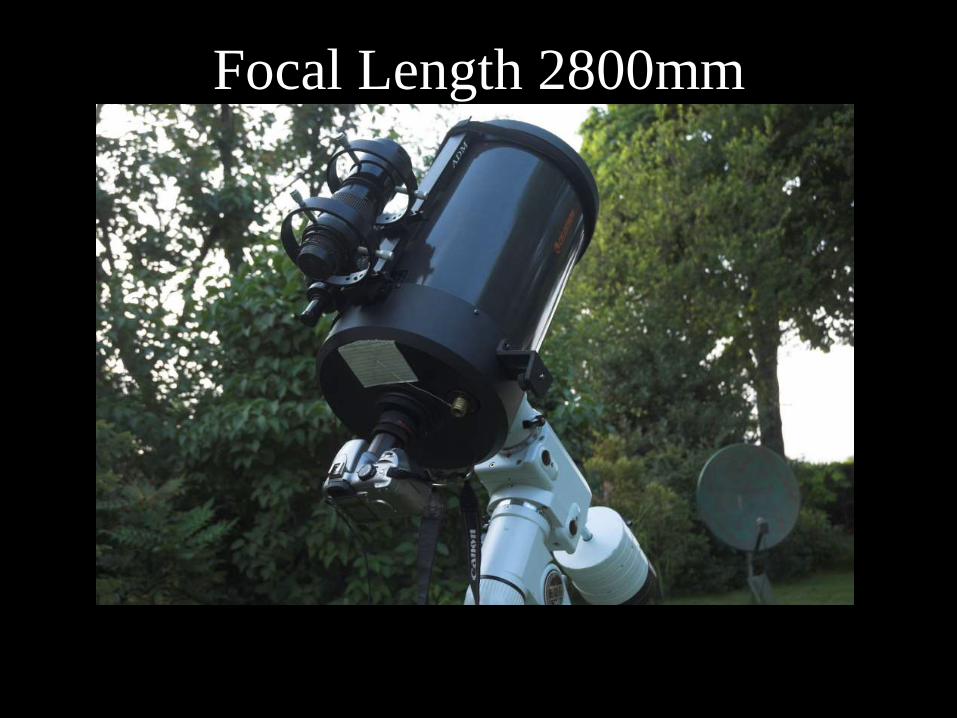
Focal Length 2800mm
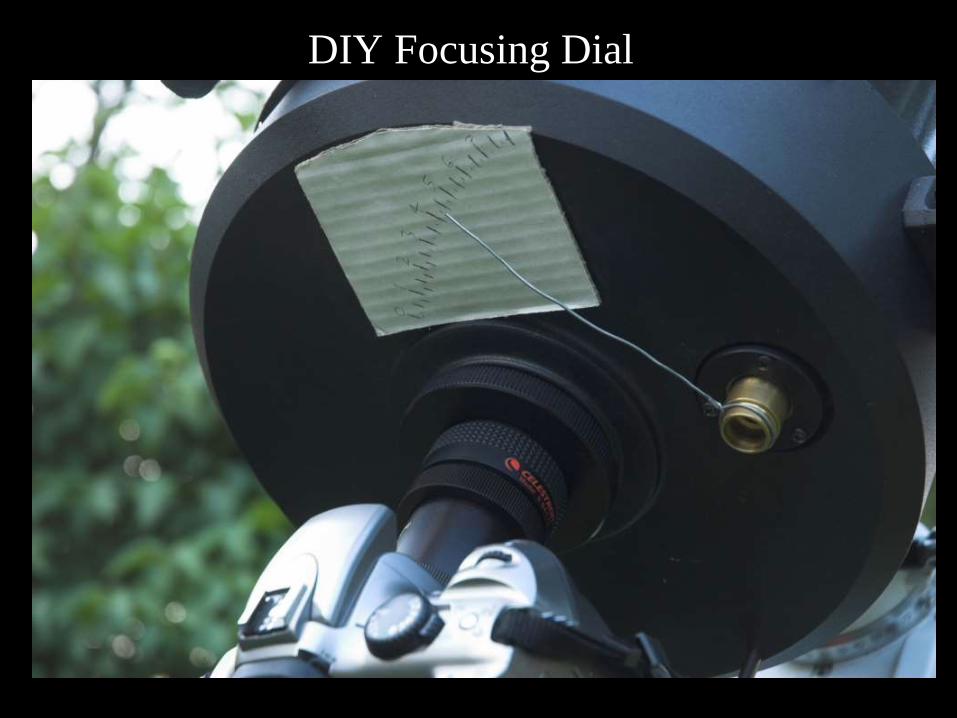
DIY Focusing Dial
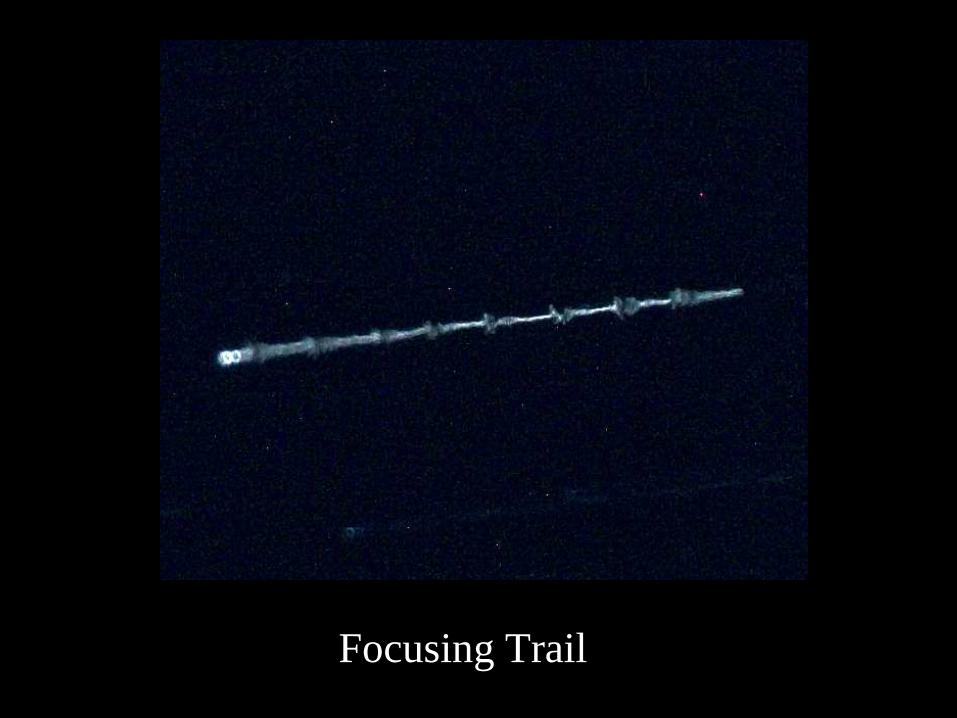
Focusing Trail
SCT Unguided Imaging
• Telescope is used on a tracking mount
• Limit exposure to 30sec
– Discard bad images before stacking
SCT without guiding
• Moon
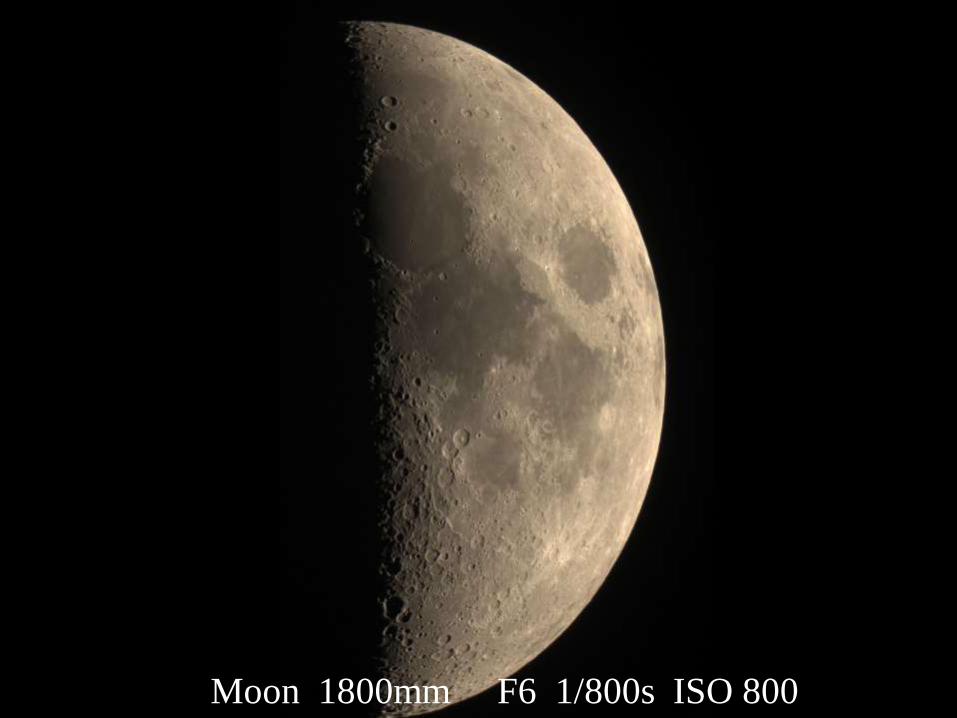
Moon 1800mm F6 1/800s ISO 800
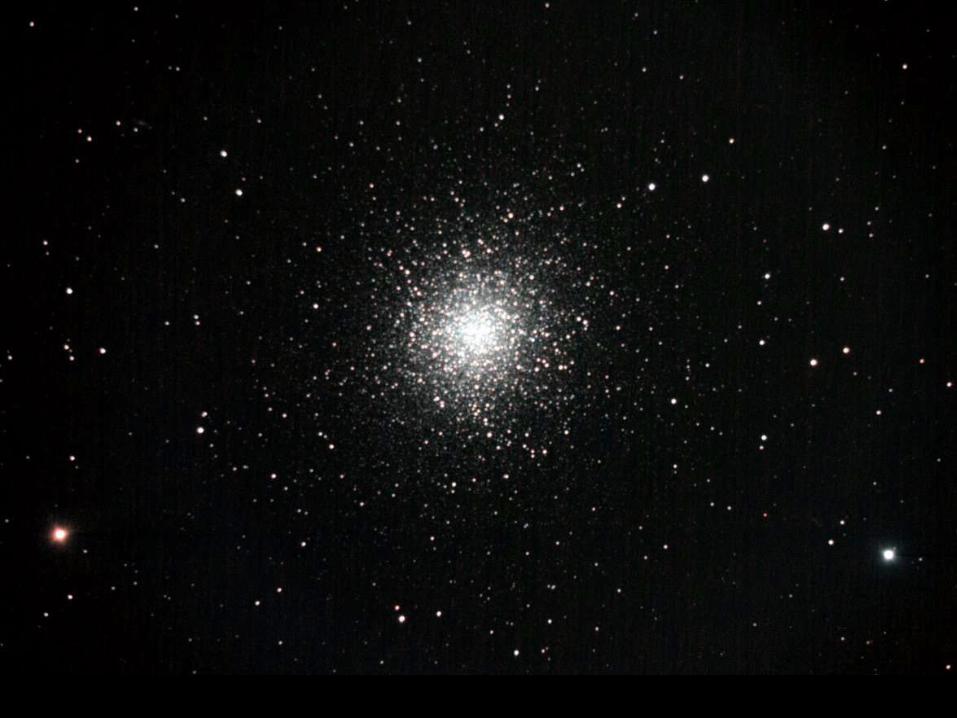
SCT without guiding
• Moon
• Globular Clusters
SCT without guiding
• Moon
• Globular Clusters
• Brighter Nebulae
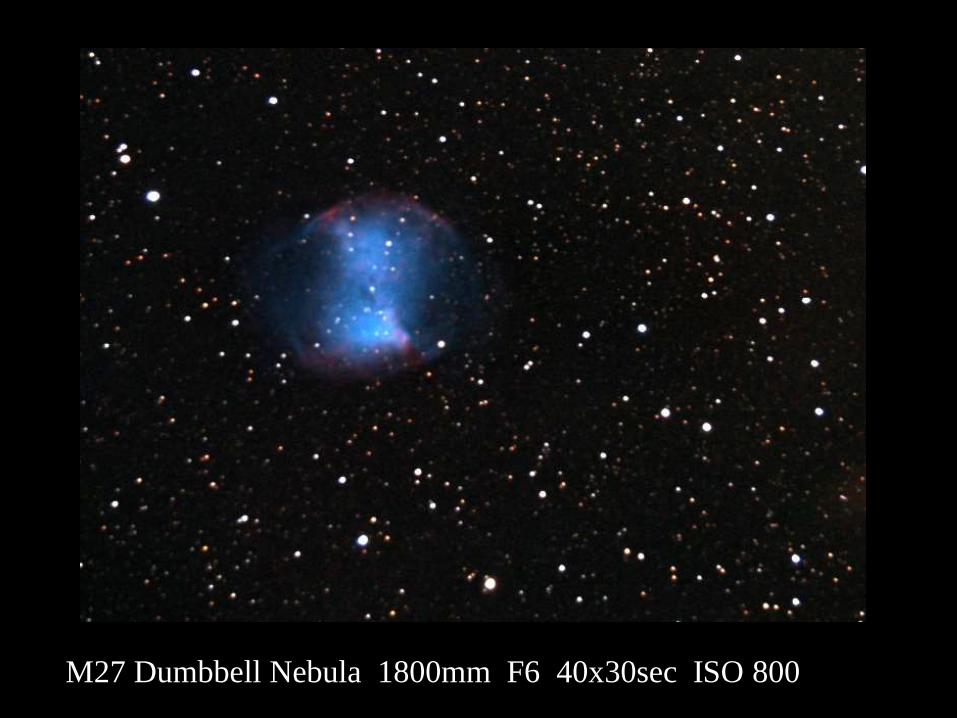
M27 Dumbbell Nebula 1800mm F6 40x30sec ISO 800

SCT without guiding
• Moon
• Globular Clusters
• Brighter Nebulae
• ISS
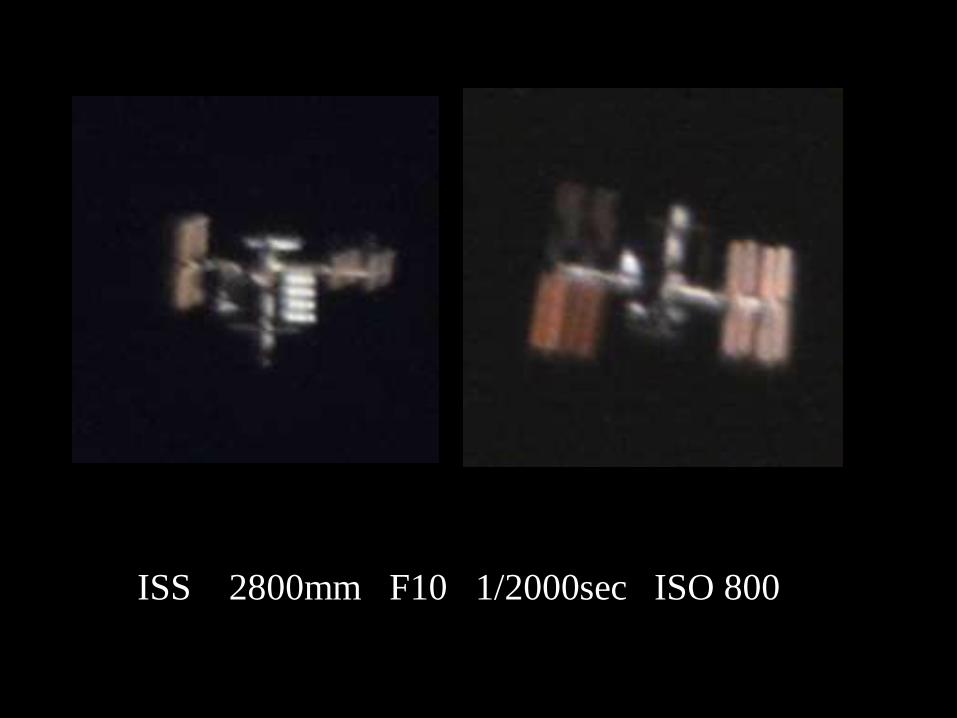
ISS 2800mm F10 1/2000sec ISO 800
Image Processing
• Stacking
– Adding multiple exposures reduces noise
– This enhances faint details and nebulosity
• Software aligns the stars in each exposure
– Adds all the exposures together
• Deep Sky Stacker is the most popular software
– Free!
Why Stack?
• Adding multiple exposures reduces noise
• Sources of noise:
– Sensor read noise
– Sensor dark current (thermal noise)
– Shot noise – random arrival of photons
– JPEG compression
• Shoot RAW images!!
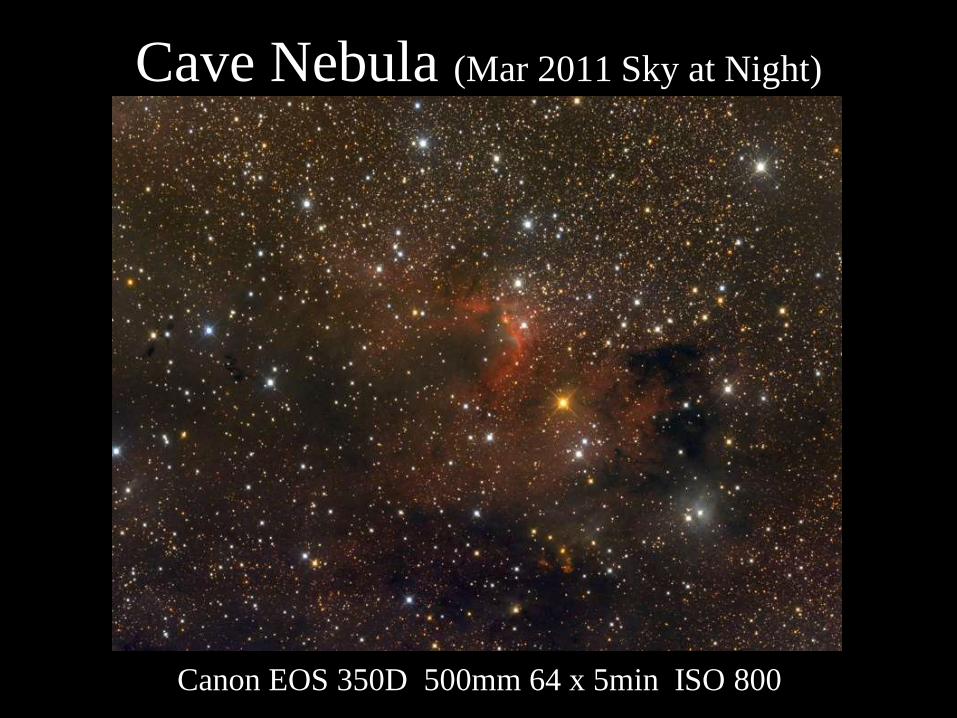
Cave Nebula (Mar 2011 Sky at Night)
Canon EOS 350D 500mm 64 x 5min ISO 800
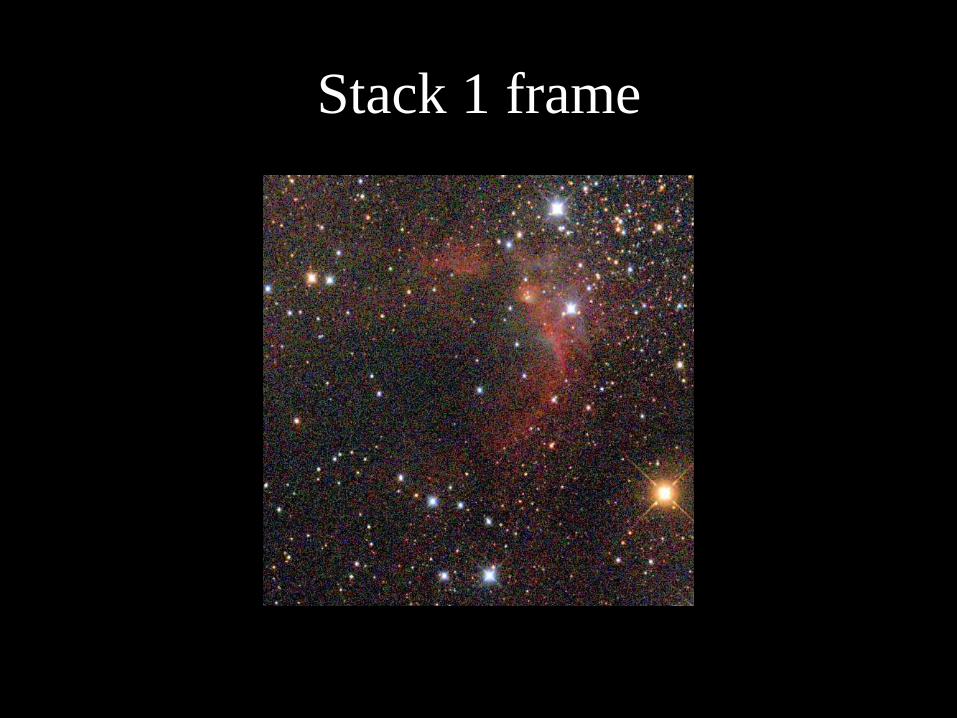
Stack 1 frame

Stack 2 frames
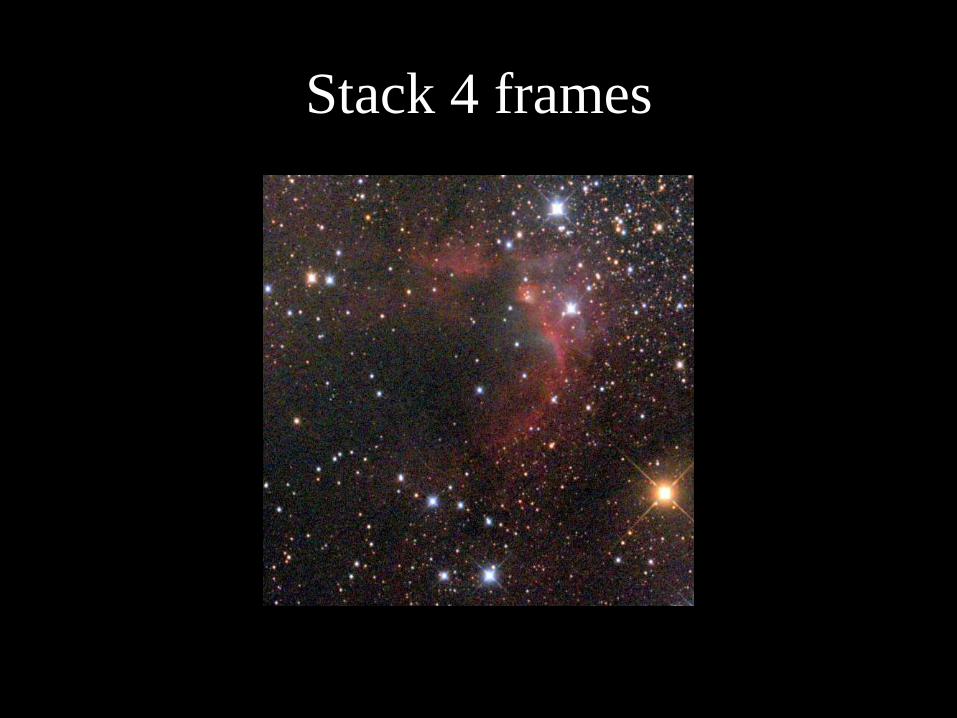
Stack 4 frames
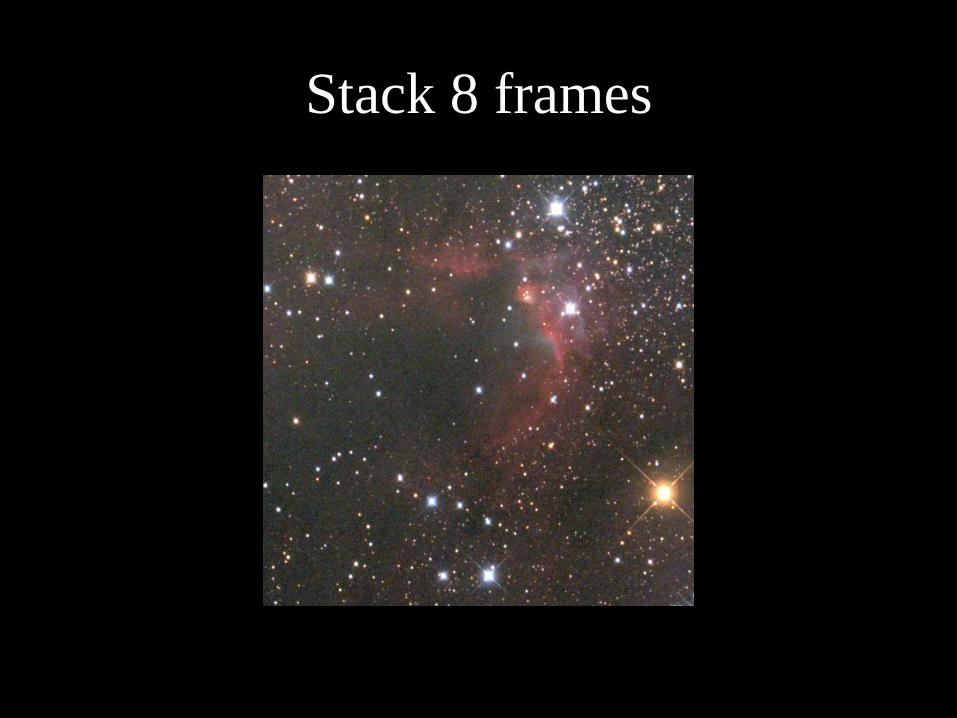
Stack 8 frames
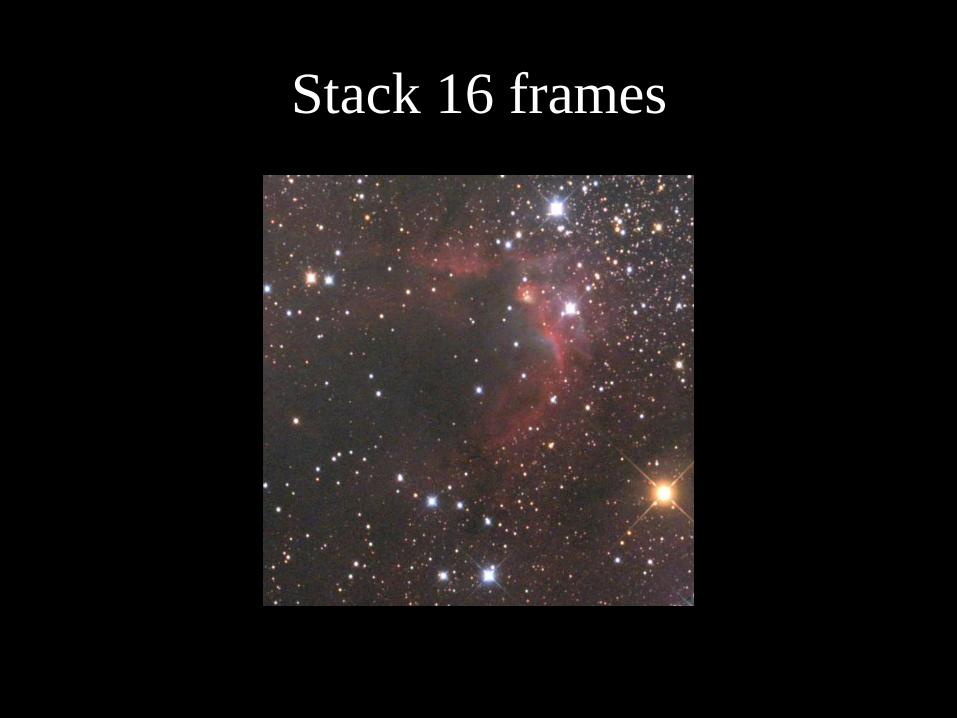
Stack 16 frames
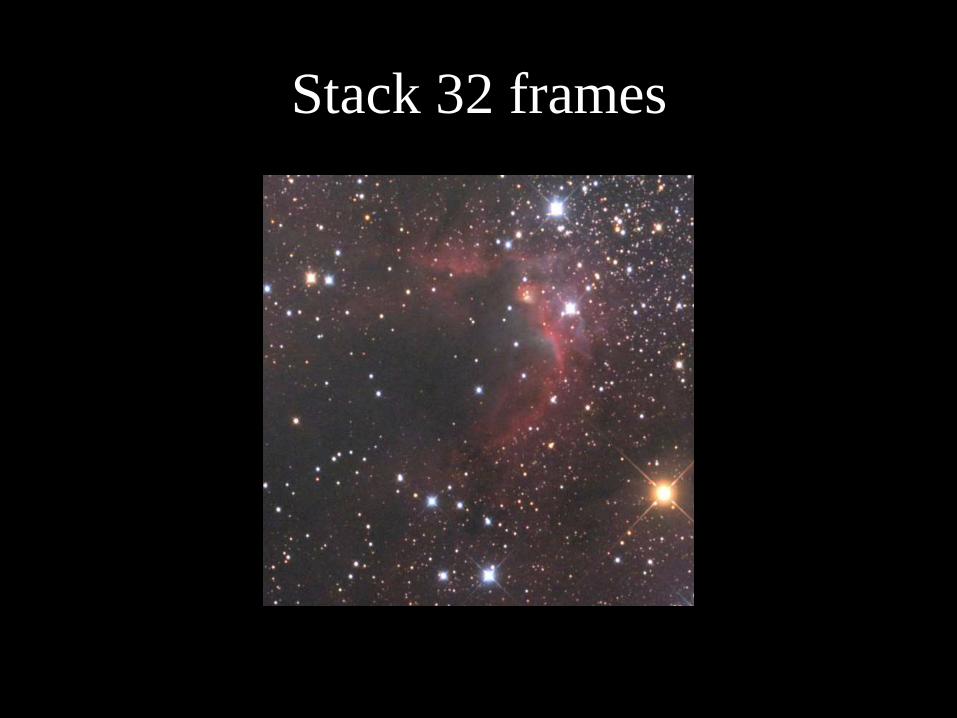
Stack 32 frames

Stack 64 frames
“Webcam” Imaging with SCT
• Why called “webcam”
– Philips Toucam was the popular tool
• Planetary Imaging Cameras
– Available < £100
• Insert instead of eyepiece
• 5-30 frames/sec
– Connected to laptop
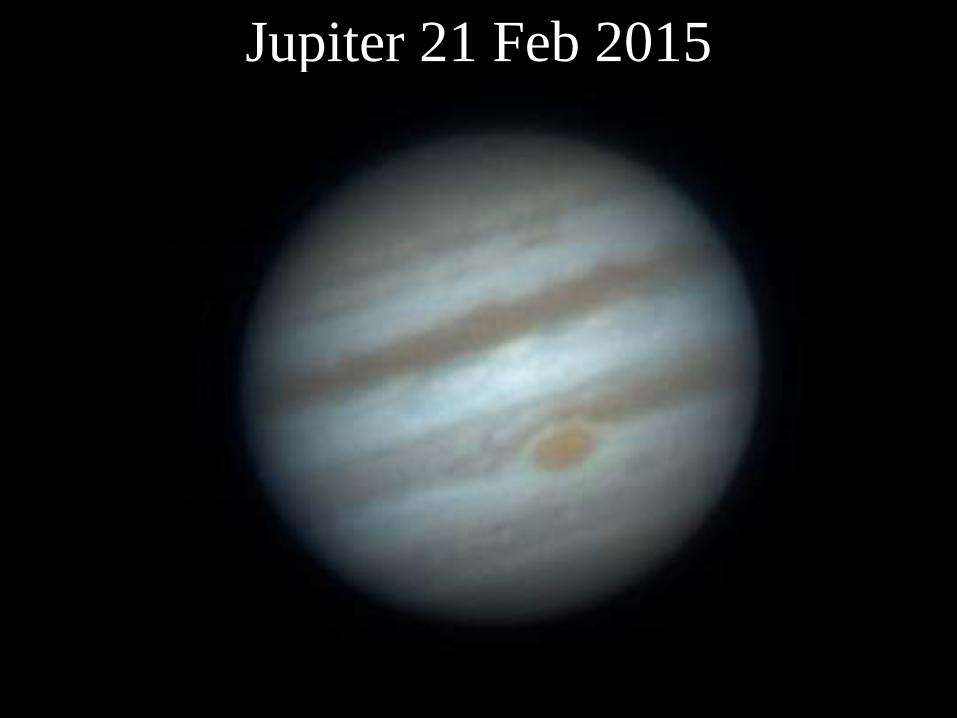
Jupiter 21 Feb 2015
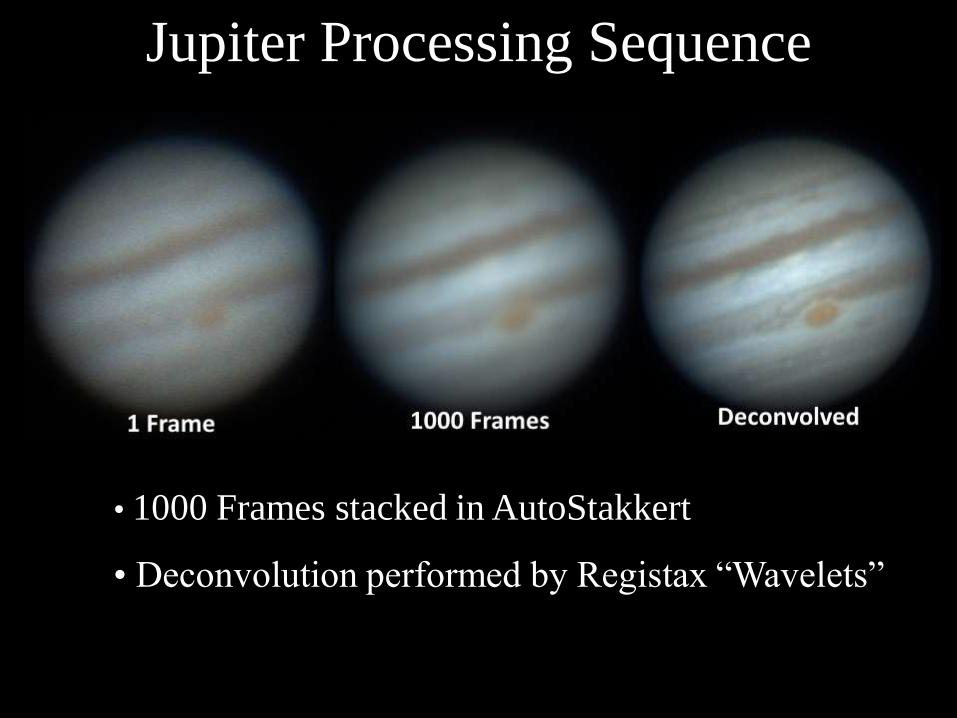
Jupiter Processing Sequence
• 1000 Frames stacked in AutoStakkert
• Deconvolution performed by Registax “Wavelets”

Jupiter 21 Feb 2015
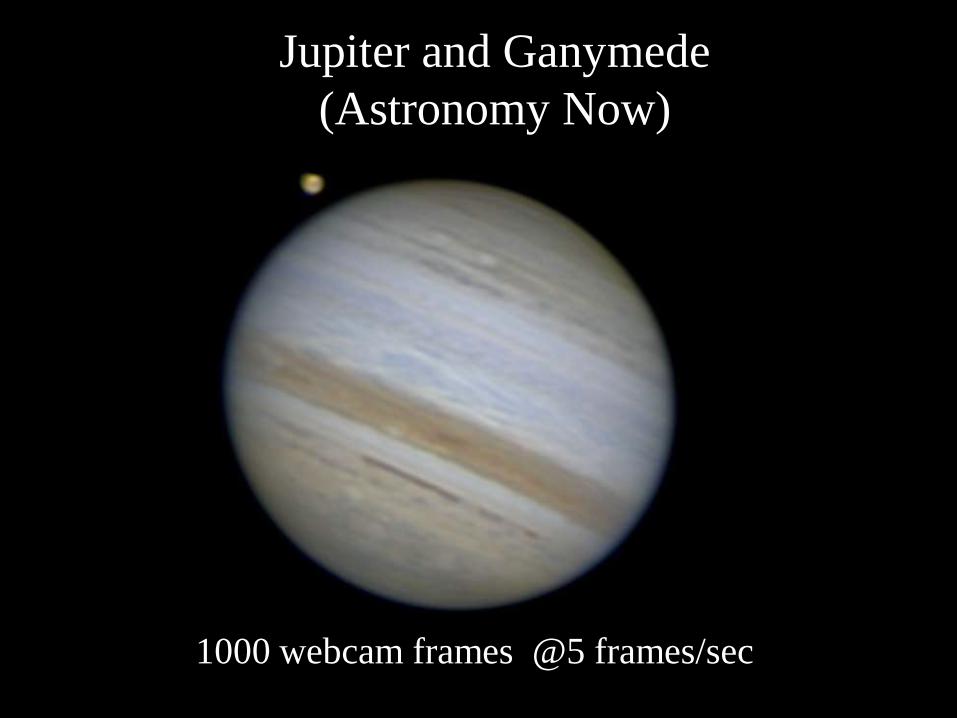
1000 webcam frames @5 frames/sec
Jupiter and Ganymede
(Astronomy Now)
Why deconvolution?
• High magnification images are affected by
atmospheric turbulence
• Turbulence blurs the image
• Blurring can be treated by deconvolution
• Deconvolution = Deblurring
• Very mathematical
– But software makes it easy!
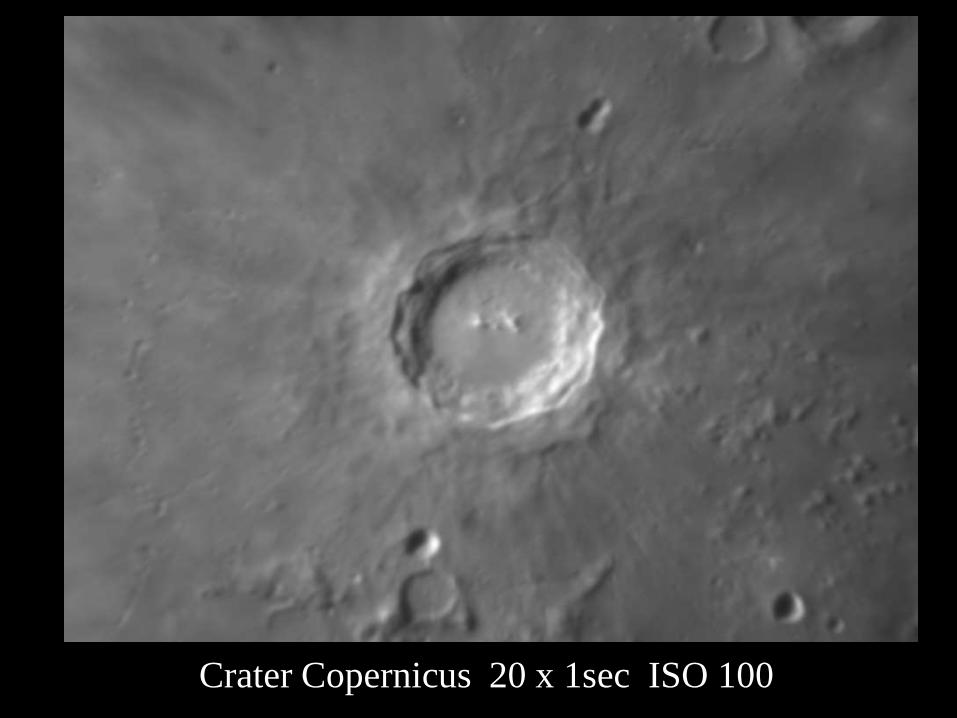
Crater Copernicus 20 x 1sec ISO 100
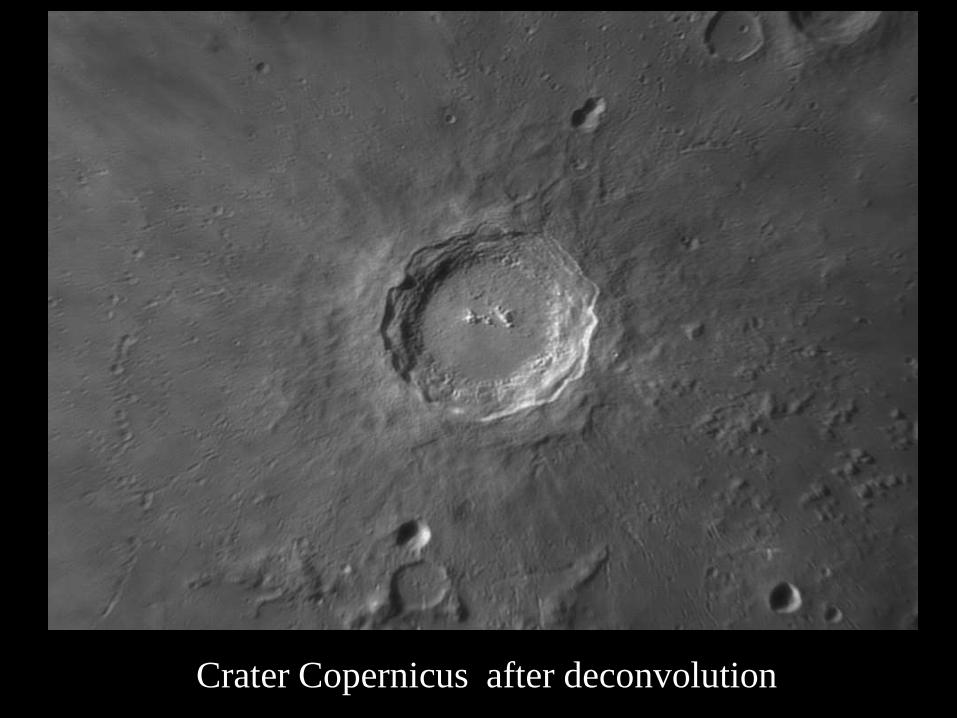
Crater Copernicus after deconvolution
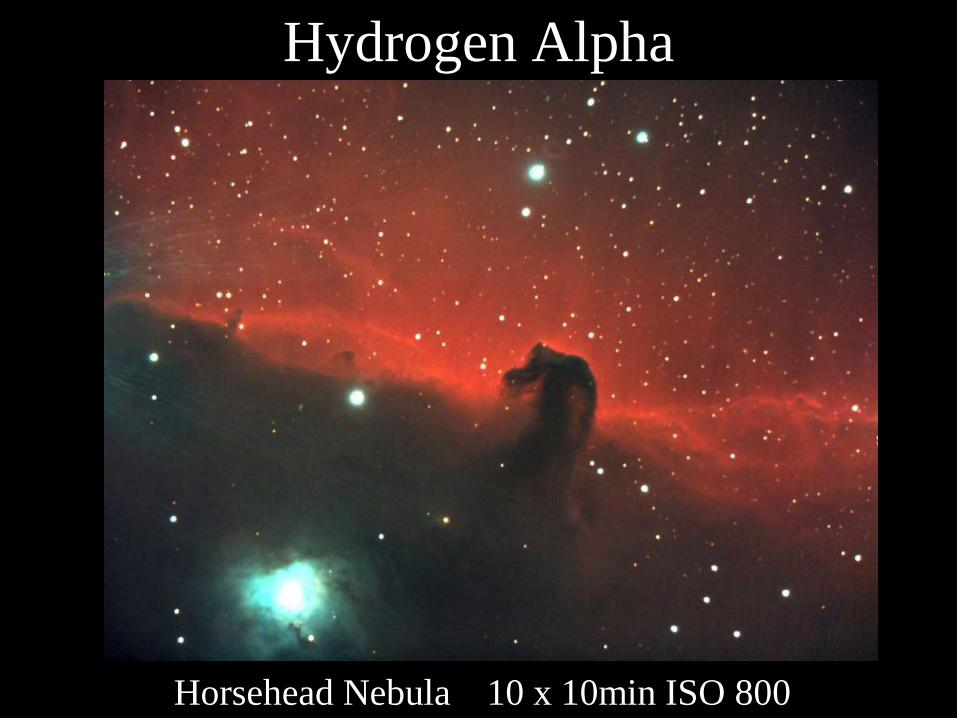
Hydrogen Alpha
Horsehead Nebula 10 x 10min ISO 800
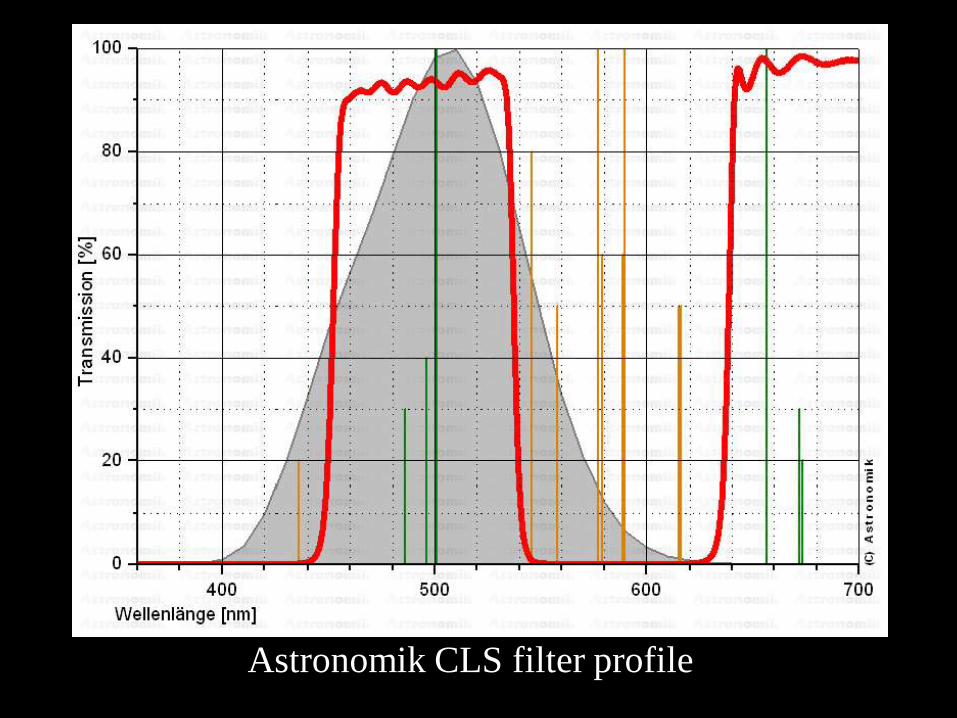
Astronomik CLS filter profile
Modding a Canon
• Cameras are made to match human vision
• Internal IR Filter cuts 80% H-alpha
• Can be replaced with
– Glass
– Alternative IR/UV filter e.g. Baader “pre-cut to fit”
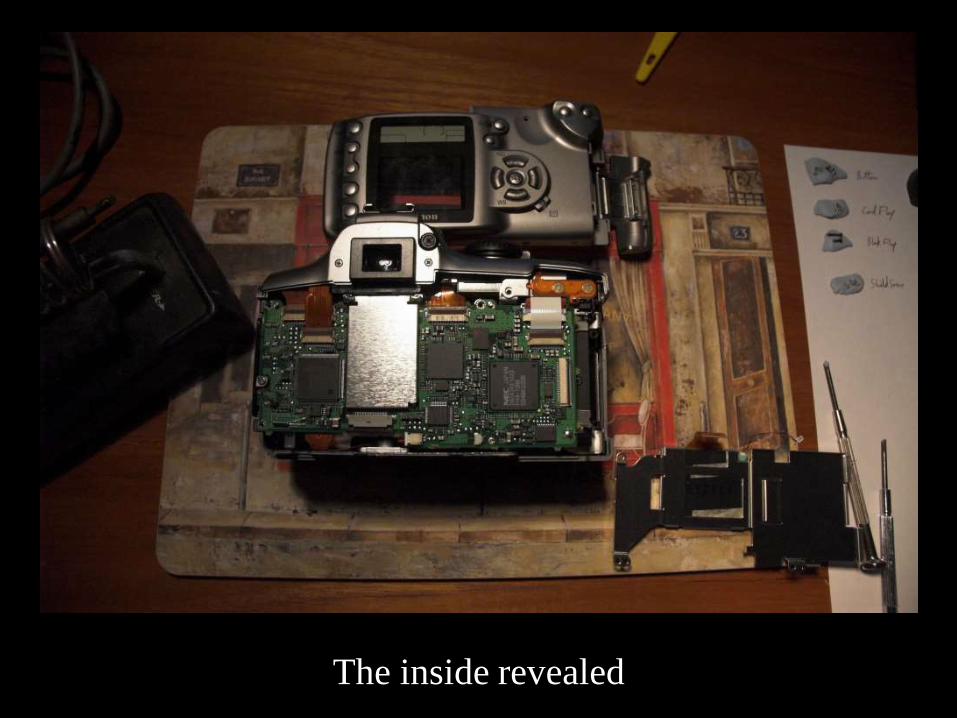
The inside revealed
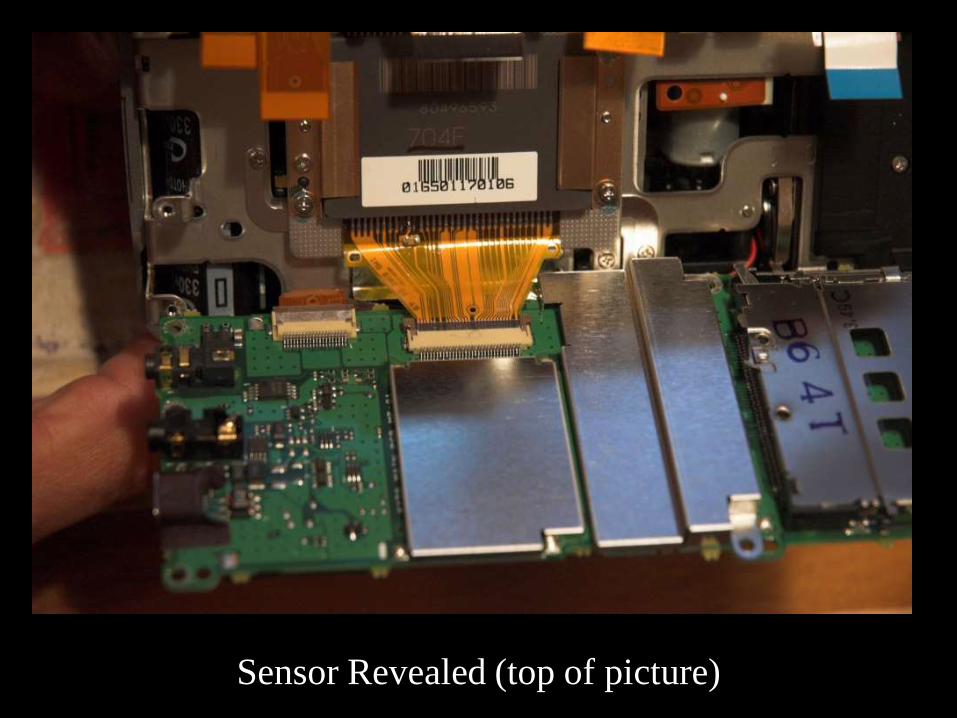
Sensor Revealed (top of picture)
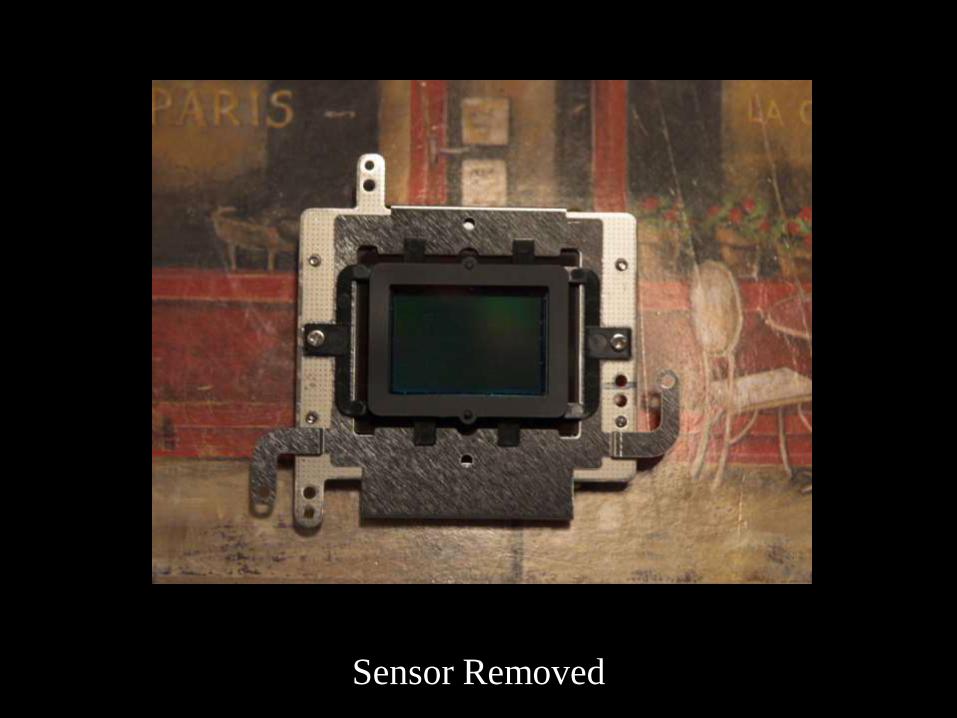
Sensor Removed
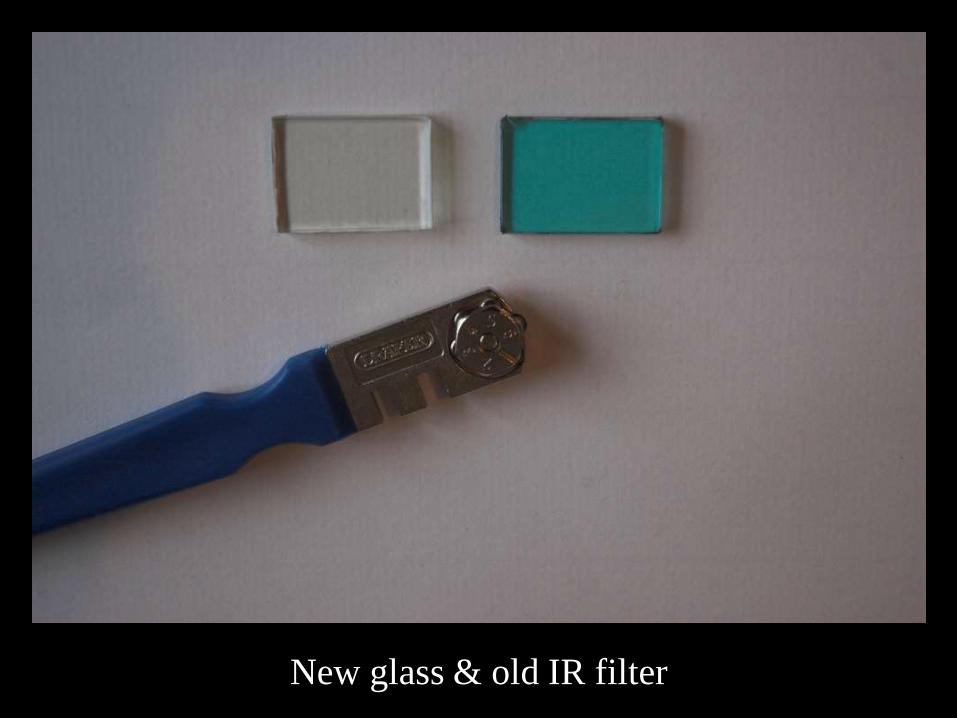
New glass & old IR filter
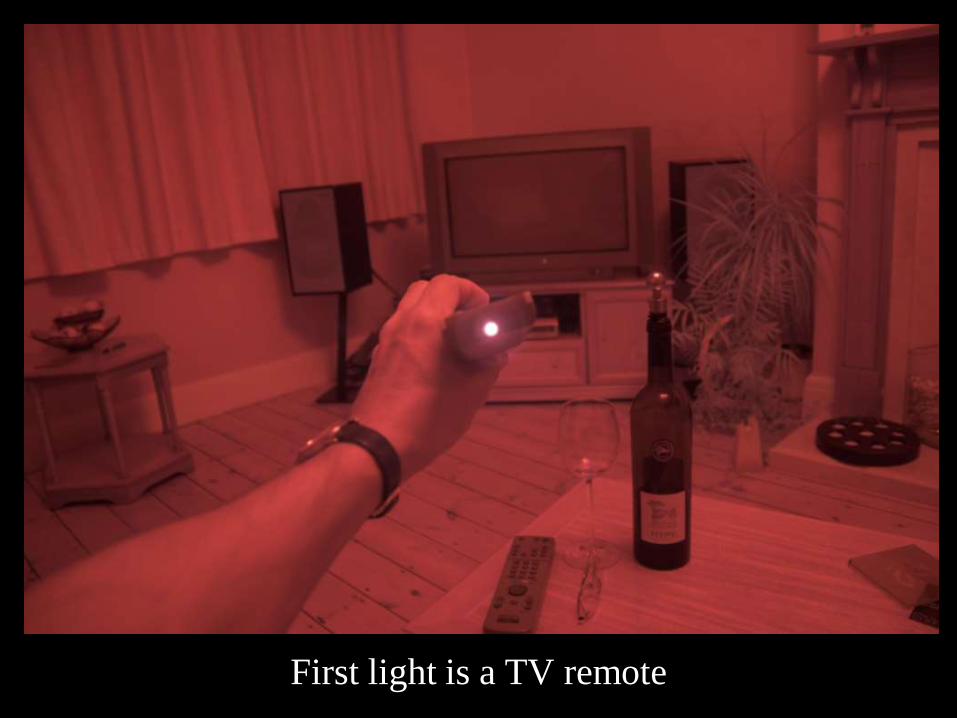
First light is a TV remote
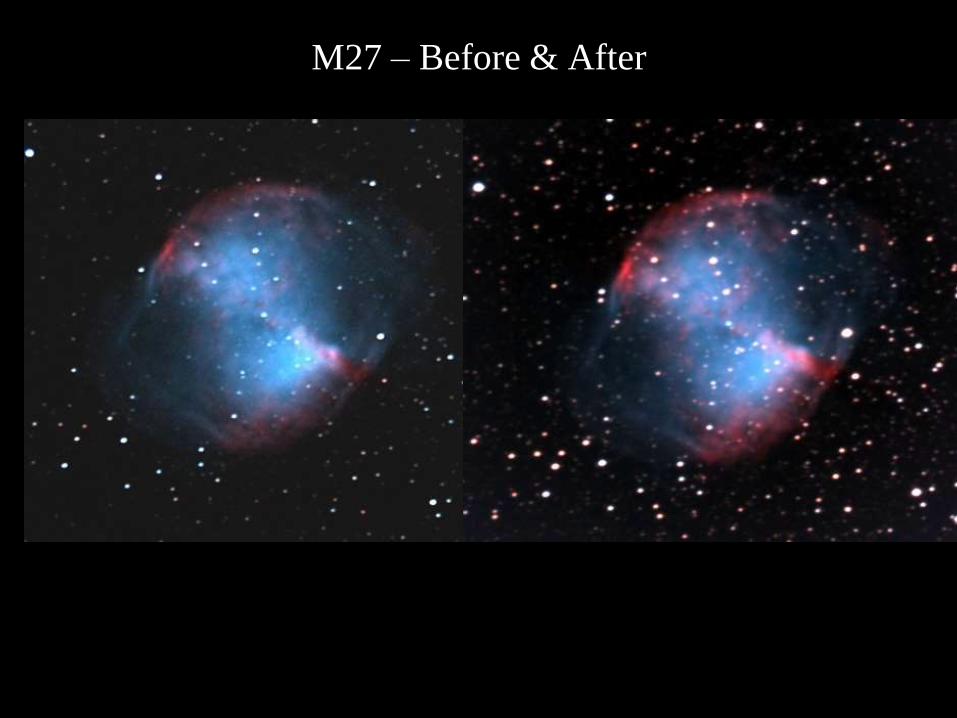
M27 – Before & After
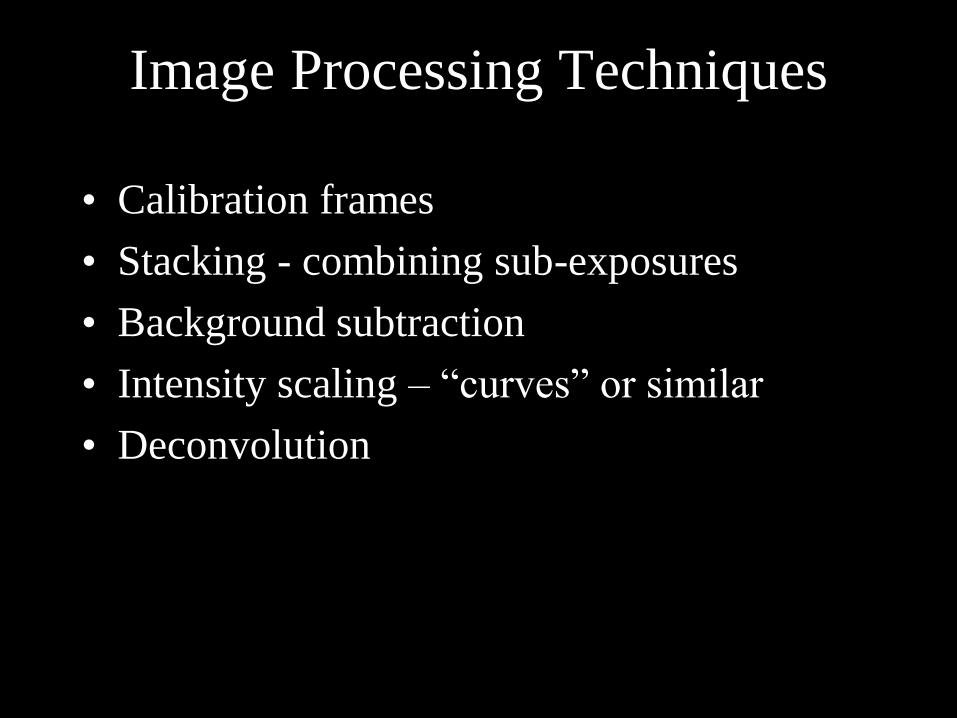
Image Processing Techniques
• Calibration frames
• Stacking - combining sub-exposures
• Background subtraction
• Intensity scaling – “curves” or similar
• Deconvolution
Processing Sequence
• Free Software
• Deep Sky Stacker
• I use IRIS – but same principles apply
• PixInsight is the “Rolls Royce”
– Costs money and difficult to drive
– But almost perfect
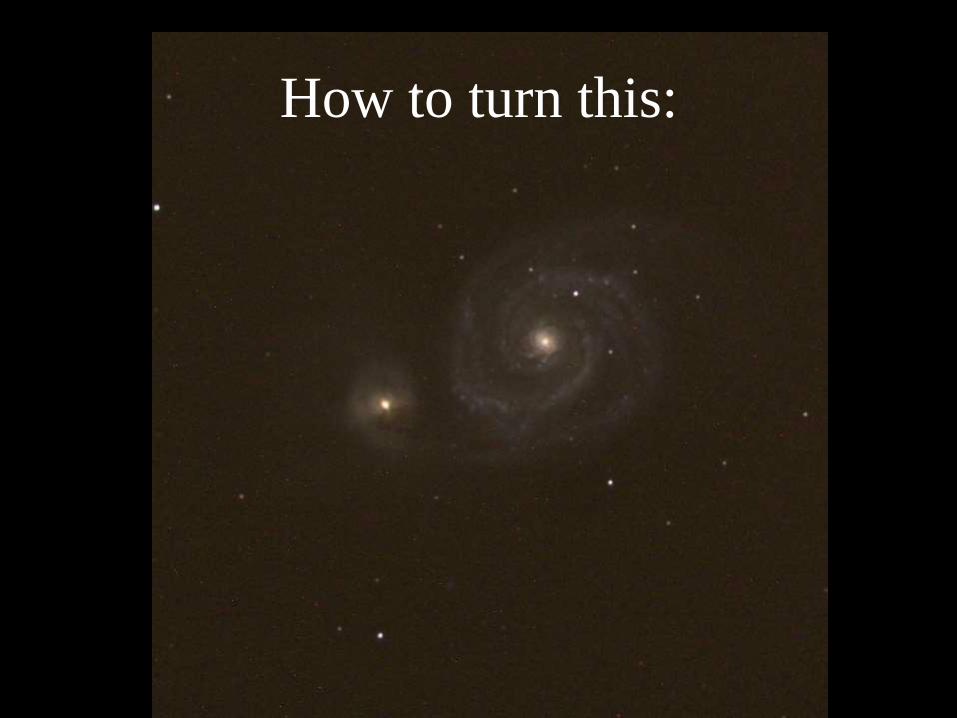
How to turn this:
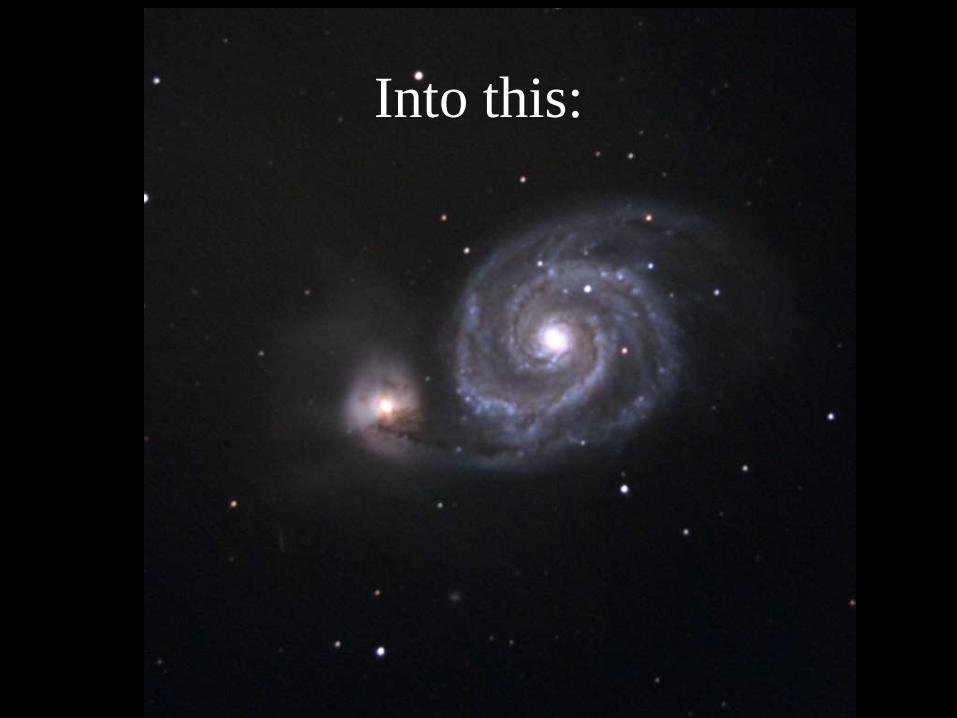
Into this:
Processing Sequence
• Create the following:
– Bias Frame (RAW)
– Flat Frame (RAW)
– Dark Frame (RAW)
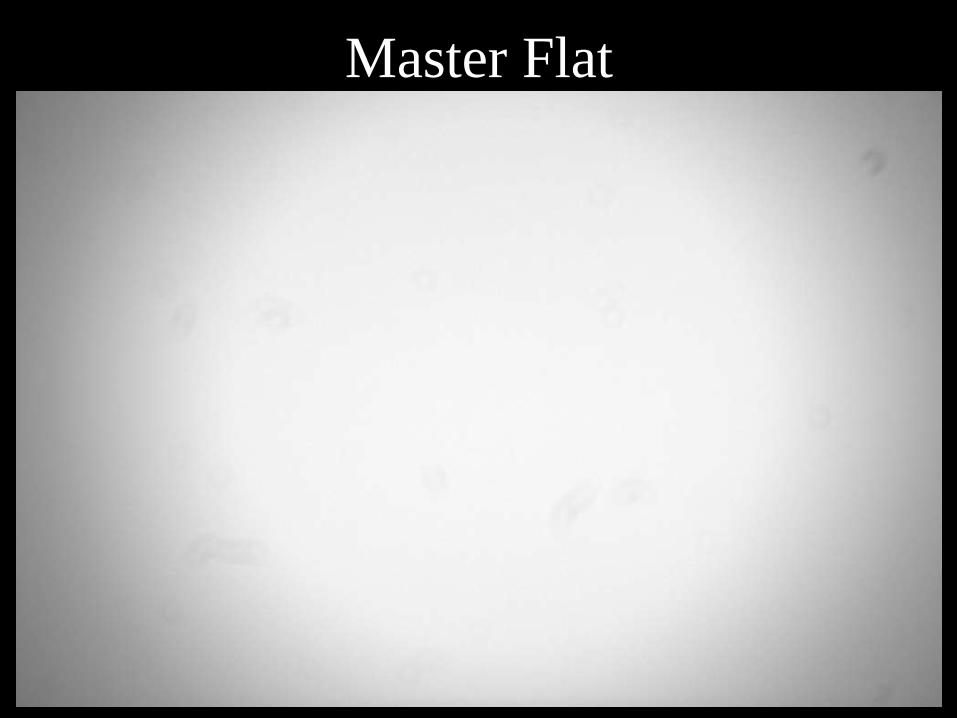
Master Flat
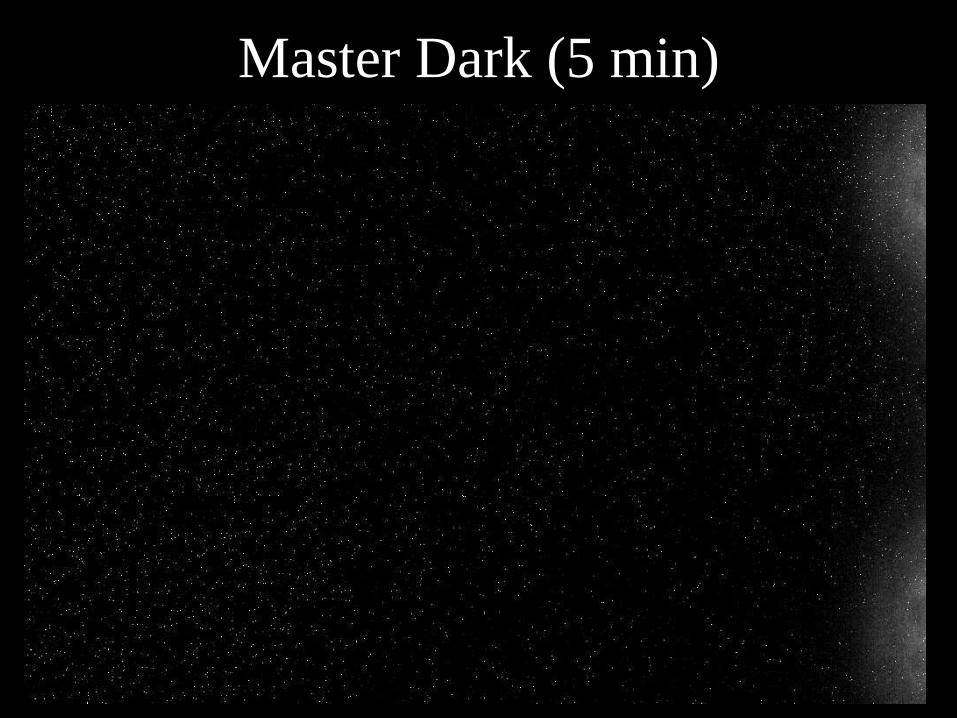
Master Dark (5 min)
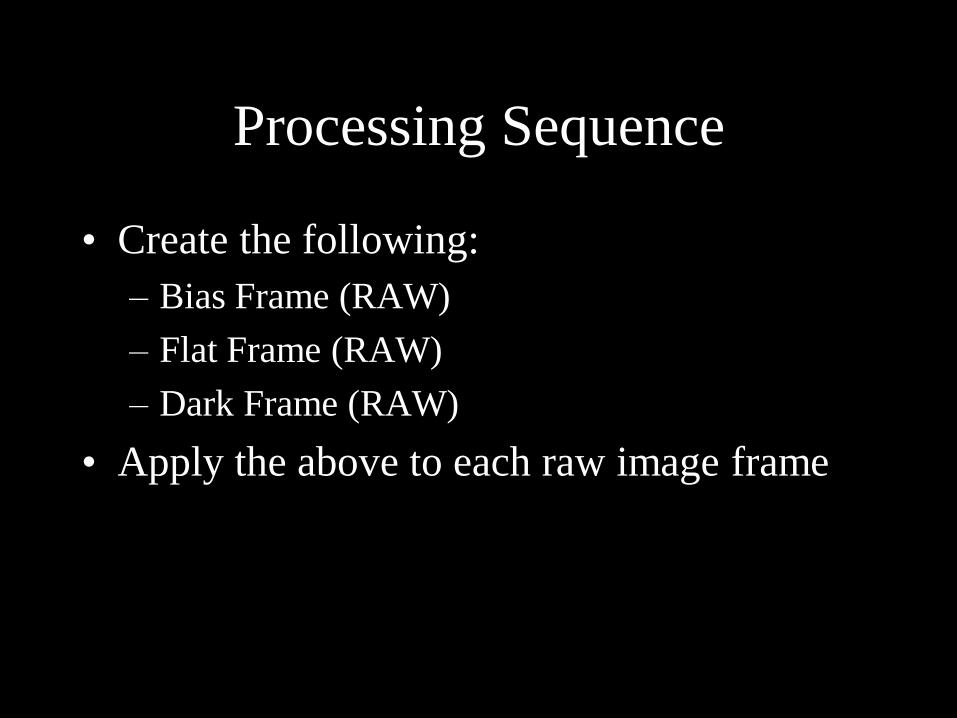
Processing Sequence
• Create the following:
– Bias Frame (RAW)
– Flat Frame (RAW)
– Dark Frame (RAW)
• Apply the above to each raw image frame
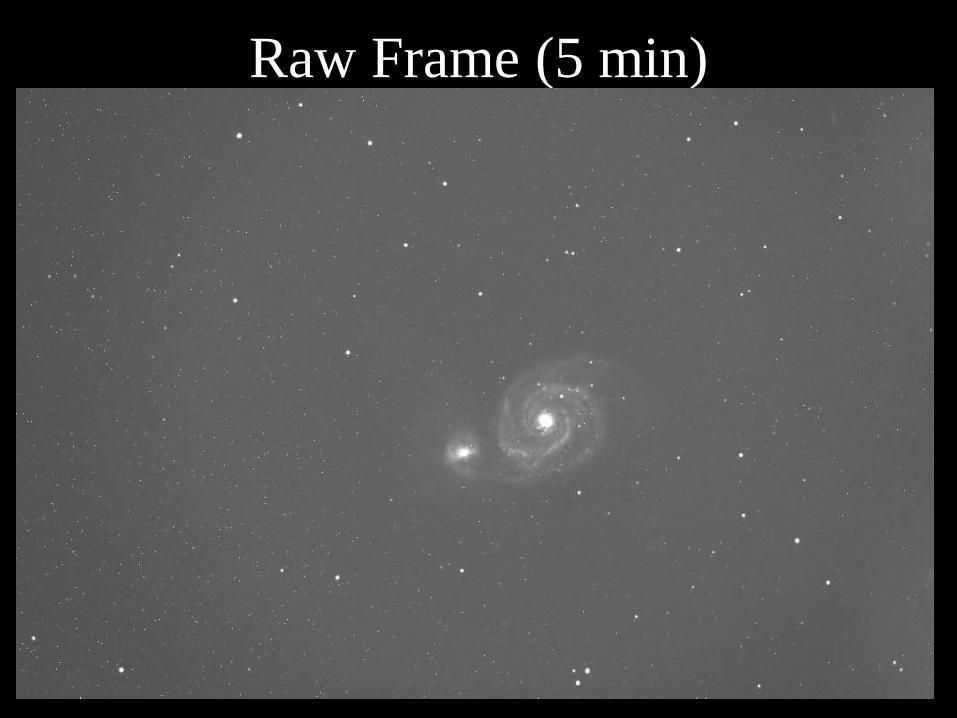
Raw Frame (5 min)
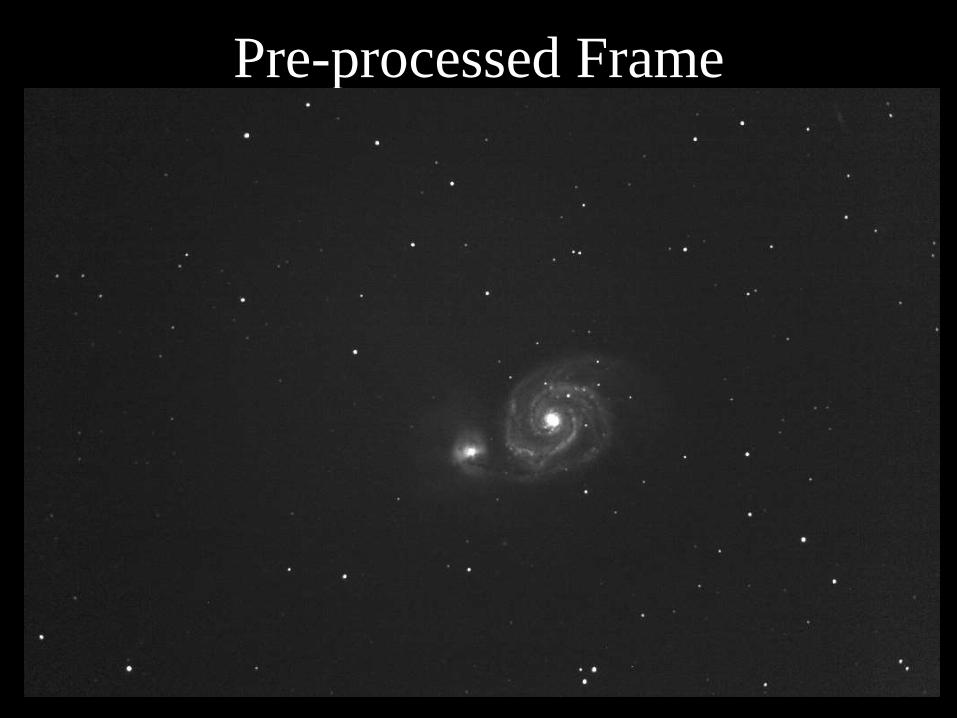
Pre-processed Frame
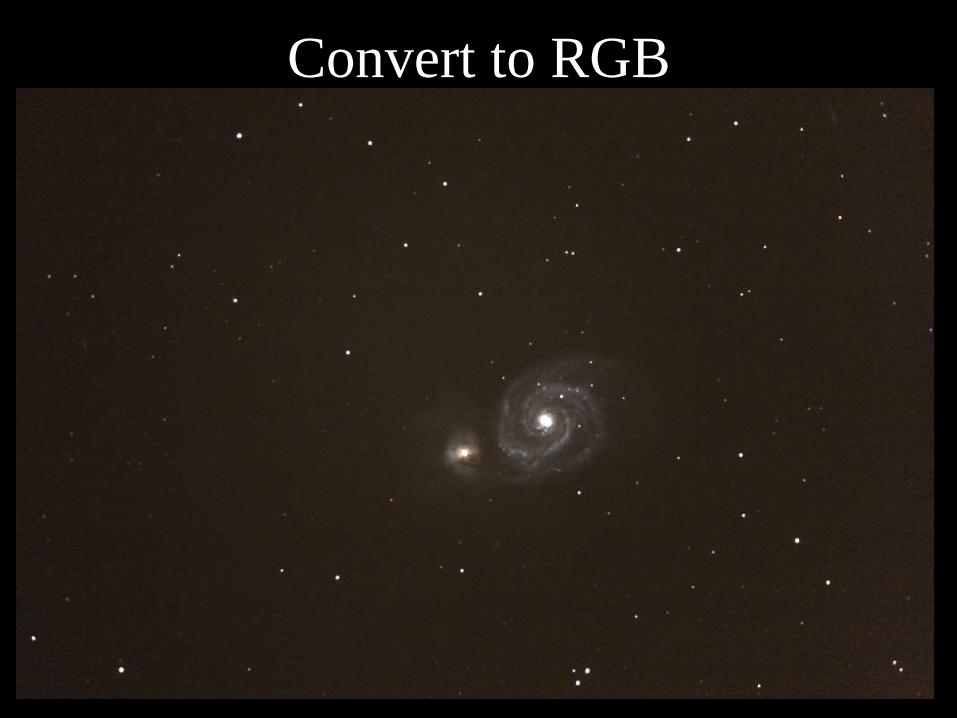
Convert to RGB
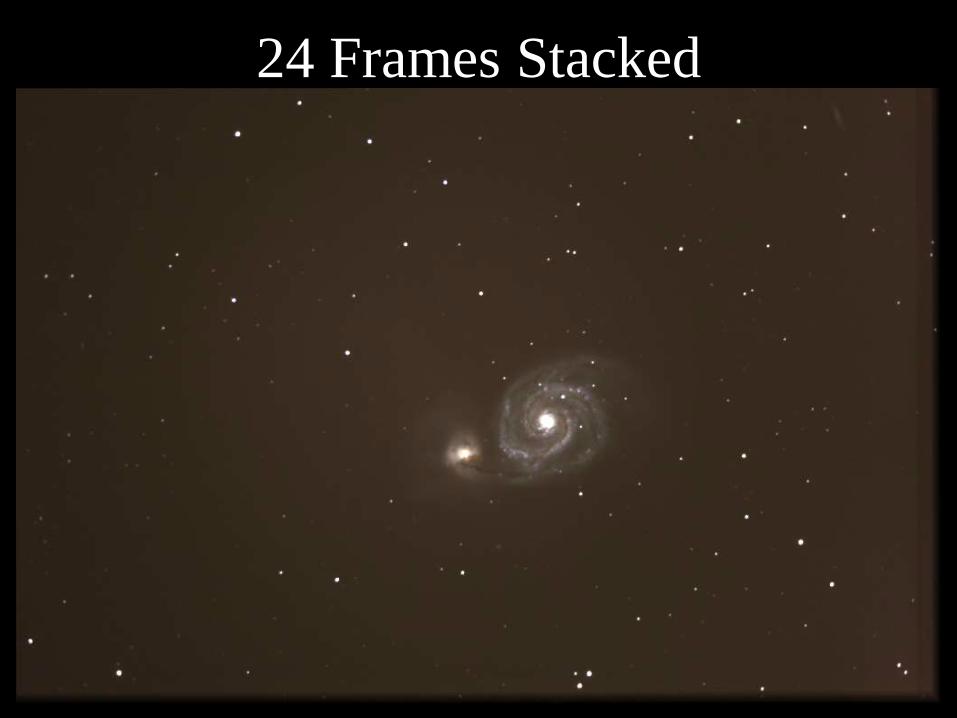
24 Frames Stacked
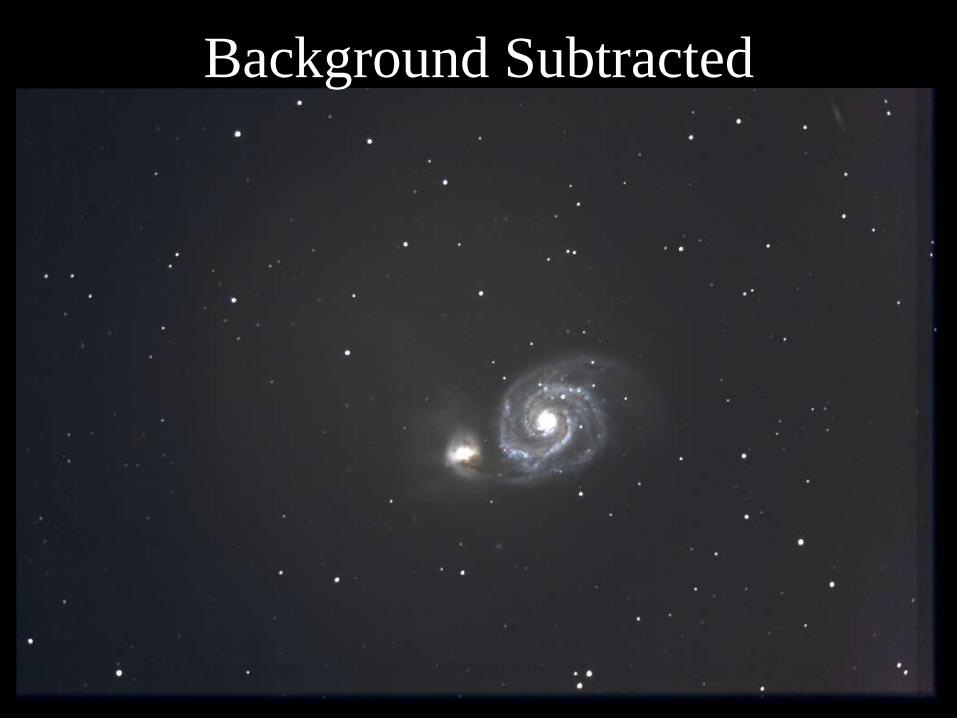
Background Subtracted
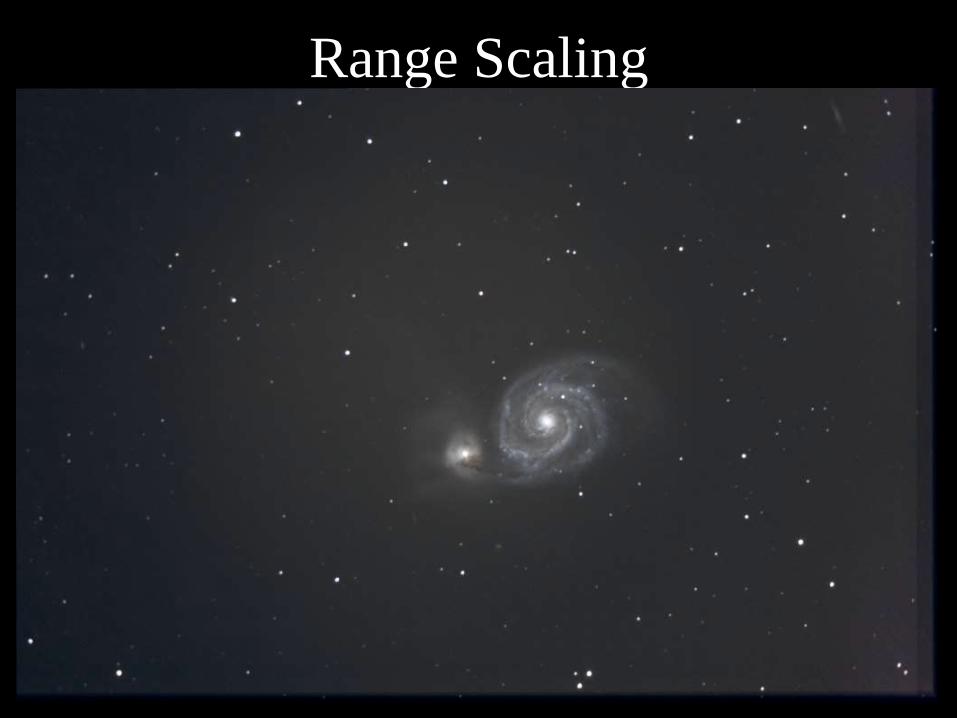
Range Scaling
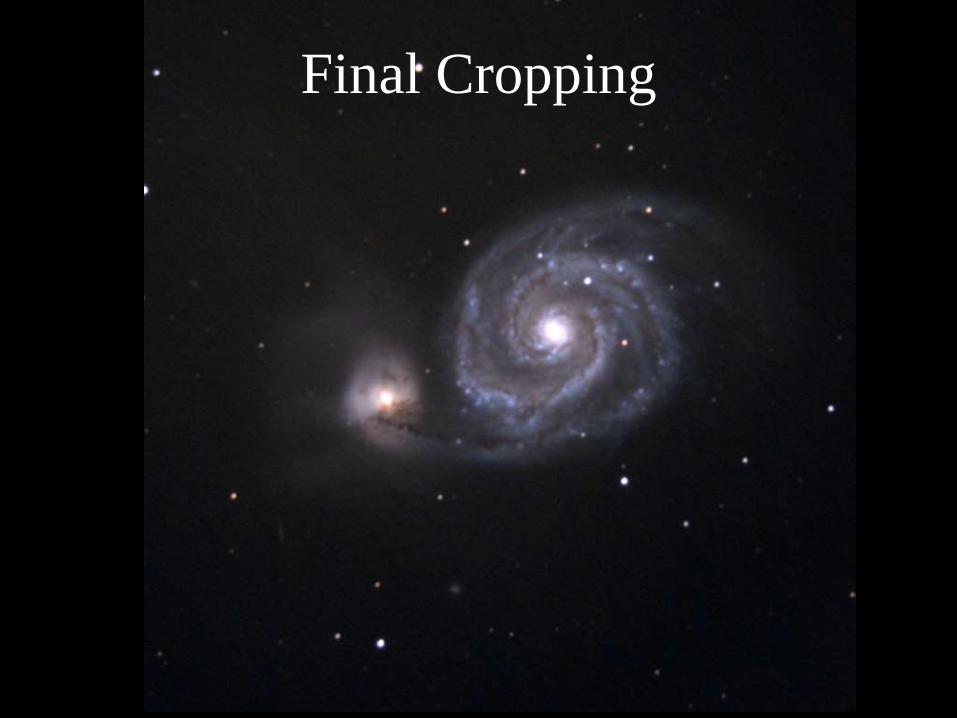
Final Cropping
Summary
• Camera Types
– Mobile phones to DSLRs and astro-CCD
• Telescope types
– Refractors, Newtonians, Schmidt Cassegrain
• Mount Types
– Tripods, Motorised, Equatorial, Alt-Azimuth
• Imaging
– Through eyepiece, planetary “Webcam”, DSLR
• Processing
– Stacking, Deconvolution

Favourite Images
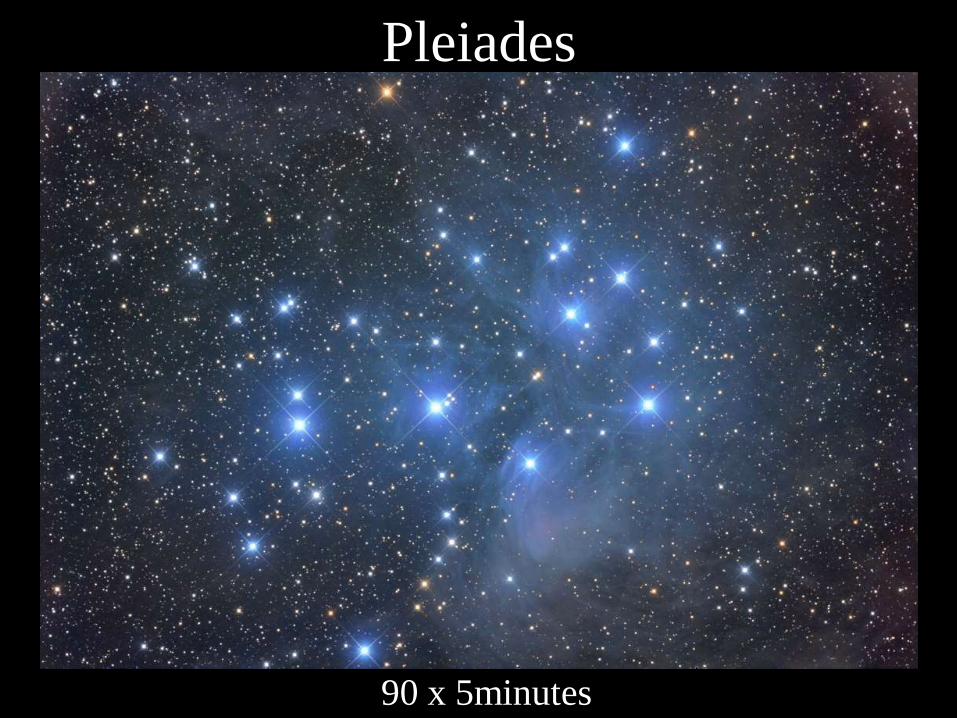
Pleiades
90 x 5minutes
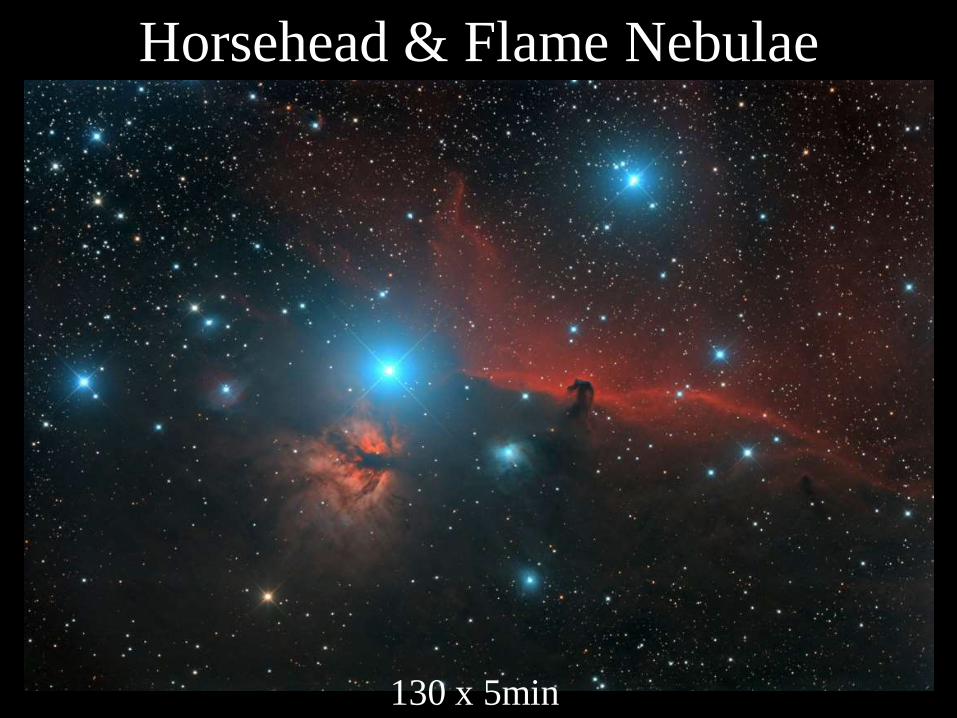
Horsehead & Flame Nebulae
130 x 5min
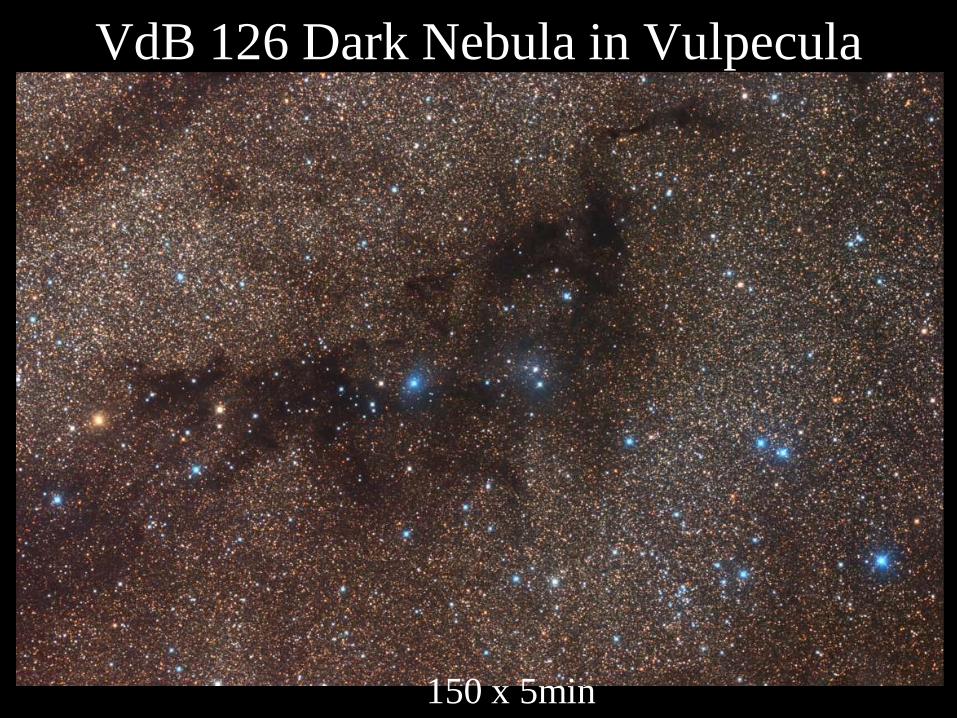
VdB 126 Dark Nebula in Vulpecula
150 x 5min
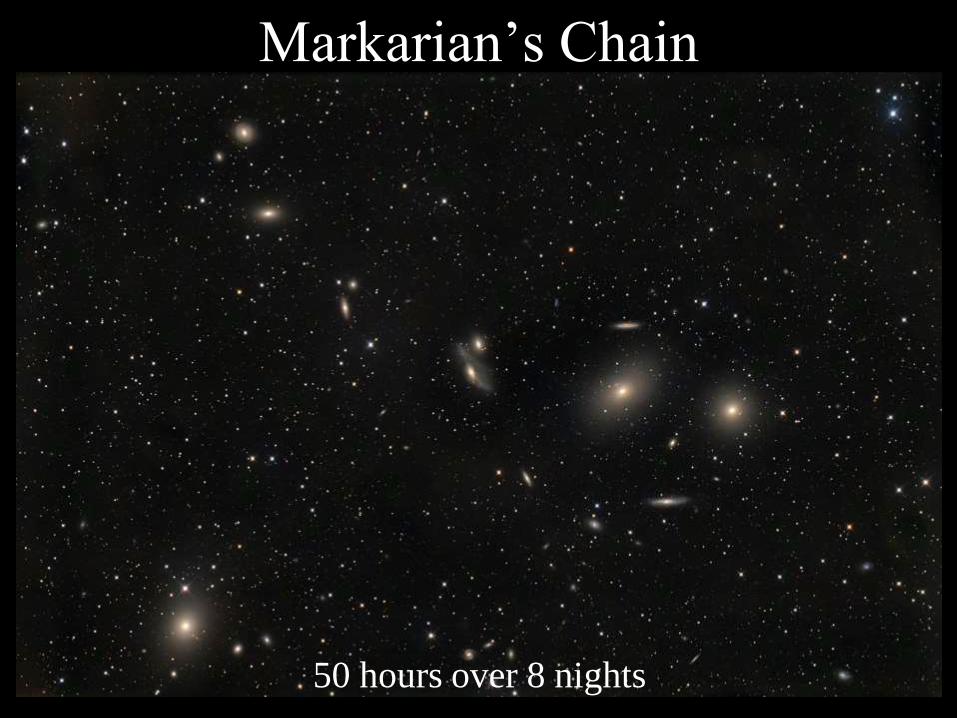
Markarian’s Chain
50 hours over 8 nights
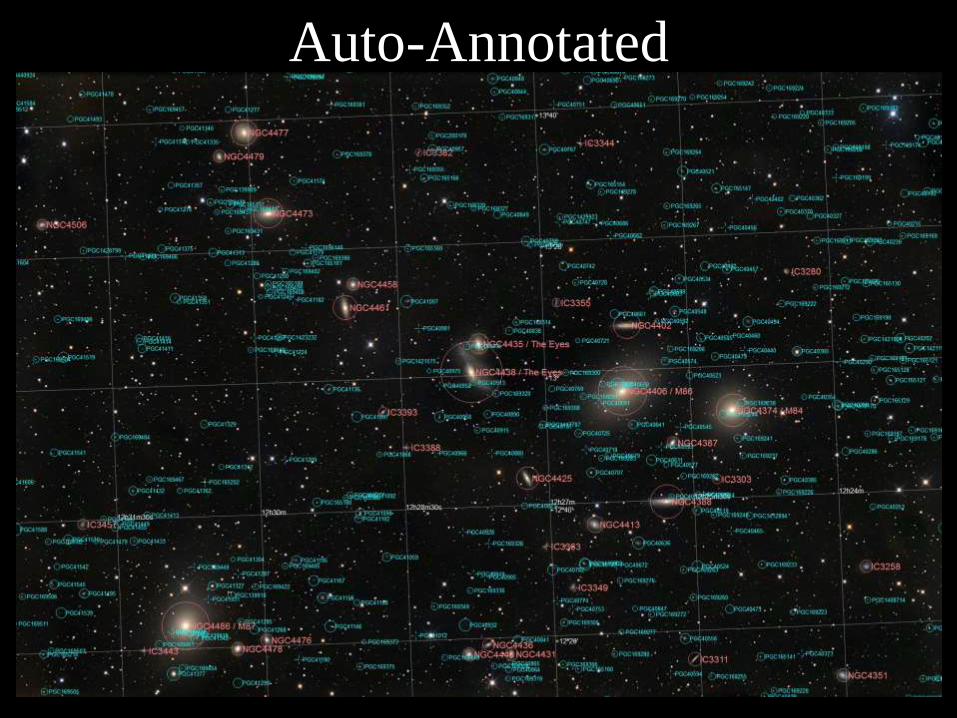
Auto-Annotated
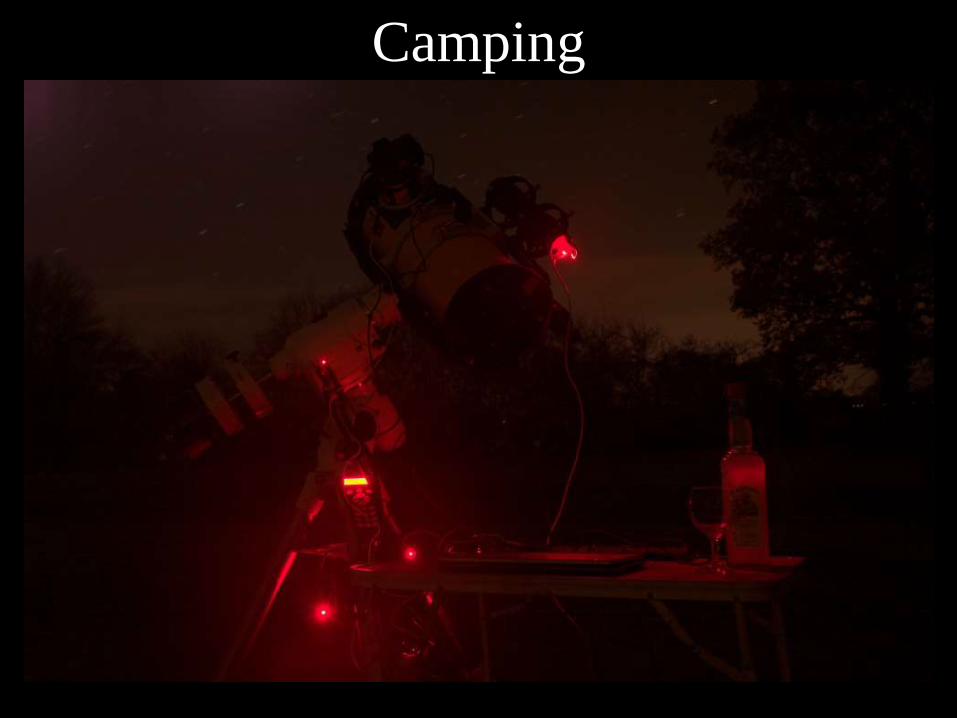
Camping
Final Remarks
• I hope you are now inspired to try!
• At least you have a better understanding
• Don’t be afraid to ask advice
– It’s why societies like AAS exist!
• Imaging Night: Saturday 14th March
Further Information
• www.markshelley.co.uk
• Jerry Lodrigus
– A Beginner's Guide to DSLR Astrophotography
• Michael Covington
– Digital SLR Astrophotography
• Steve Richards
– Making Every Photon Count

Top Related