


Languages
Pages
Legal

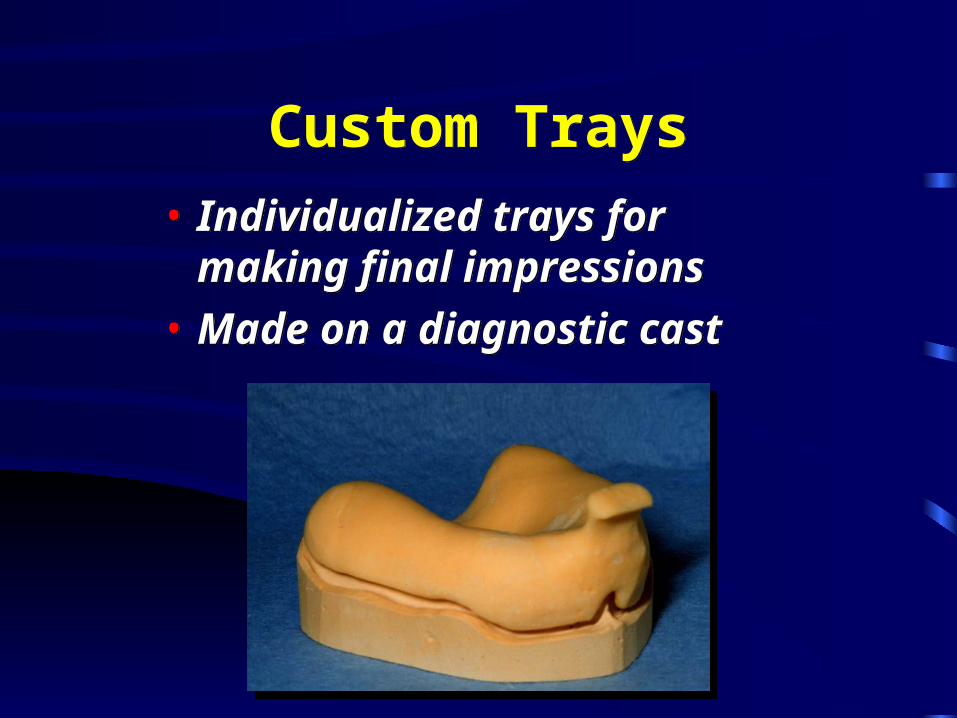
Custom TraysCustom Trays
• Individualized trays for making final impressions
• Made on a diagnostic cast
• Individualized trays for making final impressions
• Made on a diagnostic cast
Purpose of a Custom TrayPurpose of a Custom Tray
• Improve retention (border molded)
• Minimize:– Impression material distortion
• Uniform thickness
• Rigid tray
• Improve retention (border molded)
• Minimize:– Impression material distortion
• Uniform thickness
• Rigid tray
Purpose of a Custom TrayPurpose of a Custom Tray
• Minimize:– Tissue distortion
• Less viscous material
• Accurately adapted tray
– Costs • less impression material used
• Minimize:– Tissue distortion
• Less viscous material
• Accurately adapted tray
– Costs • less impression material used
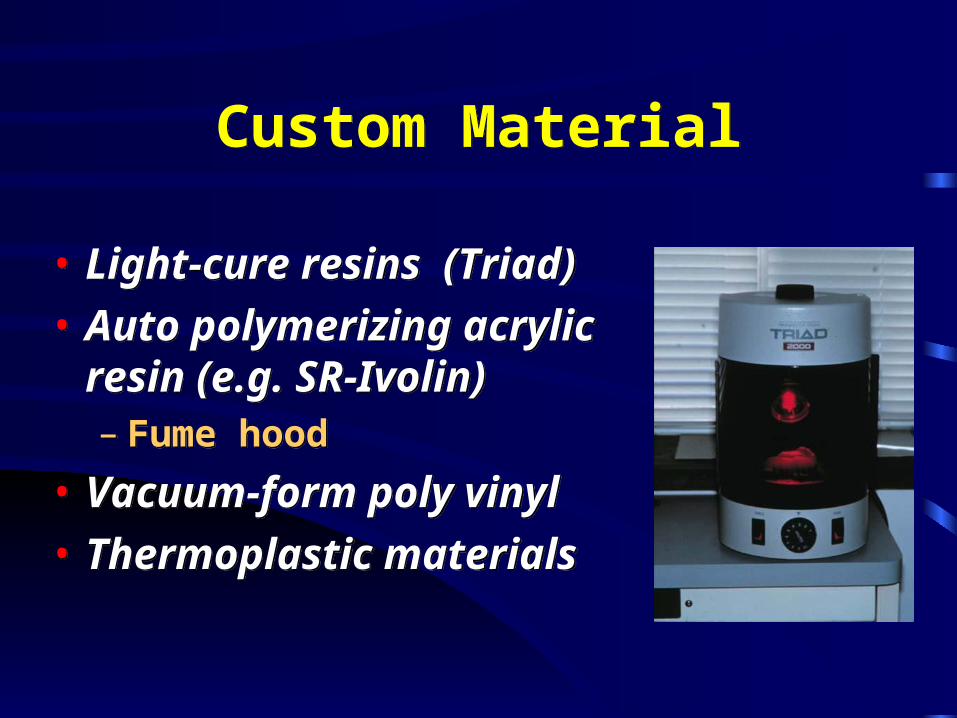
Custom MaterialCustom Material
• Light-cure resins (Triad)
• Auto polymerizing acrylic resin (e.g. SR-Ivolin)– Fume hood
• Vacuum-form poly vinyl
• Thermoplastic materials
• Light-cure resins (Triad)
• Auto polymerizing acrylic resin (e.g. SR-Ivolin)– Fume hood
• Vacuum-form poly vinyl
• Thermoplastic materials
Monomer HygieneMonomer Hygiene
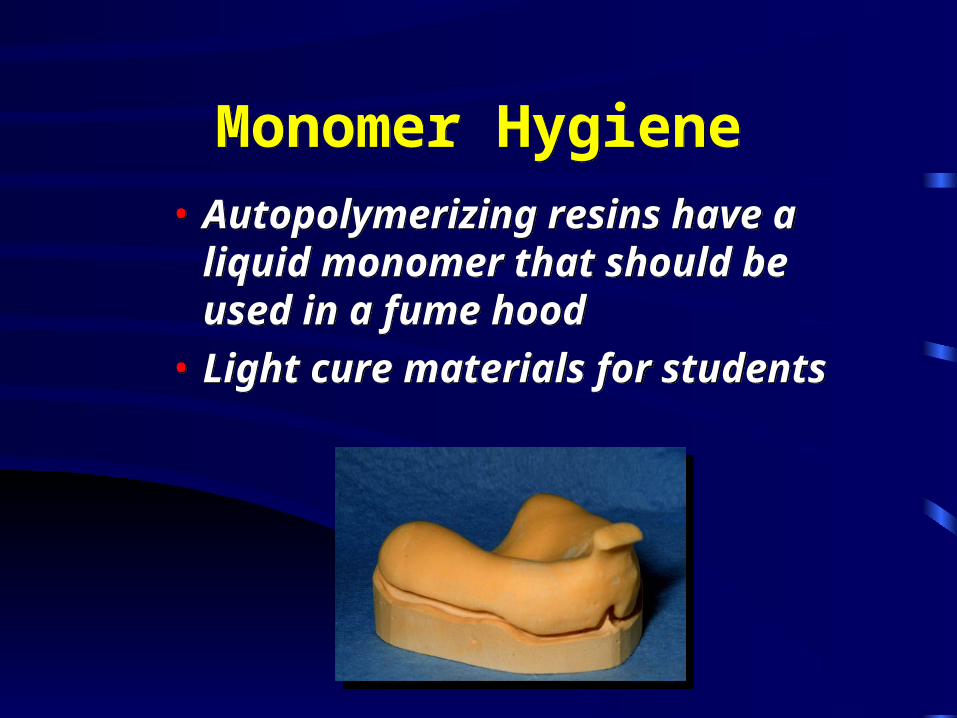
• Autopolymerizing resins have a liquid monomer that should be used in a fume hood
• Light cure materials for students
• Autopolymerizing resins have a liquid monomer that should be used in a fume hood
• Light cure materials for students
Extension Extension
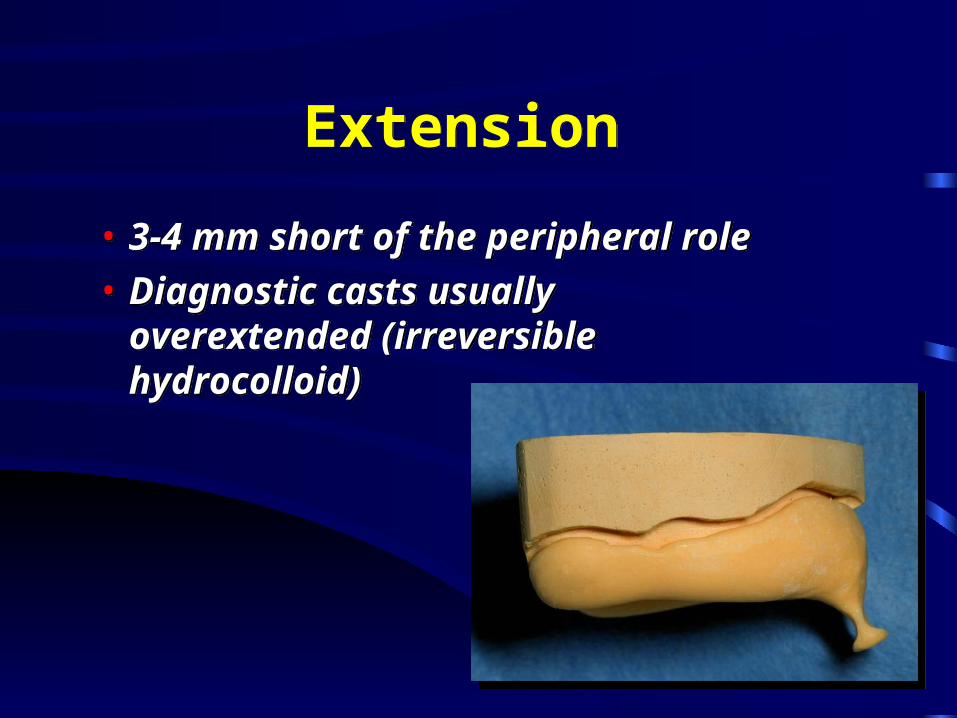
• 3-4 mm short of the peripheral role
• Diagnostic casts usually overextended (irreversible hydrocolloid)
• 3-4 mm short of the peripheral role
• Diagnostic casts usually overextended (irreversible hydrocolloid)
ExtensionExtension
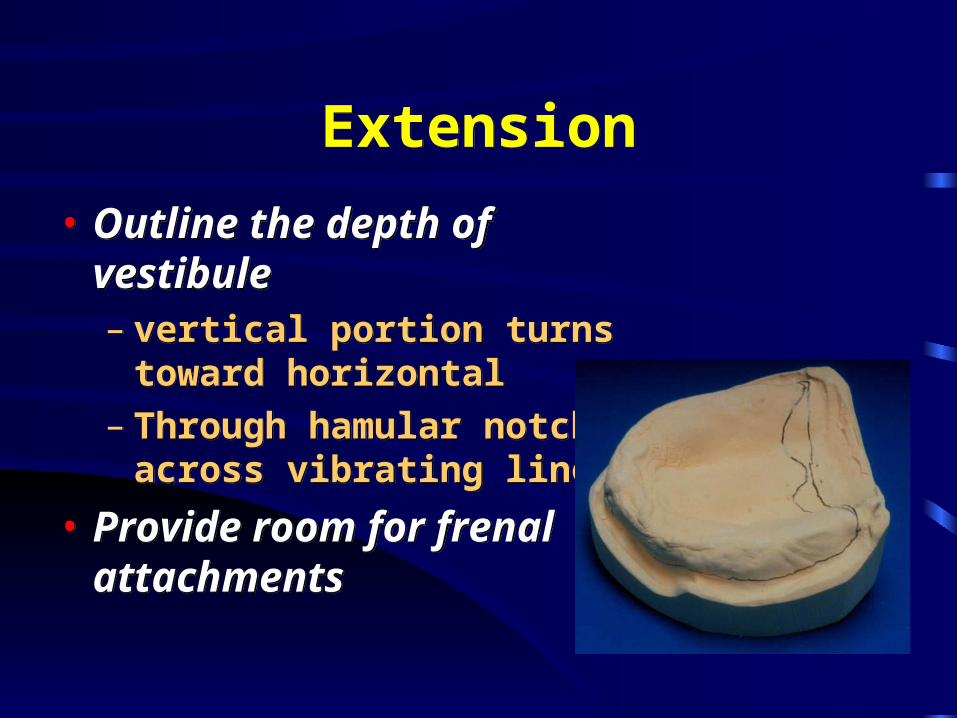
• Outline the depth of vestibule– vertical portion turns toward
horizontal– Through hamular notches
across vibrating line
• Provide room for frenal attachments
• Outline the depth of vestibule– vertical portion turns toward
horizontal– Through hamular notches
across vibrating line
• Provide room for frenal attachments
Block-Out UndercutsBlock-Out Undercuts
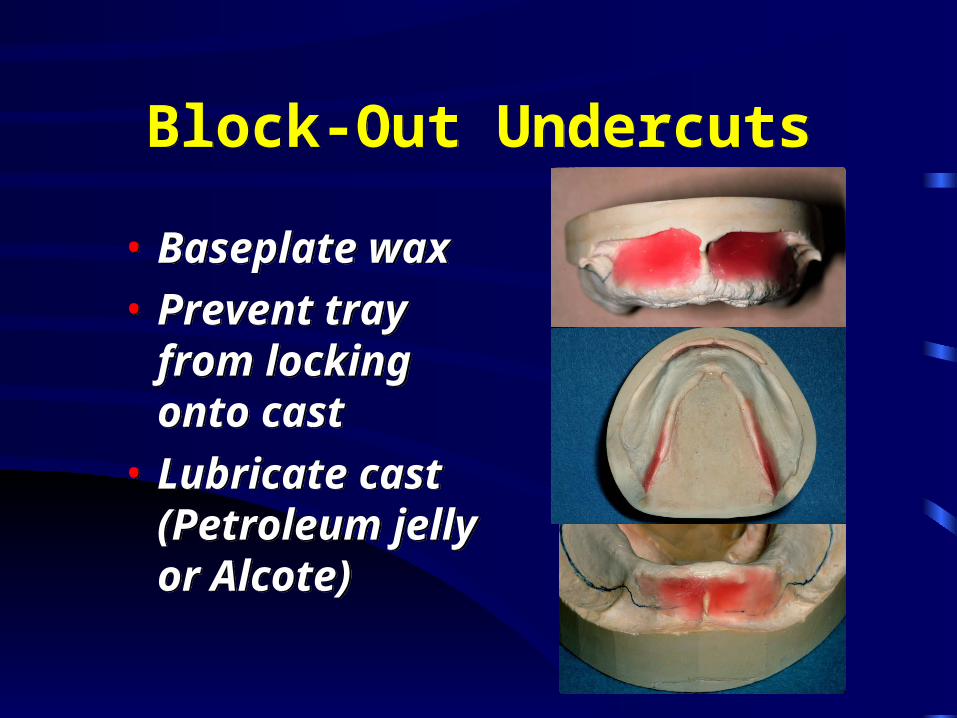
• Baseplate wax
• Prevent tray from locking onto cast
• Lubricate cast (Petroleum jelly or Alcote)
• Baseplate wax
• Prevent tray from locking onto cast
• Lubricate cast (Petroleum jelly or Alcote)
Wax SpacerWax Spacer
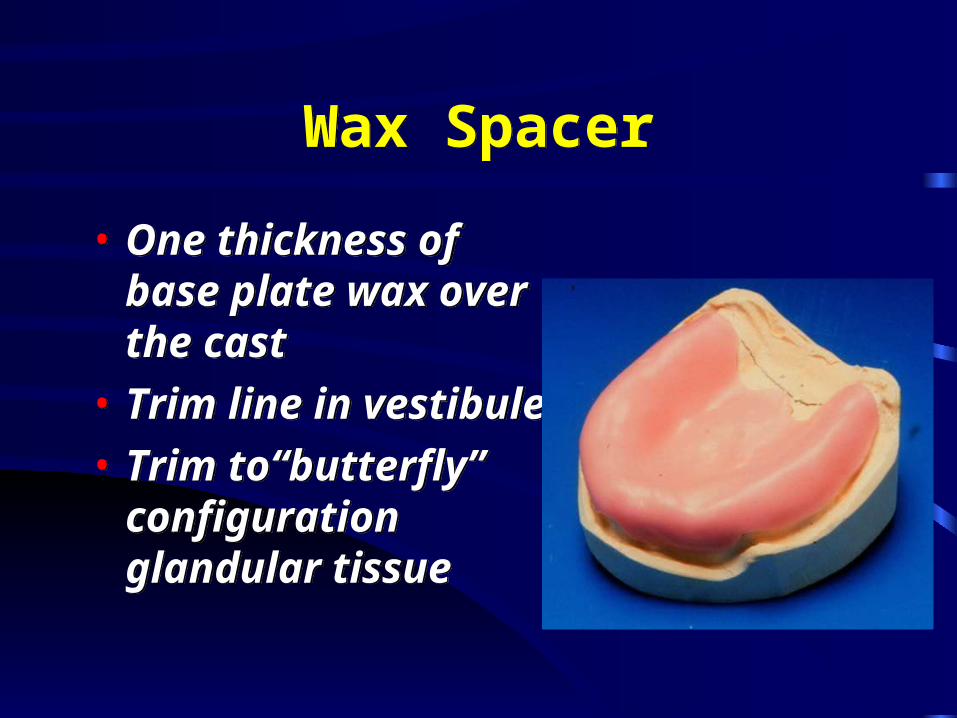
• One thickness of base plate wax over the cast
• Trim line in vestibule
• Trim to“butterfly” configuration glandular tissue
• One thickness of base plate wax over the cast
• Trim line in vestibule
• Trim to“butterfly” configuration glandular tissue
Wax SpacerWax Spacer
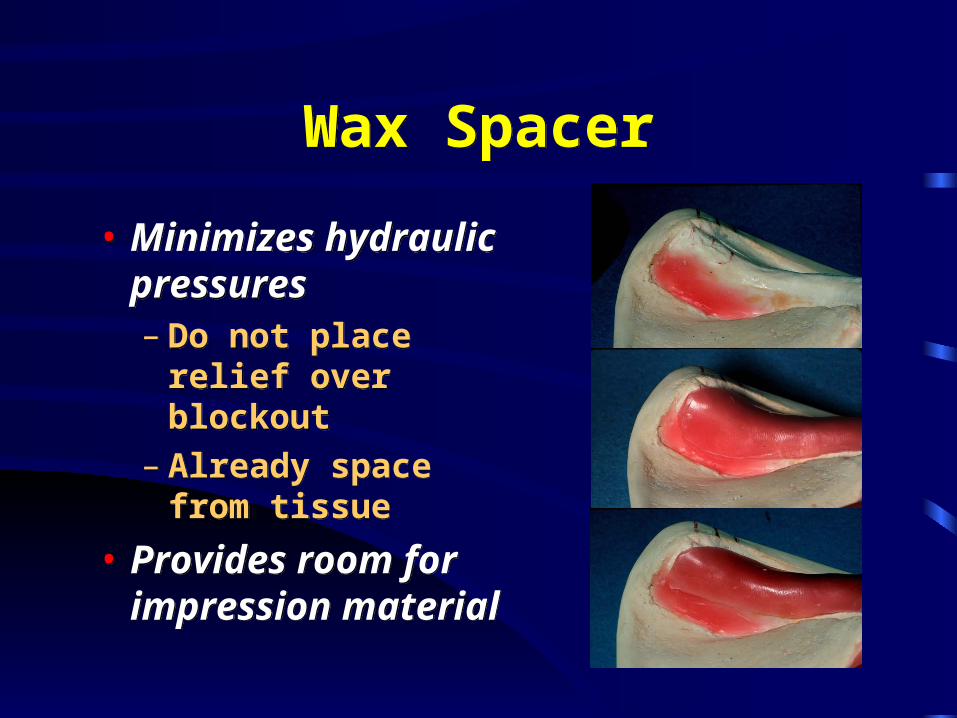
• Minimizes hydraulic pressures – Do not place relief
over blockout – Already space from
tissue
• Provides room for impression material
• Minimizes hydraulic pressures – Do not place relief
over blockout – Already space from
tissue
• Provides room for impression material
Triad ResinTriad Resin
• Light-cure– Heat will melt wax spacer – Cure under water– Cures on exposure to ambient light
• Light-cure– Heat will melt wax spacer – Cure under water– Cures on exposure to ambient light
Triad ResinTriad Resin
• Exposed surface has air inhibited layer– Air Barrier Coating
• Cytotoxic
• Must be thoroughly removed
– Cure under water
• Exposed surface has air inhibited layer– Air Barrier Coating
• Cytotoxic
• Must be thoroughly removed
– Cure under water
Triad ResinTriad Resin
• Wear gloves to minimize exposure to material– Hypersensitivity potential minimal
• Wear gloves to minimize exposure to material– Hypersensitivity potential minimal
Tru-Tray MaterialTru-Tray Material
• Remove from wrapper
• Adapt the resin over the spacer
• Palatal area adapted first
• Remove from wrapper
• Adapt the resin over the spacer
• Palatal area adapted first
Large CastsLarge Casts
• Use portion of another sheet
• Adapt well until seam is gone
• Reclose material in wrapper, tape shut
• Infection control
• Use portion of another sheet
• Adapt well until seam is gone
• Reclose material in wrapper, tape shut
• Infection control
Tru-Tray MaterialTru-Tray Material
• Trim excess with a scalpel, then readapt
• Cut down through resin
• Pulling blade will tear resin
• Trim excess with a scalpel, then readapt
• Cut down through resin
• Pulling blade will tear resin
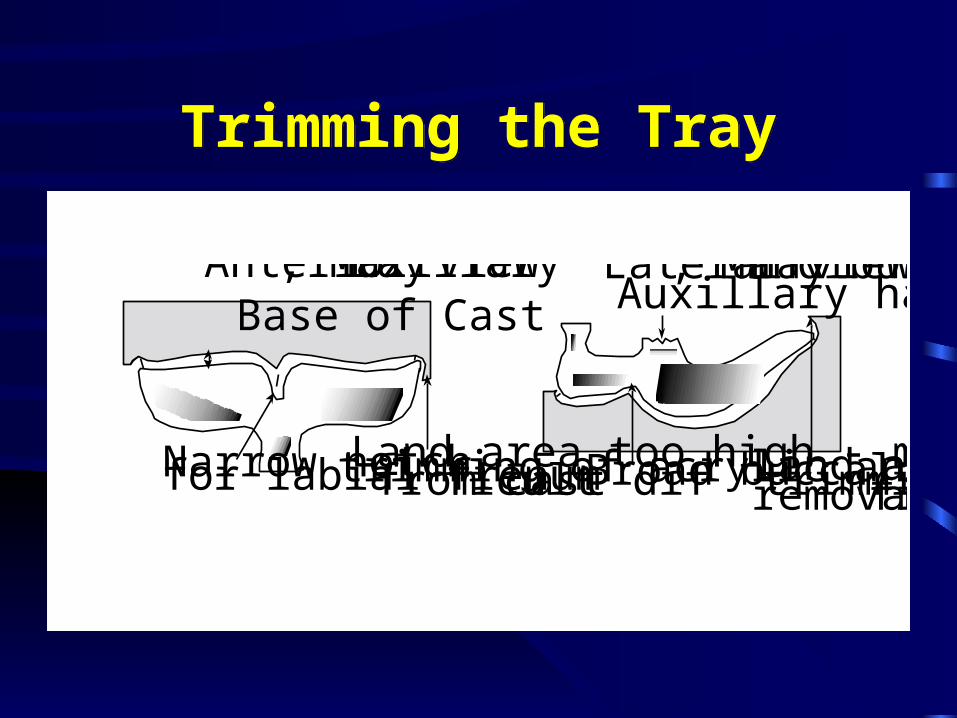
Trimming the TrayTrimming the Tray
a
Broad buccal frenumLand area too high - makestrimming of acrylic andremoval from cast difficult
Lateral view, Mandibular TrayAnterior view, Maxillary TrayBase of Cast
Narrow notchfor labial frenumLand area too high - makestrimming of acrylic and removalfrom cast difficult
Auxillary handle

Handle AdditionHandle Addition
• Small vertical handle– Does not pull vestibule
• Add before curing
• Small vertical handle– Does not pull vestibule
• Add before curing
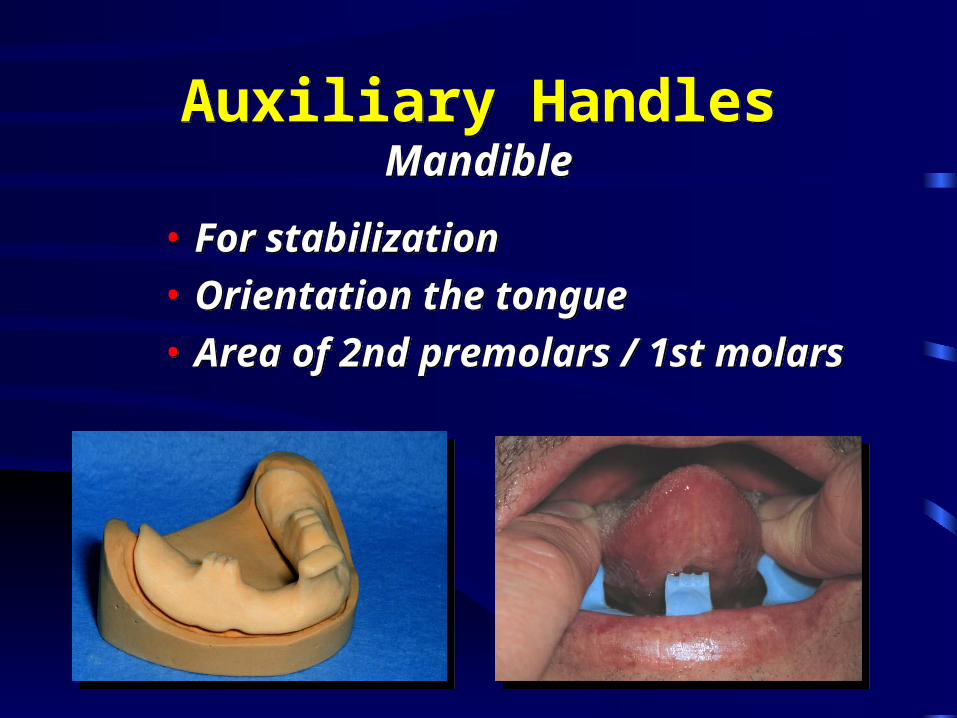
Auxiliary HandlesMandible
Auxiliary HandlesMandible
• For stabilization
• Orientation the tongue
• Area of 2nd premolars / 1st molars
• For stabilization
• Orientation the tongue
• Area of 2nd premolars / 1st molars
Curing in WaterCuring in Water
• Prevents wax meltdown
• Water hazard
• Ensure:– Top of container well sealed– Outer container surface dry
• Prevents wax meltdown
• Water hazard
• Ensure:– Top of container well sealed– Outer container surface dry

Cure Time Cure Time
• 4 minutes
• Cooling effect of water may extend cure time
• 4 minutes
• Cooling effect of water may extend cure time

FinishFinish
• Arbor-bands and acrylic burs
• Round and smooth edges
• Mask and eye protection
• Arbor-bands and acrylic burs
• Round and smooth edges
• Mask and eye protection
FinishFinish
• Do not polish - adhesion
• No holes until border molded
• Do not polish - adhesion
• No holes until border molded
Tray for Border Moldingwith Partner
Tray for Border Moldingwith Partner
• More difficult than edentulous border molding– Removal from teeth & undercuts– Easier to lock in place– Hybrid design
• More difficult than edentulous border molding– Removal from teeth & undercuts– Easier to lock in place– Hybrid design

Tray DesignTray Design
a
Acrylic resin1st wax spacer only over teeth2nd spacer to vestibule on one side
Note length of periphery is different.One side is long for border molding,the other is short to allow easierremoval
first spacer should taper a bit toward the occlusalto allow easy removal from the second spacer.
Top Related