


Languages
Pages
Legal

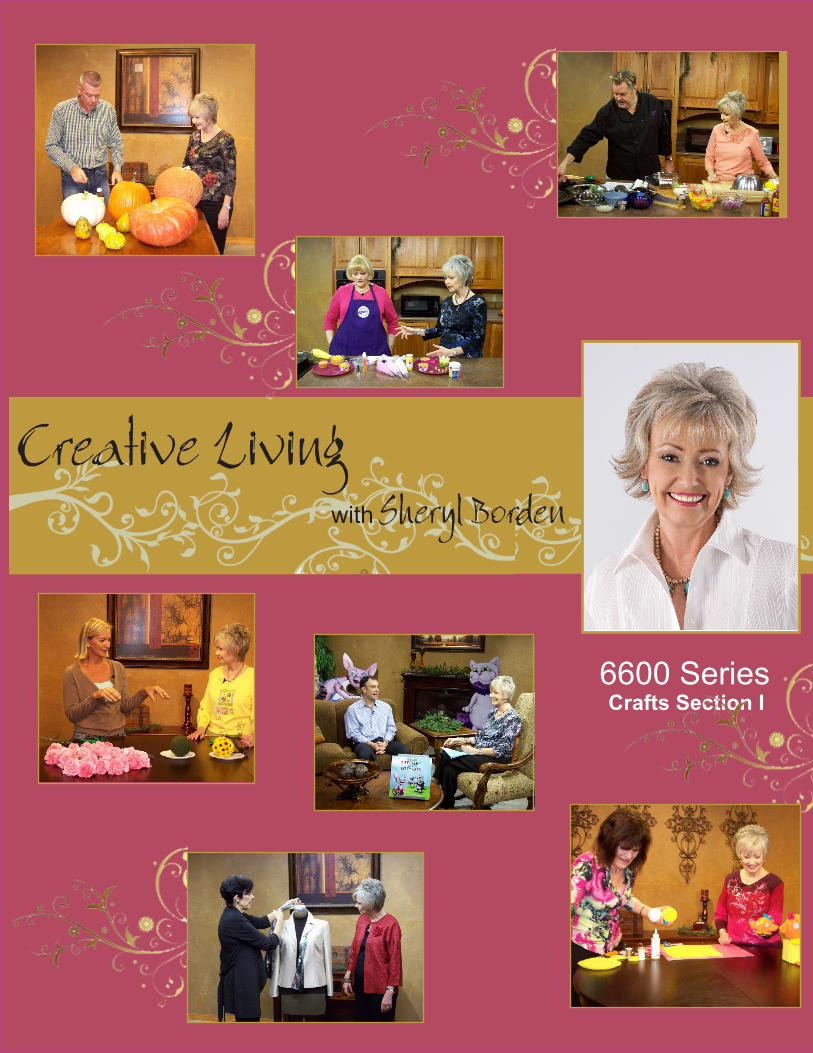
6600 SeriesCrafts Section I
Creative Living with Sheryl Borden
CraftsDuck Tape Rosettes & Pouches .......................... I-3SG Botanical Leaf Card ....................................... I-3Upcycled Sweaters with Needle Felting .............. I-4Working with Hearty Clay .................................... I-5Fabric Tinting with Crayons ................................. I-7Makin’s Clay Postcard & ATC .............................. I-8Simply Elaborate Stencils .................................... I-9Vintage Paper Crafts ........................................... II-10Frilly Fringed Flower Instructions......................... II-13Close to My Heart ................................................ II-14Donna Salazar Designs ....................................... II-16Projects From The Stampin’ Queen .................... II-17“Green” Jewelry ................................................... II-19Guests ................................................................. II-20
Table of Contents
2
Due to the size of this section, it has been separated into two sections in order for it to be downloaded more quickly. For instance, “Duck Tape Vintage Rosettes & Pouches” is in Section I on page 3, whereas “Vintage Paper Crafts” is in Section II on page 10.
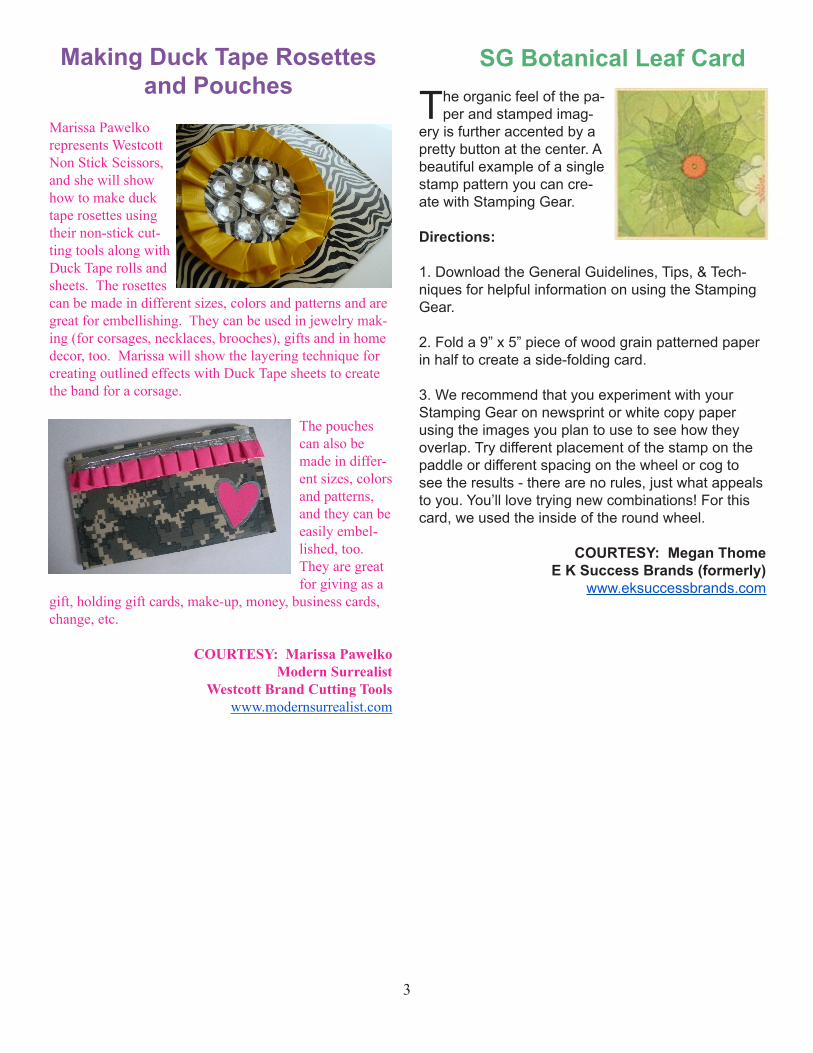
Marissa Pawelko represents Westcott Non Stick Scissors, and she will show how to make duck tape rosettes using their non-stick cut-ting tools along with Duck Tape rolls and sheets. The rosettes can be made in different sizes, colors and patterns and are great for embellishing. They can be used in jewelry mak-ing (for corsages, necklaces, brooches), gifts and in home decor, too. Marissa will show the layering technique for creating outlined effects with Duck Tape sheets to create the band for a corsage.
The pouches can also be made in differ-ent sizes, colors and patterns, and they can be easily embel-lished, too. They are great for giving as a
gift, holding gift cards, make-up, money, business cards, change, etc.
COURTESY: Marissa PawelkoModern Surrealist
Westcott Brand Cutting Toolswww.modernsurrealist.com
Making Duck Tape Rosettes and Pouches
SG Botanical Leaf Card
The organic feel of the pa-per and stamped imag-
ery is further accented by a pretty button at the center. A beautiful example of a single stamp pattern you can cre-ate with Stamping Gear.
Directions:
1. Download the General Guidelines, Tips, & Tech-niques for helpful information on using the Stamping Gear.
2. Fold a 9” x 5” piece of wood grain patterned paper in half to create a side-folding card. 3. We recommend that you experiment with your Stamping Gear on newsprint or white copy paper using the images you plan to use to see how they overlap. Try different placement of the stamp on the paddle or different spacing on the wheel or cog to see the results - there are no rules, just what appeals to you. You’ll love trying new combinations! For this card, we used the inside of the round wheel.
COURTESY: Megan ThomeE K Success Brands (formerly)
www.eksuccessbrands.com
3
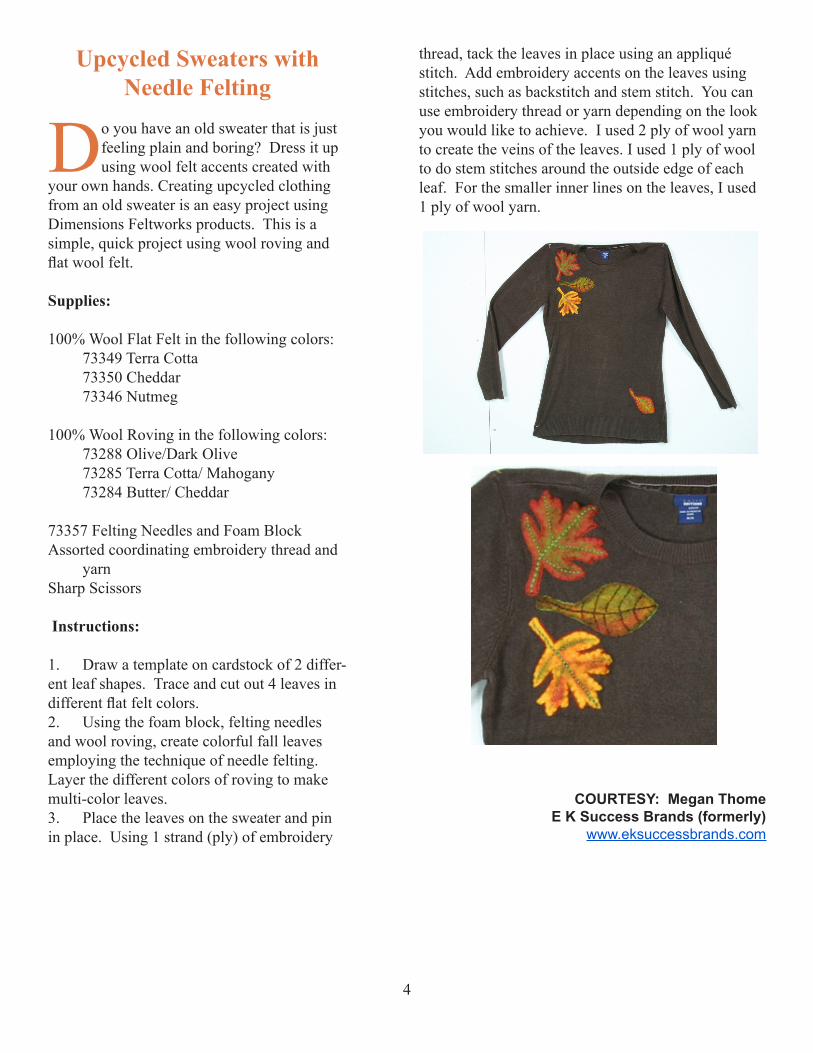
Upcycled Sweaters with Needle Felting
Do you have an old sweater that is just feeling plain and boring? Dress it up using wool felt accents created with
your own hands. Creating upcycled clothing from an old sweater is an easy project using Dimensions Feltworks products. This is a simple, quick project using wool roving and flat wool felt.
Supplies:
100% Wool Flat Felt in the following colors: 73349 Terra Cotta 73350 Cheddar 73346 Nutmeg
100% Wool Roving in the following colors: 73288 Olive/Dark Olive 73285 Terra Cotta/ Mahogany 73284 Butter/ Cheddar
73357 Felting Needles and Foam BlockAssorted coordinating embroidery thread and yarnSharp Scissors Instructions:
1. Draw a template on cardstock of 2 differ-ent leaf shapes. Trace and cut out 4 leaves in different flat felt colors.2. Using the foam block, felting needles and wool roving, create colorful fall leaves employing the technique of needle felting. Layer the different colors of roving to make multi-color leaves.3. Place the leaves on the sweater and pin in place. Using 1 strand (ply) of embroidery
thread, tack the leaves in place using an appliqué stitch. Add embroidery accents on the leaves using stitches, such as backstitch and stem stitch. You can use embroidery thread or yarn depending on the look you would like to achieve. I used 2 ply of wool yarn to create the veins of the leaves. I used 1 ply of wool to do stem stitches around the outside edge of each leaf. For the smaller inner lines on the leaves, I used 1 ply of wool yarn.
COURTESY: Megan ThomeE K Success Brands (formerly)
www.eksuccessbrands.com
4
5
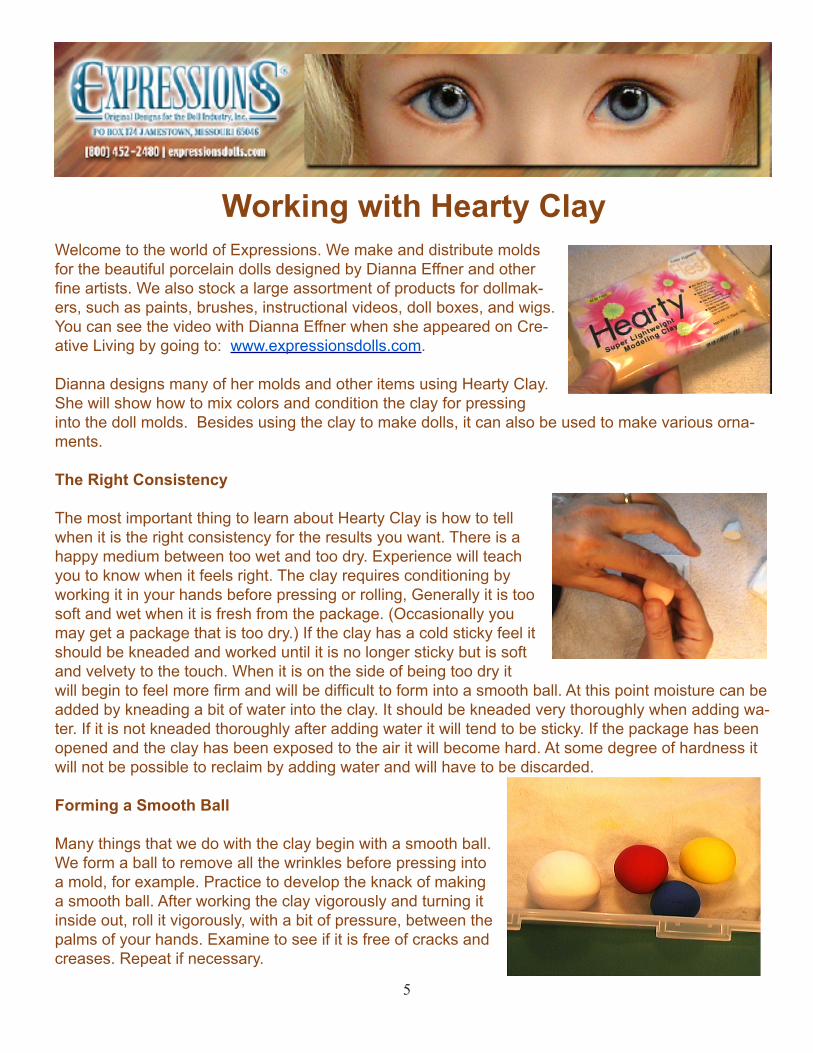
Working with Hearty ClayWelcome to the world of Expressions. We make and distribute molds for the beautiful porcelain dolls designed by Dianna Effner and other fine artists. We also stock a large assortment of products for dollmak-ers, such as paints, brushes, instructional videos, doll boxes, and wigs. You can see the video with Dianna Effner when she appeared on Cre-ative Living by going to: www.expressionsdolls.com.
Dianna designs many of her molds and other items using Hearty Clay. She will show how to mix colors and condition the clay for pressing into the doll molds. Besides using the clay to make dolls, it can also be used to make various orna-ments.
The Right Consistency
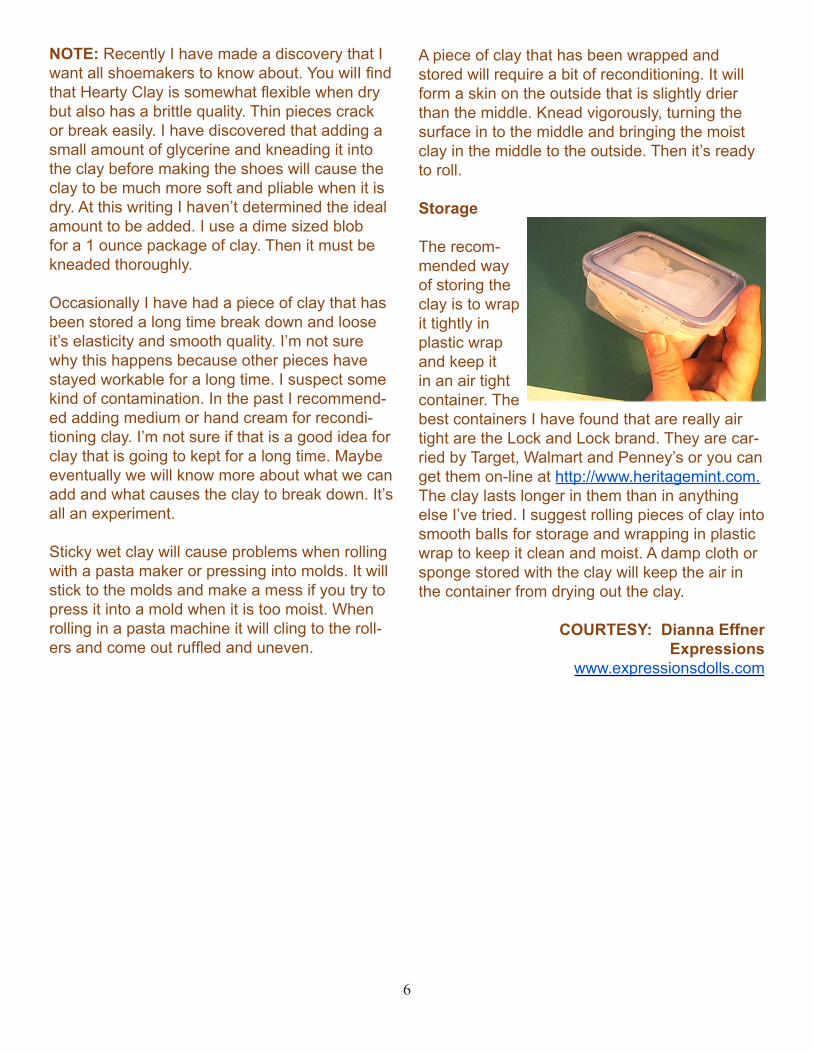
The most important thing to learn about Hearty Clay is how to tell when it is the right consistency for the results you want. There is a happy medium between too wet and too dry. Experience will teach you to know when it feels right. The clay requires conditioning by working it in your hands before pressing or rolling, Generally it is too soft and wet when it is fresh from the package. (Occasionally you may get a package that is too dry.) If the clay has a cold sticky feel it should be kneaded and worked until it is no longer sticky but is soft and velvety to the touch. When it is on the side of being too dry it will begin to feel more firm and will be difficult to form into a smooth ball. At this point moisture can be added by kneading a bit of water into the clay. It should be kneaded very thoroughly when adding wa-ter. If it is not kneaded thoroughly after adding water it will tend to be sticky. If the package has been opened and the clay has been exposed to the air it will become hard. At some degree of hardness it will not be possible to reclaim by adding water and will have to be discarded.
Forming a Smooth Ball
Many things that we do with the clay begin with a smooth ball. We form a ball to remove all the wrinkles before pressing into a mold, for example. Practice to develop the knack of making a smooth ball. After working the clay vigorously and turning it inside out, roll it vigorously, with a bit of pressure, between the palms of your hands. Examine to see if it is free of cracks and creases. Repeat if necessary.
NOTE: Recently I have made a discovery that I want all shoemakers to know about. You wilI find that Hearty Clay is somewhat flexible when dry but also has a brittle quality. Thin pieces crack or break easily. I have discovered that adding a small amount of glycerine and kneading it into the clay before making the shoes will cause the clay to be much more soft and pliable when it is dry. At this writing I haven’t determined the ideal amount to be added. I use a dime sized blob for a 1 ounce package of clay. Then it must be kneaded thoroughly.
Occasionally I have had a piece of clay that has been stored a long time break down and loose it’s elasticity and smooth quality. I’m not sure why this happens because other pieces have stayed workable for a long time. I suspect some kind of contamination. In the past I recommend-ed adding medium or hand cream for recondi-tioning clay. I’m not sure if that is a good idea for clay that is going to kept for a long time. Maybe eventually we will know more about what we can add and what causes the clay to break down. It’s all an experiment.
Sticky wet clay will cause problems when rolling with a pasta maker or pressing into molds. It will stick to the molds and make a mess if you try to press it into a mold when it is too moist. When rolling in a pasta machine it will cling to the roll-ers and come out ruffled and uneven.
A piece of clay that has been wrapped and stored will require a bit of reconditioning. It will form a skin on the outside that is slightly drier than the middle. Knead vigorously, turning the surface in to the middle and bringing the moist clay in the middle to the outside. Then it’s ready to roll.
Storage
The recom-mended way of storing the clay is to wrap it tightly in plastic wrap and keep it in an air tight container. The best containers I have found that are really air tight are the Lock and Lock brand. They are car-ried by Target, Walmart and Penney’s or you can get them on-line at http://www.heritagemint.com. The clay lasts longer in them than in anything else I’ve tried. I suggest rolling pieces of clay into smooth balls for storage and wrapping in plastic wrap to keep it clean and moist. A damp cloth or sponge stored with the clay will keep the air in the container from drying out the clay.
COURTESY: Dianna EffnerExpressions
www.expressionsdolls.com
6
NOTES
7
Fabric Tinting with Crayons
It seems any-thing “retro” is popular once again. In the 50’s, crayon tint-ed designs were very popular. Women would often do outline embroidery and let their children
or grandchildren help color in the designs for dish towels, dresser scarves and pillowcases.
Today this same technique can be used to add dimen-sion to appliqué or to create vintage looking pillows or other home decor. Children love to be part of this experience, and it can be incorporated into a child’s party activity or into a treasured gift for Mother or Grandma.
Begin by drawing a design onto fabric either with crayon or a fine Pigma or Sharpie pen. Color inside your design using as many Crayola crayons as you like to get the desired effect. If working with a large design, it is suggested to rest your hand on a clean paper towel to keep the design free of unwanted pieces of crayon.
Once the design is complete, you will need to heat set it using a dry cotton setting on the iron. Put one paper towel above and another below the area to be heat set and apply the iron for about 10 seconds before lifting it and moving it to the next area. Any excess color and wax will melt into the paper towel and the color remaining on the fabr ic will be set.
This is a great technique that even younger children will enjoy working with and older artists will enjoy perfecting.
COURTESY: Evelyn Terhune
Ozark Craftswww.ozcrafts.com
8
Makin’s Clay® Postcard & ATC
COURTESY: Ann ButlerCrafter & Designer
www.creativitystirsthesoul.com
Supplies:
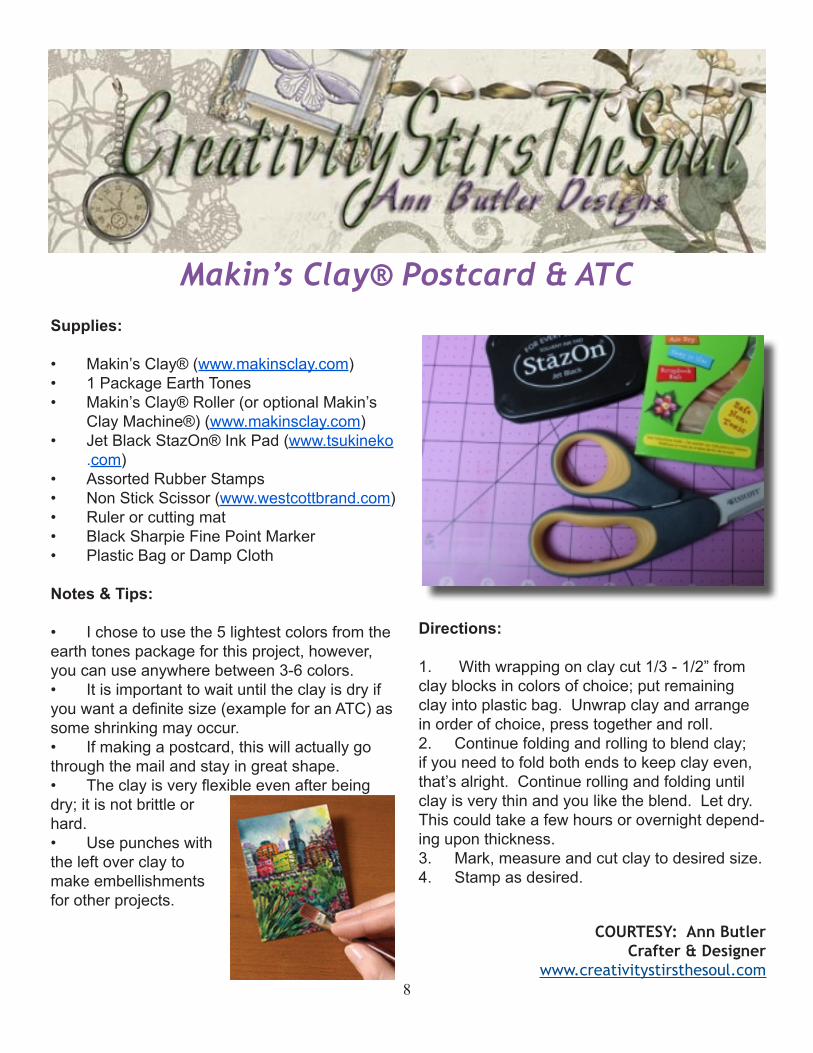
• Makin’s Clay® (www.makinsclay.com)• 1 Package Earth Tones• Makin’s Clay® Roller (or optional Makin’s Clay Machine®) (www.makinsclay.com)• Jet Black StazOn® Ink Pad (www.tsukineko .com) • Assorted Rubber Stamps• Non Stick Scissor (www.westcottbrand.com) • Ruler or cutting mat• Black Sharpie Fine Point Marker• Plastic Bag or Damp Cloth
Notes & Tips:
• I chose to use the 5 lightest colors from the earth tones package for this project, however, you can use anywhere between 3-6 colors.• It is important to wait until the clay is dry if you want a definite size (example for an ATC) as some shrinking may occur.• If making a postcard, this will actually go through the mail and stay in great shape.• The clay is very flexible even after being dry; it is not brittle or hard.• Use punches with the left over clay to make embellishments for other projects.
Directions:
1. With wrapping on clay cut 1/3 - 1/2” from clay blocks in colors of choice; put remaining clay into plastic bag. Unwrap clay and arrange in order of choice, press together and roll.2. Continue folding and rolling to blend clay; if you need to fold both ends to keep clay even, that’s alright. Continue rolling and folding until clay is very thin and you like the blend. Let dry. This could take a few hours or overnight depend-ing upon thickness.3. Mark, measure and cut clay to desired size. 4. Stamp as desired.
9
Stencils are a classic art form. You can easily create beautiful art work by simply tracing. You can even use the edges to create coordinating frames and borders
Stencils are filled with endless possibilities! Simple to complex designs, they are perfect for paints, markers and crayons.
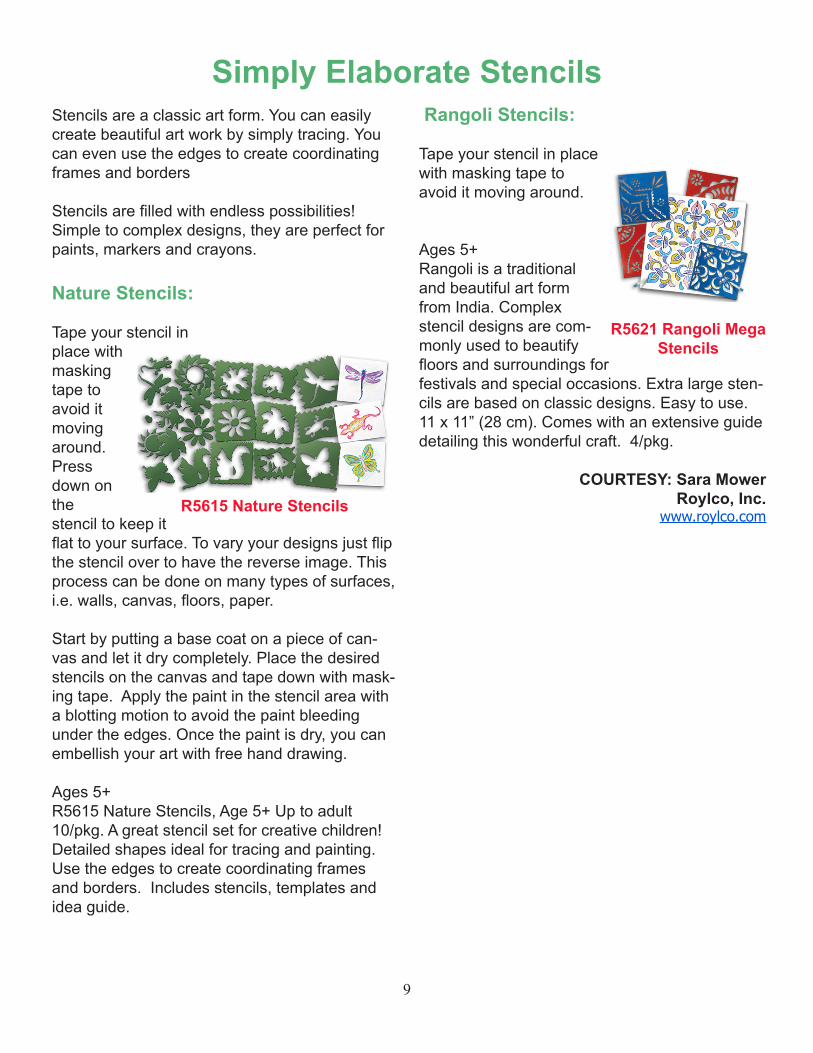
Nature Stencils:
Tape your stencil inplace withmasking tape to avoid itmovingaround. Pressdown on thestencil to keep it flat to your surface. To vary your designs just flip the stencil over to have the reverse image. This process can be done on many types of surfaces, i.e. walls, canvas, floors, paper.
Start by putting a base coat on a piece of can-vas and let it dry completely. Place the desiredstencils on the canvas and tape down with mask-ing tape. Apply the paint in the stencil area with a blotting motion to avoid the paint bleeding under the edges. Once the paint is dry, you can embellish your art with free hand drawing.
Ages 5+R5615 Nature Stencils, Age 5+ Up to adult10/pkg. A great stencil set for creative children! Detailed shapes ideal for tracing and painting. Use the edges to create coordinating frames and borders. Includes stencils, templates and idea guide.
Rangoli Stencils:
Tape your stencil in place with masking tape to avoid it moving around.
Ages 5+Rangoli is a traditional and beautiful art form from India. Complex stencil designs are com-monly used to beautify floors and surroundings for festivals and special occasions. Extra large sten-cils are based on classic designs. Easy to use. 11 x 11” (28 cm). Comes with an extensive guide detailing this wonderful craft. 4/pkg.
COURTESY: Sara MowerRoylco, Inc.
www.roylco.com
Simply Elaborate Stencils
R5615 Nature Stencils
R5621 Rangoli Mega Stencils
Top Related