
Wireless DCC Radio Control and Battery Power for Model ... · Wireless DCC Radio Control and...
10
Wireless DCC Radio Control and Battery Power for Model Railroad Locomotives or The Dead Rail System Duncan McRee, Ph.D. San Diego, California
Transcript of Wireless DCC Radio Control and Battery Power for Model ... · Wireless DCC Radio Control and...
Wireless DCCRadio Control and Battery Power for
Model Railroad Locomotives
orThe Dead Rail System
Duncan McRee, Ph.D.San Diego, California

Copyright 2012 by Duncan McReeDead Rail Society Logo Copyright Robert Treat
Wireless DCC - Duncan McRee
2
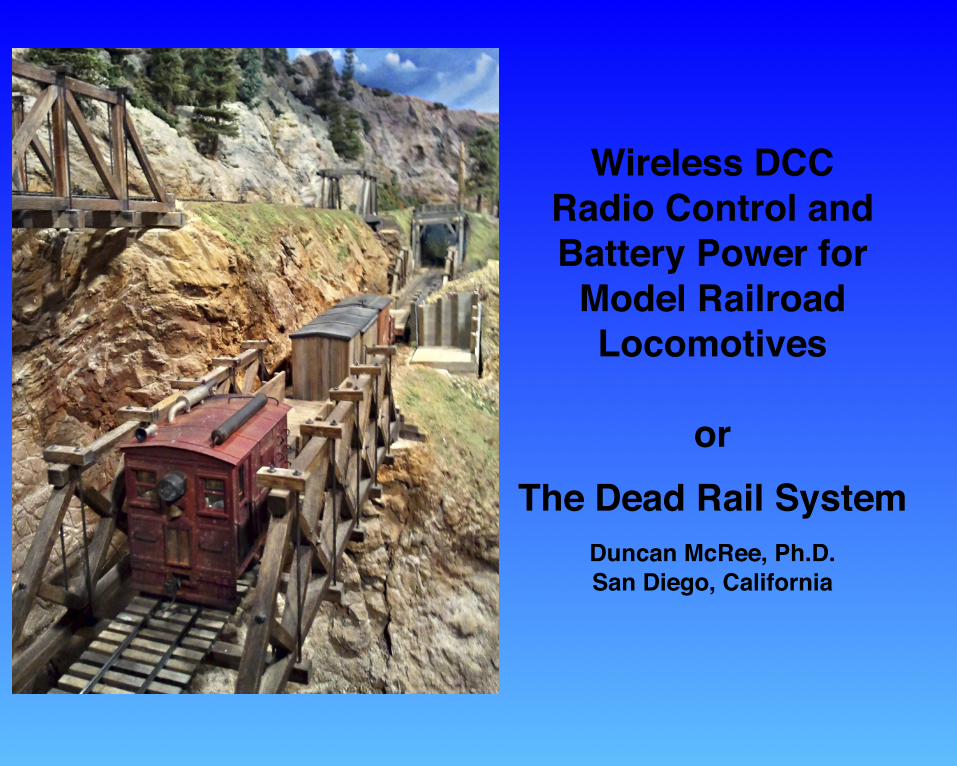
On The Cover: A Dead Rail Box-cab locomotive by Justin Rasas pulling a train over a bridge on Dave
Balser’s now defunct Onion Valley Railroad.
A Dead Rail Society Publication

Introduction! 5
Chapter 1 - What is Wireless DCC?! 6
An Example Installation - On30 Bachmann Forney! 8
Programming the Decoder! 10
Chapter 2 - Batteries! 11
Nickel Cadmium and Nickel Metal Hydride! 11
Lithium! 12
Connecting cells together! 13
Wiring Cells! 13
Chapter 3 - The Radio ! 14
Chapter 4 - Installation! 18
Some example installations! 19
Chapter 5 - Charging from the track! 25
A simper system with NiMH Batteries! 28
The Future ! 31
Appendix - Technical Details ! 33
The Radios! 33
Schematics! 34
DIY wDCC! 36
Testing! 38
Troubleshooting! 38
Sources! 40
DRS1 System Sales and Installations! 40
Mike’s Backshop! 40
Lin's Junction! 40
Litchfield Station! 40
Parts Suppliers! 40
DRS1 Parts List! 41
Wireless DCC - Duncan McRee
4

IntroductionAre you tired of cleaning your rails? Are you overwhelmed by all the wiring needed to power your track with DCC? Then Wireless DCC (wDCC) may be the answer for you. Take an existing DCC system and add the DRS1 system to your locomotives and send commands to them over the air and power them with Lithium-polymer (LiPo) batteries. It is amazing how much better locomotives perform on battery power.How does it work? The DRS1 transmitter takes the DCC signal right off of the DCC bus and transmits it by radio. Receivers in each locomotive then grab this signal and recreate DCC onboard the locomotive using a battery for power. The DCC decoder on the locomotive then uses this DCC power exactly as it would from the wheel pickups. The big difference is that the power is not interrupted by dirt and corroded wheel pickups so there is uninterrupted power. The downside is now you need to keep your battery charged. More on how to do that is to be found below.
It is not necessary to change from completely from DCC to wDCC all at once, as the two systems can happily co-exist. You can start by converting just one locomotive and add more as time goes by. Perhaps you will only change over the locomotives that give you trouble and keep the ones that work well on track DCC as they are. After all, its your railroad!Even better, many modeler railroaders still have lots of DC locomotives and often want to run both DC and DCC. With wDCC you can devote the track to DC if you wish and use wDCC for DCC control. If you have a DC layout and are thinking of going to DCC you can save considerable wiring and money on boosters and circuit breakers by jumping straight to wDCC.It is a common myth that you need only two wires for a DCC layout. In practice considerable money is spent on DCC circuit breakers, boosters and auto-reversers on any DCC layout larger than a 4 by 8. Not to mention the 10 gauge copper bus wires (bus bars anyone) advocated by many on the DCC forums. Skip all this with wDCC!
Wireless DCC - Duncan McRee
5

Chapter 1 - What is Wireless DCC?
In this overview an existing DCC system is shown in the purple boxes. The DRS1 system adds on to your existing DCC system - it is not a standalone system. The yellow boxes show the components that are added. A transmitter is connected to the back of the command station to the rails output. The transmitter puts DCC commands over the

airwaves. It makes no attempt to filter the commands in any way; all the commands that would be put on to the track go over the air. You can keep your track connection at the same time. The wDCC system is completely compatible with normal DCC over the track. If you already have a wired layout, you can keep all of your existing infrastructure and add the wDCC to it. A single transmitted is used to transmit to as many locomotives as needed. Unlike a conventional DCC system where more power is needed for each locomotive on the track, each additional locomotive with a wDCC receiver provides on additional load as any power needed is provided by the battery on the locomotive.
A receiver goes in to each locomotive. The receiver simply plucks the DCC commands out of the air and recreates DCC onboard the locomotive. The DCC is sent to the decoder inside the locomotive. The decoder has no way of knowing it is not receiving a signal from the wheels and it acts just as before. The decoder listens to the commands for its locomotive address and powers the motor, lights and sound (if a sound decoder) just as if it was still connected to the track.
Power for the receiver to generate onboard DCC comes from the battery. More information on batteries can be found in Chapter 2. Quite small batteries, about the size of 9-cell battery can power the locomotive for several hours of running. However, at some point the battery will run down so a means needs to be supplied to recharge it. In the simplest system a charging jack that is accessible in some way is needed. We have used removable coal loads, water hatches, and windows to get at the charging jack. The charging jack can be put on the bottom of the locomotive for a very neat installation. On a diesel a removable dynamic brake blister could be used.
Wireless DCC - Duncan McRee
7

An Example Installation - On30 Bachmann Forney
My Bachmann On30 Forney with a Wireless DCC installed. The coal load has been removed to show the green receiver in the back of the tender. The blue battery is just visible in the cab. In the foreground is a spare receiver with a quarter for size comparison. After I installed the radio and battery I was amazed at the excellent low speed performance of the Forney.
Close-up showing the blue battery in the cab and the receiver in the back of the tender. The other electronics showing is the sound decoder that came pre-installed.
Wireless DCC - Duncan McRee
8

The wiring harness for the receiver pulled out of the Forney to make it visible.
Close-up of the attachment point to the Forney DCC decoder board. The points are labeled L (for left wheels) and R (right). After verifying that the points were connected to the wheels with an ohmmeter, the wires were clipped and the DCC output of the receiver soldered on.
Wireless DCC - Duncan McRee
9

Programming the DecoderThere are basically two ways to program a DCC decoder installed in a locomotive.Programming on the MainYou can use Programming on the Main for most CV values just as you would for a locomotive on the mainline of any DCC layout. However some decoders will not let you change the locomotive address this way. Service Mode (program track)For setting the address you can hook the transmitter to the programming track. Make sure only the locomotive you want to program is turned on as any locomotive that is turned on will be programmed! You cannot read the CV values back but you should see the locomotive move slightly when it accepts the programming instruction.
Magnetic Reed Switch for Easier On/OffOpening the coal load to disconnect the battery was not very elegant, so I decided to try adding a reed switch. A reed switch uses a magnet to control it. I also didn't like the idea of having to hold a magnet next to the reed switch to keep it on or off - what was needed was a way to just pulse the reed switch briefly and have it latch the power on or off. This can be done by connecting the reed switch to a handy little board from pololu.com, the Power Switch SV. I wired the reed switch in place of the pushbutton Pololu supplies with some flexible 30 ga. magnet wire. By tapping the reed briefly with a magnet the locomotive turns on. Tapping the
reed again and the power turns off. I taped the reed switch to the bottom of the roof where it is neatly hidden. By tapping the roof with my magnet I can turn the locomotive on and off. The magnet is attached to a small screwdriver with some heat-shrink tubing. Very neat! Another advantage of the Pololu Power Switch is that it can switch several amps of current, whereas, most reed switches (and indeed most small slide switches) are rated for only a few tenths of an amp.
Wireless DCC - Duncan McRee
10


