Windows Software Installation Tutorial GEFSOC Soil Carbon Modeling System Mark Easter, Kendrick...
54
Windows Software Installation Tutorial GEFSOC Soil Carbon Modeling System Mark Easter, Kendrick Killian, Ting Feng, and Keith Paustian Natural Resource Ecology Laboratory Colorado State University Fort Collins, CO 80523-1499
-
date post
21-Dec-2015 -
Category
Documents
-
view
225 -
download
0
Transcript of Windows Software Installation Tutorial GEFSOC Soil Carbon Modeling System Mark Easter, Kendrick...

Windows Software Installation Tutorial
GEFSOC Soil Carbon Modeling System
Mark Easter, Kendrick Killian, Ting Feng, and Keith Paustian
Natural Resource Ecology Laboratory
Colorado State University
Fort Collins, CO 80523-1499
IntroductionThis tutorial was put together to provide step-by-step instructions for installing the Microsoft Windows® software required to work with the GEFSOC soil carbon modeling system.
The tutorial was assembled by copying screen shots from the actual software installation.
The user may find that there some differences due to the hardware configuration of the system they are installing. If they do run into differences, they are encouraged to consult their documentation and users manuals and proceed cautiously.
Installation CDThe software are installed on the GEFSOC soil carbon modeling system Installation CD, under the directory titled “windows_software”. The first step after downloading the CD image (.ico) file from the GEFSOC web site and burning the CD is to insert the CD into your CD-ROM drive and open the CD from the “My Computer” icon on your desktop.
You should then see a window similar to the one on the following page.
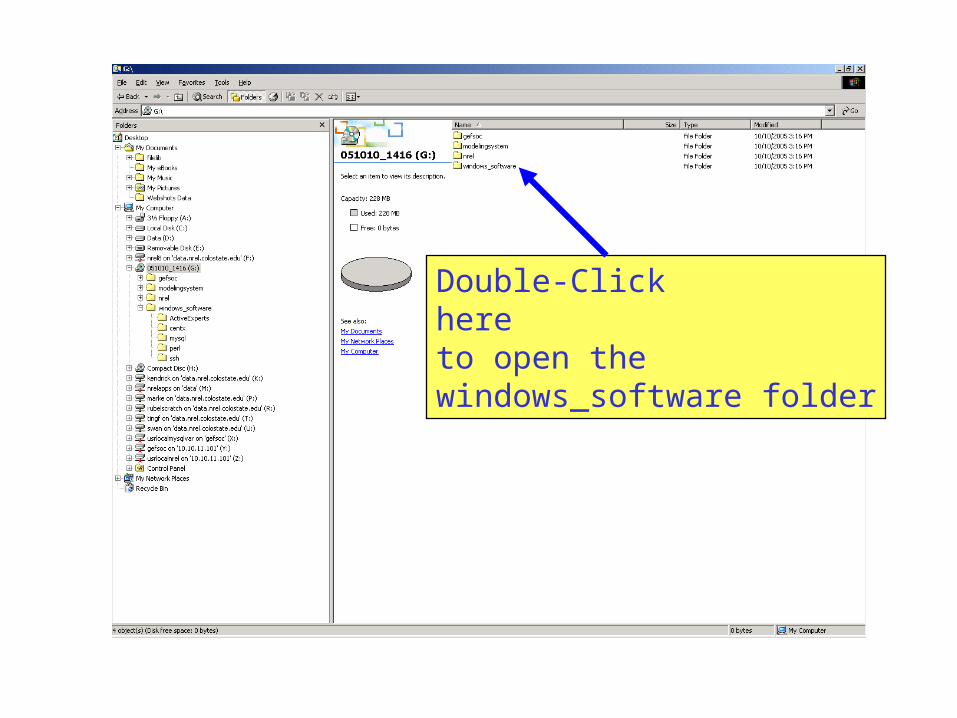
Double-Clickhereto open the windows_software folder
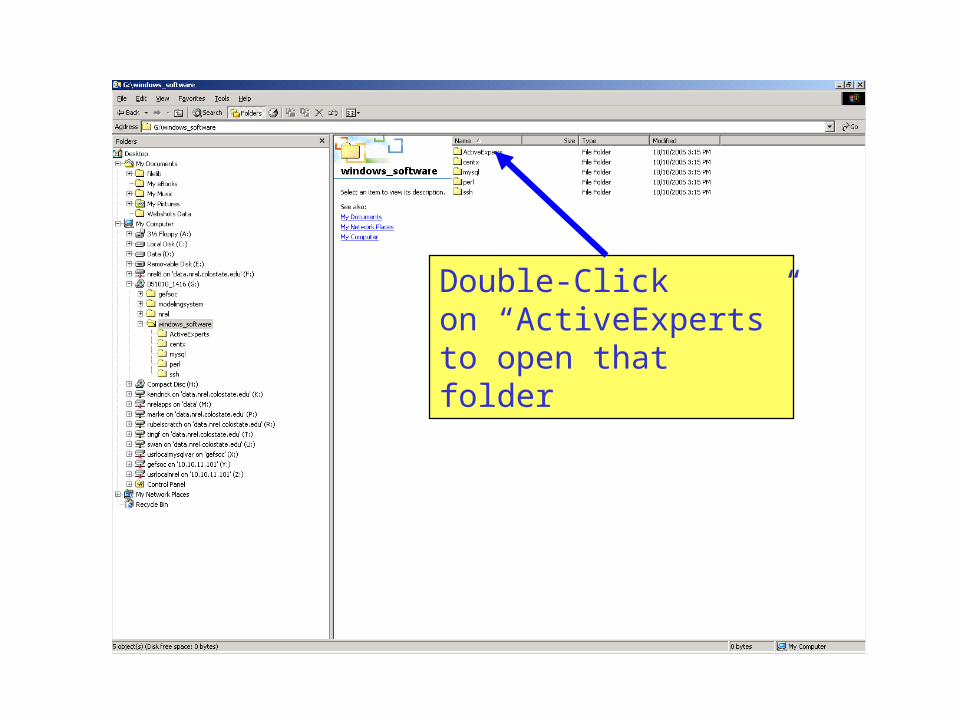
Double-Clickon “ActiveExperts”to open that folder
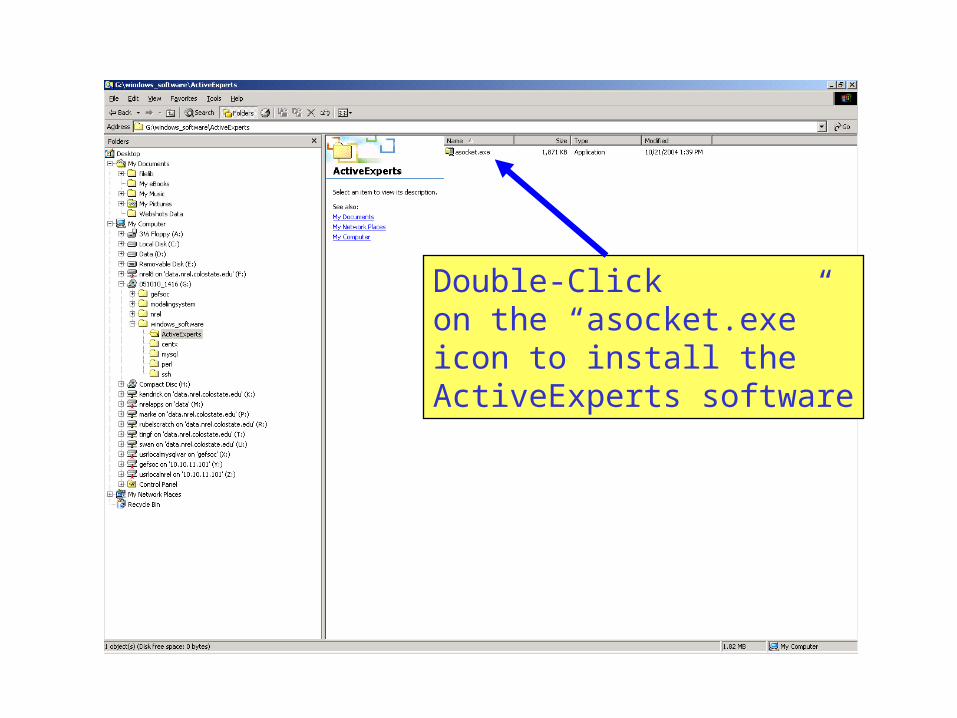
Double-Clickon the “asocket.exe”icon to install the ActiveExperts software
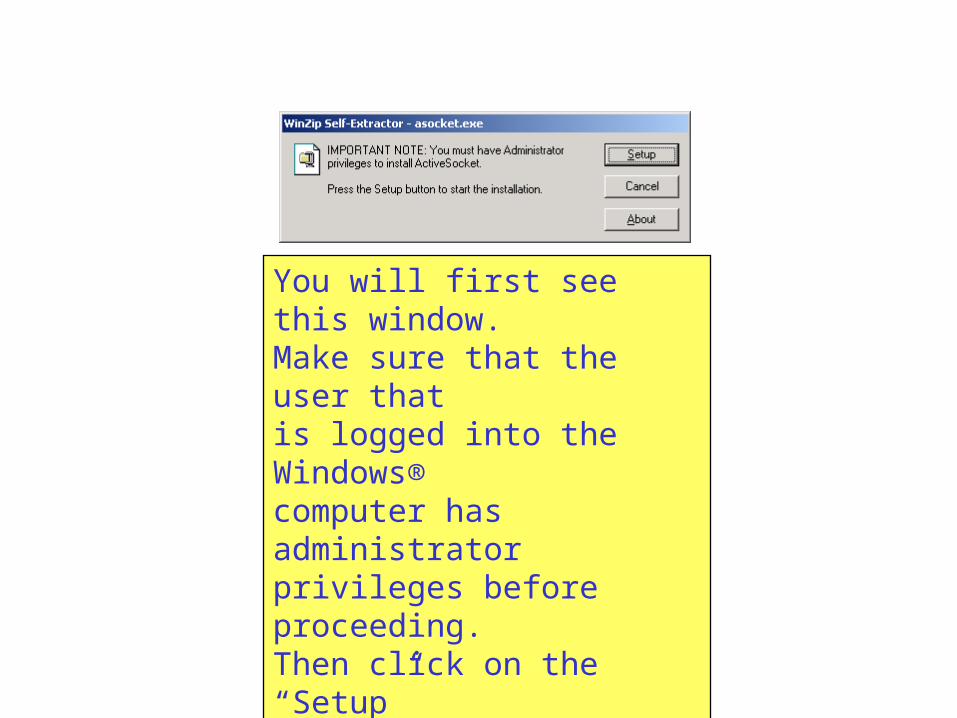
You will first see this window.Make sure that the user thatis logged into the Windows®computer has administratorprivileges before proceeding.Then click on the “Setup”button.
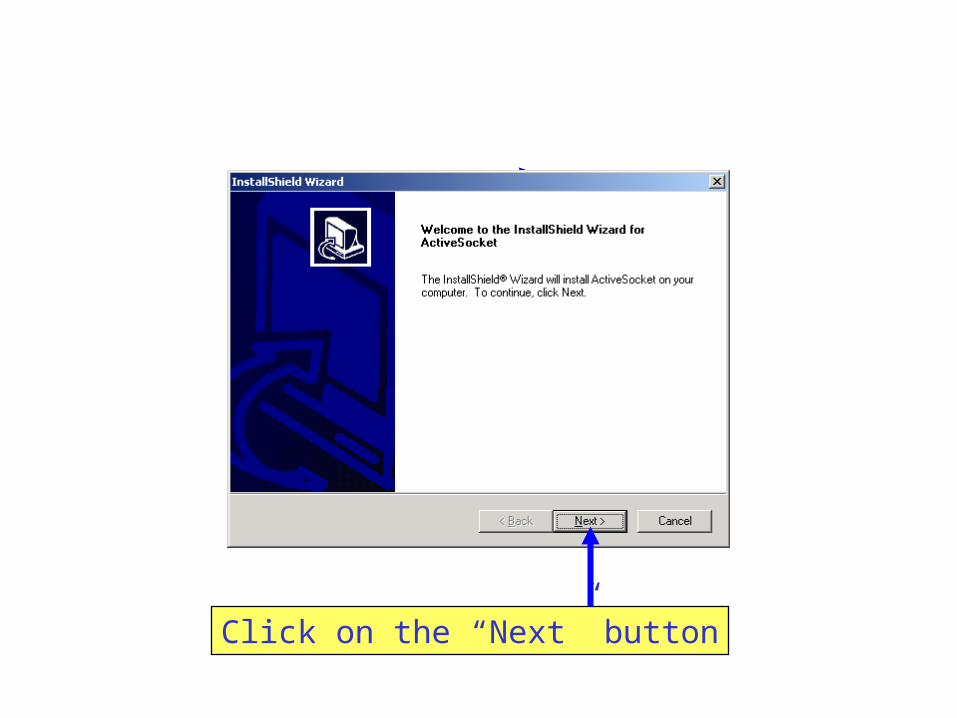
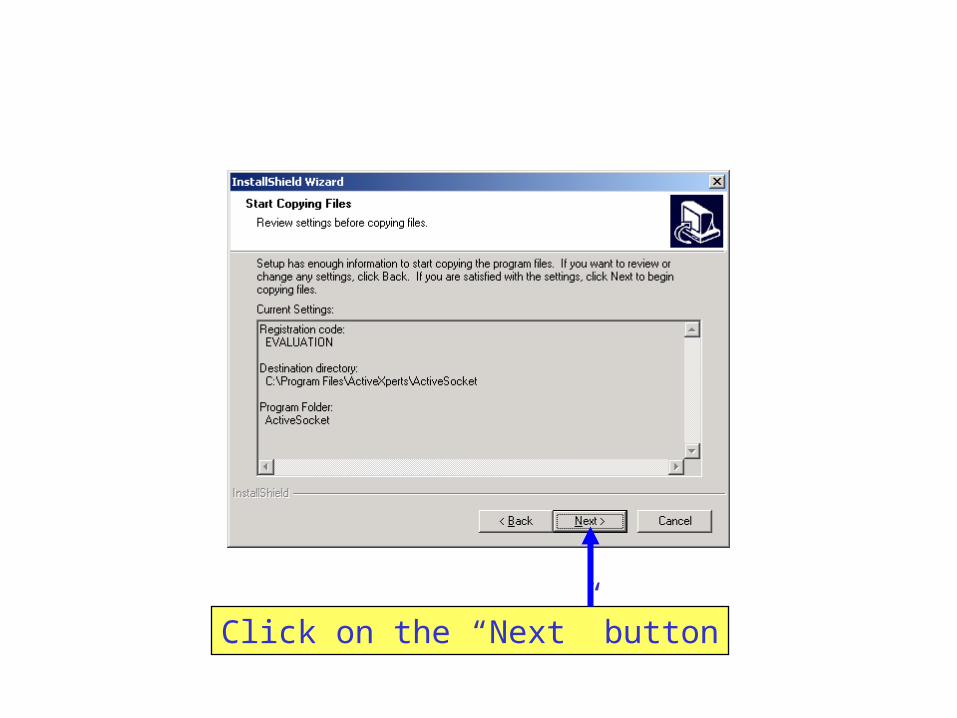
Click on the “Next” button
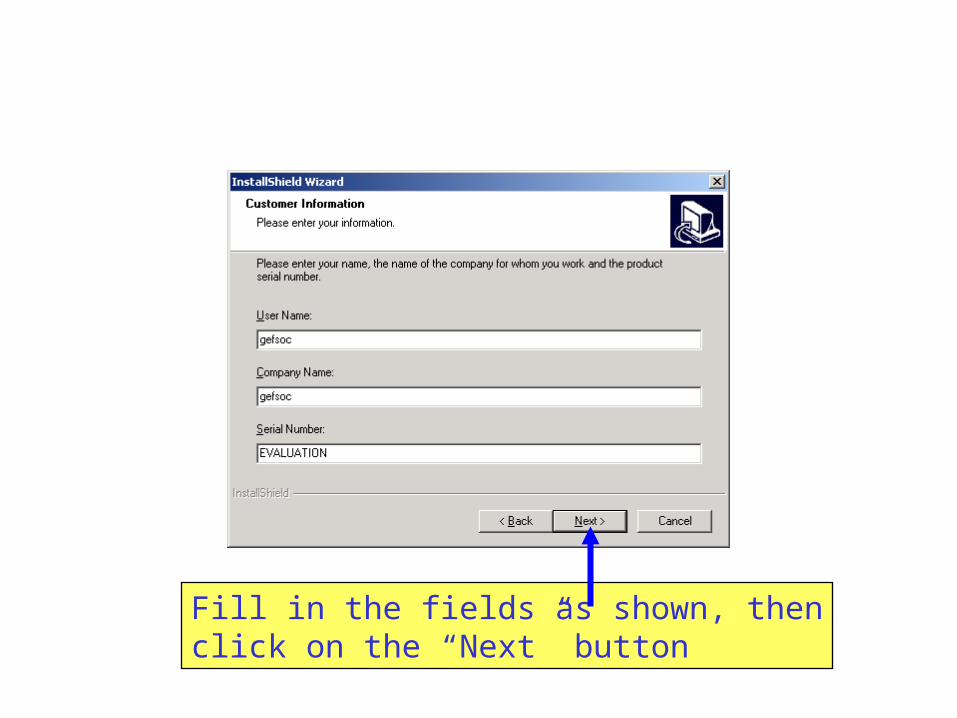
Fill in the fields as shown, thenclick on the “Next” button
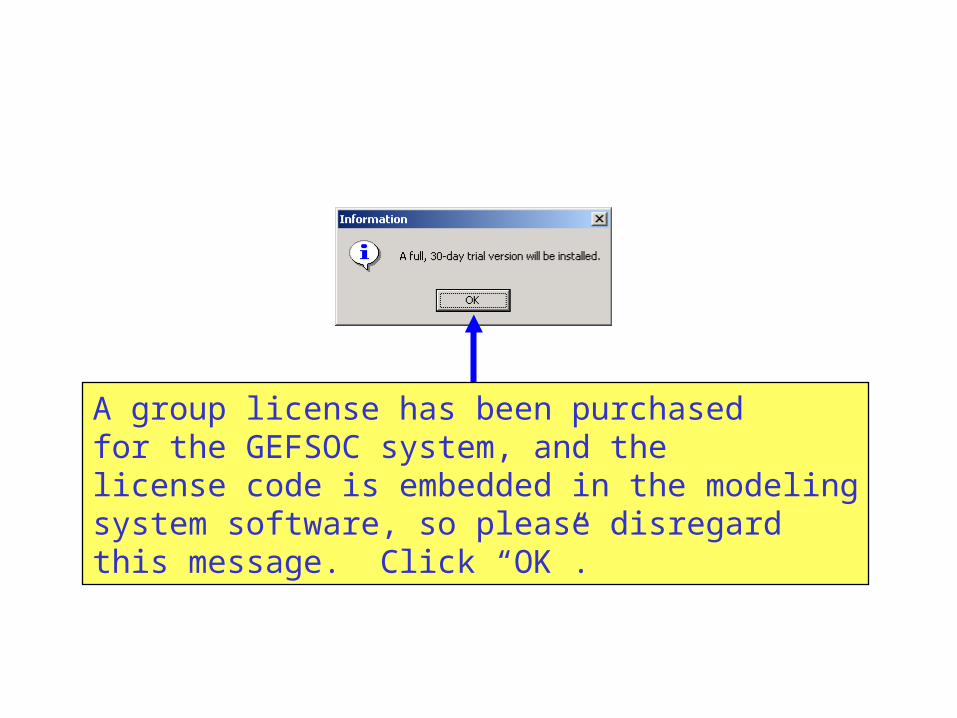
A group license has been purchasedfor the GEFSOC system, and the license code is embedded in the modelingsystem software, so please disregardthis message. Click “OK”.
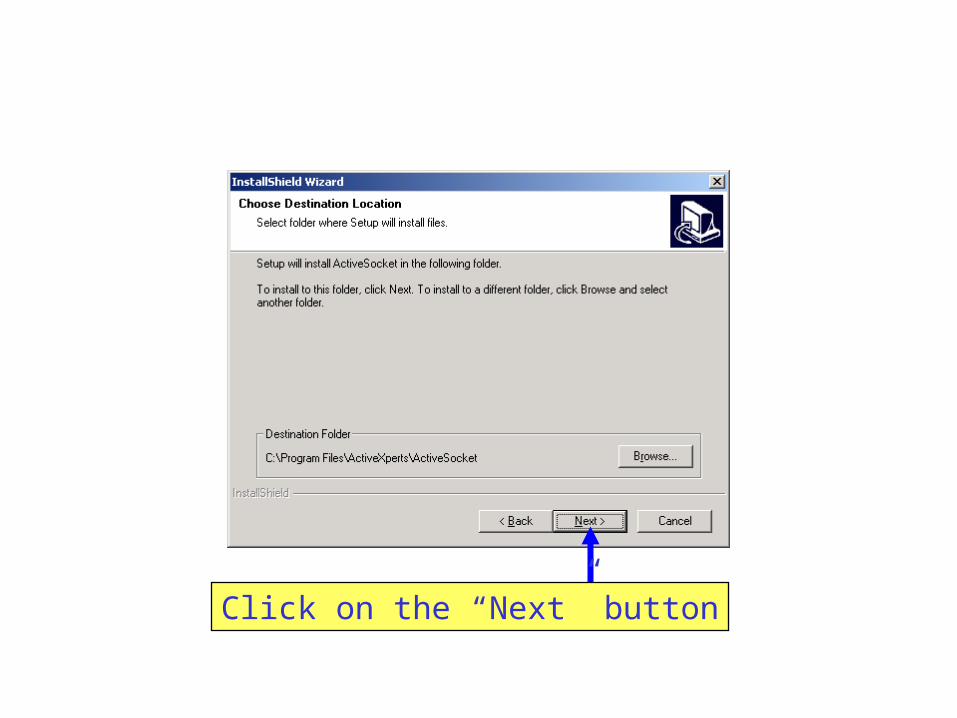
Click on the “Next” button
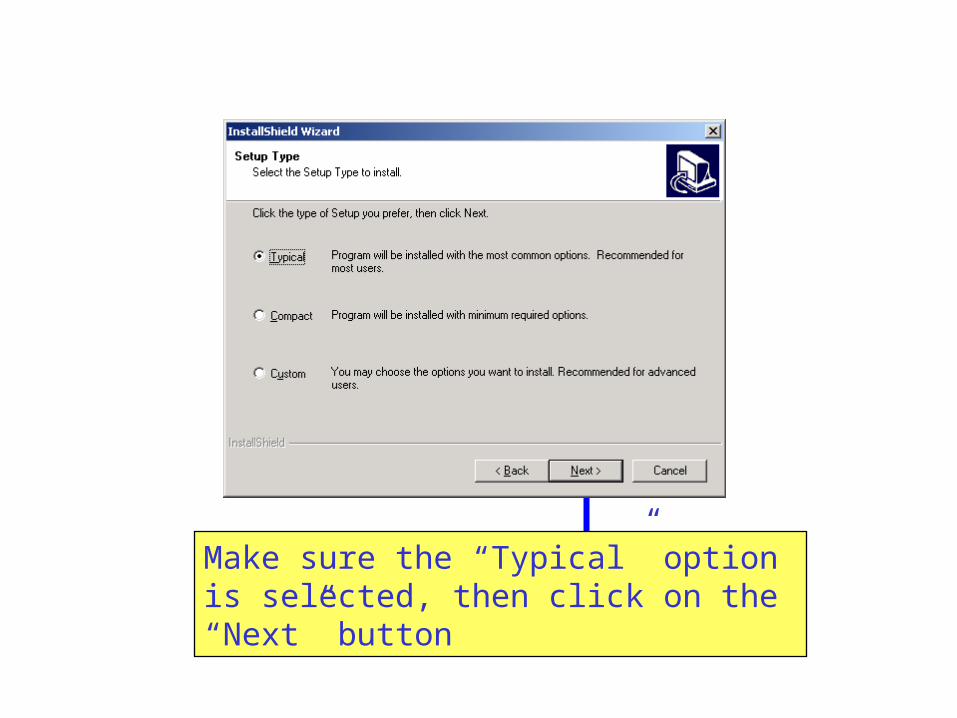
Make sure the “Typical” optionis selected, then click on the “Next” button
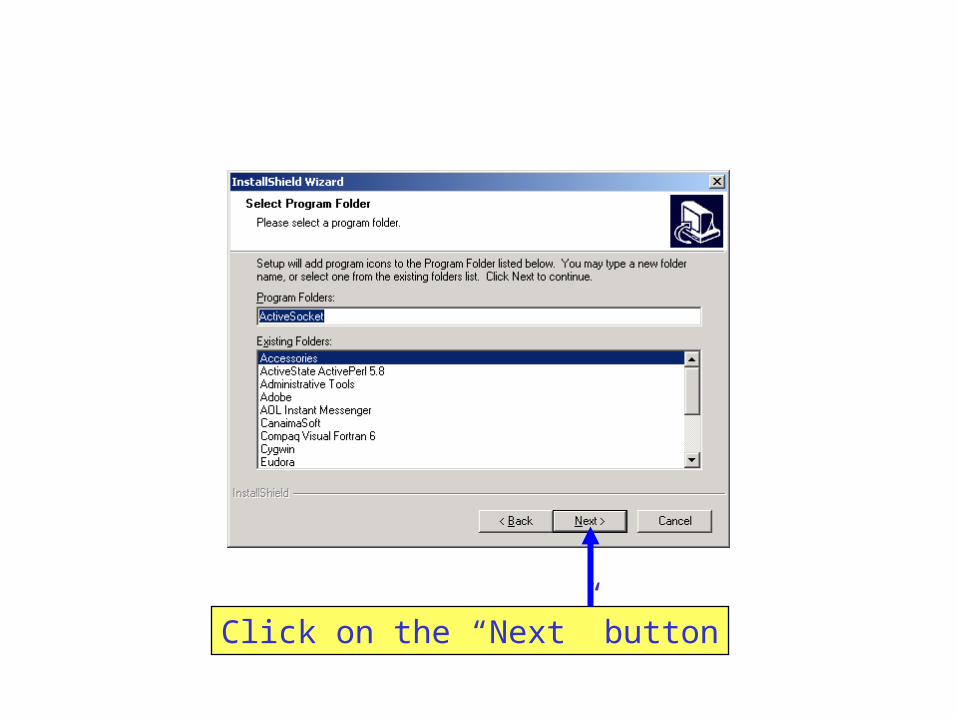
Click on the “Next” button
Click on the “Next” button
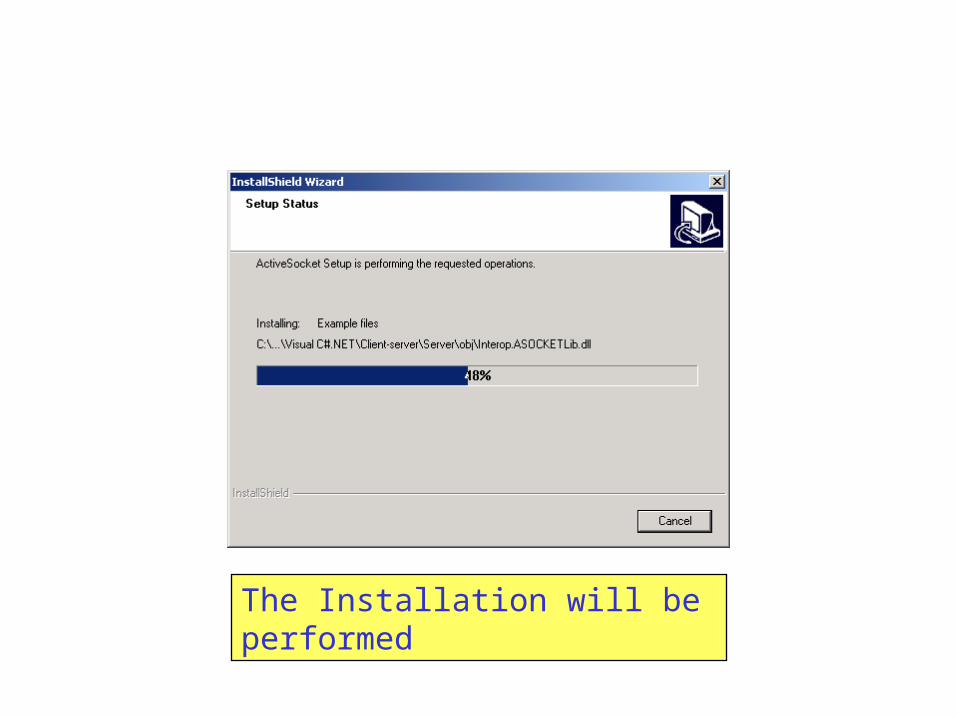
The Installation will be performed
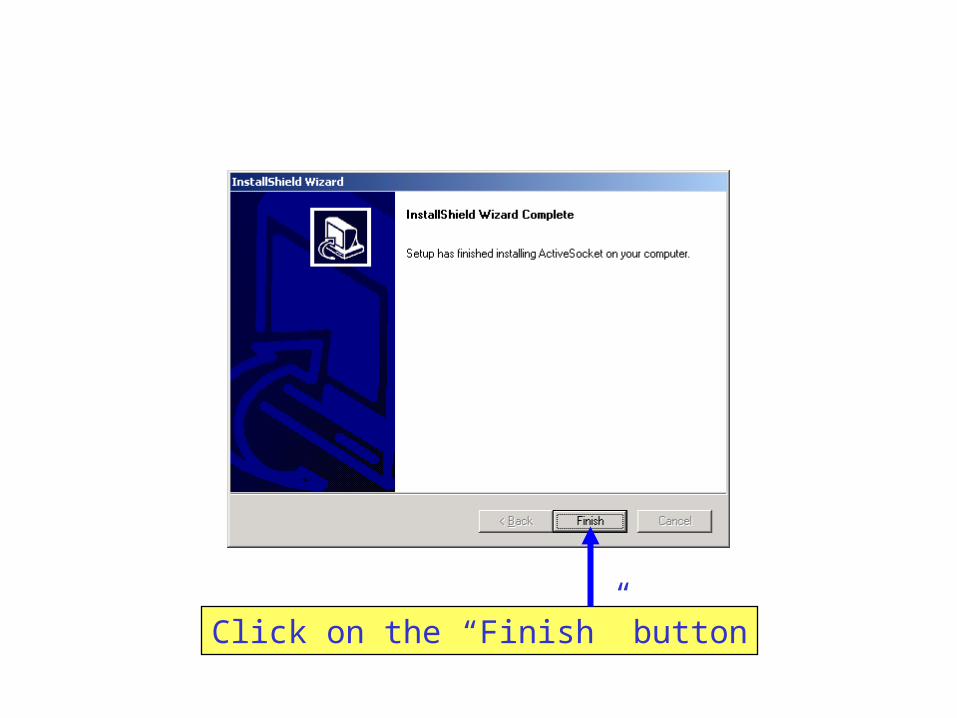
Click on the “Finish” button
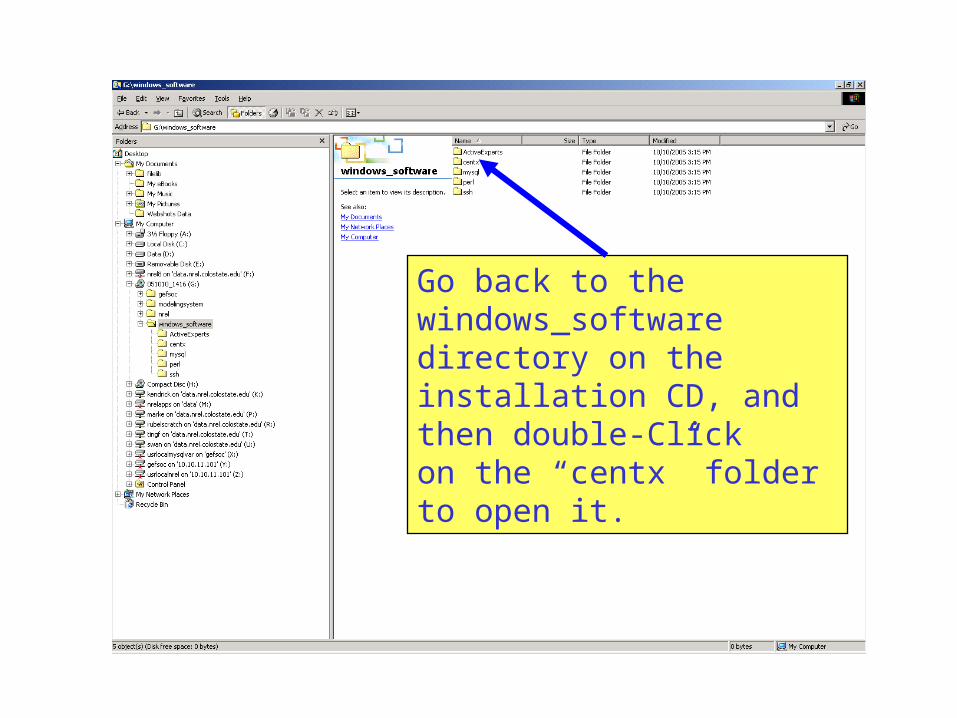
Go back to the windows_softwaredirectory on the installation CD, and then double-Clickon the “centx” folder to open it.
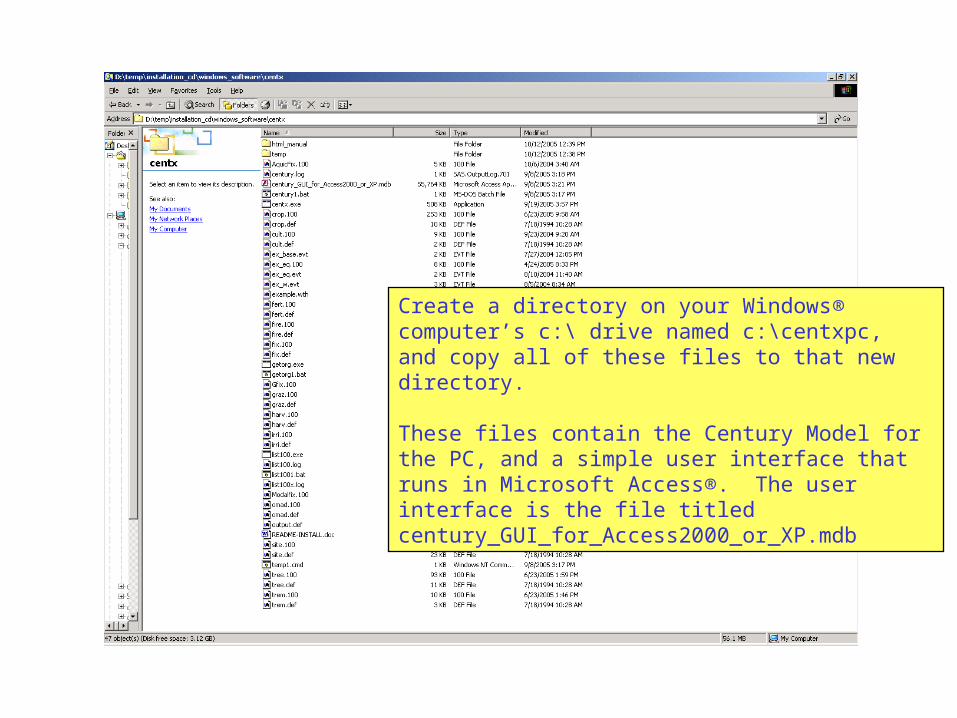
Create a directory on your Windows® computer’s c:\ drive named c:\centxpc, and copy all of these files to that new directory.
These files contain the Century Model for the PC, and a simple user interface that runs in Microsoft Access®. The user interface is the file titled century_GUI_for_Access2000_or_XP.mdb

Go back to the windows_softwaredirectory on the installation CD, and then double-Clickon the “mysql” folder to open it.
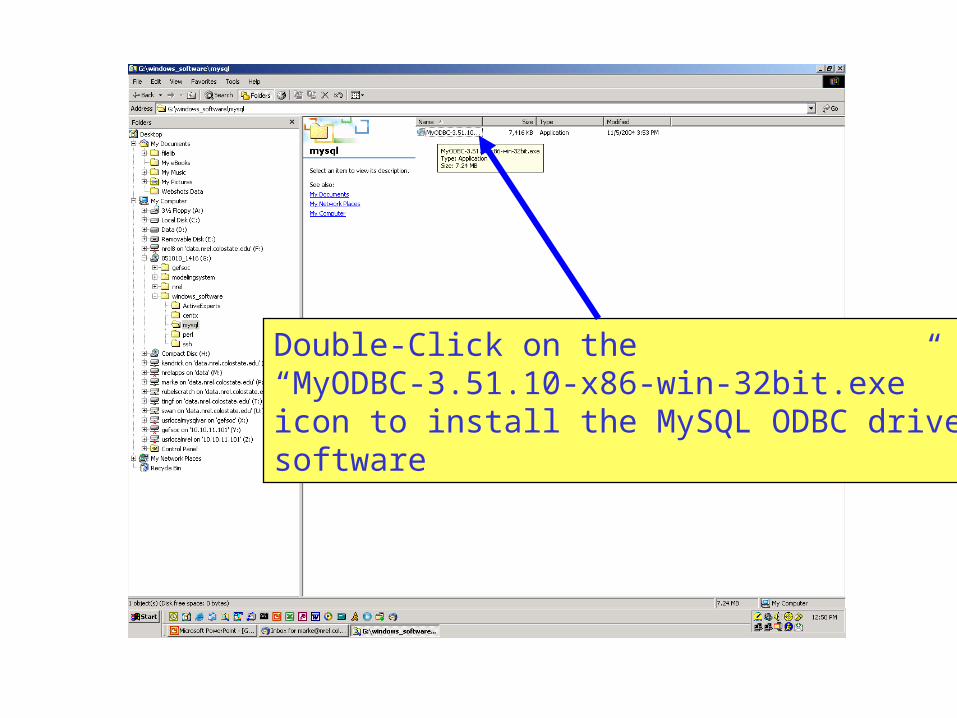
Double-Click on the “MyODBC-3.51.10-x86-win-32bit.exe”icon to install the MySQL ODBC driver software
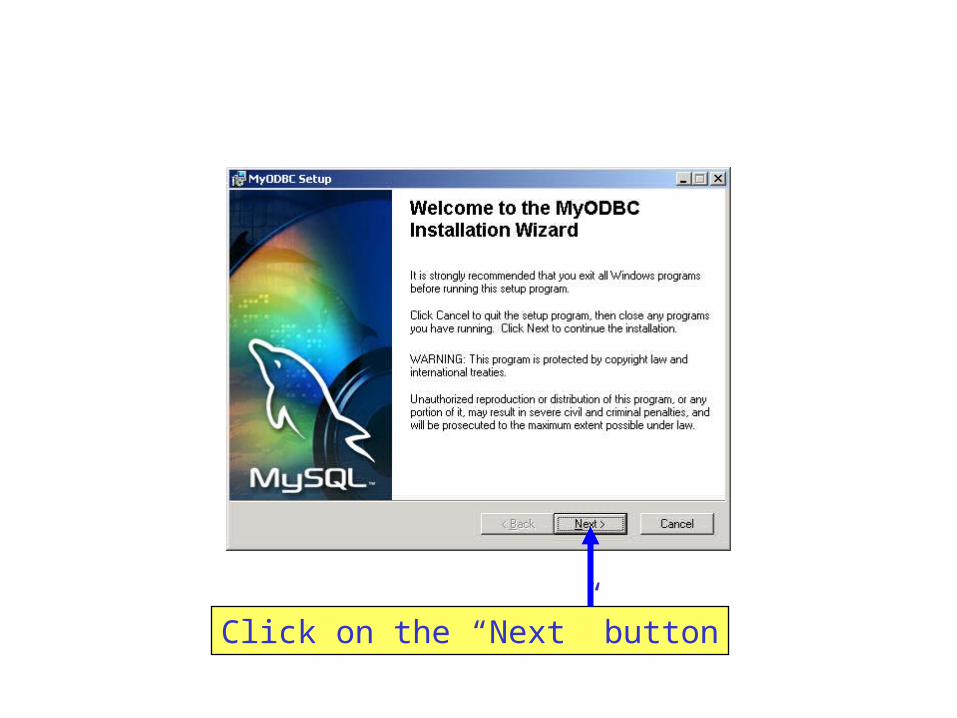
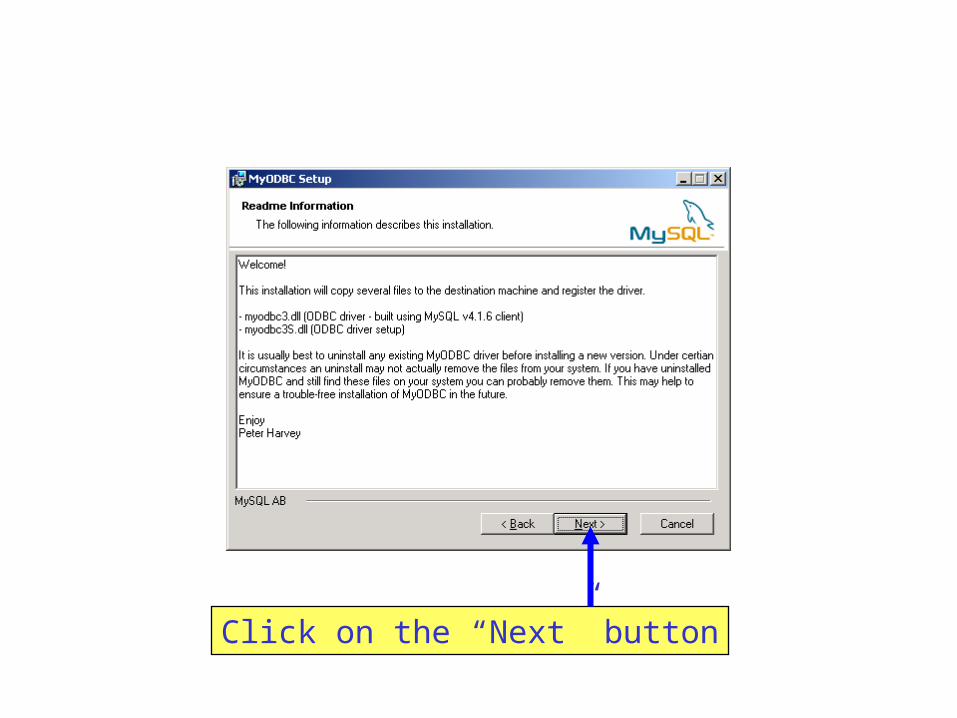
Click on the “Next” button
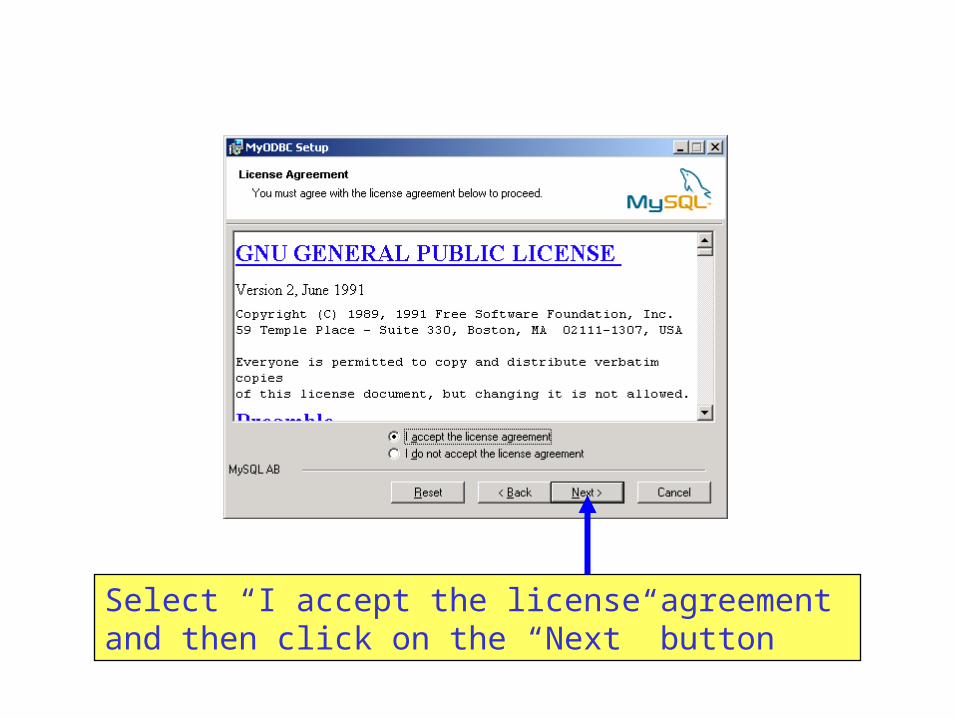
Select “I accept the license agreement and then click on the “Next” button
Click on the “Next” button
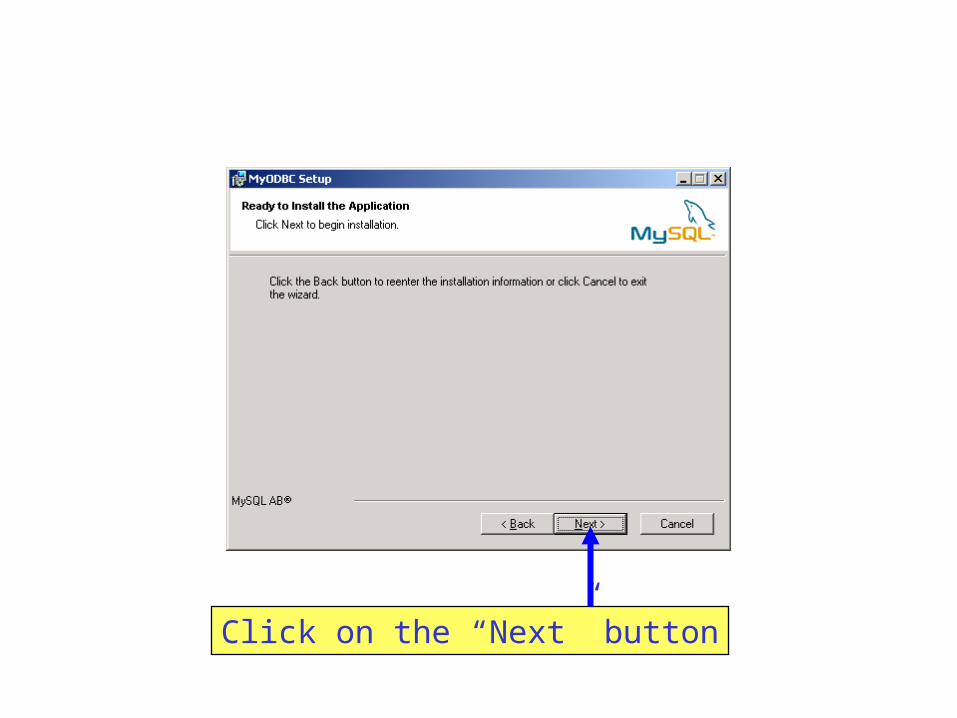
Click on the “Next” button
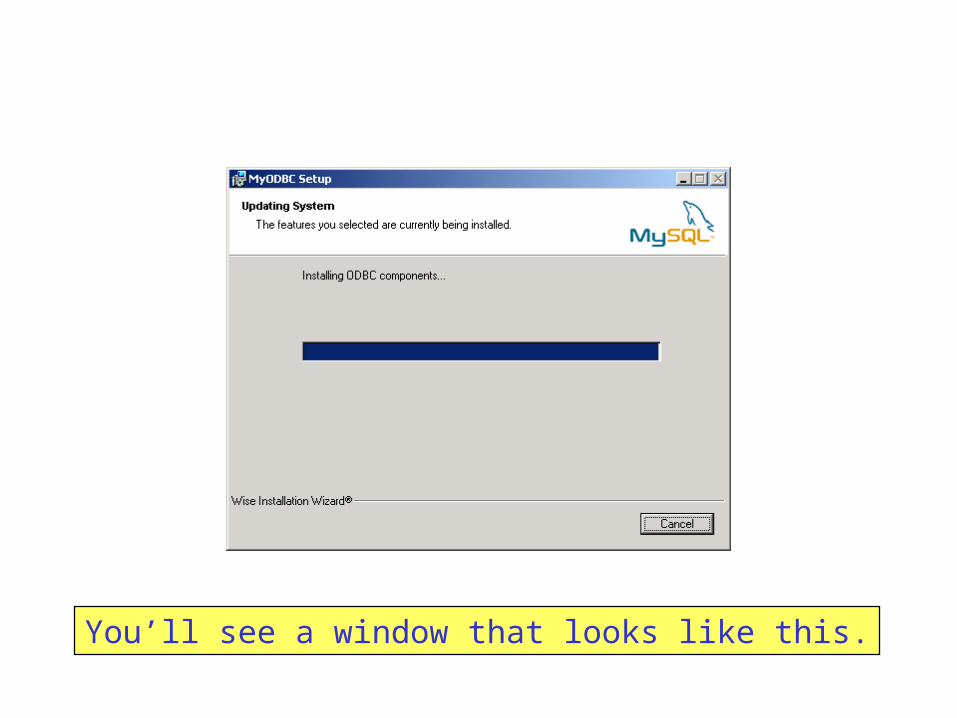
You’ll see a window that looks like this.
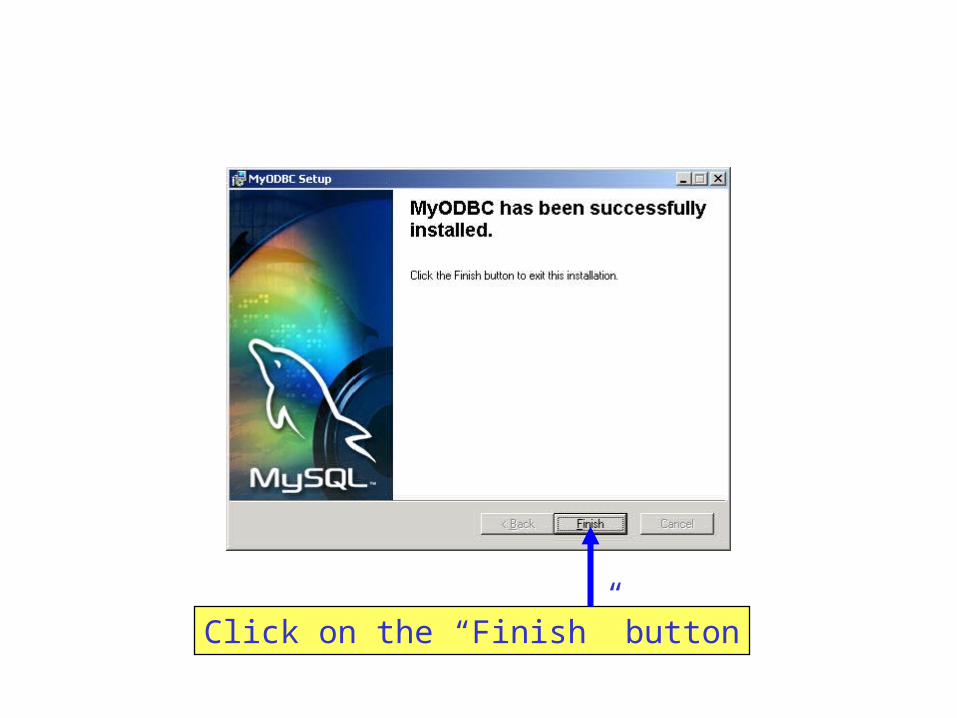
Click on the “Finish” button
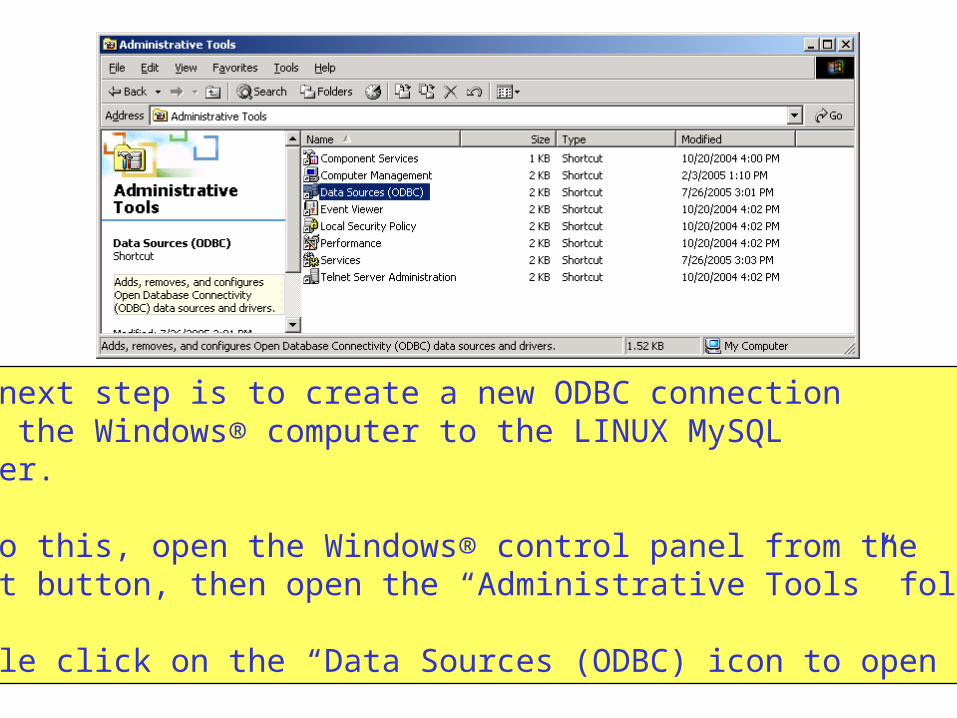
The next step is to create a new ODBC connectionfrom the Windows® computer to the LINUX MySQL server.
To do this, open the Windows® control panel from the Start button, then open the “Administrative Tools” folder.
Double click on the “Data Sources (ODBC) icon to open it.
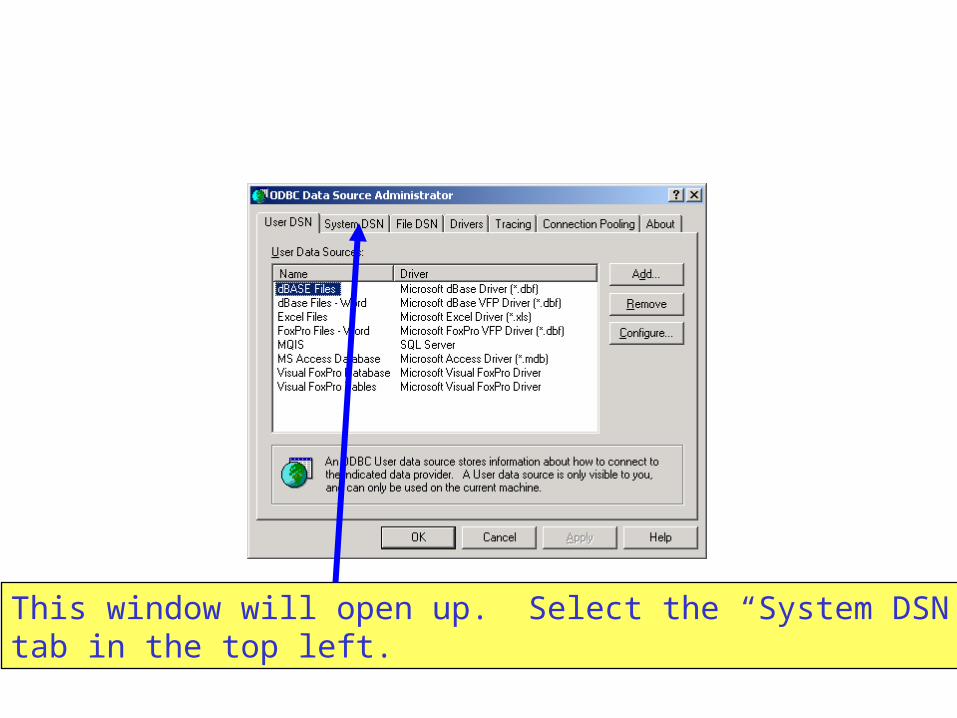
This window will open up. Select the “System DSN”tab in the top left.
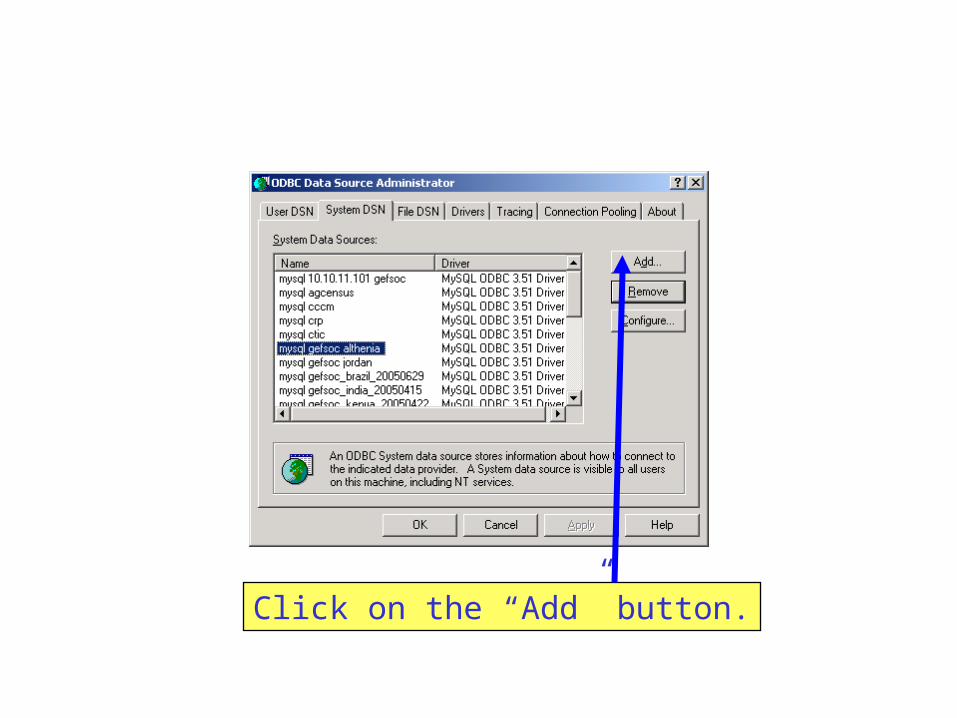
Click on the “Add” button.
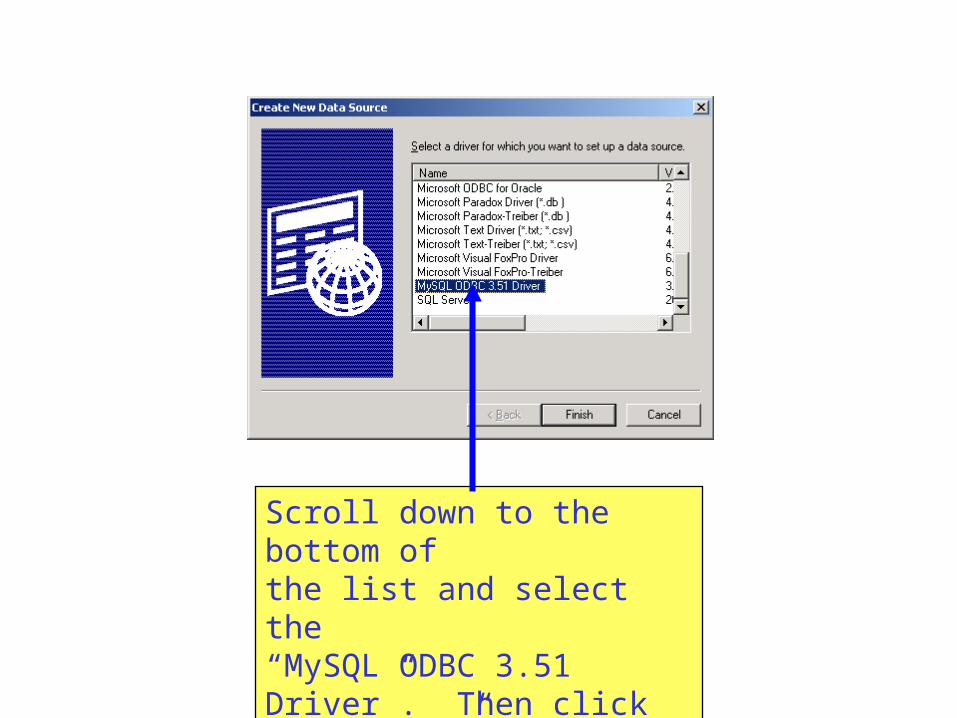
Scroll down to the bottom ofthe list and select the “MySQL ODBC 3.51 Driver”. Then click on “finish”.
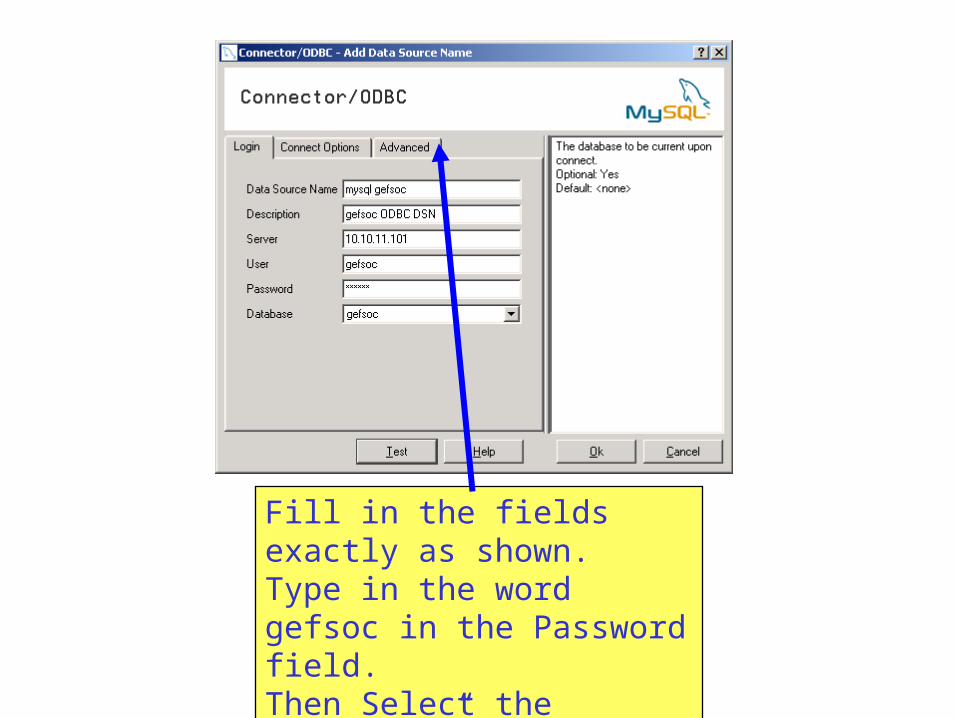
Fill in the fields exactly as shown. Type in the word gefsoc in the Password field.Then Select the “Advanced” tab.
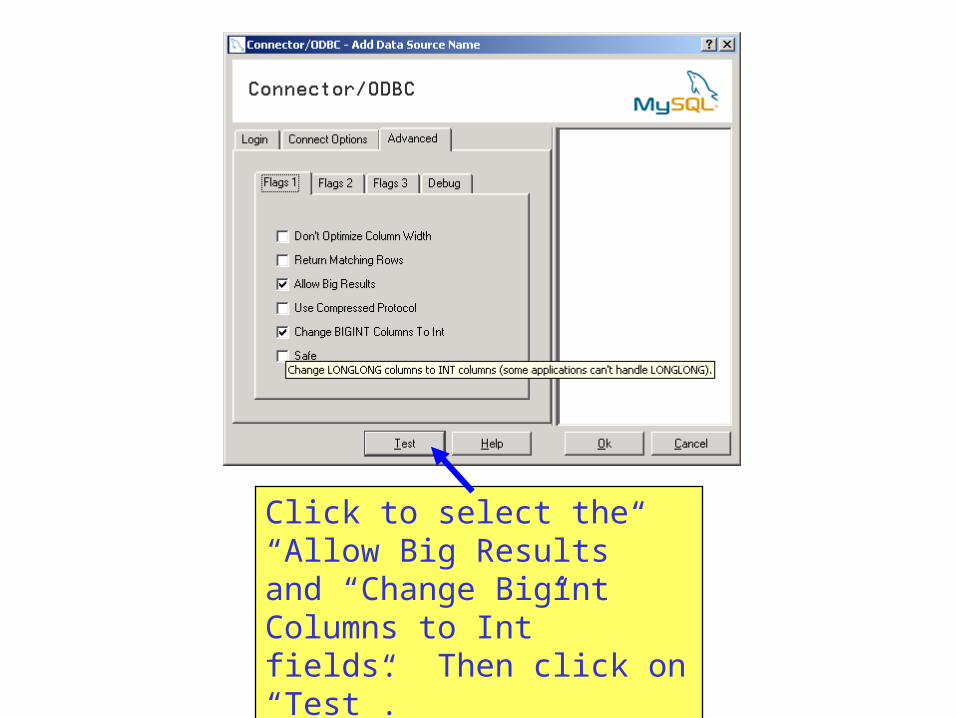
Click to select the “Allow Big Results” and “Change BigintColumns to Int” fields. Then click on “Test”.
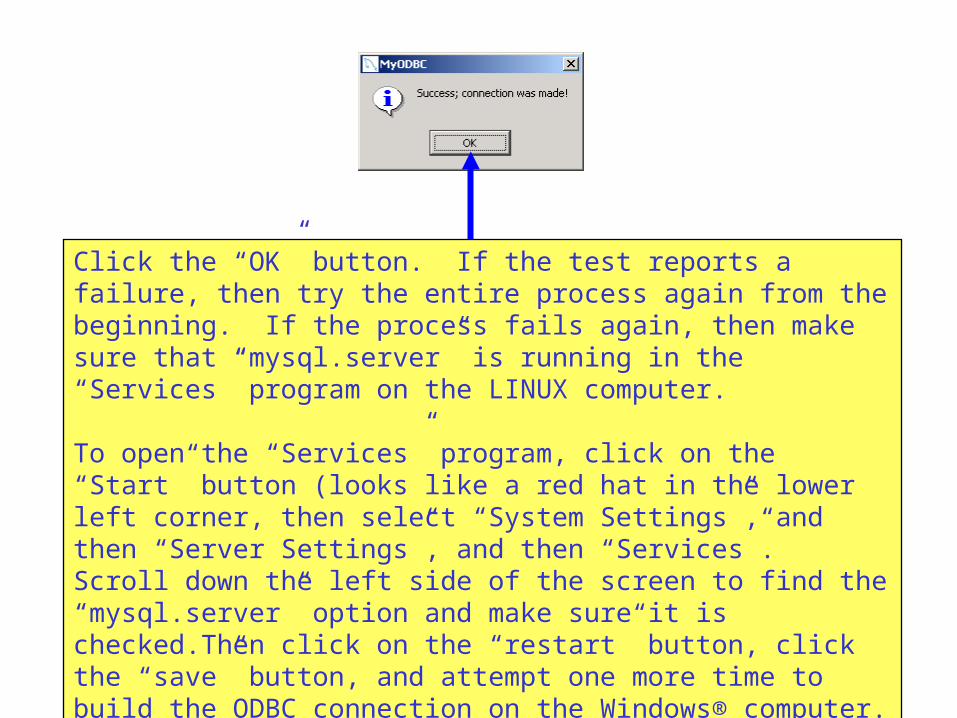
Click the “OK” button. If the test reports a failure, then try the entire process again from the beginning. If the process fails again, then make sure that “mysql.server” is running in the “Services” program on the LINUX computer.
To open the “Services” program, click on the “Start” button (looks like a red hat in the lower left corner, then select “System Settings”, and then “Server Settings”, and then “Services”. Scroll down the left side of the screen to find the “mysql.server” option and make sure it is checked.Then click on the “restart” button, click the “save” button, and attempt one more time to build the ODBC connection on the Windows® computer.
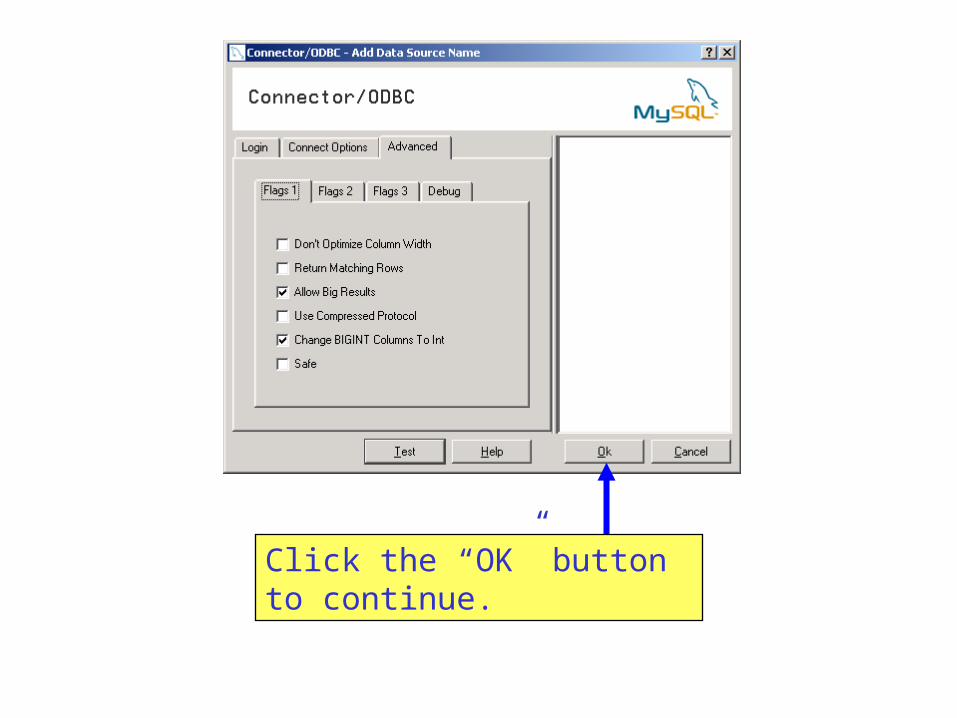
Click the “OK” button to continue.
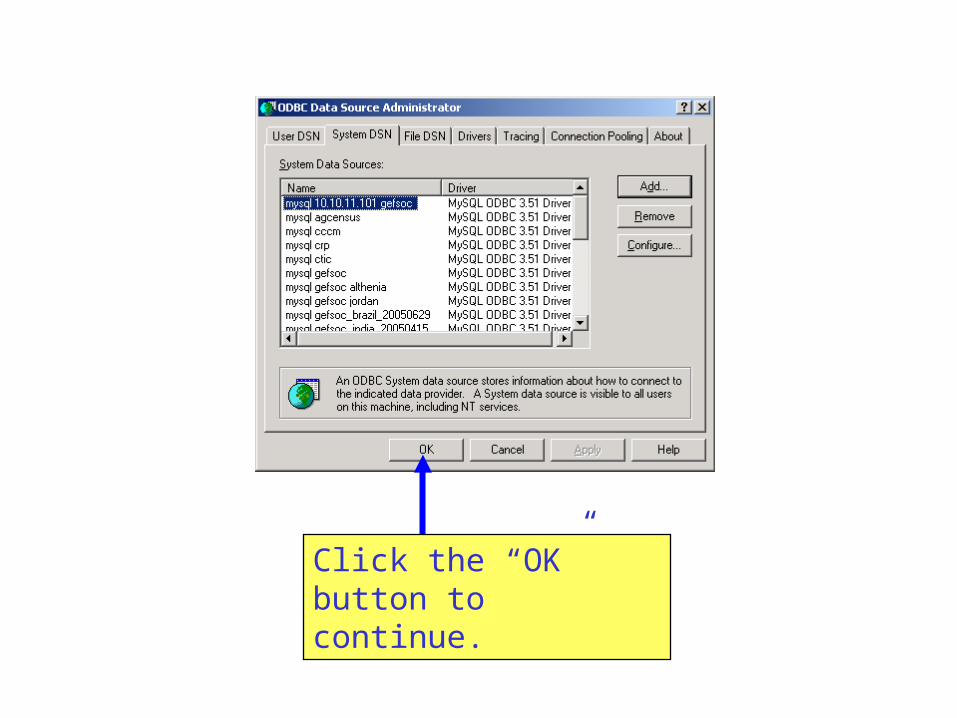
Click the “OK” button to continue.
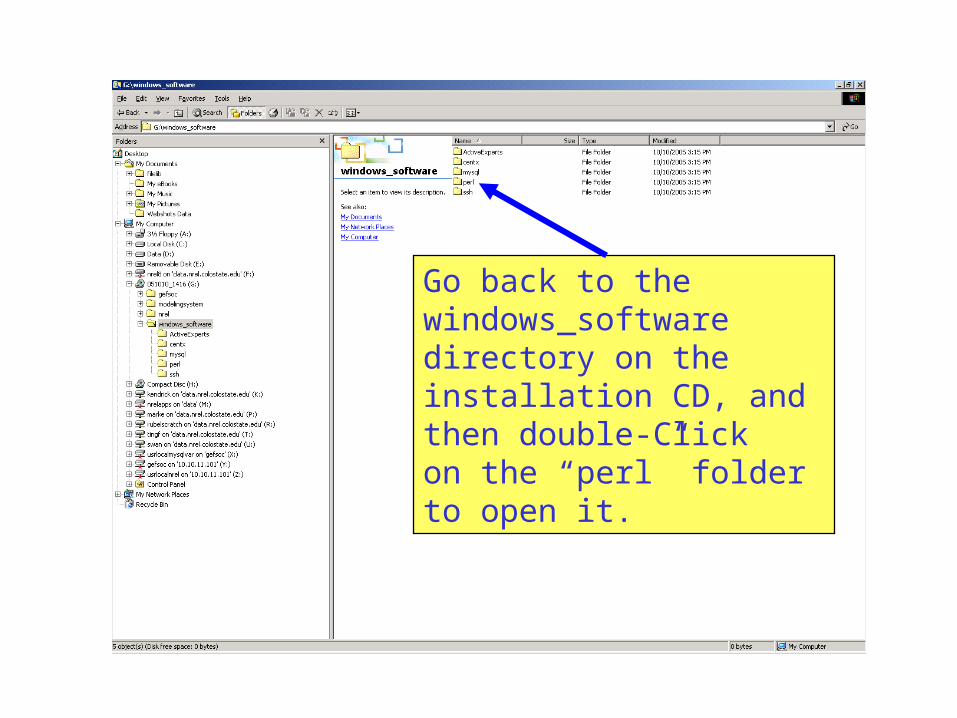
Go back to the windows_softwaredirectory on the installation CD, and then double-Clickon the “perl” folder to open it.
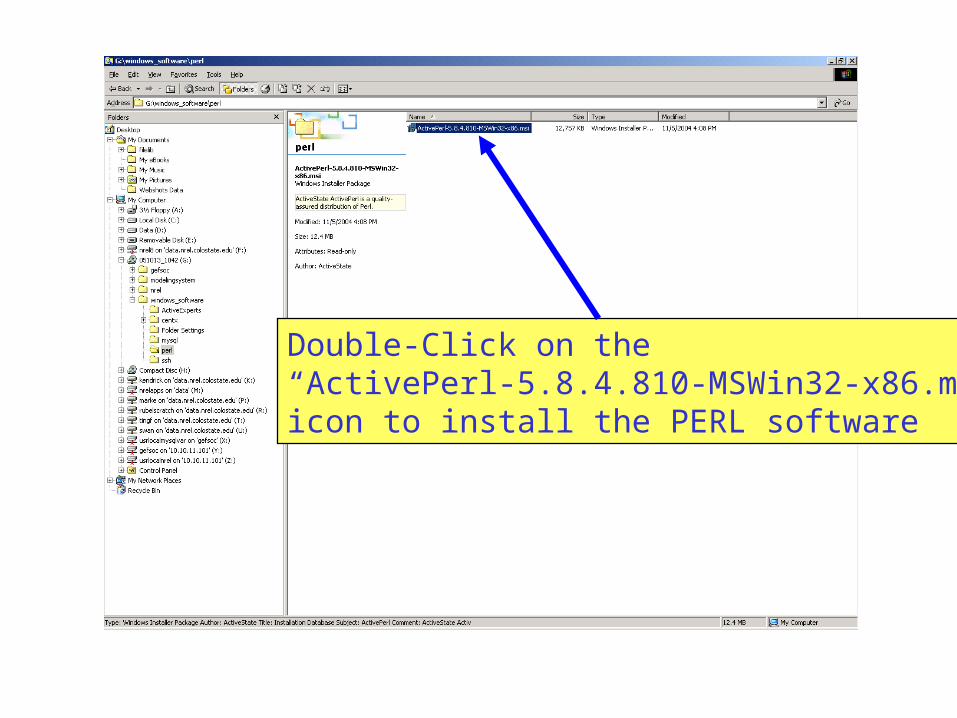
Double-Click on the “ActivePerl-5.8.4.810-MSWin32-x86.msi”icon to install the PERL software
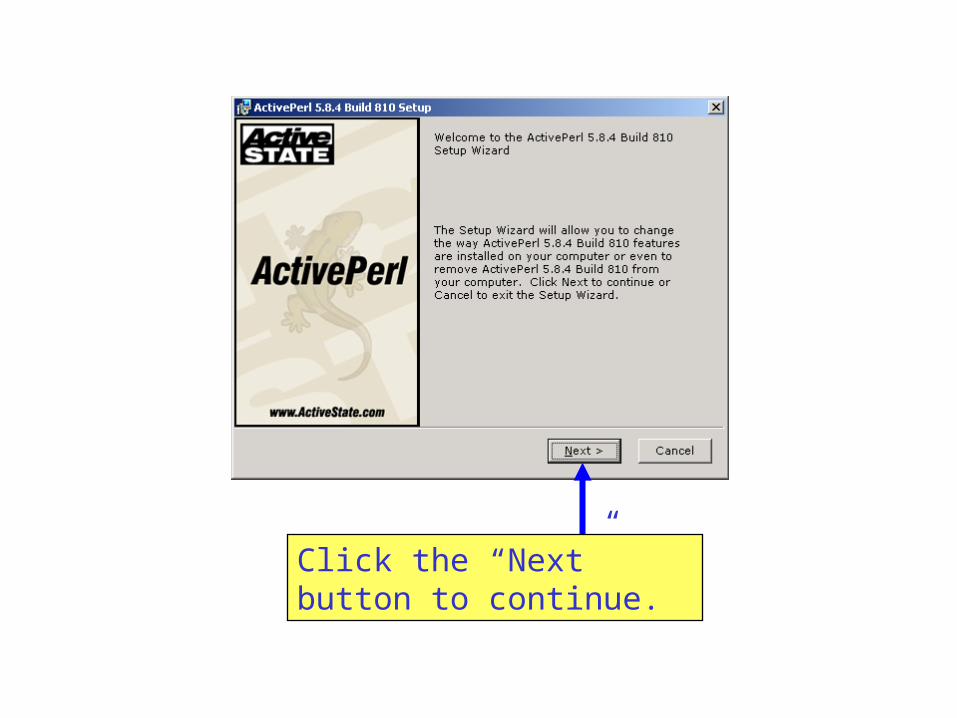
Click the “Next” button to continue.

Click the “Next” button to continue.
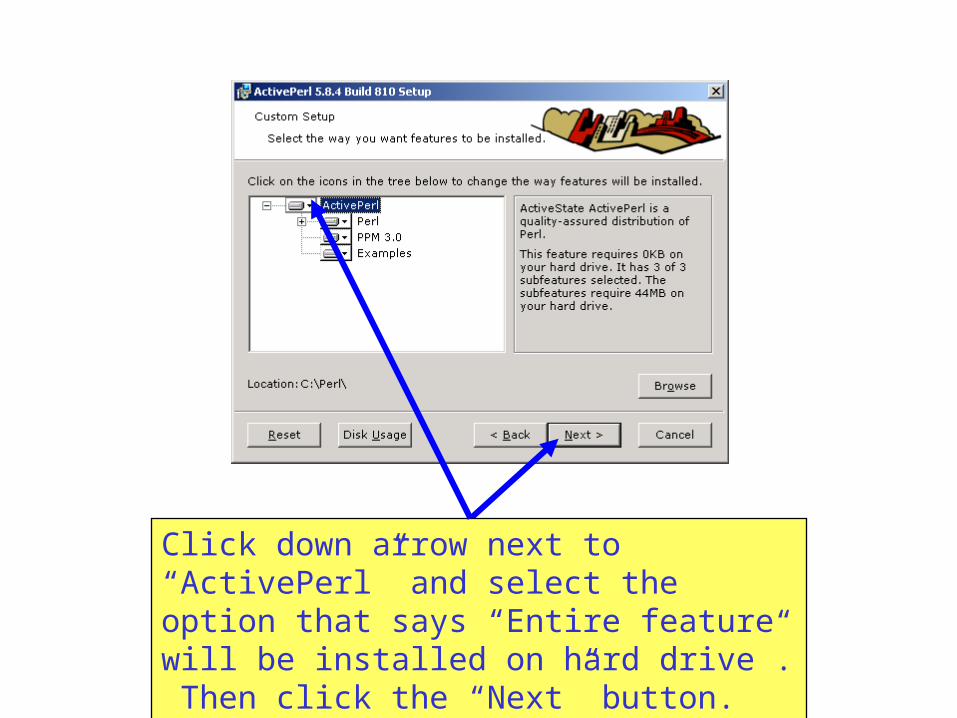
Click down arrow next to “ActivePerl” and select the option that says “Entire feature will be installed on hard drive”. Then click the “Next” button.
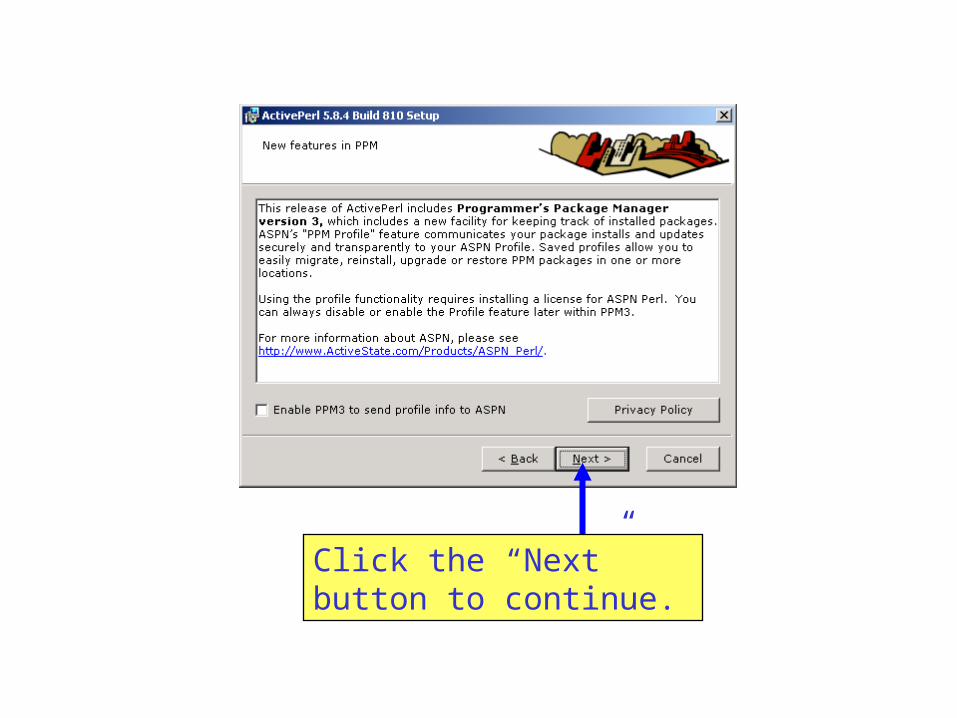
Click the “Next” button to continue.
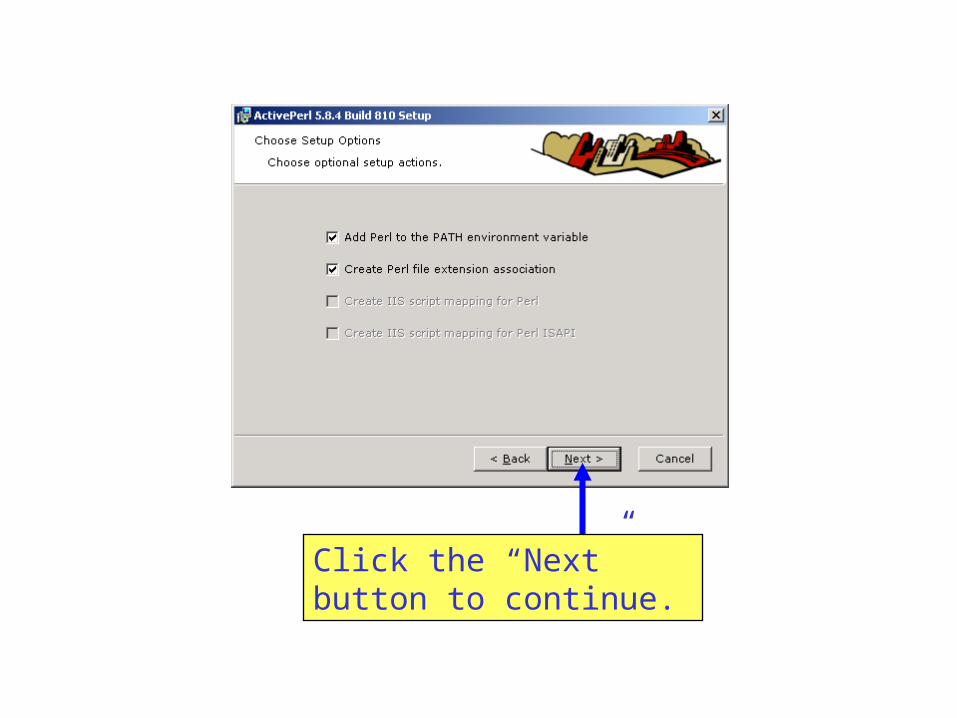
Click the “Next” button to continue.
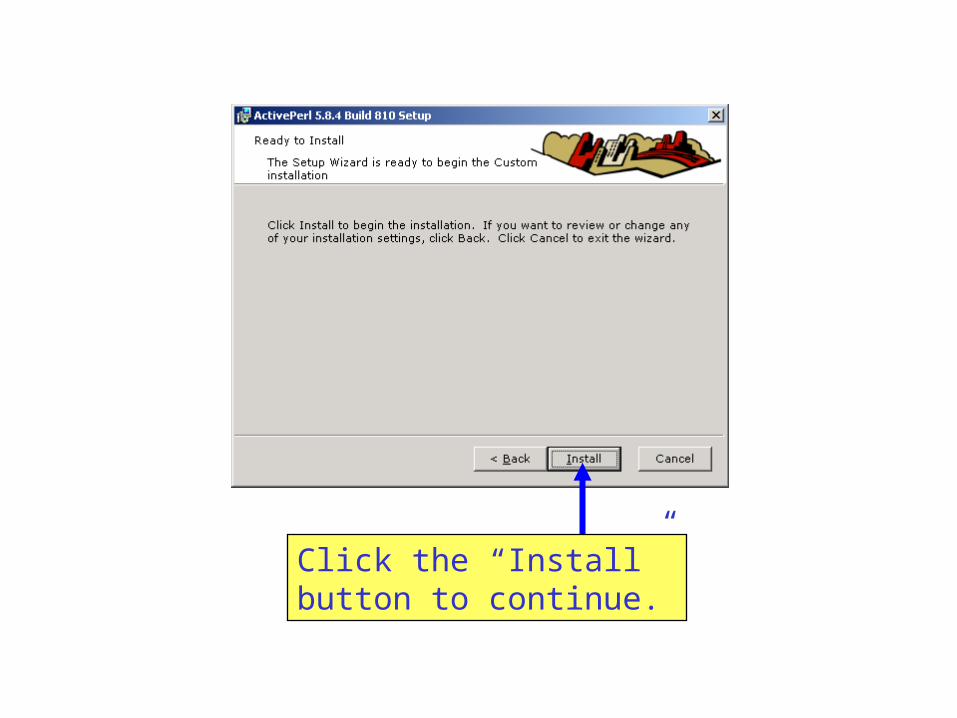
Click the “Install” button to continue.
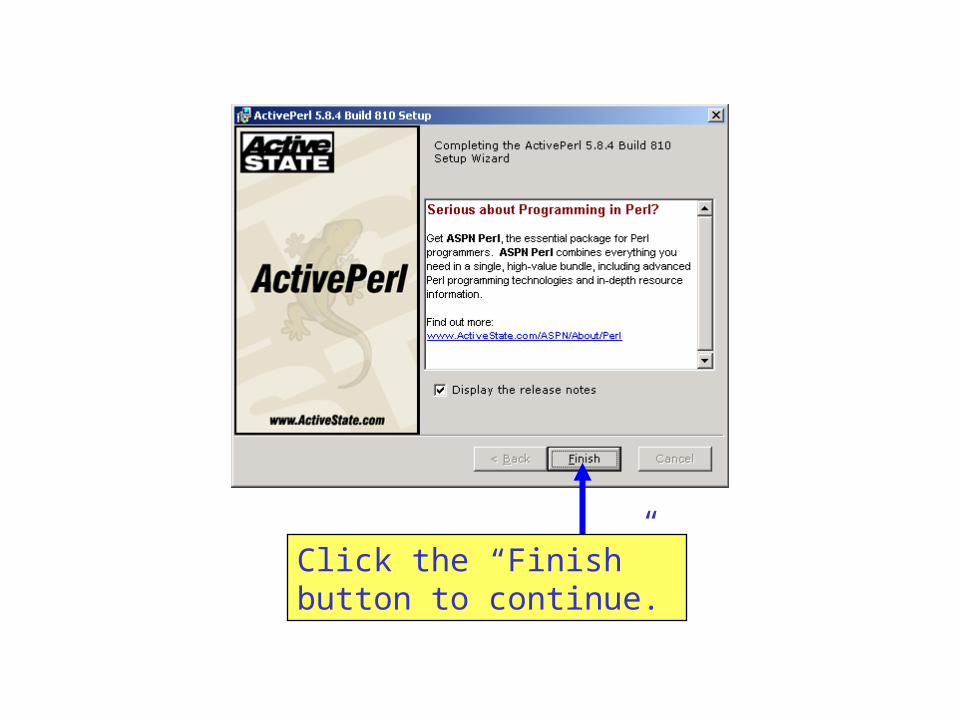
Click the “Finish” button to continue.
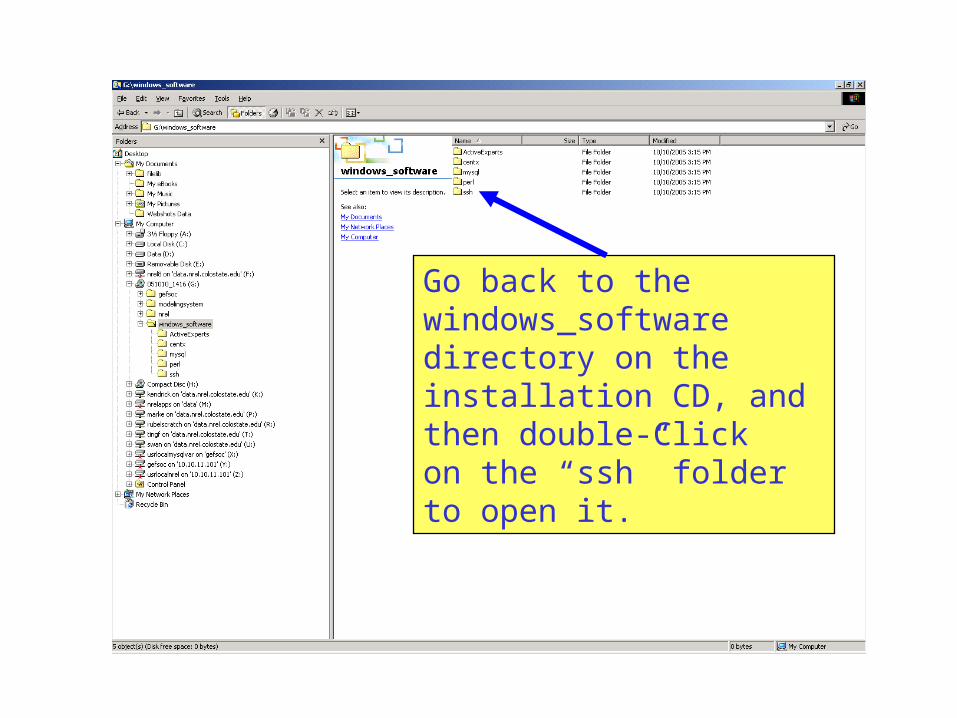
Go back to the windows_softwaredirectory on the installation CD, and then double-Clickon the “ssh” folder to open it.
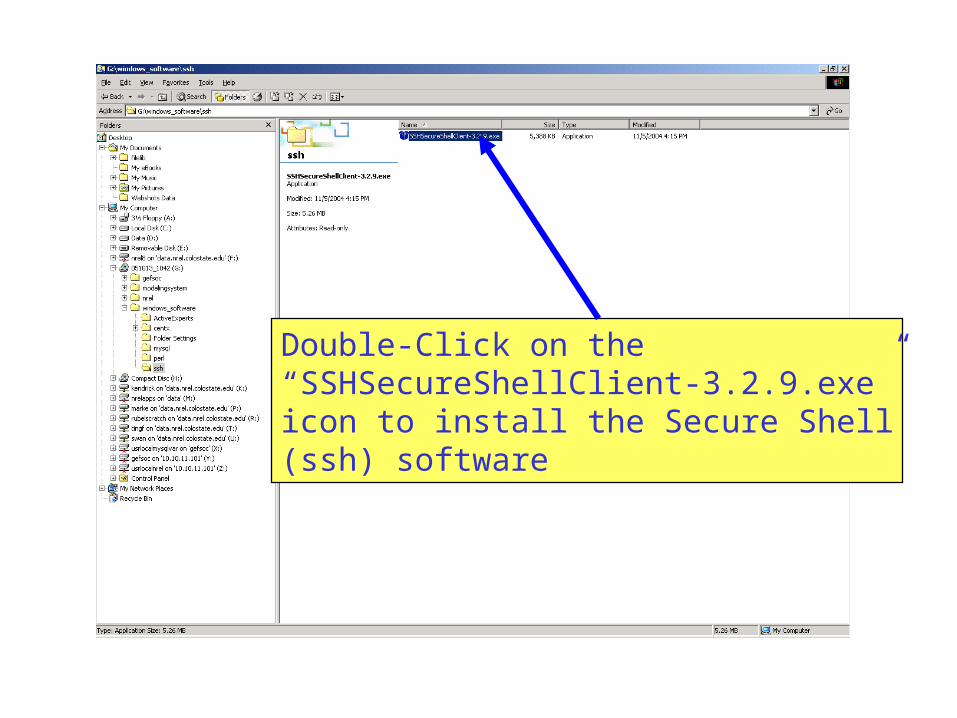
Double-Click on the “SSHSecureShellClient-3.2.9.exe”icon to install the Secure Shell(ssh) software

Click the “Next” button to continue.
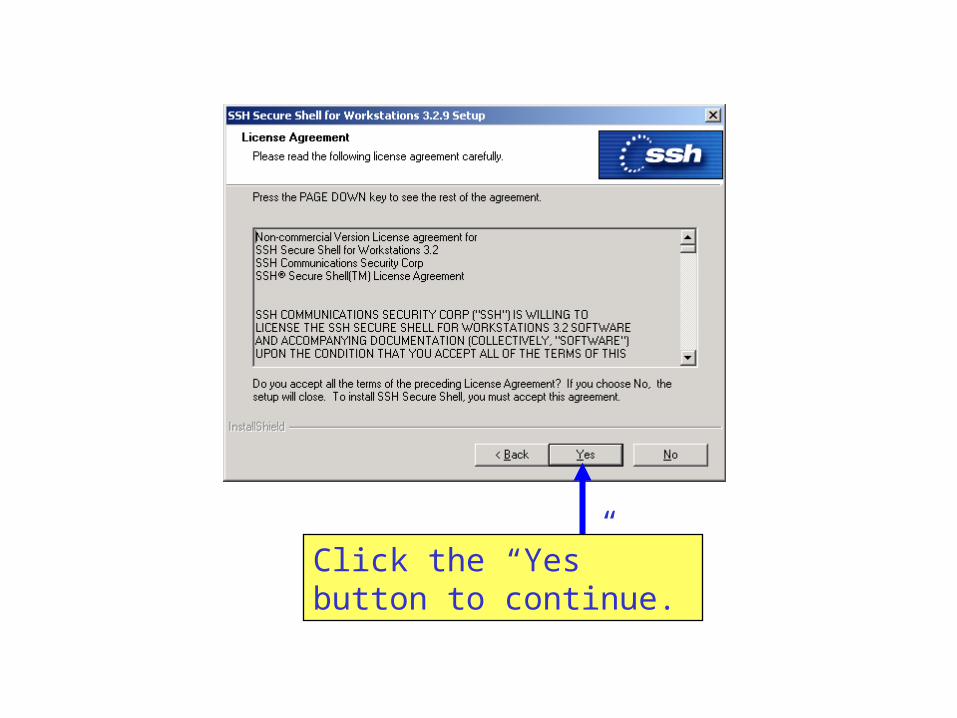
Click the “Yes” button to continue.
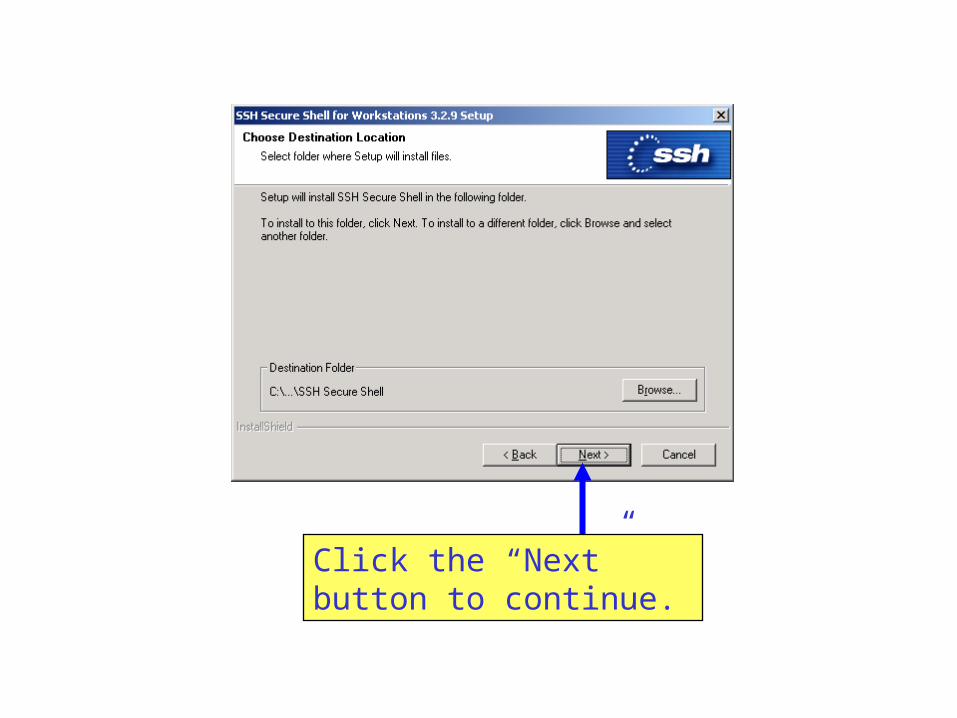
Click the “Next” button to continue.
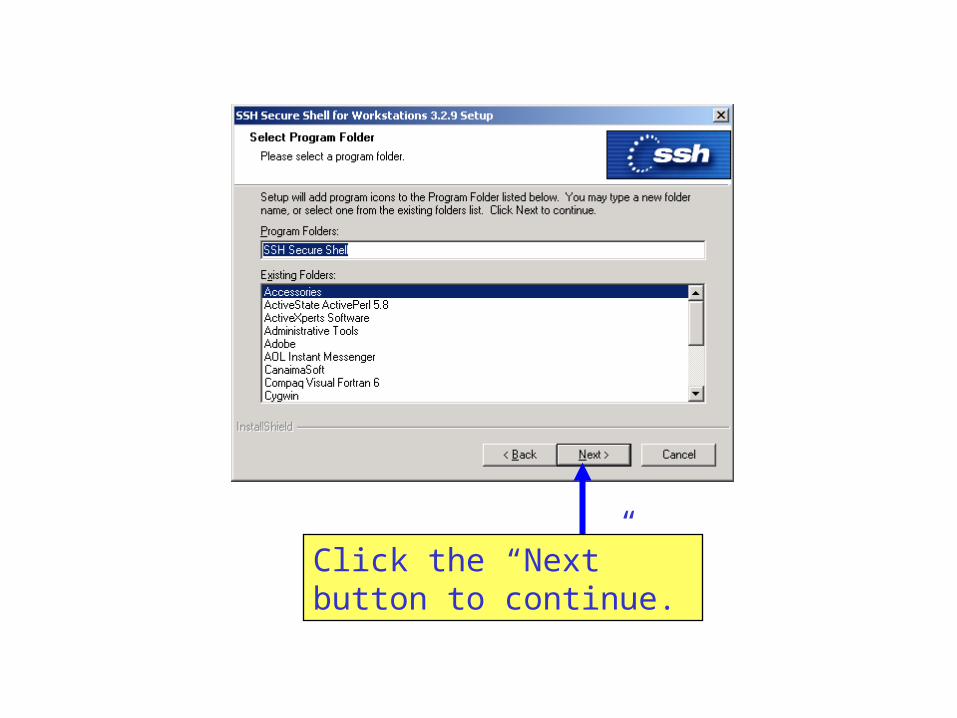
Click the “Next” button to continue.
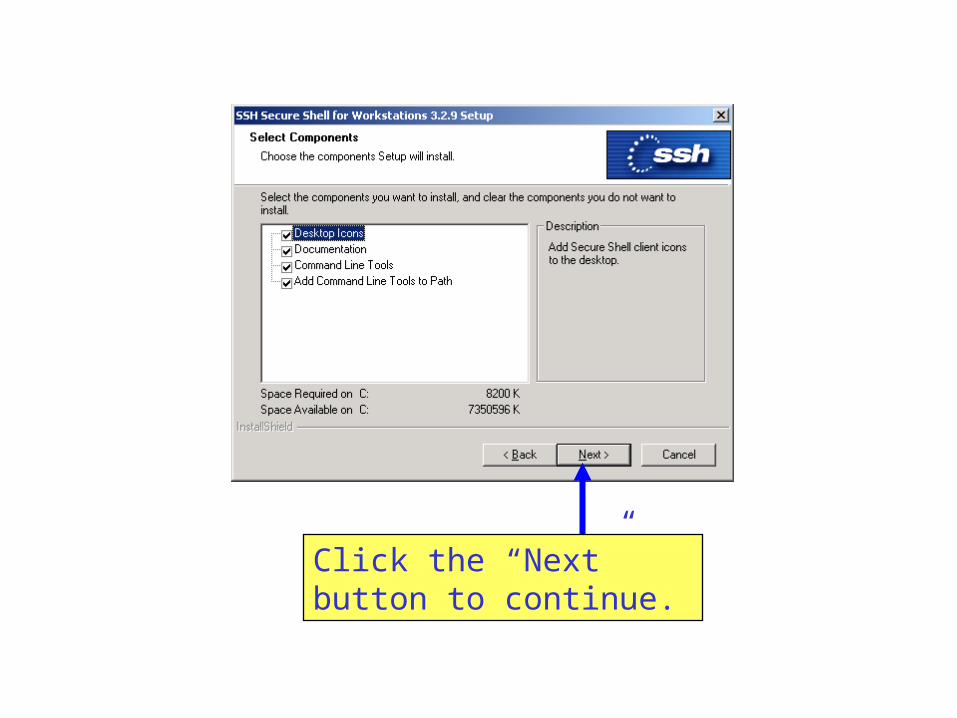
Click the “Next” button to continue.
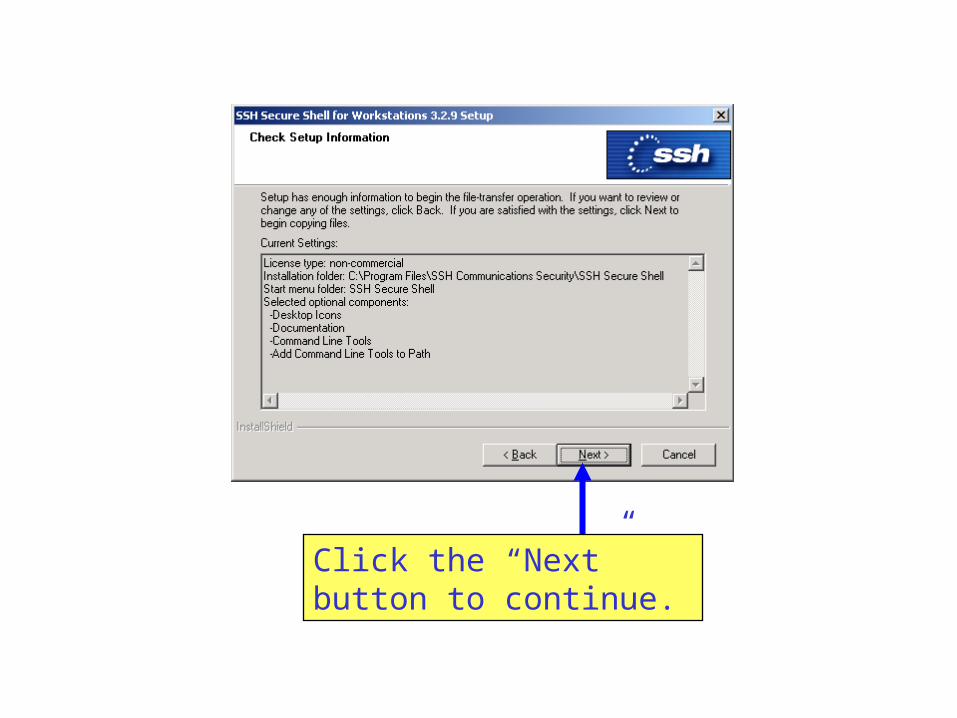
Click the “Next” button to continue.
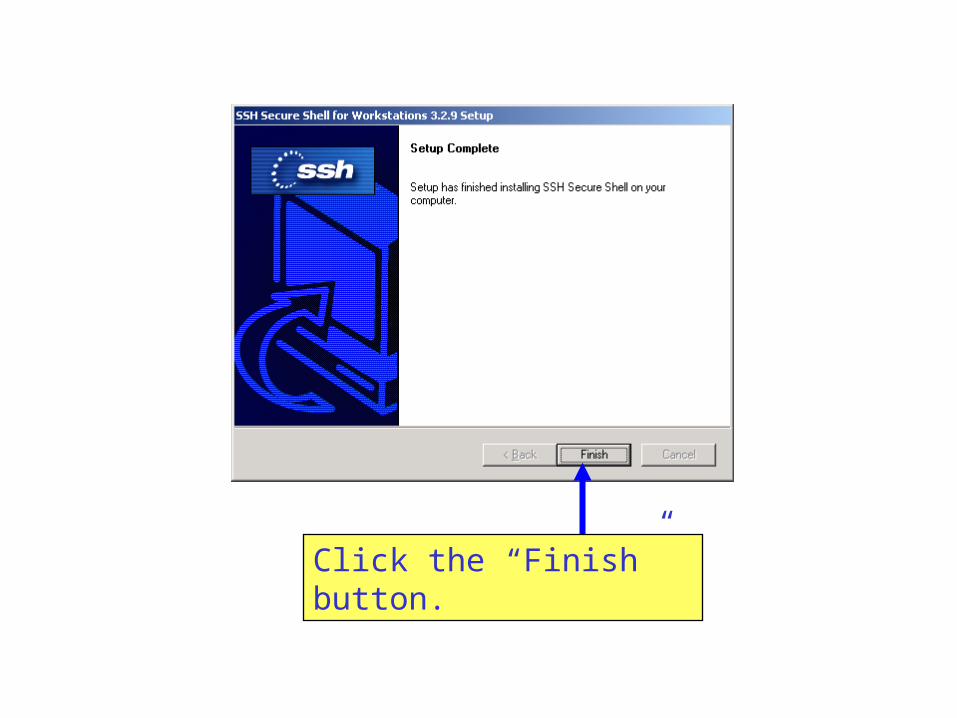
Click the “Finish” button.
The Installation process is finished.
Thank you for your attention and interest.