WatchDogNXT - Seaira Global
8
How To Install the Duct Kit WatchDog NXT Dehumidifiers Seaira Global LLC www.SeairaGlobal.com 910-660-0962 Connecting to HVAC……………….p.1 Remote Control Applications……p.6
Transcript of WatchDogNXT - Seaira Global
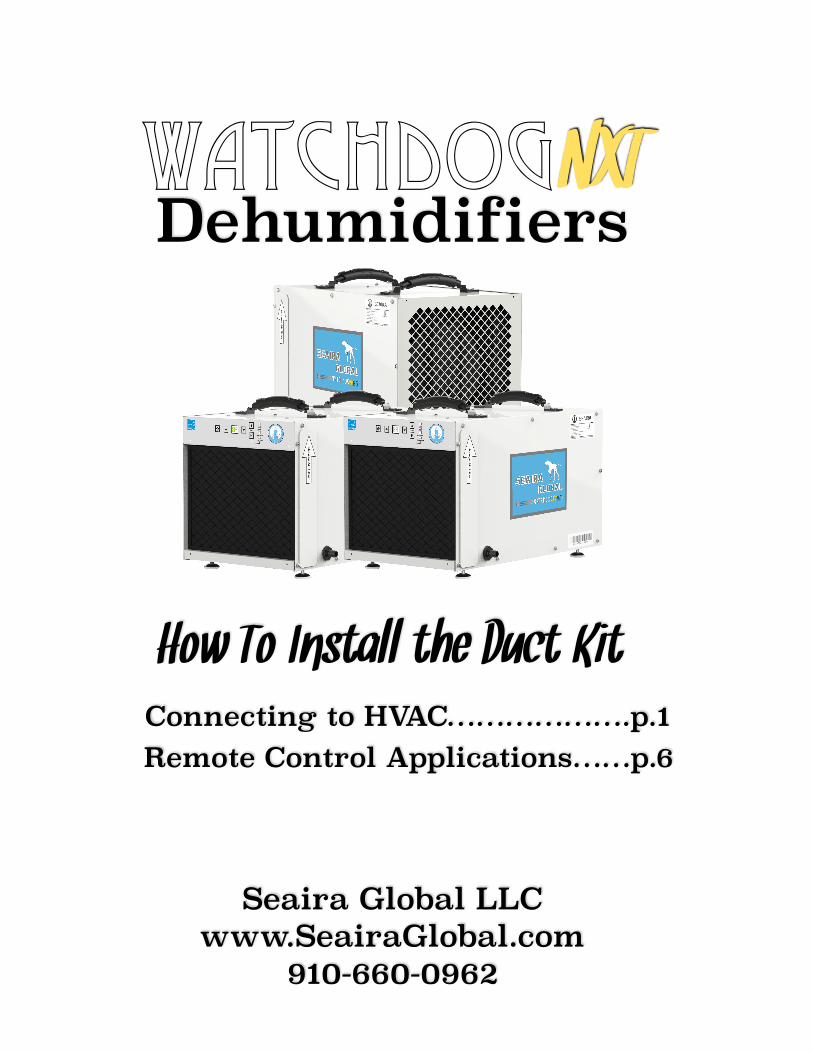
How To Install the Duct Kit
WatchDogNXTDehumidifiers
Seaira Global LLC www.SeairaGlobal.com
910-660-0962
Connecting to HVAC……………….p.1Remote Control Applications……p.6

In this application, the duct kit is used to connect the dehumidifier to a HVAC system.
Tools:
• Phillips Head Screwdriver • N-103 Duct Kit which includes:
• (2) Duct Collars (Inlet + Exhaust)• (6) Mounting Screws (4 for Inlet, 2 for Exhaust)
1. Remove the right and left screw at the base of the dehumidifier on the exhaust side (side with terminal strip). Save the two screws as they will be used to attach exhaust duct. Leave the middle screw in place.
�1
Duct Kit: Connecting to HVAC

2. Place duct collar on inlet side of dehumidifier and secure with 4 screws. Repeat on exhaust side of dehumidifier, with 2 included screws and 2 saved screws.
3. The duct collars use 10” flex ducting. Simply slide ducting over adapter and secure with tie wrap or clamps. There are 2 different options for installation:
• Remote Return: Connect the return collar to room register and the supply collar to the return duct on the HVAC system.
• Return Duct: Connect both the return and the supply collar to the HVAC return duct.
4. To control the dehumidifier using the HVAC thermostat, you will need to access the dehumidifier control board. To do this, first remove the side panel with the sensor vents.
�2
Max. Combined Duct Length- 10’

5. Next, remove the two screws on the control board cover.
6. Flip the Central Control Switch from “off” to “on”.
�3

7. Reassemble the dehumidifier.
8. At this point, you will need to connect the 24 VAC from the main HVAC controller to terminal A3 on the dehumidifier terminal strip. Switch 24 VAC common to terminal A4.
9. For fan interlock to function, place a jumper between A3 and A2. Next, connect terminal A1 on the dehumidifier to the remote fan terminal on the HVAC controller (normally terminal “G”).
(see wiring diagram on page 5)
�4

�5

In this application, the duct kit is used with a remote control (W-100) to install the dehumidifier in an adjacent room, such as a mechanical room.
Tools:
• Phillips Head Screwdriver • N-103 Duct Kit which includes:
• (2) Duct Collars (Inlet + Exhaust)• (6) Mounting Screws (4 for Inlet, 2 for Exhaust)
• W-100 Remote Control Kit which includes:• (1) Remote Control• (25’) CAT-5 Cable• (1) Mounting Bracket• (2) Screws to Mount Remote Control to Mounting Bracket
• Screws to attach mounting bracket to wall (not included in W-100)
1. Remove the right and left screw at the base of the dehumidifier on the exhaust side (side with terminal strip). Save the two screws as they will be used to attach exhaust duct. Leave the middle screw in place.
Duct Kit: Remote Control Applications
6

2. Place duct collar on inlet side of dehumidifier and secure with 4 screws. Repeat on exhaust side of dehumidifier, with 2 included screws and 2 saved screws.
3. Use 10” flex ducting to connect duct collars to supply and return grilles in room you wish to condition. Slide ducting over adapter and secure with tie wrap or clamps.
4. Install the remote control mounting bracket in the conditioned room. This will provide sensor input to dehumidifier in adjacent room. Screw the remote control onto mounting bracket.
Max. Combined Duct Length- 10’
7