Using Visual Basic Studio 2008 - … · 10/7/2012 · Using Visual Basic – Studio 2008 Recall...
11
Using Visual Basic – Studio 2008 Recall that object-oriented programming language is a programming language that allows the programmer to use objects to accomplish a program’s goal . An object is anything that can be seen, touched, or used. Every object is created from a class. A class is a pattern or blueprint used to create an object. An Integrated Development Environment (IDE) contains all the tools and features needed to create, run, and test programs, and includes an editor and compiler. Visual Studio 2008 is an IDE used to create Windows- or Web-based programs. It includes Visual Basic 2008, Visual C++ 2008, and Visual C# 2008 Applications are programs or suites of programs. A Windows-based application has a Windows user interface and runs from a desktop computer (including laptops). A Web-based application suns off a server and is accessed with a computer browser. From a programming point of view, applications can be thought of as solutions to a problem. Within the solution, projects and files for the entire application can be found. The project is a container that stores files associated with a specific piece of the solution. Any solution may contain more than one project. Starting Microsoft Visual Studio 2008 When you load VB 2008, the following (or similar, depending on install settings) screen will open:
Transcript of Using Visual Basic Studio 2008 - … · 10/7/2012 · Using Visual Basic – Studio 2008 Recall...
Using Visual Basic – Studio 2008
Recall that object-oriented programming language is a programming language that allows the
programmer to use objects to accomplish a program’s goal. An object is anything that can be seen,
touched, or used. Every object is created from a class. A class is a pattern or blueprint used to create an
object.
An Integrated Development Environment (IDE) contains all the tools and features needed to create, run,
and test programs, and includes an editor and compiler. Visual Studio 2008 is an IDE used to create
Windows- or Web-based programs. It includes Visual Basic 2008, Visual C++ 2008, and Visual C# 2008
Applications are programs or suites of programs. A Windows-based application has a Windows user
interface and runs from a desktop computer (including laptops). A Web-based application suns off a
server and is accessed with a computer browser.
From a programming point of view, applications
can be thought of as solutions to a problem.
Within the solution, projects and files for the
entire application can be found. The project is a
container that stores files associated with a
specific piece of the solution. Any solution may
contain more than one project.
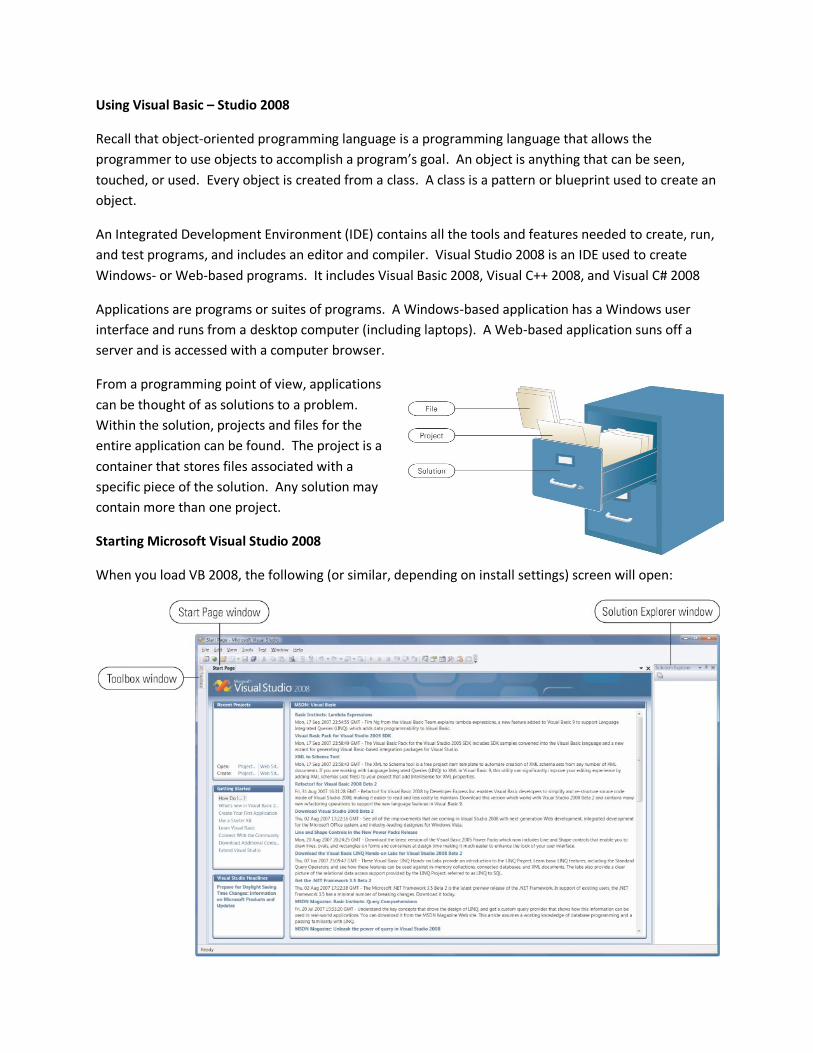
Starting Microsoft Visual Studio 2008
When you load VB 2008, the following (or similar, depending on install settings) screen will open:
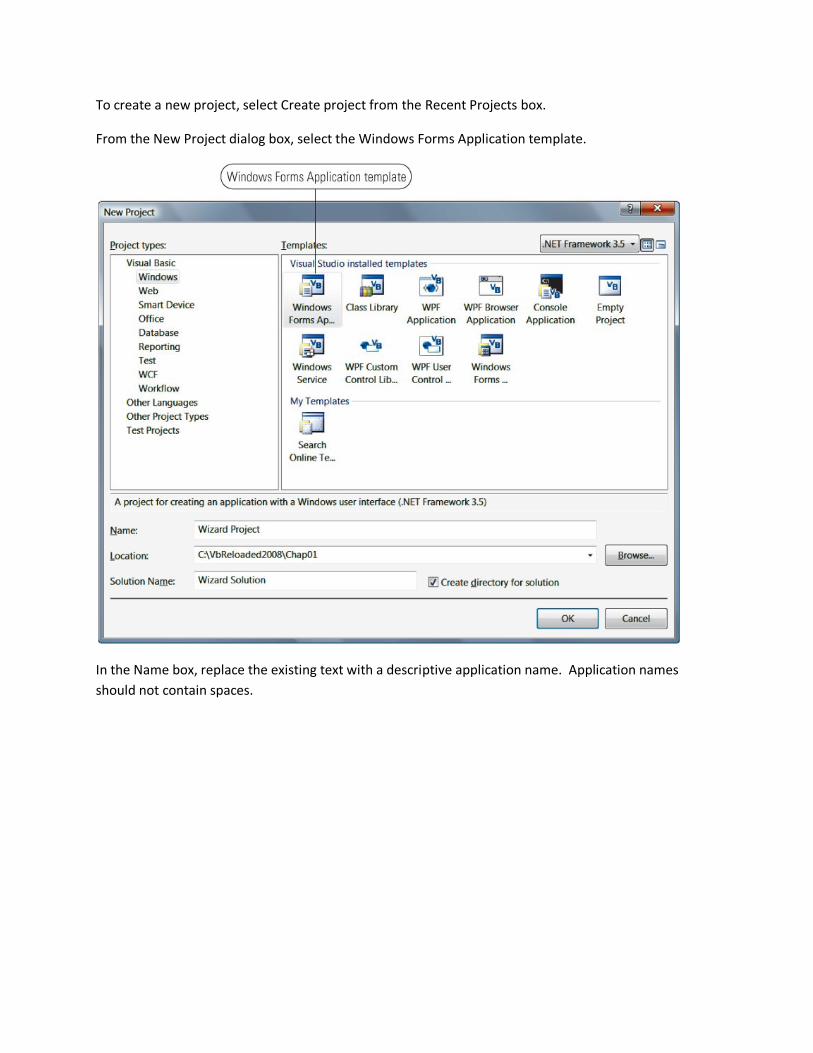
To create a new project, select Create project from the Recent Projects box.
From the New Project dialog box, select the Windows Forms Application template.
In the Name box, replace the existing text with a descriptive application name. Application names
should not contain spaces.
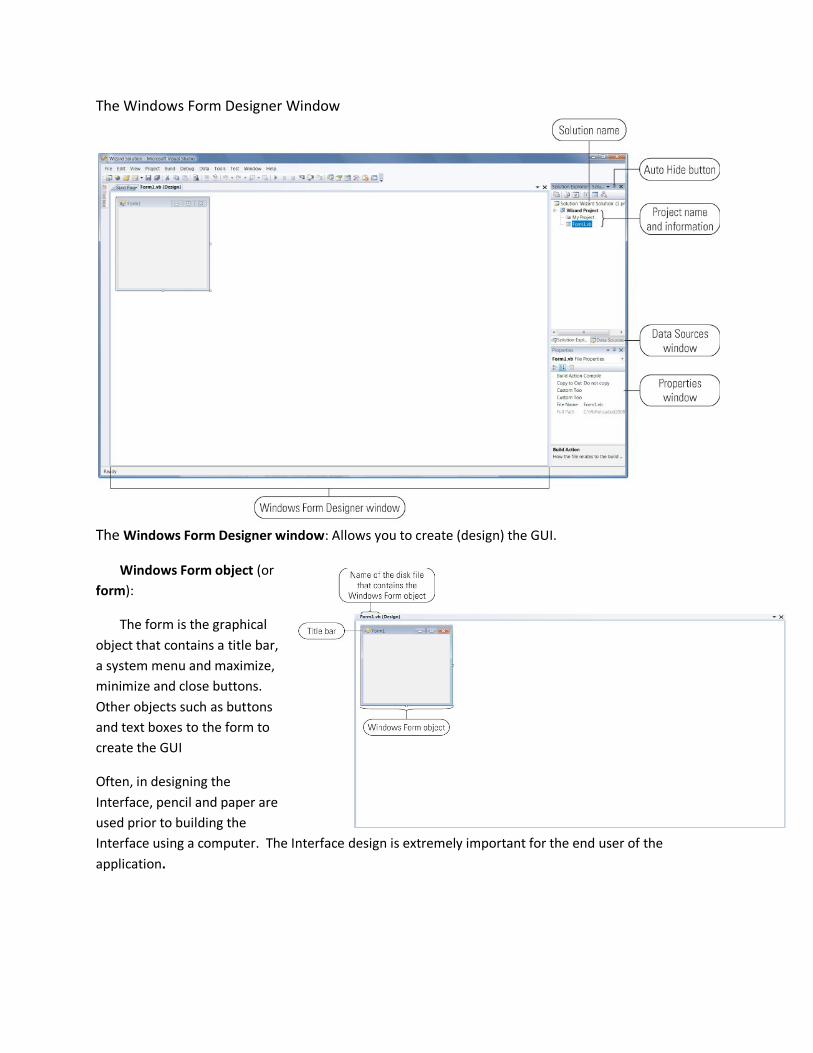
The Windows Form Designer Window
The Windows Form Designer window: Allows you to create (design) the GUI.
Windows Form object (or
form):
The form is the graphical
object that contains a title bar,
a system menu and maximize,
minimize and close buttons.
Other objects such as buttons
and text boxes to the form to
create the GUI
Often, in designing the
Interface, pencil and paper are
used prior to building the
Interface using a computer. The Interface design is extremely important for the end user of the
application.

Solution Explorer window:
The Solution Explorer window displays a list of projects contained in this solution as well as the
items contained in each project. It can be used to switch between Design and Code windows.
The Properties Window
Properties are a set of attributes that determine an object’s appearance and behavior. Property
values are displayed in the Properties window in either alphabetical order or by category. A property
value is set by typing or selecting a new value. By pressing enter, or clicking outside the Properties
window, the new value is applied. Default property values are assigned when an object is created and
the properties displayed are those of the object that is selected.
The Toolbox Window
The Toolbox contains objects that can be added to other objects, such as a form. Each tool,
which represents an object, has an icon and a name to identify it. The Controls are the objects displayed
on a form.
Commonly changed properties of a Windows Form
• Class definition: block of code that defines the attributes and behaviors of an object
– All class definitions are contained in namespaces which defines a group of related
classes. The period that separates words in an object’s name to indicate a hierarchy of
namespaces is called the Dot member access operator.
• Name property: used to refer to an object in code
– Give each object a meaningful name and use appropriate prefix (Hungarian Notation)
and Pascal case, where the first letter of each word is uppercase. The First part of the
name should indicate the object’s purpose and the second should indicate the object’s
class.
• Text property: controls the caption displayed on form’s title bar
• StartPosition property: determines the form’s position on the screen when the application
starts.
• Font: general shape of characters in text
• Point: a measure of font sizes; one point = 1/72 inch
To add a control to the VB Form
Select the tool in the toolbox
And do one of the following:
a) without releasing the mouse button, drag the pointer to the form
b) click on the form where you want to place the control
c) place the mouse on the form and click and drag the mouse until the control is the desired
size. To manipulate controls on a VB Form
Select the control by clicking on it in the designer window.
Move a control by dragging it to the desired location.
Resize a control by using the sizing handles that appear when a control is selected.
Delete controls by selecting it in the designer window and then pressing the delete key on
your keyboard.
Naming controls
All controls have a Name property which labels the particular control. Without assigning unique
names to the controls, it becomes difficult to distinguish one control from another inside the Visual
Basic code.
Naming Conventions
o Names can be as short as one character or as long as 40 characters.
o Names must begin with a letter of the alphabet (upper or lower case).
o Names can contain letters, numbers or underscores.
o Names cannot be the same as reserved words (specific command words for
coding).
o Names should make sense.
o Names should consist of a three letter prefix that designates the type of control
followed by a unique text description.
Common prefixes for naming Controls
Form frm PictureBox pic Button cmd Timer tmr Label lbl Vertical Scroll Bar vsb Textbox txt Menustrip mnu Checkbox chk GroupBox grb Radio Button rb Horizontal scroll Bar hsb ListBox lst Combobox cbo
Setting Properties
Once you have your controls in place, the next step is to set the controls’ properties. Recall that
properties are characteristics or attributes that define the colour, behaviour, position, or text.
Properties are set at design time by selecting the object(s) from the Properties window. The Properties
window consists of two sections:
Object Box - displays the name of the control whose properties are being set.
Property List - displays the set of properties belonging to the control named in the Object Box
and the current value of the properties.
Each control has a different set of properties. Change only the ones that you want to differ from their
default values. The Name property is the only property that must be changed. When choosing names
for controls, ensure use of appropriate prefixes and descriptive words for the purpose of the controls.
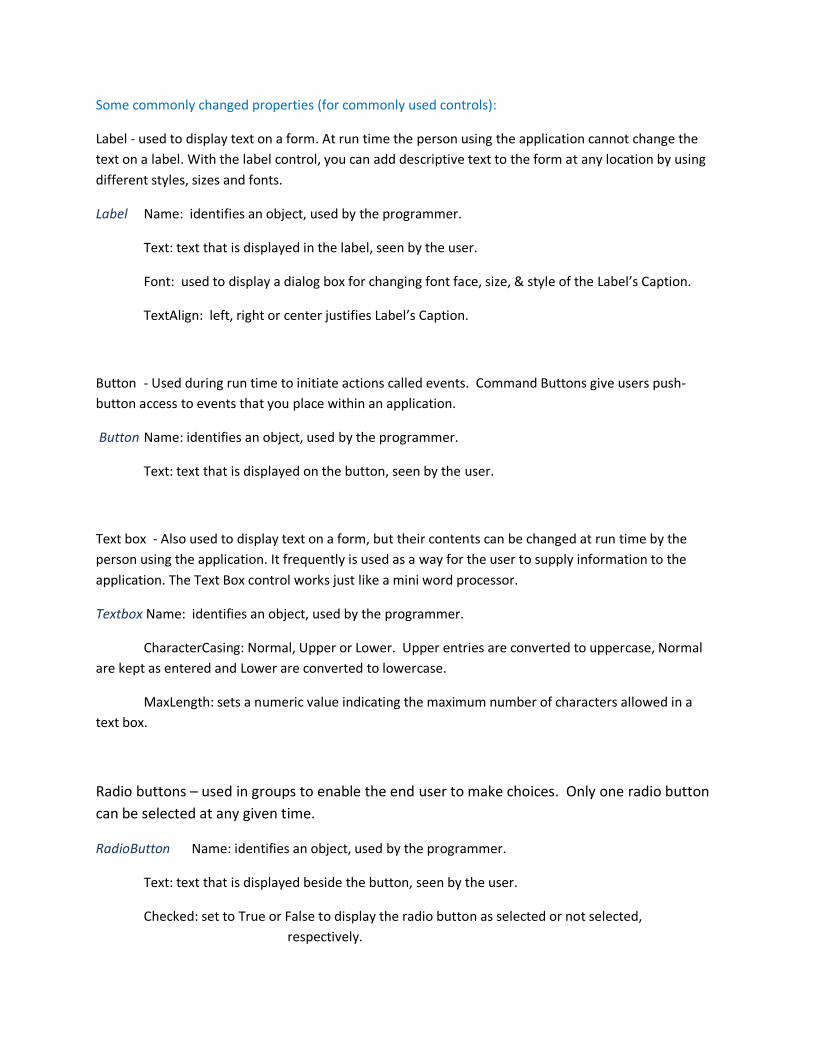
Some commonly changed properties (for commonly used controls):
Label - used to display text on a form. At run time the person using the application cannot change the
text on a label. With the label control, you can add descriptive text to the form at any location by using
different styles, sizes and fonts.
Label Name: identifies an object, used by the programmer.
Text: text that is displayed in the label, seen by the user.
Font: used to display a dialog box for changing font face, size, & style of the Label’s Caption.
TextAlign: left, right or center justifies Label’s Caption.
Button - Used during run time to initiate actions called events. Command Buttons give users push-
button access to events that you place within an application.
Button Name: identifies an object, used by the programmer.
Text: text that is displayed on the button, seen by the user.
Text box - Also used to display text on a form, but their contents can be changed at run time by the
person using the application. It frequently is used as a way for the user to supply information to the
application. The Text Box control works just like a mini word processor.
Textbox Name: identifies an object, used by the programmer.
CharacterCasing: Normal, Upper or Lower. Upper entries are converted to uppercase, Normal
are kept as entered and Lower are converted to lowercase.
MaxLength: sets a numeric value indicating the maximum number of characters allowed in a
text box.
Radio buttons – used in groups to enable the end user to make choices. Only one radio button
can be selected at any given time.
RadioButton Name: identifies an object, used by the programmer.
Text: text that is displayed beside the button, seen by the user.
Checked: set to True or False to display the radio button as selected or not selected,
respectively.

Group Boxes – used to group related objects. They are absolutely necessary when using radio buttons.
In VB, you must add the group box control prior to adding the radio buttons on a form in order for them
to function properly.
Groupbox Name: identifies an object, used by the programmer.
Text: text that is displayed at the top of the group, seen by the user.
CheckvBoxes – used to allow the user to select options. Unlike radio buttons, more than one check box
can be selected at a time.
CheckBox Name: identifies an object, used by the programmer.
Text: text that is displayed beside the box, seen by the user.
Checked: set to True or False to display the check box as selected or not selected, respectively
Lab #1 – Creating Forms in VB
We will create the following
form in VB. This is an exercise
in creating a form. At this time,
we will not be programming
anything for this form.
Open VB Studio 2008 and
Create a Project.
Give the project the name
Wizard Application
Add a Label, a Picture Box and
three Buttons to the Form.
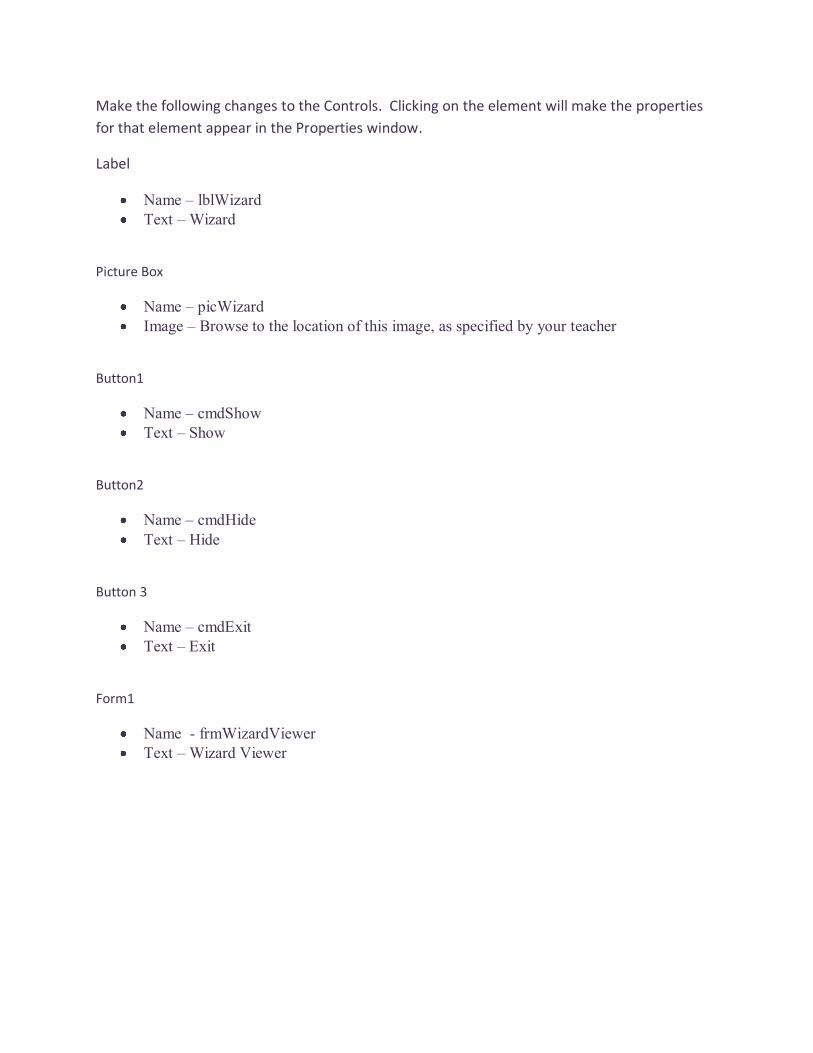
Make the following changes to the Controls. Clicking on the element will make the properties
for that element appear in the Properties window.
Label
Name – lblWizard
Text – Wizard
Picture Box
Name – picWizard
Image – Browse to the location of this image, as specified by your teacher
Button1
Name – cmdShow
Text – Show
Button2
Name – cmdHide
Text – Hide
Button 3
Name – cmdExit
Text – Exit
Form1
Name - frmWizardViewer
Text – Wizard Viewer
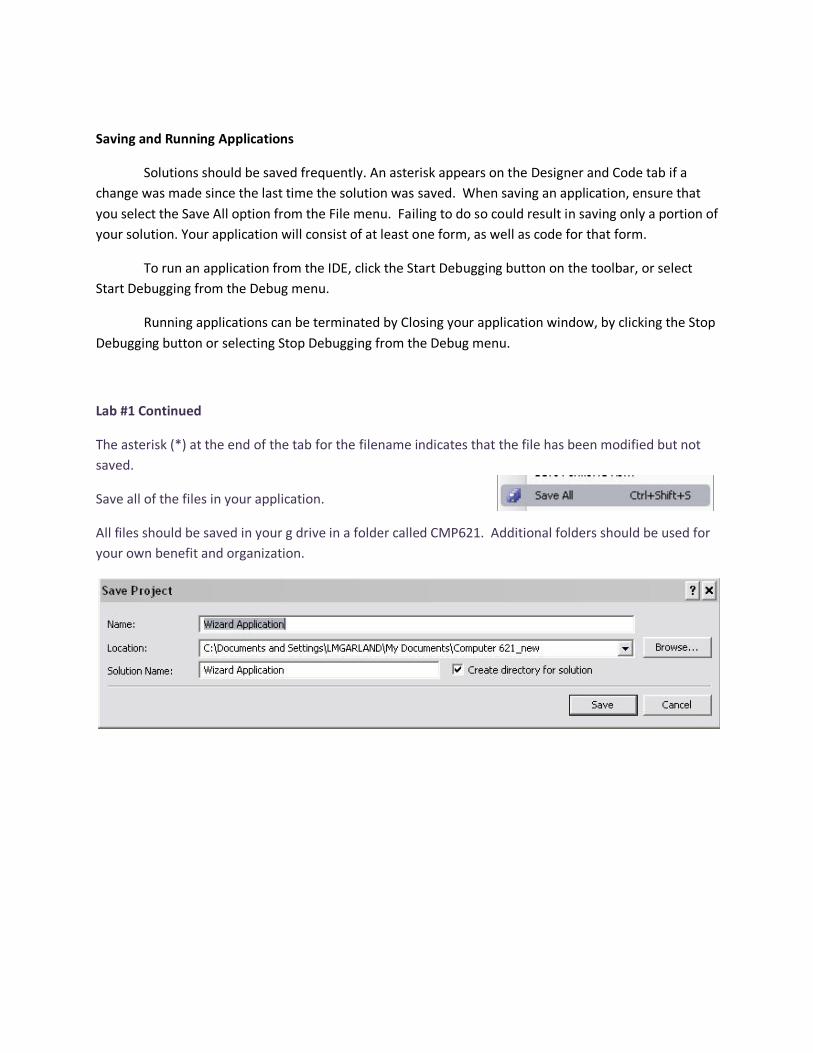
Saving and Running Applications
Solutions should be saved frequently. An asterisk appears on the Designer and Code tab if a
change was made since the last time the solution was saved. When saving an application, ensure that
you select the Save All option from the File menu. Failing to do so could result in saving only a portion of
your solution. Your application will consist of at least one form, as well as code for that form.
To run an application from the IDE, click the Start Debugging button on the toolbar, or select
Start Debugging from the Debug menu.
Running applications can be terminated by Closing your application window, by clicking the Stop
Debugging button or selecting Stop Debugging from the Debug menu.
Lab #1 Continued
The asterisk (*) at the end of the tab for the filename indicates that the file has been modified but not
saved.
Save all of the files in your application.
All files should be saved in your g drive in a folder called CMP621. Additional folders should be used for
your own benefit and organization.

Saving the file does not change the name of the form. To do this, in the
Solution Explorer window, select the form 1 file. The Property window
changes to reflect what you have selected. Change the name of the form to
MainForm.
Save All and close the project.
Opening an existing Project
A VB 2008 application includes a project file (.vbproj), form files (.vb) and a
solution file (.sln). The solution file icon will have a tiny number 9 beside it,
this is the file that you want to open to open the entire application.