
Tutorial – “How to:” 1) Change the resolution on your display 2) Setup Multiple Displays.
32
Tutorial – “How to:” 1) Change the resolution on your display 2) Setup Multiple Displays
-
Upload
deirdre-collins -
Category
Documents
-
view
222 -
download
0
Transcript of Tutorial – “How to:” 1) Change the resolution on your display 2) Setup Multiple Displays.

Tutorial – “How to:” 1) Change the resolution on your display
2) Setup Multiple Displays

Figure1: The DesktopYour screen may appear different, shown for concept.
Section 1) How to change resolution of your screen

Right click the desktopWait and the Graphics properties window will appear

Graphics Property MenuFind and Resolution pull down and hover over it with mouse pointer

Click on pull downLeft click mouse on triangle right edge of pull down and the drop down menu will appear
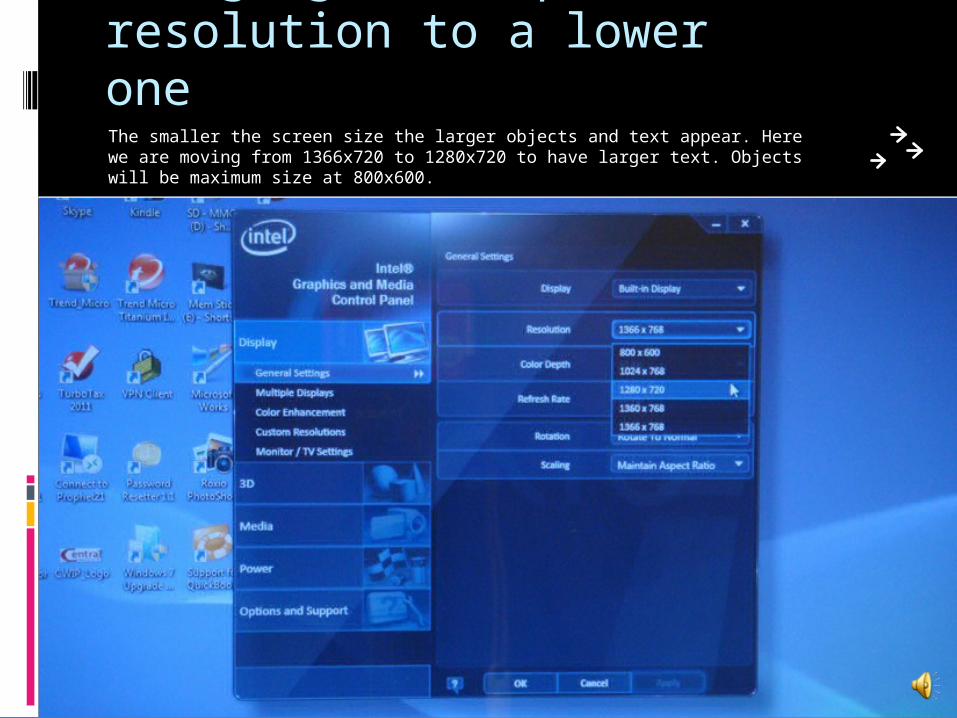
Changing from optimal resolution to a lower oneThe smaller the screen size the larger objects and text appear. Here we are moving from 1366x720 to 1280x720 to have larger text. Objects will be maximum size at 800x600.

Here we have chosen 1280x720Click the apply button

After click apply a window appears asking if you want to accept the changeIf you do nothing the screen will go back to the original way it was before changes. If you made a mistake just wait and try a different setting.

Click okay to finish and close window.You will now be able to use the display at the new resolution and object will be larger but less will fit on you desktop.
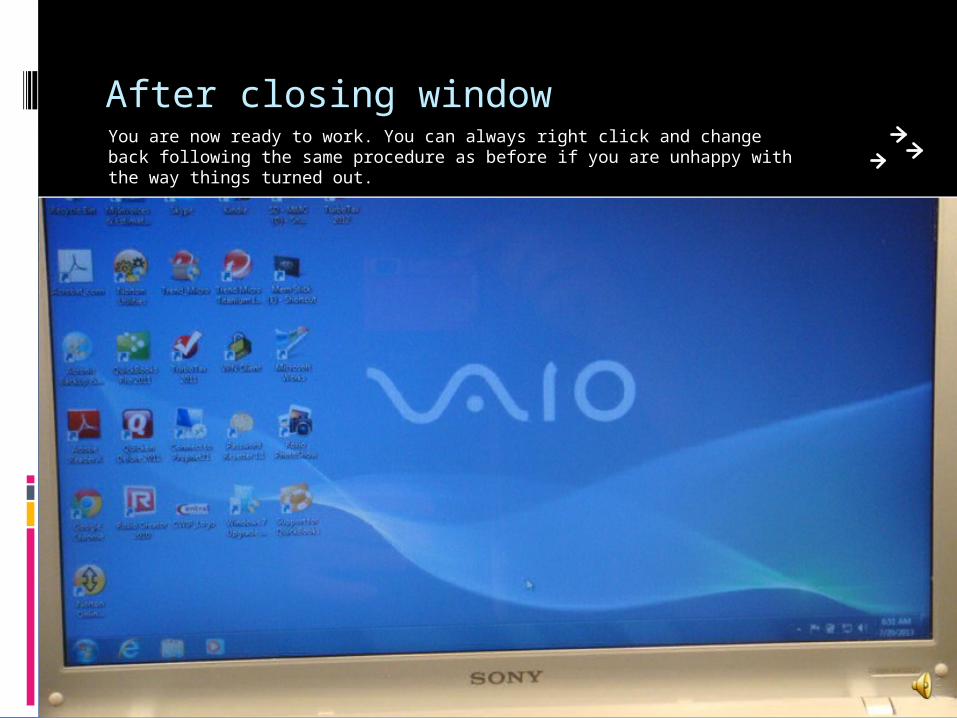
After closing windowYou are now ready to work. You can always right click and change back following the same procedure as before if you are unhappy with the way things turned out.

You should now be able to read text in Word at full screen.Note when at a lower resolution than optimal, when not maximized the entire display will not be used. You will have black around the edges. You will understand when you review the next section for using two displays with the notebook how this will come in handy.

Laptop at 800x600 Maximum size objects , but full screen of notebook is not used when things are not maximized.

Using your computer will more than one monitor
Section 2) Using two displays

Graphic Property WindowDisplay Left side, Multiple display heading
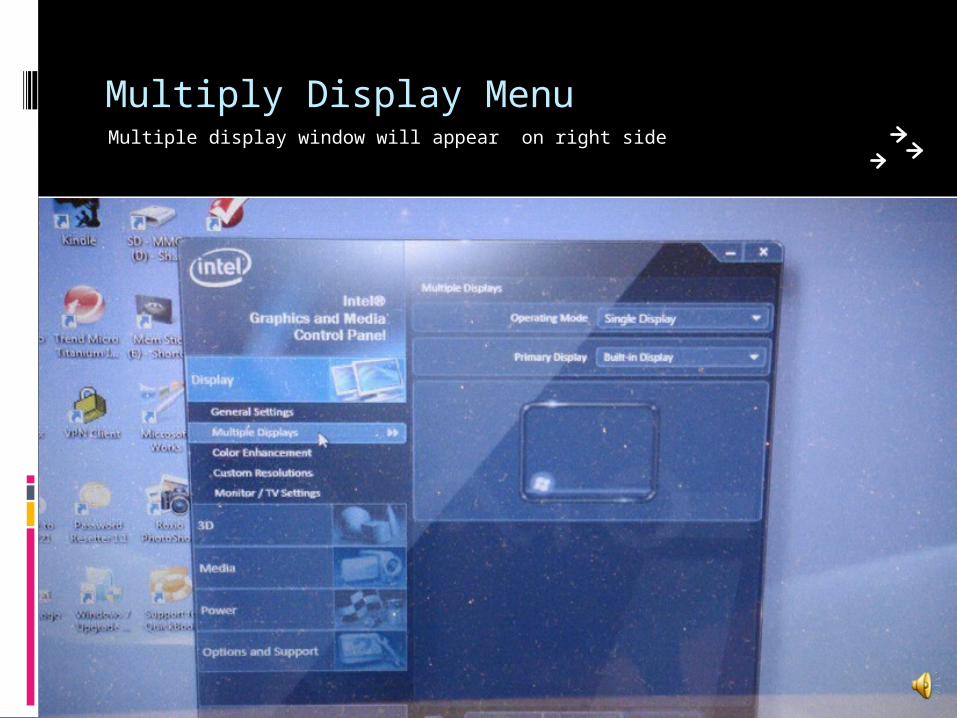
Multiply Display MenuMultiple display window will appear on right side

Find the vga port on your laptopYou will need to connect the second monitor here. Find and prepare your vga cable. There may be more than one type of cable in the box your new monitor came in.

Here is the VGA cable from the monitor box.If there is more than one choose the type of cable that matches your notebook. This notebook has a VGA output so this is the one we want. The monitor must have a VGA input also. You monitor and notebook maybe different.

For our case we want the cable with blue ends.Does not matter which end you plug in first. When every possible firmly tighten the thumb screw to secure the cable at both ends. Take care that it is fully seated.

Plug one end into the monitorIn our case can not tighten the thumbs screws. Take care to fully seat and not accidently pull cable out while monitors are in use.

Now find the VGA Port on the monitorIt will be a blue port , D shaped and have 15 pins. Your monitor may have more than one port. Be sure to match up the ends for the type of cable you are using between notebook and monitor.

Notebook with external monitor after power on.By default both screens will be the same and at the same resolution.

As in section 1 right click notebook screen to bring up graphic propertiesJust click anywhere that is free of icons on the desk top

After clicking the Intel windows opens.We will need to click Multiple Display and change some settings.

After clicking multiple displaysYou will see two screens below. Depending on if the larger monitor is to the left or right you may have to click, hold and drag the screen icons and change pull downs so that it reflects your situation and the mouse starts out on the primary screen and when you go right the mouse appears on the 2nd display.

Click apply after making all selections.Want Operating mode, Extended; Primary : Built in and your 2nd display showing the type of monitor. Notice the appearance of the screen icons in the largest Intel Window box.

Both displays after clicking applyNote we chose to set the resolution to optimal for both screens for best viewing according to manufacturer. Since the notebook screen is smaller than the 2nd monitor the desktop on that screen does not occupy the entire screen.

Both screens with Word open full screen on the notebook.In a moment you will see what you can do with your extended desktop..

Open Excel minimized on top of Word.You will be left clicking and holding down the mouse button while you drag it to the right and off the first screen onto the second larger screen.

Notice Excel as you drag starting to appear on 2nd monitor.With practice you will be able to do this click and drag movement.

Now Word is full screen on the notebook and fully on the 2nd monitor.Note the 2nd monitor is not using the full screen.

Both Word and Excel full screen on the monitorsNow you have the best viewing for Word on the notebook and can see many more columns on your spreadsheet on the second monitor. From now on when you start Excel it will open on the larger display with out doing the drag. You can now work on both at the same time!

The EndBy: Kerry E. Griffin


