Trapnut Strut Fastener - TNB.COMtnblnx3.tnb.com/emAlbum/albums/Kindorf Metal...
12
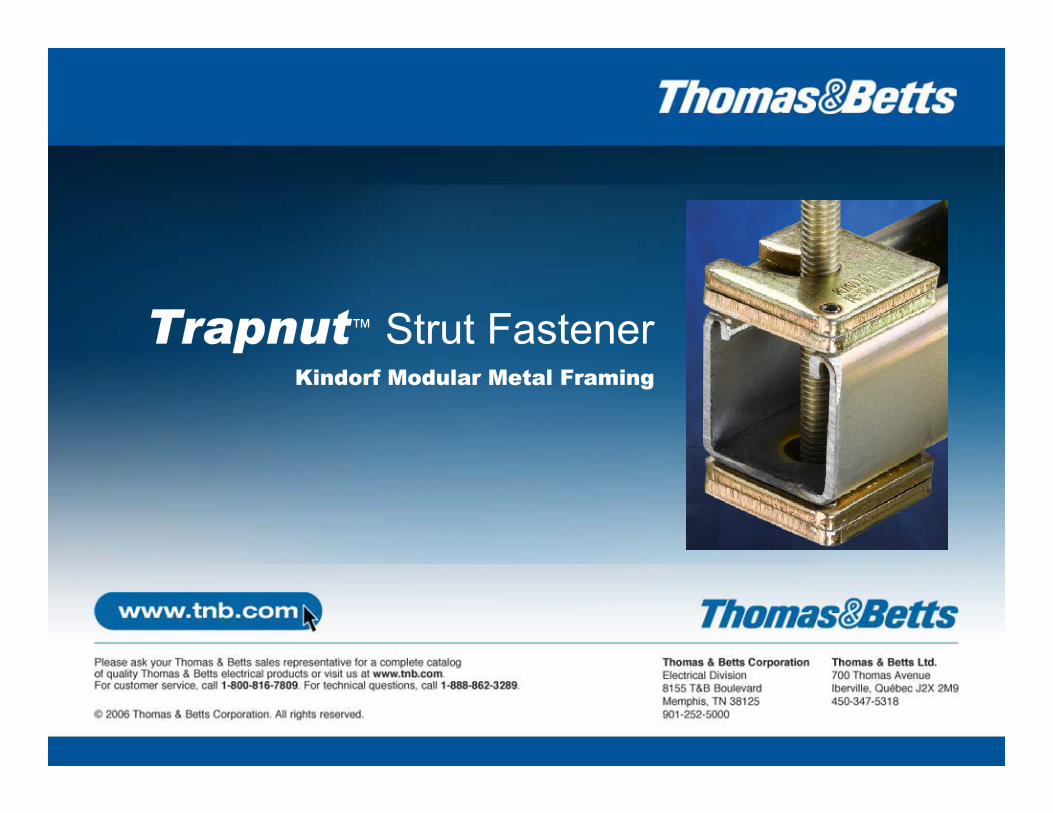
October 2006 Trapnut ™ Strut Fastener Kindorf Modular Metal Framing
Transcript of Trapnut Strut Fastener - TNB.COMtnblnx3.tnb.com/emAlbum/albums/Kindorf Metal...

October 2006
Trapnut™ Strut FastenerKindorf Modular Metal Framing
2
Kindorf®
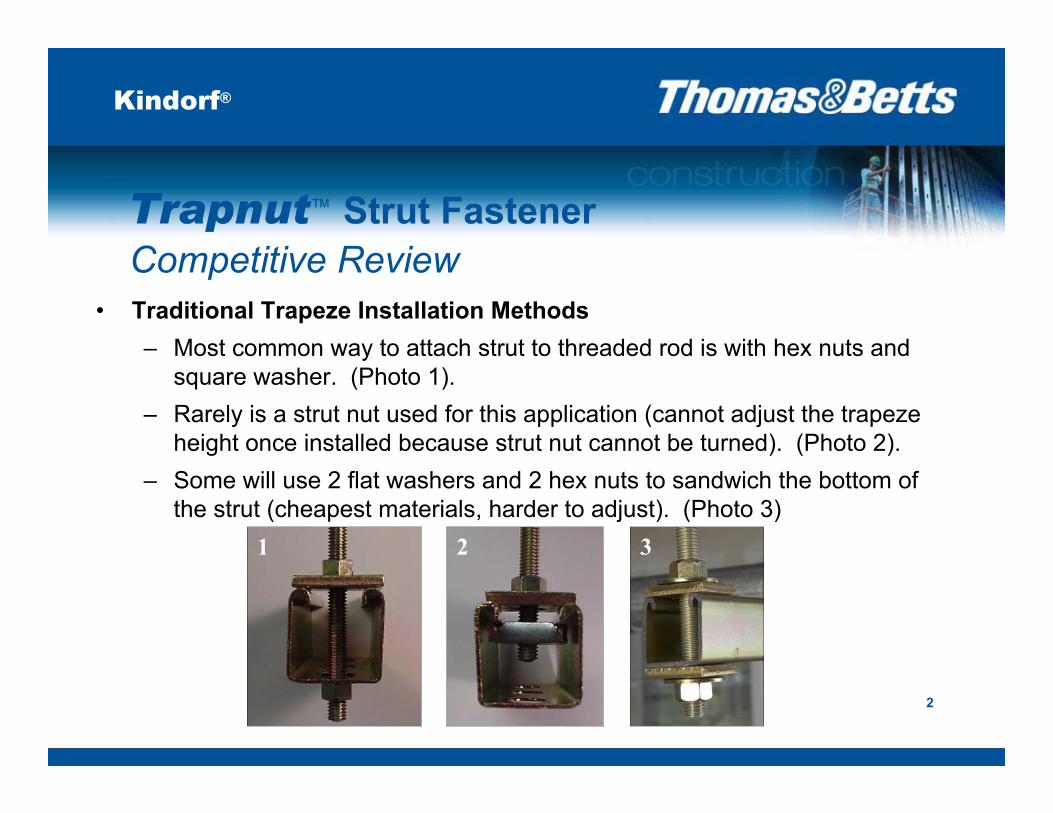
• Traditional Trapeze Installation Methods
– Most common way to attach strut to threaded rod is with hex nuts and
square washer. (Photo 1).
– Rarely is a strut nut used for this application (cannot adjust the trapeze
height once installed because strut nut cannot be turned). (Photo 2).
– Some will use 2 flat washers and 2 hex nuts to sandwich the bottom of
the strut (cheapest materials, harder to adjust). (Photo 3)
Competitive Review
Trapnut™ Strut Fastener
1 2 3

3
Kindorf®
• New Trapeze Installation Methods
Competitive Review
Trapnut™ Strut Fastener
Caddy Smart Nut
Provides a hex nut type attachment which can
be installed in line with the rod. To use this part,
a square or flat washer still needs to be inserted,
unlike the Trapnut which integrates all of these
components. Additionally it has a relatively light
load rating (200 lbs) compared to 3/8” threaded
rod (600 lbs) or the Trapnut (590 lbs).

4
Kindorf®
• New Trapeze Installation Methods
Competitive Review
Trapnut™ Strut Fastener
Slip On® Lock Nut
Hex nut type attachment which can be installed in
line with the rod. Like the Caddy Smart Nut, to use
this part, a square or flat washer still needs to be
inserted. Additionally, due to the nature of the
machining used to manufacture this part, it is
significantly more expensive than the Trapnut.
B-Line® Hot Rods™
Short length of threaded rod pre-assembled with strut nut, square washer
and jam nut. This product is undesirable because it employs a strut nut
which doesn’t allow for adjustment once installed.

5
Kindorf®
Installation
Trapnut™ Strut Fastener
1. Hold in the open position
– No need to thread on from the end ofthe rod
– Great for retro-fit jobs where rod ends are not accessible
2. Insert the bottom plate on the rod and close the top plate
– Precision threads trap the threaded rod for a sturdy hold that can be adjusted up or down for fine tune positioning

6
Kindorf®
Installation (cont.)
Trapnut™ Strut Fastener
3. Press the pin with pliers
– Locking pin holds Trapnut in the
desired position
4. Tighten to desired position with pliers
– Sturdy steel construction that is
load bearing

7
Kindorf®
• Scissor Around Threaded Rod at any Location
– Saves time vs. spinning hex nuts into place
– No need to thread on from the end of the rod
– Great for retro-fit jobs where rod ends are not
accessible
• Spins on Threaded Rod for Fine-Tune
Positioning
– Once pin is inserted, spin into position
Features & Benefits
Trapnut™ Strut Fastener

8
Kindorf®
• Sturdy Construction that is Load Bearing
– Steel construction holds loads comparable
to the threaded rod
– With pin inserted, installer can be confident
the product will be locked in place
• Functions as a Hex Nut, Square Washer,
and Flat Washer combined
– Fewer parts to keep up with on the job
Features & Benefits
Trapnut™ Strut Fastener

9
Kindorf®
New-Work Advantages
Trapnut™ Strut Fastener

10
Kindorf®
Retro-Fit Advantages
Trapnut™ Strut Fastener

11
Kindorf®
Product Offering
Trapnut™ Strut Fastener
October 2006Trapnut™ Strut FastenerKindorf Modular Metal Framing