TR Race Clutch System TURV012 - davesmotors.com · TR Race Clutch System TURV012 Kit Includes: 1pc....
19
TR Race Clutch System TURV012 Kit Includes: 1pc. V2 Clutch Carrier w/bearings 1pc. V2 HD One Piece Gear Plate w/bearing 1pc. Trans Plate Mount Optional TR Pinion Note: stock pinion will not fit, be sure to purchase TR Pinion. 1pc. M4x6 Button Head 2pcs. M5x16 Flat Head 2pcs. M4x25 SHCS 1pc. M6 Lock Washer 1pc. M6x12 Flat Head (for V2 clutch system only) 2Pc. M6x12 Button Head 2pc. M6x16 Button Head 1pc. M6x30 Button Head 1pc. M6x25 SHCS The bearings are as follow: 2pcs.15x32x9Bearings (assembled) 1pcs.12x24x6Bearings (assembled)
Transcript of TR Race Clutch System TURV012 - davesmotors.com · TR Race Clutch System TURV012 Kit Includes: 1pc....
TR Race Clutch System TURV012
Kit Includes:
1pc. V2 Clutch Carrier w/bearings
1pc. V2 HD One Piece Gear Plate w/bearing
1pc. Trans Plate Mount
Optional TR Pinion
Note: stock pinion will not fit, be sure to purchase TR Pinion.
1pc. M4x6 Button Head
2pcs. M5x16 Flat Head
2pcs. M4x25 SHCS 1pc. M6 Lock Washer
1pc. M6x12 Flat Head (for V2 clutch system only)
2Pc. M6x12 Button Head
2pc. M6x16 Button Head
1pc. M6x30 Button Head
1pc. M6x25 SHCS
The bearings are as follow:
2pcs.15x32x9Bearings (assembled)
1pcs.12x24x6Bearings (assembled)

The bearings in your kit are Team Fast Eddy Bearings and are
available at your favorite dealer.
The bearings in the Enclosed Carrier have been packed with a
grease specific to this application so we suggest TFE
replacements.
This product fits All Baja models.
Trucks involve a few more items to remove.

1. Remove body/body panels, cage and body
mount on clutch side.
2. Remove Gear cover, gear, plastic slot cover
(behind gear) and “purple” spacer.
3. Remove 2pcs M5 FlatHeads from frame brace.

4. Remove 3pcs M6 ButtonHeads and frame brace
from Clutch bell carrier. The lower left M6 can
be removed by sticking hex wrench through
gearplate.

5. Remove 2 pcs M4 SocketHeads from brake
assembly and remove M5 FlatHead on brake
assembly, remove brake assembly.

6. Remove Upper Left M6 ButtonHead holding
trans plate mount.
7. Remove clutch assembly from Baja by sliding it
off, trans plate mount will drop right out.

8. Remove Brake rotors.
9. Install TR Trans Mount using M5x16 FlatHead,
do not tighten.

10. Install M4x6 ButtonHead in TR GearPlate to
secure bearing.
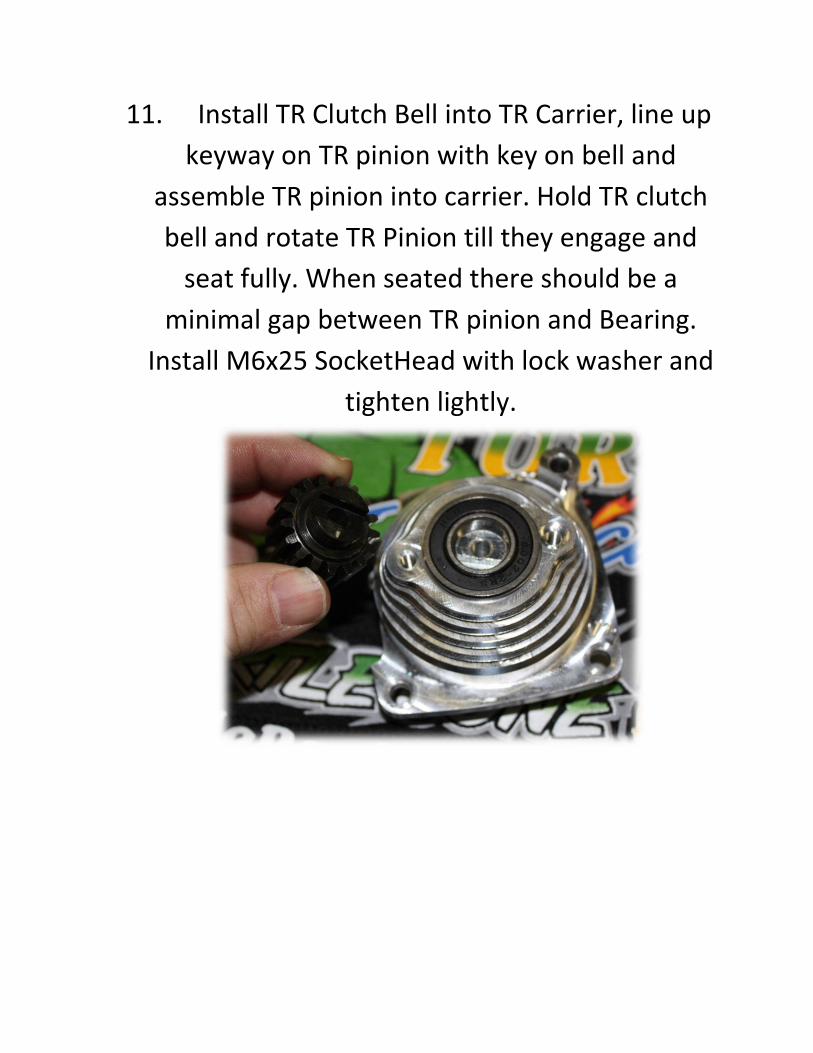
11. Install TR Clutch Bell into TR Carrier, line up
keyway on TR pinion with key on bell and
assemble TR pinion into carrier. Hold TR clutch
bell and rotate TR Pinion till they engage and
seat fully. When seated there should be a
minimal gap between TR pinion and Bearing.
Install M6x25 SocketHead with lock washer and
tighten lightly.


12. Slide carrier TR Assembly onto Baja and
install frame brace with M6x30 ButtonHead but
do not tighten. There is a small “lip” on TR
Carrier assembly that slides behind trans plate
mount so make sure you wiggle the carrier into
place and pull trans plate mount out slightly if
needed. When everything is correct there won’t
be any gap between trans plate mount and
carrier assembly. Install 2pcs. M6x16
ButtonHeads in two lower holes of carrier and
do not tighten.

13. Install Brake rotors.
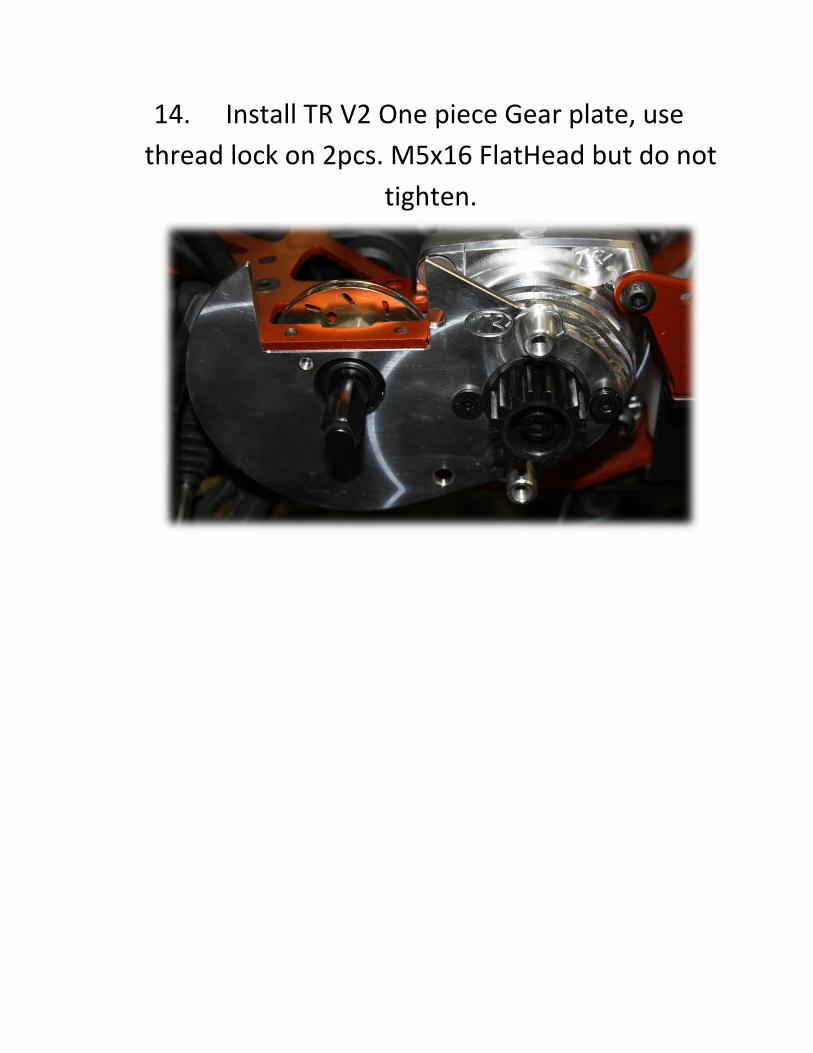
14. Install TR V2 One piece Gear plate, use
thread lock on 2pcs. M5x16 FlatHead but do not
tighten.

15. Install brake assembly, use 2pcs M4x25
CapHeads and re-use M4FlatHead, do not
tighten.
16. Install M5 FlatHeads in frame brace, do not
tighten.
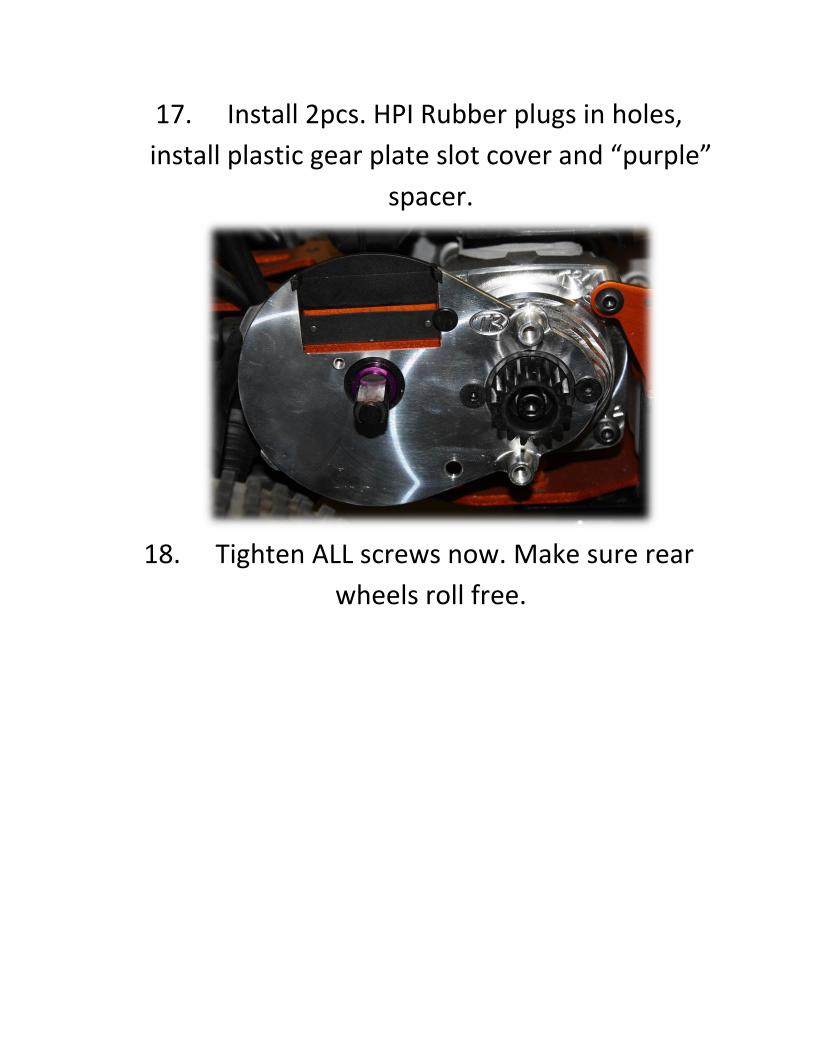
17. Install 2pcs. HPI Rubber plugs in holes,
install plastic gear plate slot cover and “purple”
spacer.
18. Tighten ALL screws now. Make sure rear
wheels roll free.

19. Install spur gear and retaining clip. I
recommend a new clip.
20. Tighten Pinion screw, use a spare spur gear
to lock gears while tightening. You may tighten
the pinion gear real tight, you won’t break it.

21. Remove 2pcs Plastic pins from Spur Gear
cover and sleep well knowing that you will
never need to deal with them again!!
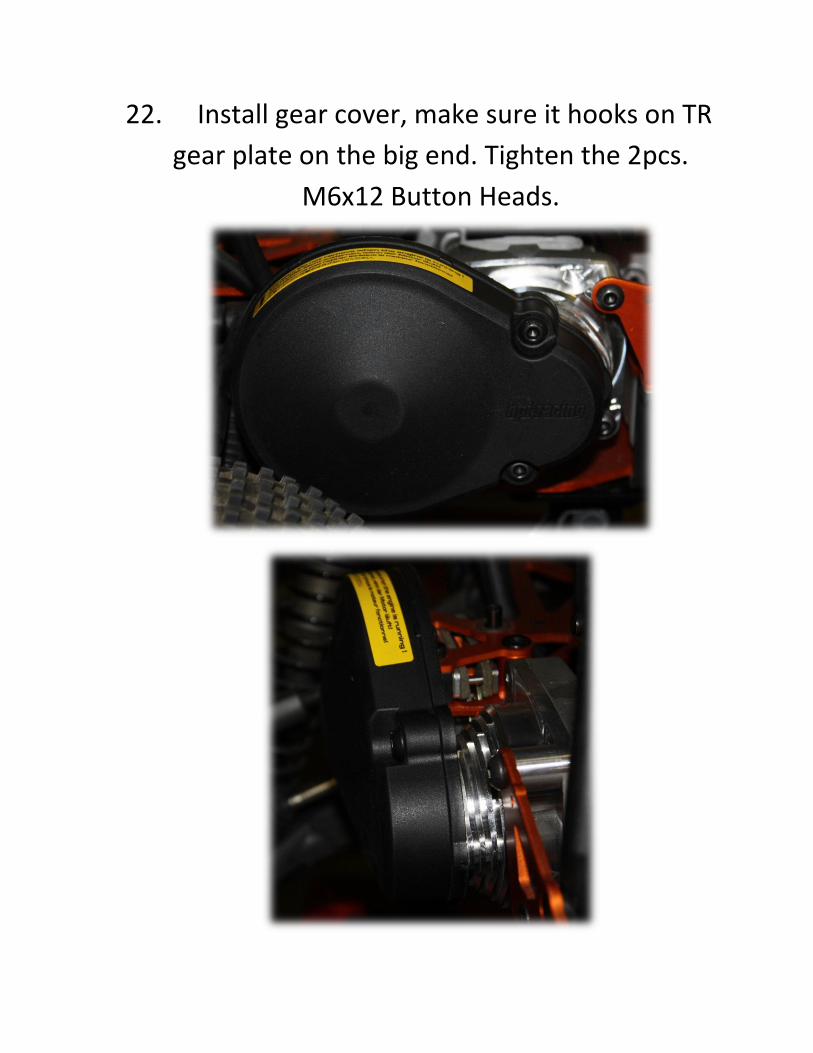
22. Install gear cover, make sure it hooks on TR
gear plate on the big end. Tighten the 2pcs.
M6x12 Button Heads.

The screw kit provided with the TR V2 HD
Clutch System are the same screws
provided with all of our Clutch Systems so
there will be screws in the kit not used.
Our screw kits are available through our
distributors/dealers.