Tech Savvy Seniors INTRODUCTION TO TABLETS ......Page 1 Tech Savvy Seniors INTRODUCTION TO TABLETS...
15
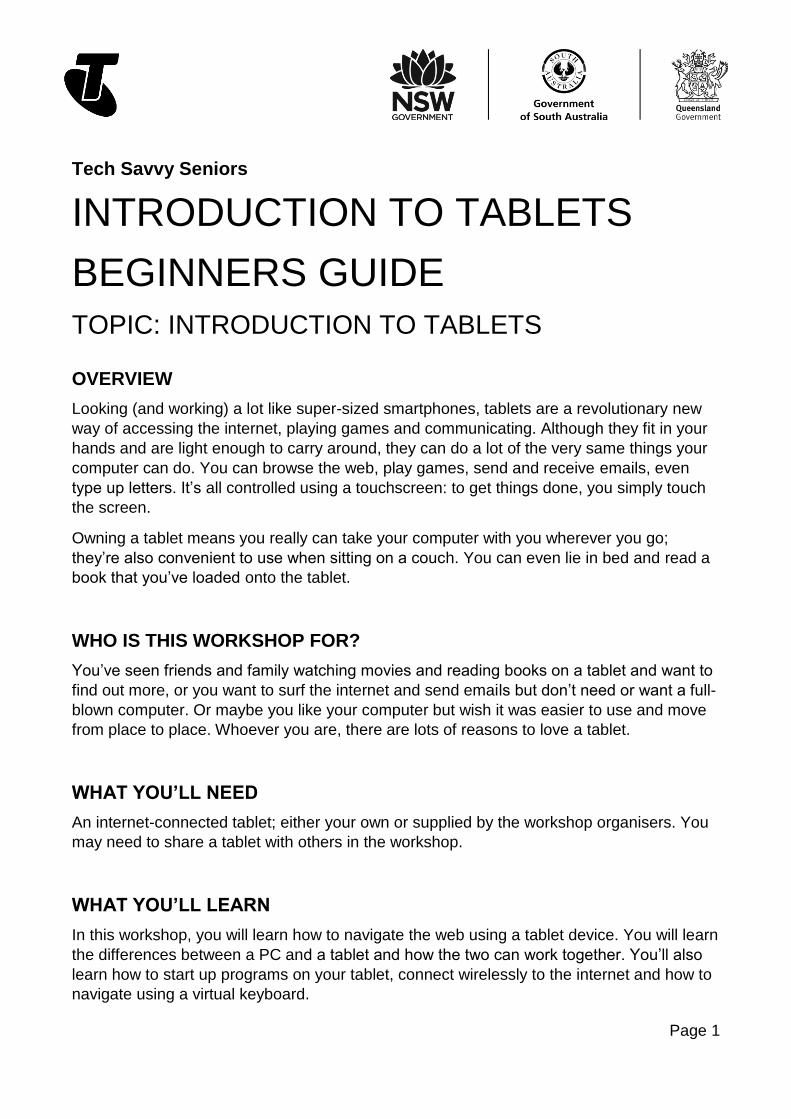
Page 1 Tech Savvy Seniors INTRODUCTION TO TABLETS BEGINNERS GUIDE TOPIC: INTRODUCTION TO TABLETS OVERVIEW Looking (and working) a lot like super-sized smartphones, tablets are a revolutionary new way of accessing the internet, playing games and communicating. Although they fit in your hands and are light enough to carry around, they can do a lot of the very same things your computer can do. You can browse the web, play games, send and receive emails, even type up letters. It’s all controlled using a touchscreen: to get things done, you simply touch the screen. Owning a tablet means you really can take your computer with you wherever you go; they’re also convenient to use when sitting on a couch. You can even lie in bed and read a book that you’ve loaded onto the tablet. WHO IS THIS WORKSHOP FOR? You’ve seen friends and family watching movies and reading books on a tablet and want to find out more, or you want to surf the internet and send emai ls but don’t need or want a full- blown computer. Or maybe you like your computer but wish it was easier to use and move from place to place. Whoever you are, there are lots of reasons to love a tablet. WHAT YOU’LL NEED An internet-connected tablet; either your own or supplied by the workshop organisers. You may need to share a tablet with others in the workshop. WHAT YOU’LL LEARN In this workshop, you will learn how to navigate the web using a tablet device. You will learn the differences between a PC and a tablet and how the two can work together. You’ll also learn how to start up programs on your tablet, connect wirelessly to the internet and how to navigate using a virtual keyboard.
Transcript of Tech Savvy Seniors INTRODUCTION TO TABLETS ......Page 1 Tech Savvy Seniors INTRODUCTION TO TABLETS...
Page 1
Tech Savvy Seniors
INTRODUCTION TO TABLETS
BEGINNERS GUIDE
TOPIC: INTRODUCTION TO TABLETS
OVERVIEW
Looking (and working) a lot like super-sized smartphones, tablets are a revolutionary new
way of accessing the internet, playing games and communicating. Although they fit in your
hands and are light enough to carry around, they can do a lot of the very same things your
computer can do. You can browse the web, play games, send and receive emails, even
type up letters. It’s all controlled using a touchscreen: to get things done, you simply touch
the screen.
Owning a tablet means you really can take your computer with you wherever you go;
they’re also convenient to use when sitting on a couch. You can even lie in bed and read a
book that you’ve loaded onto the tablet.
WHO IS THIS WORKSHOP FOR?
You’ve seen friends and family watching movies and reading books on a tablet and want to
find out more, or you want to surf the internet and send emails but don’t need or want a full-
blown computer. Or maybe you like your computer but wish it was easier to use and move
from place to place. Whoever you are, there are lots of reasons to love a tablet.
WHAT YOU’LL NEED
An internet-connected tablet; either your own or supplied by the workshop organisers. You
may need to share a tablet with others in the workshop.
WHAT YOU’LL LEARN
In this workshop, you will learn how to navigate the web using a tablet device. You will learn
the differences between a PC and a tablet and how the two can work together. You’ll also
learn how to start up programs on your tablet, connect wirelessly to the internet and how to
navigate using a virtual keyboard.

Page 2
Note that a significant part of this session overlaps with the Introduction to Smartphones
workshop. That’s because smartphones and tablets have a great deal in common.
TIMETABLE
This workshop is broken down into seven sections, with a break in the middle. Feel free to
ask questions, and remember that the times are suggestions only. If you have experience
with smartphones, for example, you may be able to whiz right by the section on gestures.
Subject: What’s a tablet, and how is it different to a PC? Duration: 15 minutes.
Subject: A brief guide to different tablet models: iPad, Android and Windows. Duration: 15
minutes.
Subject: Using a touchscreen and understanding gesture control. Duration: 15 minutes.
Subject: Setting up your tablet to connect to the internet. Duration: 20 minutes.
Break. Duration: 15 minutes
Subject: Using the tablet’s web browser and onscreen keyboard. Duration: 20 minutes.
Subject: Some other useful programs. Duration: 15 minutes.
Subject: Adding apps and media from online stores. Duration: 15 minutes.
Summary. Duration: 10 minutes.
Total. Duration: 140 minutes
SUBJECT: WHAT’S A TABLET, AND HOW IS IT
DIFFERENT TO A PC? Time: 15 minutes.
TALKING TABLETS
Do you have a phone with a touchscreen and the ability to run apps, like the iPhone or
Samsung Galaxy? If you do, you have a pretty good head start on understanding what a
tablet is – you can think of it as essentially a super-sized version of your smartphone.
If not, then the best way to think of a tablet is as a computer, but instead of being controlled
with a mouse and keyboard, you control it by touching elements on the screen. Touching an
icon on the screen is like clicking that icon with the mouse on a computer. If you need to
type text, an onscreen keyboard pops up.

Page 3
SEVEN THINGS TO KNOW ABOUT TABLETS
1. Most tablets are designed to be carried around in a bag and used when you’re on
the move. They’re much lighter than regular computers, and because they have no
mouse or keyboard you can use them anywhere.
2. Like computers, they can do lots of things, including:
Browsing the web
Sending email and social networking Playing games
Watching movies
Reading electronic books
Listening to music
Chatting via video or voice
Viewing photos.
3. Also like computers, you can install new programs on them at any time. On tablets
(like on phones) they’re usually called apps, short for applications.
4. Most tablets have cameras built in – much like smartphones.
5. They come in different sizes, and are usually described by the size of their screen.
Common tablets have a 7-inch or 10-inch screen (the measurement represents the
length of the diagonal).
6. Tablets access the internet using your home wireless (WiFi) network. Some tablets
also can access the internet using a 3G or 4G mobile phone data service, if you
have a mobile plan that supports internet access.
7. Lots of different companies make tablets, and there are (sometimes subtle)
differences between models. Some have a faster processor inside, better screen
definition or more or less memory for storing programs and media. They also use
different basic software, which we’ll get into next.
SUBJECT: A BRIEF GUIDE TO DIFFERENT TABLET
MODELS: IPAD, ANDROID AND WINDOWS Time: 15 minutes.
IPAD AND ANDROID TABLETS
Just as computers come in different flavours, like Windows PCs and Macintosh, tablets also
come in different flavours.

Page 4
The main difference is in what is called the operating system. The operating system is the
base software that controls the tablet. Windows is a computer operating system, so is Mac
OSX.
Tablets typically use either iOS (on the Apple iPad) or Android (on tablets by most other
manufacturers). A handful of tablets run Windows, but these are rare. iOS and Android are
also used on most smartphones.
iOS and Android are very similar in terms of how you use them. Typically, the main screen
has a heap of icons, and each icon starts a different application. The iPad Home screen, for
example, looks like this:
Just tap on any icon to start the application.
For example, on the iPad, to start web browsing, you’d touch the Safari icon. (Safari is the
name of the web browser); on an Android tablet, you’d tap the Chrome browser icon.
Because Android tablets come from a variety of different manufacturers, there are some
differences between them. Many manufacturers like to customise their tablets, and may
change some elements of the interface. The basic operation is still the same.
WINDOWS 10 TABLETS
Although previous versions of Windows weren’t really suitable for tablets, the Windows 10
operating system is designed to work on tablets. Windows 10 tablets use the same
interface as Windows 10 on your PC, but controlled with a touchscreen rather than mouse.
WIDGETS
Android supports widgets – those are controls embedded directly in the Home page. For
example, on the Android screen on page 5, you can see a clock and a Google Search bar
and fast links to favourite websites. Meanwhile iOS supports widgets on the Today View,
which you will see if you swipe right on the Home or Lock screen.
Page 5
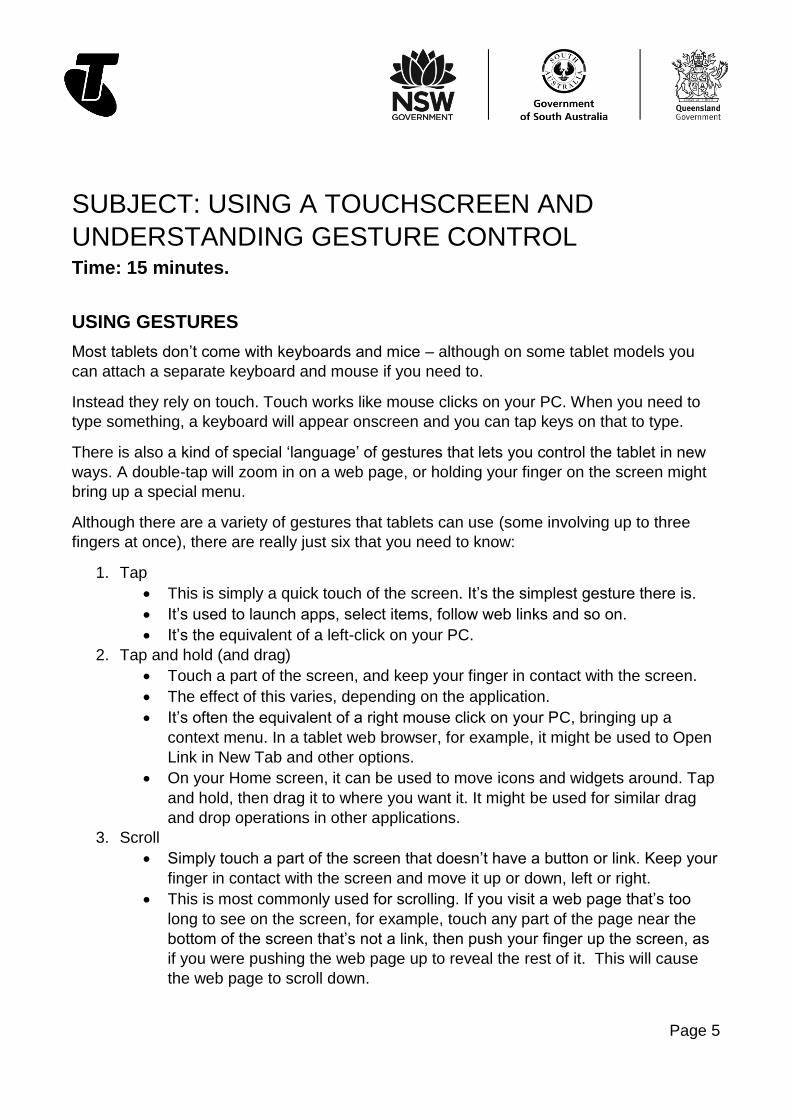
SUBJECT: USING A TOUCHSCREEN AND
UNDERSTANDING GESTURE CONTROL Time: 15 minutes.
USING GESTURES
Most tablets don’t come with keyboards and mice – although on some tablet models you
can attach a separate keyboard and mouse if you need to.
Instead they rely on touch. Touch works like mouse clicks on your PC. When you need to
type something, a keyboard will appear onscreen and you can tap keys on that to type.
There is also a kind of special ‘language’ of gestures that lets you control the tablet in new
ways. A double-tap will zoom in on a web page, or holding your finger on the screen might
bring up a special menu.
Although there are a variety of gestures that tablets can use (some involving up to three
fingers at once), there are really just six that you need to know:
1. Tap
This is simply a quick touch of the screen. It’s the simplest gesture there is.
It’s used to launch apps, select items, follow web links and so on.
It’s the equivalent of a left-click on your PC.
2. Tap and hold (and drag)
Touch a part of the screen, and keep your finger in contact with the screen.
The effect of this varies, depending on the application.
It’s often the equivalent of a right mouse click on your PC, bringing up a
context menu. In a tablet web browser, for example, it might be used to Open
Link in New Tab and other options.
On your Home screen, it can be used to move icons and widgets around. Tap
and hold, then drag it to where you want it. It might be used for similar drag
and drop operations in other applications.
3. Scroll
Simply touch a part of the screen that doesn’t have a button or link. Keep your
finger in contact with the screen and move it up or down, left or right.
This is most commonly used for scrolling. If you visit a web page that’s too
long to see on the screen, for example, touch any part of the page near the
bottom of the screen that’s not a link, then push your finger up the screen, as
if you were pushing the web page up to reveal the rest of it. This will cause
the web page to scroll down.

Page 6
Obviously, you can do the same in reverse to scroll up – or left and right if the
page or image is too wide.
4. Swipe
This is a quick slash across the screen. It can be in whatever direction is
needed.
It’s most commonly used when flipping between pages (in a book) or images
(in a slideshow). The swipe is like flinging the current page or image aside to
reveal the next page or image.
In an image program, for example, swipe right-to-left to move to the next
image.
Swipe is also used on your tablet’s Home page: if you have a lot of apps
installed (too many to fit on one screen), you can have several Home pages.
You swipe left or right to switch between them.
Swipe can also be used for fast scrolling – you can fling a web page up or
down. The velocity of the swipe actually determines how far it scrolls.
5. Pinch-to-zoom
This gesture actually requires more than one finger. Place two fingers (usually
the thumb and forefinger, but it doesn’t really matter) around a part of the
screen you want to enlarge or zoom out of. Then move the two fingers apart
to zoom in (enlarge that part of the screen), or pinch them closer together to
zoom out.
You can think of it like squeezing or expanding the screen.
It’s often used in web browsers, allowing you to zoom in on part of the page
that might not be clear (or might have a link that’s difficult to press). It’s also
used in image programs to zoom in and out of a photo.
6. Double-tap
This gesture involves simply tapping on the screen twice in quick succession.
It most often serves a similar function as pinch-to-zoom: in your web browser,
double-tap on a part of the page you want to zoom in on (which makes it
easier to touch hyperlinks); double-tap again to zoom out.
SUBJECT: SETTING UP YOUR TABLET TO
CONNECT TO THE INTERNET Time: 20 minutes.
OVERVIEW
Tablets don’t need an internet connection to function, however you can’t access a lot of
their capabilities if you don’t have them connected (much like computers).

Page 7
All tablets can use a home wireless network to access your broadband internet connection.
Some tablet models can also use a 3G or 4G mobile wireless account.
TURN IT ON
Obviously, the first thing you need to do with a tablet is turn it on. You’ll find a power button
on the side, top or back of the tablet. On some models, you may need to hold it for a
second or two.
Like smartphones, you generally don’t need to ever switch it off. When not in use, the
screen switches off and it goes into low power/sleep mode. To wake from sleep mode, just
give the power button a quick press. That said, occasionally shutting down the tablet and
restarting can help it run more smoothly.
Once the tablet is started, you need to unlock it:
On an iPad, you just tap the Home button.
On an Android tablet, the default method is to grab the circle and drag it on
top of the padlock icon. Some tablets have different methods, like facial
recognition (you point the camera at your face).
Note that you can hold a tablet in any orientation: wide (landscape) or tall (portrait) – the
display will actually rotate to always stay upright. (That is, unless you lock the screen
orientation, which is useful if you want to lie down and read).
Now that the tablet is unlocked, we need to connect it to a wireless network.
HOW THE SCREEN WORKS
Nearly all tablets and touchscreen phones now use what is called a capacitive touchscreen.
It responds not to pressure but to the electrical charge inside your body. For this reason,
they need only the slightest touch to work – they will register even the lightest contact. It
also means that to the tablet a slight touch is the same as a heavy one – if something isn’t
working, pressing harder won’t change anything!
Another characteristic of capacitive touchscreens is that you generally can’t use them with
gloves on – unless the gloves are thin enough not to insulate your finger.
YOUR HOME WIRELESS NETWORK
Do you have a wireless (WiFi) network in your home? That’s the first question. If you have
an ADSL, cable or NBN broadband service, it’s very likely that the modem router (the
device you use to connect to the internet) has wireless capabilities. Nearly all such devices
sold today have wireless.
Page 8
During the initial setup of the modem router, you’ll be asked if you want to set up wireless.
That involves choosing a network name (called SSID) and a password (so that people
walking by on the street can’t access it).
Do you know what the name and password for that network is? You need to know in order
to have your tablet connect to it.
If you don’t know, you may have to contact the person or company that set up your internet
connection, or consult the modem router manual.
Once you know what your wireless network name and password are, you just have to
configure your tablet to connect to it.
CONNECTING AN APPLE IPAD
Tap the Settings icon.
The Settings panel will appear.
Tap on Wi-Fi on the left.
Make sure Wi-Fi is switched to On (if it’s Off, tap on the switch so it turns green.).
On the right, under Choose a Network, tap the name of your home wireless network.
You will be asked to enter a password.
The onscreen keyboard will come up. Use it to type in the network password and press
Join.
If the password is correct, you should be connected.
You can press the Home button on your iPad (that’s the hardware button at the bottom of
the iPad, just below the screen) to take you back to the Home page.
CONNECTING AN ANDROID TABLET
This process will vary slightly from device to device, based on the version of Android being
used and the customisations of the manufacturer.
On the home page, tap on the Settings button.
Under Wireless and Networks on the left, tap on Wi-Fi.
Make sure Wi-Fi is switched to On (if it’s Off, tap the switch On).
From the list of wireless networks on the right, tap on the name of your wireless network.
You will be asked to enter a password.
The onscreen keyboard will come up. Use it to type in the network password and press
Connect.
If the password is correct, you should be connected; a little note will appear under the
network name saying it’s connected.

Page 9
Press the Home or Back button to return to the Home screen. On most Android tablets,
these are not hardware buttons, but a section of the screen that looks similar to the below
images.
(The left-pointing arrow is Back; the steeple is Home; the third button switches between
recent apps).
CONNECTING TO A 3G/4G SERVICE
Some tablets also support 3G/4G mobile broadband services. In this case they work like
smartphones – you need to insert a SIM card into the SIM slot of the tablet. Your tablet’s
manual will tell you where the slot is.
The SIM card needs to have a data service attached. Contact your telecommunications
provider to ask about 3G and 4G data plans.
A tablet with 3G/4G will use your Wi-Fi network and regular ADSL/cable/NBN broadband
connection when you’re at home, and will switch over to mobile internet when it is no longer
in range of your home network.
SUBJECT: USING THE TABLET’S WEB BROWSER
AND ONSCREEN KEYBOARD Time: 15 minutes.
BROWSING THE WEB
You’ve connected the tablet to the internet, and learnt how gestures work. Now it’s time to
actually use the tablet. Let’s start with the browser. Your tablet has a web browser, very
much like the one on your PC. You can use it to browse the same web pages you do on
your PC.
Tap on the Browser icon.
Like your computer browser, it has a tab at the top of the screen, allowing you to open more
than one web page at once.
To open a web page, tap on the Address bar near the top of the screen.
The onscreen keyboard will pop up, allowing you to tap in the web address of the site you
want to visit.
You’ll see that the keyboard only displays letters and a limited selection of punctuation
marks. If you want to type in numbers you need to press the ?123 button. That switches the
keyboard to numbers. (Tapping the ABC button switches back to letters).

Page 10
If you want to type upper-case letters, tap on the Shift key, which is the arrow pointing
upward. This has the same function as the Shift key on a PC keyboard (Tapping Shift only
locks on for a single letter and turns off automatically. To “caps-lock” a tablet, double-tap
the Shift key, then single-tap to turn it off). The keyboard will appear in any situation where
you need to type. If you tap on a text field on a web page (like the Google Search bar), the
keyboard will appear. In any other app where you need to type it will also appear.
You can also perform a search. On the iPad or Android you can just type in the search
terms into the Address bar – the browser will detect that it’s not a web address and will
perform a Google Search instead.
Now the tablet should load up the web page. Remember your gestures?
Tap once on a link to follow it
Tap and hold, then move your finger up and down to push the page up and
down
Swipe the screen to scroll really fast
Pinch-to-zoom in and out. This makes targeting links easier
Double-tap to do the same.
Tap on the X in the tab at the top to close a tab, you might need to scroll up to see it.
Tap on the left and right arrows at the top of the screen to go Back and Forward, just like on
your PC browser (on Android, the Back button on the bottom of the screen also works).
When you’re done browsing, you don’t need to close the browser. Unlike on a PC, you don’t
need to close apps on a tablet. Just tap on the Home button (which we covered in the
section on setting up your tablet to connect to wireless) to take you back to the main page.
SUBJECT: SOME OTHER USEFUL PROGRAMS Time: 15 minutes.
PRE-INSTALLED APPS
So we’ve had a play with the web browser, but your tablet comes with a host of other useful
applications. Go back to the Home screen and look at the other icons you can see.
You might also see:
A calendar application
A clock
A music player
A camera app and picture viewer
A book reader (called iBooks on the iPad) A YouTube application

Page 11
Maps (if your tablet has GPS built in)
A notepad
A weather widget
Games
Video chat (on the Apple iPad, this is called FaceTime).
Which ones interest you?
PLAYING WITH OTHER APPS
Experiment with other pre-installed apps on your tablet.
Launch the app by tapping on its icon.
Return to the main page at any time by pressing the Home button.
SUBJECT: ADDING APPS AND MEDIA FROM
ONLINE STORES Time: 15 minutes.
OVERVIEW
You don’t have to content yourself with the applications that came with your tablet. Much as
with your PC, you can download new apps and install them on your tablet. There are
literally hundreds of thousands of apps available, including:
Games
Productivity programs like word processors Media viewers
News feeds
Email and social networking applications Useful and fun tools
Much, much more.
Some of these apps can be downloaded for free; others cost money (although typically not
much money).
When it comes to installing new apps, tablets are actually very robust, and there’s no real
danger of messing up your tablet by installing apps.
You can also download movies, music and TV shows directly to your tablet from online
media stores.
This media can be played on your tablet using its built-in media player.

Page 12
DOWNLOAD NEW APPS
On the Apple iPad
To download new apps, tap on the App Store logo.
To download media, tap on the iTunes Store logo.
iTunes Store is the media downloader, while Music is the media player app.
You can search for apps or media by typing in what you’re searching for in the Search bar.
You can also view categories, or see top picks and popular downloads.
Tap on an app name to see its full description.
When you find an app or media that you like, tap on the option to download it.
On Android tablets
Tap on the Google Play or Play Store icon.
Google Play Store is a market for both media and apps.
Across the top, tap on the type of things you’re looking for: Apps, Books, Movies.
Alternatively, tap on the search bar at the very top of the screen. Then you can just type in
what you’re looking for.
If you want to browse apps, you can tap on For You, Top Choice, Editor’s Choice or browse
by Category. You navigate around Google Play with simple taps.
Press the Back button (the left-pointing arrow) at the bottom of the screen to go back to a
previous page.
If you find an app you’re interested in, tapping on its name will bring up a description.
Tapping on Install will download it to your tablet.
Try downloading a few of the free apps available from the iTunes App Store or Google Play
Store. You’ll see that when you download them, new icons will appear on your tablet’s
Home or App page. These can be used to launch new apps.
GETTING MEDIA FROM YOUR PC
You can copy (sync) pictures, video and music from your PC to your tablet. Your tablet
comes with a cable that lets you connect it to the USB port of your computer.
Apple devices need to have iTunes installed on the PC, which will manage the transfer of
media to and from the tablet. iTunes can be downloaded from www.apple.com/itunes.
With Android devices you should consult your tablet manual for instructions on how to copy
media to the tablet. Some models use special software; sometimes the tablet just appears
as a storage device (like a USB hard drive or flash drive), allowing you to drag and drop
files onto it, just as you would a drive on your PC.

Page 13
SUMMARY You’ve now had your first experience with tablets. It’s not all that different from a PC, and
very very similar to a smartphone. At the end of this workshop, you should now be able to:
Time: 10 minutes.
RECAP
Start up a tablet
Connect it to the internet
Unlock it
Start applications
Browse the web
Use simple gestures
Install new apps.
If you have a tablet of your own, feel free to experiment! We’ve only touched on the
capabilities of tablets in this workshop, and by playing around with it you’ll likely find that it
makes an excellent book reader, picture viewer, email device, contact and time manager
and much more.
USEFUL WEBSITES
Android home page: www.android.com (if you need support, however, you’re better off
going to the device manufacturer’s page).
Apple’s iPad site: www.apple.com/au/ipad/
Apple iPad support: www.apple.com/support/ipad/
Samsung’s tablet page: www.samsung.com/au/tablets
GLOSSARY Term: 3G/4G. Explanation: A type of mobile service that also offers internet access.
Term: ANDROID. Explanation: An operating system for mobile phones and tablets.
Term: APP (APPLICATION). Explanation: A software program for tablets and phones.
Term: CAPACITIVE TOUCH SCREEN. Explanation: A type of touchscreen that responds to
your body’s electrical capacitance.
Page 14
Term: GESTURE. Explanation: A particular type of movement that controls a touchscreen.
Term: GOOGLE PLAY STORE. Explanation: An online market for movies, books and apps
on Android devices.
Term: iOS. Explanation: An operating system used on Apple’s iPhone and iPad.
Term: ITUNES. Explanation: A media player and online market for music, videos and
books.
Term: ITUNES APP STORE. Explanation: An online market for iOS apps.
Term: MODEM ROUTER. Explanation: A device that connects you to a particular
broadband service.
Term: RESISTIVE TOUCHSCREEN. Explanation: A type of touchscreen that responds to
pressure on the screen.
Term: SYNC (SYNCHRONISING). Explanation: Making equal copies of a folder or set of
files across multiple devices.
Term: WI-FI (WIRELESS HOME NETWORK). Explanation: A short-range wireless network,
usually only covering a home, that lets wireless devices access a broadband connection.
DISCLAIMER The information contained in this publication and any accompanying materials is strictly for
educational and informational purposes. The publication and any accompanying materials
do not constitute the promotion, endorsement or approval of any product or service referred
to, shown or demonstrated in the publication and any accompanying materials.
The publication and any accompanying materials are designed to be used as an initial
reference only. They are not intended to be a comprehensive guide or to apply in all
situations.
Reasonable endeavours have been made to ensure that information appearing in this
publication and any accompanying materials was correct at the time of production.
However, the authors, producers and presenters of this publication and any accompanying
materials (the Relevant Persons)* make no representation or warranty as to the accuracy,
reliability, completeness or currency of the information in this publication and any
accompanying materials.
The information and any advice provided in this publication and any accompanying
materials is provided solely on the basis that the audience will be responsible for making
their own assessment of the matters discussed herein and are advised to verify all relevant
representations, statements and information.
* The Relevant Persons:

Page 15
exclude, to the maximum extent permitted by law, all express or implied
warranties of any kind in relation to any information in this publication and any
accompanying materials;
are under no obligation to update any information in this publication and any
accompanying materials or correct any inaccuracy on this publication and any
accompanying materials which may become apparent at a later time; and
reserve the right, in their absolute discretion, to delete, alter or move the
publication (and any accompanying materials) and any of the contents therein
(including the terms and conditions of this disclaimer) at any time without
notice.
* The Relevant Persons include any individual, company, partnership or government
department involved in the making of the publication and their respective officers,
employees and agents.
TRADEMARK NOTICE All product names or websites referred to in this instructional publication may be the
trademarks of third parties.
INTELLECTUAL PROPERTY NOTICE AND
DISCLAIMER Copyright© Telstra Corporation Limited (ABN 33 051 775 556). All rights reserved. Third
party copyright and trademarks reproduced with consent by Telstra Corporation Limited
(ABN 33 051 775 556). The material is protected by copyright under the laws of Australia
and, through international treaties, other countries. No part of these materials may be
released, distributed, reproduced, copied, stored, or transmitted in any form or by any
means whether electronic, mechanical, recording or otherwise except for your own
information, research or study.
October 2018 edition