Team Couch Street Alex Arlint Jake Nylund Kevin Ratuiste Robert Rodriguez Academic Advisor: Joseph...
23
Frequency Beats: Final Report 8 April 2014 Team Couch Street Alex Arlint Jake Nylund Kevin Ratuiste Robert Rodriguez Academic Advisor: Joseph Hoffbeck Industry Representative: John Turner – Impinj, Inc. Client: William Taylor - Student
-
Upload
dinah-bell -
Category
Documents
-
view
221 -
download
0
Transcript of Team Couch Street Alex Arlint Jake Nylund Kevin Ratuiste Robert Rodriguez Academic Advisor: Joseph...

Frequency Beats:Final Report8 April 2014
Team Couch Street Alex Arlint Jake Nylund Kevin Ratuiste Robert Rodriguez
Academic Advisor: Joseph HoffbeckIndustry Representative: John Turner – Impinj, Inc.Client: William Taylor - Student

Introduction What Is it? Control Circuit Electromagnets Display Software Demonstration Conclusion
Overview

Frequency Beats◦ Audio Visualizer
Low, Mid, High frequencies◦ Utilizes Ferrofluid
What is it?

Circuit Schematic
Electromagnet(Low-Range)
Electromagnet(Mid-Range)
Electromagnet(High-Range)
Arduino
12V
100ё
33uF
Low-Range Out
100ёMid-Range Out
100ё
33uF
High-Range Out 33uF
Audio Input
Powered Speaker
LPF
LPF
LPF
11
1213
BAT42 BAT42 BAT42
2N3904IRF3205
3.3V
10kё
10kё
2N3904
IRF3205
10kё
10kё
1
2
3
1
2
3
1
2
3
1
2
3
2N3904
IRF3205
10kё
10kё
1
2
3 1
2
34.7kё
4.7kё
4.7kё
3.3kё
2.7kё
100uF 1kё
1kё
Audio Source
3.3V
Vcc
NC
NC
NC

From Arduino
Electromagnet
100ё
33uF
LPF
BAT42
2N3904IRF3205
10kё
10kё
1
2
3 1
2
34.7kё
3.3kё
2.7kё
12V3.3V (From Arduino)
NC
Control Circuit
HIGH
ON
PulledUp
LOW PulledDown
OFF
Ve > Vb
Ve < Vb

Initial Design Plan◦ 110 feet of 22 gauge magnet wire around .5”
diameter metal core 5” in length. ◦ Would provide internal resistance of 1.77Ω.◦ Hand wrapped
Final Design ◦ Approx. 270 feet of 26 gauge magnet wire around
0.25” diameter iron core 5” in length. ◦ Provided internal resistance of ~13Ω. ◦ Wrapped using a Lathe.
Kept coils tight and close together. Slow process (2+ hours per magnet)
Electromagnets

Reasons for Design Change◦ Increased length necessary to attain stronger
magnetic field. ◦ Diameter of core change selected based on
availability. ◦ Lathe vs. Hand-Wrapping Magnets
Lathe was a vastly slower process, but ultimately yielded a superior product (as seen on the next slide)
Electromagnets (Cont.)

Electromagnets (Cont.)

Electromagnets (Cont.)
LatheHand-Wrapped

Initial Design Plan◦ Plexiglass cylinders with 2” diameter and 5”
height. ◦ Filled with “homemade” ferrofluid.
Toner mixed with vegetable oil.
Final Design ◦ Glass cylinders with 1” diameter and 2.5” height. ◦ Filled with ferrofluid (Ordered online) and encased
in water for better reactivity.
Display

Reasons for Design Change◦ Homemade ferrofluid was unforeseeably difficult
to manufacture Consistency not correct. Not reactive enough to magnetic field.
◦ Plexiglass seemed to allow the ferrofluid to stick to the sides, thus “mucking” up the display.
Display (Cont.)

Display (Cont.)
Homemade Ferrofluid
Purchased Ferrofluid in Plexiglass
Purchased Ferrofluid in Glass Container

Electromagnet + Display

Initial Design Plan: ◦ Fast Fourier Transform algorithm ◦ Quickly sample audio signal◦ Compute amplitude of each frequency in audio
signal
Problems with the Arduino Due
Contingency Plan:◦ MSGEQ7 IC – does frequency analysis of audio
signal and outputs 7 bands◦ Arduino combines bands and scales values
Software/Arduino

Final Design◦ Same as initial design plan◦ Took weeks to troubleshoot◦ Adapted customized library to be compatible with
IDE instead of using premade libraries Used sample implementations of FFT and other
source codes as a model for custom library
Software – cont.
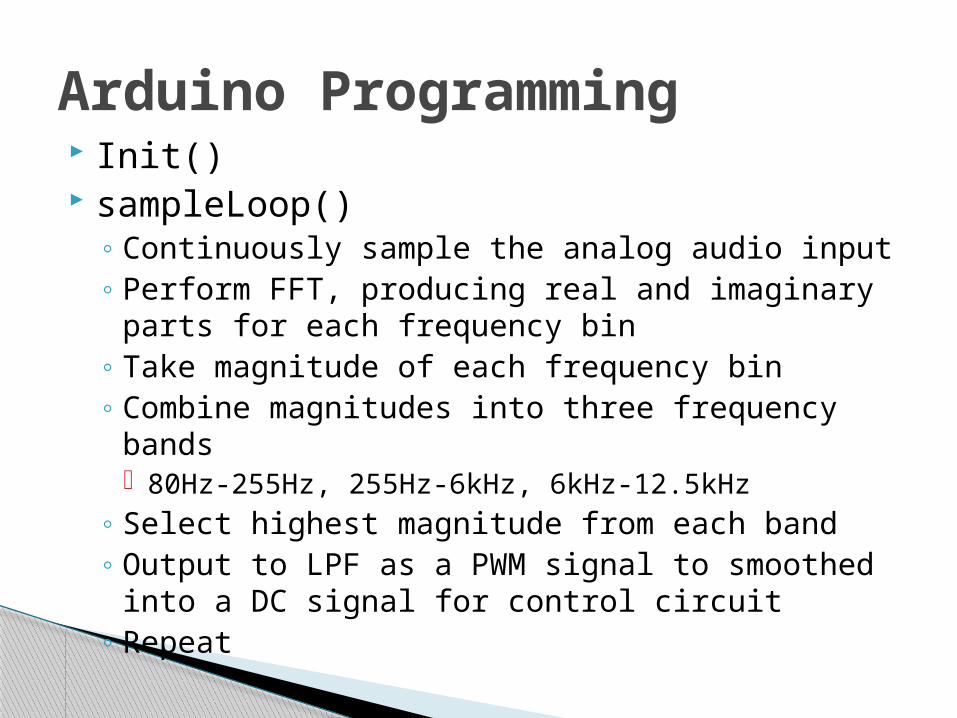
Init() sampleLoop()
◦ Continuously sample the analog audio input◦ Perform FFT, producing real and imaginary parts
for each frequency bin◦ Take magnitude of each frequency bin◦ Combine magnitudes into three frequency bands
80Hz-255Hz, 255Hz-6kHz, 6kHz-12.5kHz◦ Select highest magnitude from each band◦ Output to LPF as a PWM signal to smoothed into a
DC signal for control circuit◦ Repeat
Arduino Programming

Fourier Transform: transform signals between time and frequency.
Measure amplitude & frequency of audio input
http://en.wikipedia.org/wiki/Fast_Fourier_transform
FFT – Cooley-Tukey

Sampling
Audio Input
- Input signal - Samples The samples are
gathered by measuring the voltage on the Arduino.
We take 512 samples

Output array of 256 samples or bins◦ The FFT gives half of the input
Each bin is approximately an 85Hz sample range◦ Bin 1 would be 85-170Hz roughly
Bin 0 is a reference bin and causes some noise for our calculations
Using the output

Each value initially calculated by the FFT is scaled to a value between 0 and 255
63->
127->
191->
http://arduino.cc/en/Tutorial/PWM
The PWM
Switches Individual frequencies Music
Demonstration!
Introduction What Is It? Control Circuit Electromagnets Display Software Demonstration Conclusion
Conclusion

QUESTIONS?