Swarming Swarm Traps Steps to prevent Swarms Splitting · PDF filehole is 2" from the bottom...
28
Swarming Swarm Traps Steps to prevent Swarms Splitting hives
Transcript of Swarming Swarm Traps Steps to prevent Swarms Splitting · PDF filehole is 2" from the bottom...
Swarming
Swarm Traps
Steps to prevent Swarms
Splitting hives
Swarming
Swarming is a natural response by the bees to
propagate insuring colony survival or due to
overcrowding.
Although it is a natural response it can be a
great loss in honey and possibly weakening
the mother hive.
Swarming could cost you your honey for that
year.
Sometimes the offshoot swarm will make
honey but not always.
Stages of a new queen hatched in a
swarmed hive.
First of all the new queen may not have
hatched prior to the swarm leaving.
A queen takes 16 to 17 days to develop and
hatch. A hive that has swarmed may not see
a queen hatch for 2 or 3 days.
Day 17 to 21 the queen matures or hardens.
Day 21 to 24 the queen makes orientation
flights.
Day 21 to 28 the queen makes mating flights.
Day 25 to 35 the queen starts laying.

Once the queen is laying it will take her at
least 7 to 14 days to lay enough brood to start
to replace the lost population.
It will take that brood an additional 42 days to
hatch two cycles of brood to bring the hive to
a population that would be able to make
excess honey.
The swarmed hive would have lost over 90
days and most likely missed the nectar flow
all together in this portion of the USA.
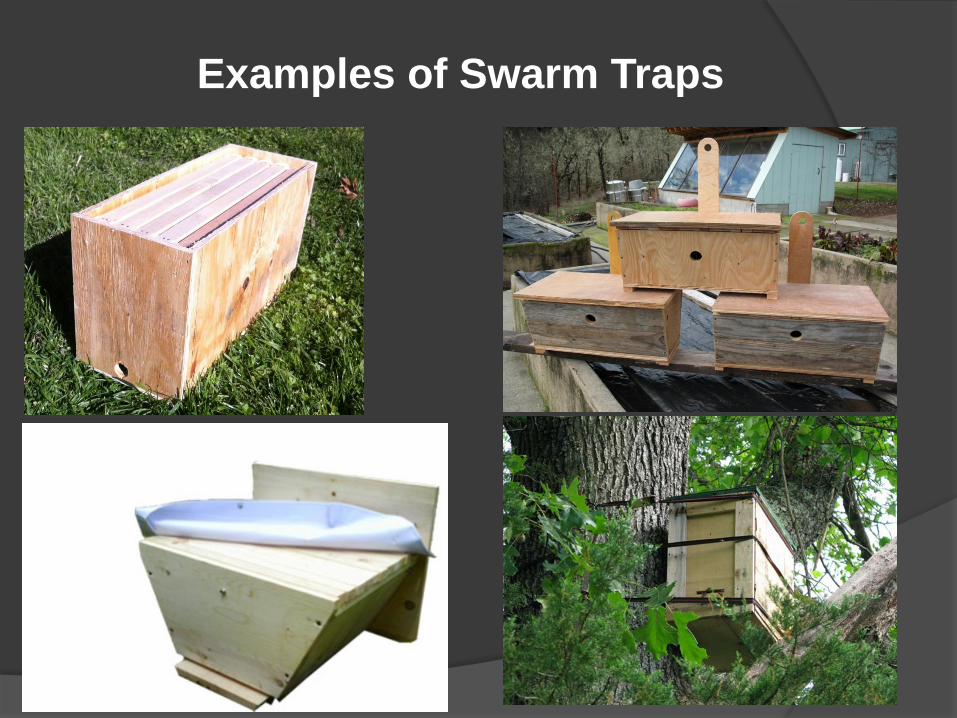
Examples of Swarm Traps

Sometimes things do not go as designed.
The bees did not get the memo.

A basic very simple design.

You can use a 5 frame nuc box with a entrance
reducer with the small hole open. A swarm
with a reduced population is looking for a
location that is easily defendable.
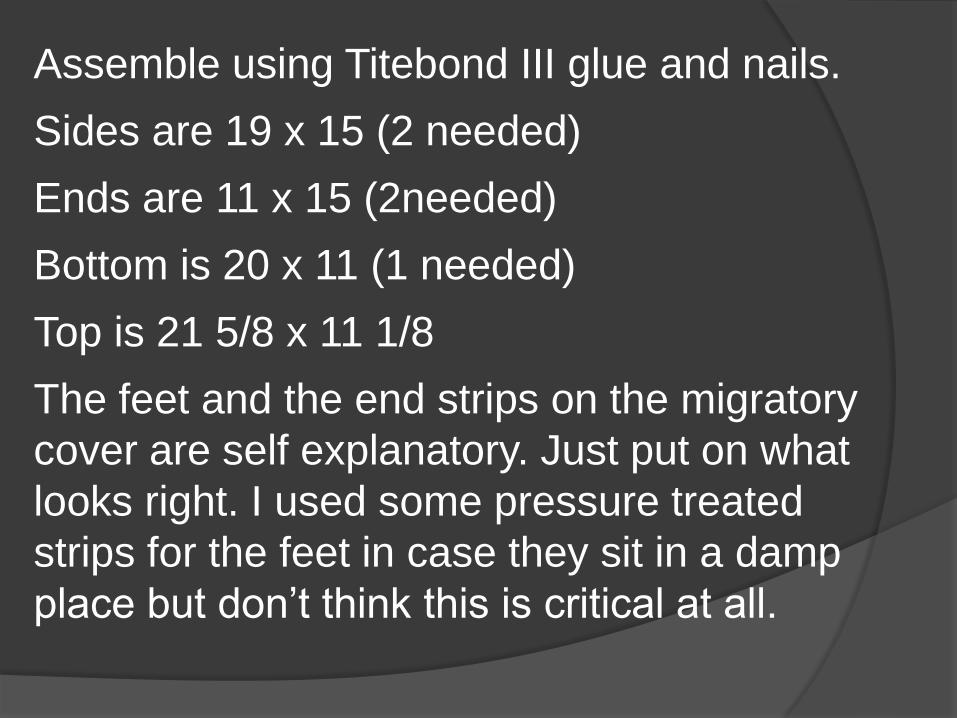
Assemble using Titebond III glue and nails.
Sides are 19 x 15 (2 needed)
Ends are 11 x 15 (2needed)
Bottom is 20 x 11 (1 needed)
Top is 21 5/8 x 11 1/8
The feet and the end strips on the migratory
cover are self explanatory. Just put on what
looks right. I used some pressure treated
strips for the feet in case they sit in a damp
place but don’t think this is critical at all.

The rails that hold the frames are 1/2" MDO
strips. They are installed 3/4" from the top
edge to allow bee space over the tops of the
frames.
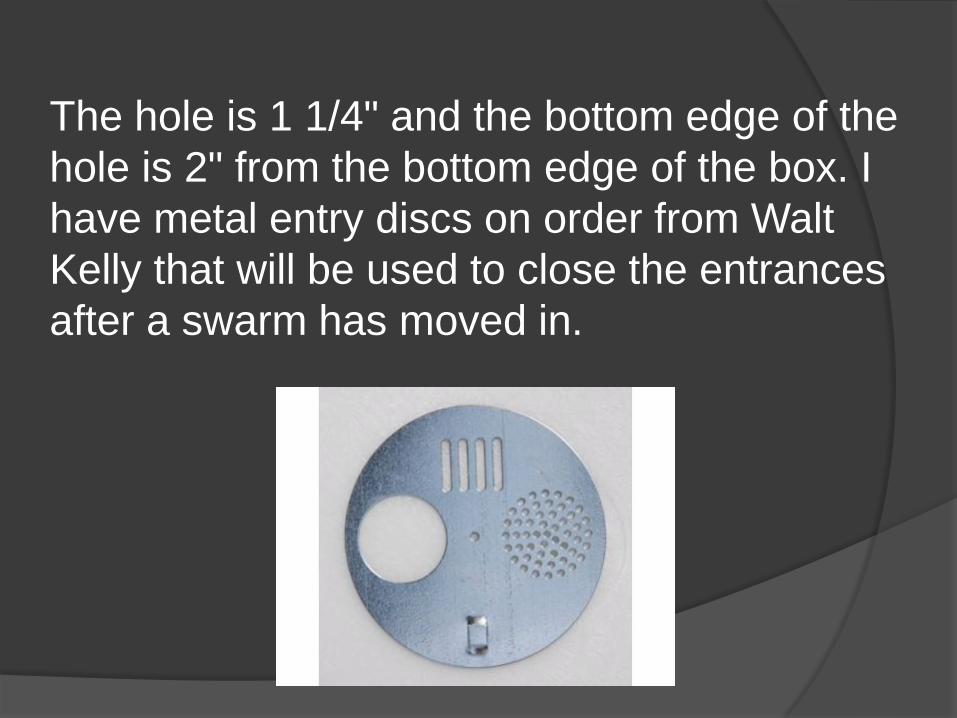
The hole is 1 1/4" and the bottom edge of the
hole is 2" from the bottom edge of the box. I
have metal entry discs on order from Walt
Kelly that will be used to close the entrances
after a swarm has moved in.

I put a screened hole in the bottom of the box
about 4 inches in diameter and cover it from
the outside with a scrap of wood. After
catching a swarm and closing the Kelly disc
the board covering the screen hole will be
removed to allow ventilation during transport
back to my bee yard.

All of this matches what was most successful
for Dr. Seely writer of Honeybee Democracy,
so it should work just fine.
Rub the inside of the trap and the entrance
hole with beeswax. This will make it smell
more like home.
Put three frames of old comb in the trap with
a few drops of lemongrass oil.

Finding a Location for a Swarm Trap
The biggest part of swarm trapping is finding a
good spot to put the hive. This is something
you will have to determine yourself and
requires a bit of trial and error. Obviously
placing the hive where there is known bee
activity is important. The best way to get a
swarm is to place your swarm traps in an area
where you know that bees are being
managed. If you know of a tree or structure
where bees have swarmed prior this may be a
good spot to locate your trap.

Finding a Location for a Swarm Trap
This could be near a beekeepers yard or feral
hive of bees or even on your own yard.
Once you find a spot you like, you will want to
place the hive at least 10-15 feet off the
ground. Basically you want the hive at the
flying height of the scout bees. I don’t know
what the flying height is so I place them as
high as I can while still being able to take it
down safely. Experimenting and learning from
failures is the key to successful swarm
trapping.

Finding a Location for a Swarm Trap
You will soon find that there are places you
always catch swarms and places you never
catch swarms. Having several swarm traps
out increases your odds, so get as many traps
out as possible. If you have a hive box laying
around put some frames in it, bait it with
lemongrass oil and set it out during swarm
season. This is better than letting it sit in your
garage.

Finding a Location for a Swarm Trap
Swarm trapping is a great way to get started in
beekeeping. It isn’t the easiest way to get
bees but the knowledge attained while doing it
is worth the extra effort. Besides, who doesn’t
like free bees? This will also be useful in
catching a swarm that contains your $25
queen you installed last year.

Transfer the swarm into a hive body of your
choice and size of the box wither 8 or 10
frame.
If you are using a top bar trap it is only for top
bar hives. Neither is interchangeable.
Give them a feeder of 1 to 1 sugar water to aid
them in draw out new comb.
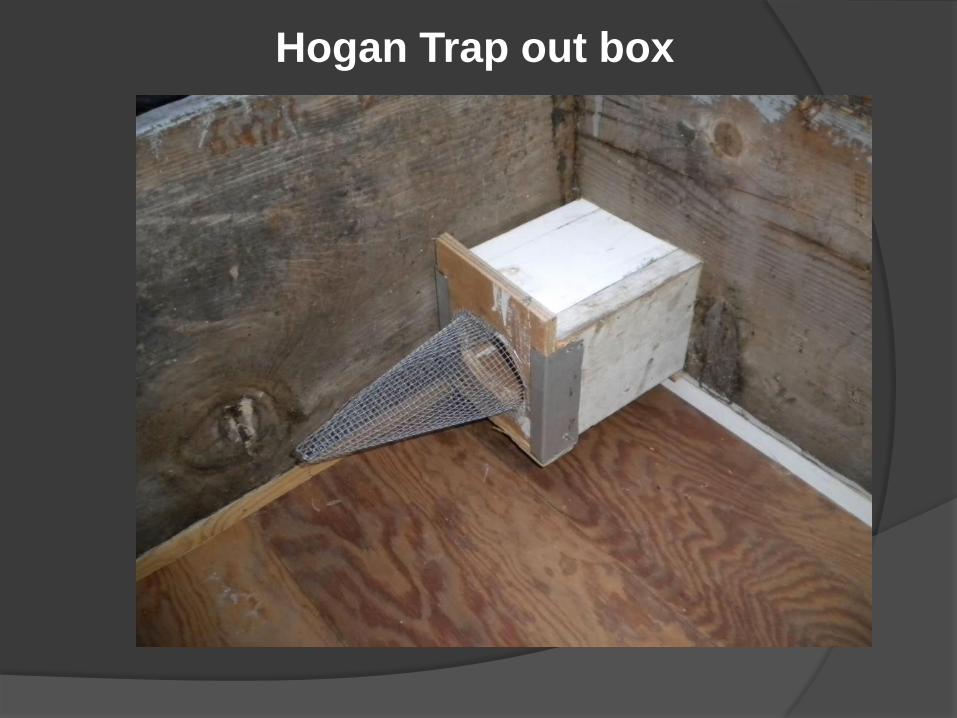
Hogan Trap out box
Swarm prevention
We all know how the old saying goes “ an
ounce of prevention is worth a pound of
cure”.
Checking your hives every 10 days during the
early spring prior to a full nectar flow may save
you a lost swarm.
Looking for overcrowding and making splits
should prevent a swarm from occurring.

Swarm prevention
Finding queen cells early and making a split
moving the queen into the split and leaving at
least 2 cells should fool the bees into thinking
they have already swarmed.
If the queen is still laying eggs you may have
prevented a swarm. If she is failing they may
be trying to supersede her.

Swarm prevention
Even if they are trying to supersede her you
can leave the cell, move her and see if you
need to replace her. You can replace her at a
later date.
Always put a entrance reducer in place to allow
them to protect themselves.
Remember there are not
absolutes in beekeeping.

Swarm prevention
The other option is to add equipment. The
only draw back, this is only a Band-Aid
solution. You will have to deal with this
solution at a later date.
Also you may lessen the strength of your hive
in the process as they will be busy pulling wax
in the new box.
Checker boarding a hive I have found to be
useful in this situation. If done early enough in
the season it may come back strong.

Splitting a hive
There are many ways to split a hive. For nuc
production it is usually 3 broods and a food
with a frame of foundation. The foundation is
to give them something to do while the queen
is getting established.
If you are doing a split to increase your own
yard you can make it as strong as you wish, as
long as you do not pull them down too much
causing them not to be able to make honey for
you.

Splitting a hive
If you choose to checker board your hive you
may at a later date split off the top hive bodies
making a new hive from it.
You will need a new queen for one of the
boxes.
If you do a split like this you will have to move
it 3 miles at the least and add a new queen.
Splitting a hive
A doolittle split is one in which you remove 4
frames from the mother hive one at a time.
You will shake all the bees back into the
mother hive. This will assure that you do not
pick up the queen in the split.
You place each of the frame in another hive
body and put new frames in the mother hive.
You put the winter super back into place and
add a queen excluder. The hive body with the
4 frames should be place on top allowing the
nurse bees to come up and cover the brood.

Splitting a hive
Leave the hive for about 6 hours or enough
time for the nurse bees to fully populate the
box.
The box can be removed and placed on a
bottom board and made into a new hive.
This split can be placed on the original yard but
away from the mother hive.

A lost swarm is lost money and
resources. Never take away
from a hive more than you
leave.
Good luck in 2016