Stab Bound Sketchbook - Elise...
10
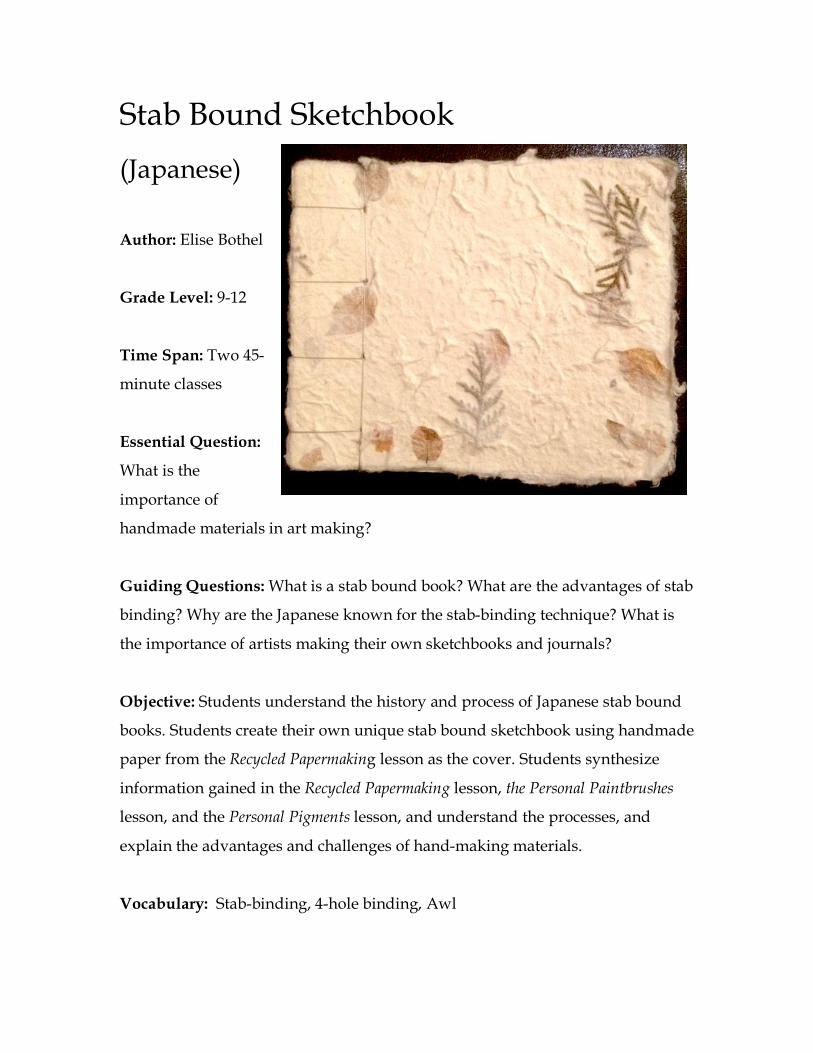
Stab Bound Sketchbook (Japanese) Author: Elise Bothel Grade Level: 9-12 Time Span: Two 45- minute classes Essential Question: What is the importance of handmade materials in art making? Guiding Questions: What is a stab bound book? What are the advantages of stab binding? Why are the Japanese known for the stab-binding technique? What is the importance of artists making their own sketchbooks and journals? Objective: Students understand the history and process of Japanese stab bound books. Students create their own unique stab bound sketchbook using handmade paper from the Recycled Papermaking lesson as the cover. Students synthesize information gained in the Recycled Papermaking lesson, the Personal Paintbrushes lesson, and the Personal Pigments lesson, and understand the processes, and explain the advantages and challenges of hand-making materials. Vocabulary: Stab-binding, 4-hole binding, Awl
Transcript of Stab Bound Sketchbook - Elise...
Stab Bound Sketchbook
(Japanese)
Author: Elise Bothel
Grade Level: 9-12
Time Span: Two 45-
minute classes
Essential Question:
What is the
importance of
handmade materials in art making?
Guiding Questions: What is a stab bound book? What are the advantages of stab
binding? Why are the Japanese known for the stab-binding technique? What is
the importance of artists making their own sketchbooks and journals?
Objective: Students understand the history and process of Japanese stab bound
books. Students create their own unique stab bound sketchbook using handmade
paper from the Recycled Papermaking lesson as the cover. Students synthesize
information gained in the Recycled Papermaking lesson, the Personal Paintbrushes
lesson, and the Personal Pigments lesson, and understand the processes, and
explain the advantages and challenges of hand-making materials.
Vocabulary: Stab-binding, 4-hole binding, Awl
Materials:
• Handmade paper from the Recycled Papermaking lesson
• Several paintings from the Personal Paintbrushes lesson
• Recipe and Collection cards from the Personal Pigments lesson
• Journal responses from the Recycled Papermaking, Personal Paintbrushes,
and Personal Pigments lessons.
• Assorted paper for blank pages
• Thin cardboard or thick cardstock 4.25” x 5.5” (2 pieces per student)
• Waxed thread
• Needles with eyes big enough for the waxed thread
• Binder clips (to hold together pages)
• Rulers
• Scrap paper
• Pencils
• Glue (white, book binding, or wheat paste)
Resources:
Bookbinding tutorial: How to japanese bind (4-hole). (2012). [Web Video]. Retrieved
from http://www.youtube.com/watch?v=j-r6c_trSxY
Dawes, G. (2010, May 3). History. Retrieved from http://www.graeme-
dawes.talktalk.net/new_web_folder/bookbinding_pages/BB_history2.
html
Dawes, G. (2010, May 3). Sewn styles. Retrieved from http://www.graeme-
dawes.talktalk.net/new_web_folder/bookbinding_pages/BB_sewn2.ht
ml
Robinson, M. (Artist). (2012). Japanese stab binding. [Web Drawing]. Retrieved
from http://kickintheeyes.tumblr.com/image/30912374625
Stab binding. (2011). Retrieved from www.booklyn.org/education/stab.pdf
Tagged: Japanese stab binding. (n.d.). Retrieved from
http://www.tumblr.com/tagged/japanese-stab-binding
Performance Tasks: The instructor begins the lesson by showing the class
different examples of Japanese stab binding. The instructor then gives a brief
overview of the history of the stab-bound book. The instructor explains that the
technique of Japanese stab binding was actually invented in China. After the
Chinese invented papermaking, the first “book” was a scroll. During the 5th
through the 10th century the scroll was the dominant book form in both China
and Japan. The stab binding was technique was invented in China during the
Edo period (1603-1868). The binding method was adapted in both Korea and
Japan. Chinese stab binding traditionally had four holes, Korean stab binding
had five, and Japanese stab binding used different amounts of holes for different
types of books. While China and Korea moved on to different methods of
binding, Japan adopted and perfected the technique, which is why stab binding
is known as “Japanese stab binding.” Traditional Japanese stab bound books
often feature folded paper pages, otherwise known as pouches, which provide
double thick pages which prevent ink from bleeding through.
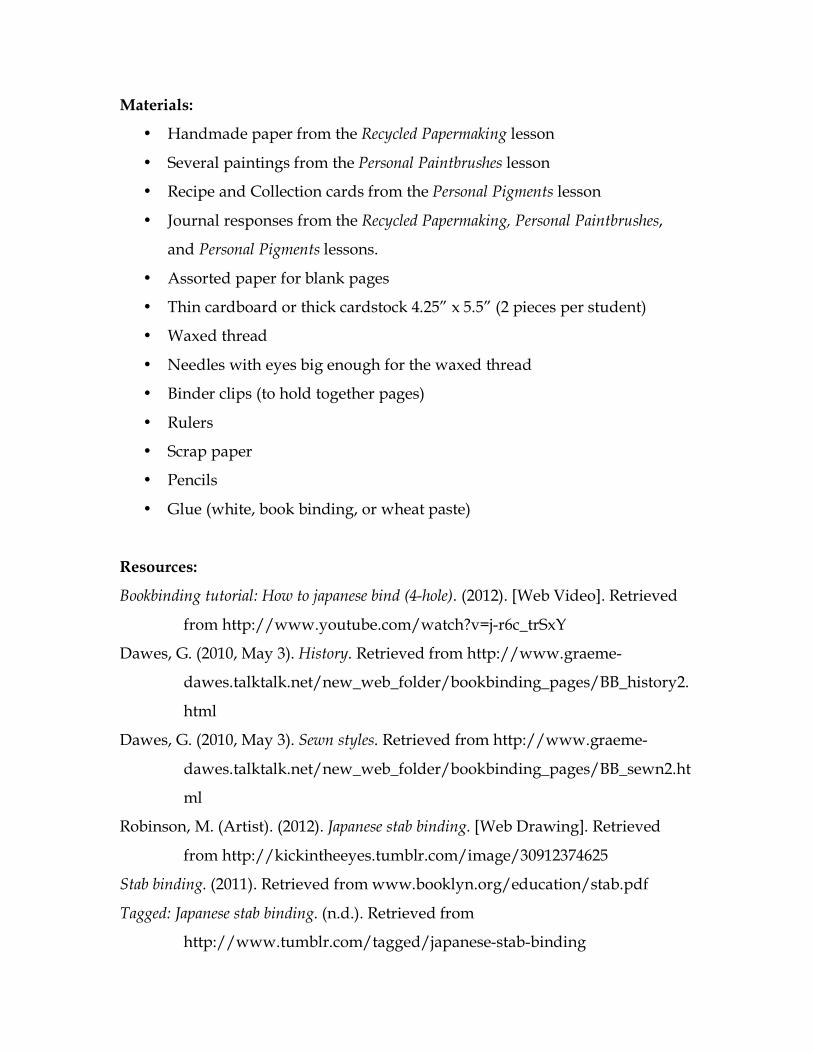
The instructor then gives a demonstration on how to create a stab-bound book.
The instructor first refers back to the sketchbook template given out during the
Recycled Papermaking lesson, and emphasizes that all the pages need to be the
same size. The instructor
encourages students to
cut more blank pages for
the book in addition to
the journal entries,
sketches, paintings, and
recipe cards that need to
be included. The
instructor also
demonstrates how to cut
out a cover from thin cardboard, or thick cardstock.
The instructor tells students that they have to glue their handmade paper to the
cardboard or cardstock to create the cover.
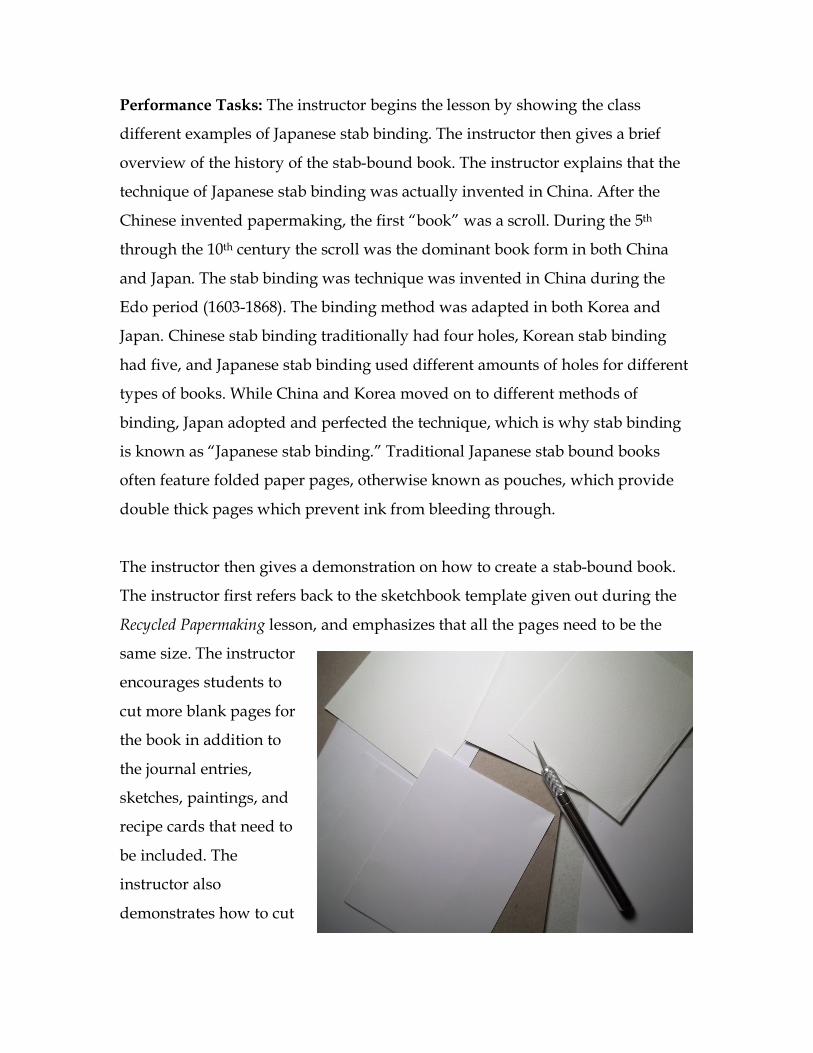
The instructor shows students how to
make a binding template by folding a 1” x
4.25” strip of paper in half three times.
Once the template is unfolded the
instructor draws a dot on one side of the
paper on every other fold. The instructor
shows how the paper and the dots act as a
template for marking where the pages
need to be punctured.
The instructor demonstrates how to punch holes with an awl or thumbtack on
each page. The instructor also demonstrates alternative methods for making
holes such as using a drill or hammer.
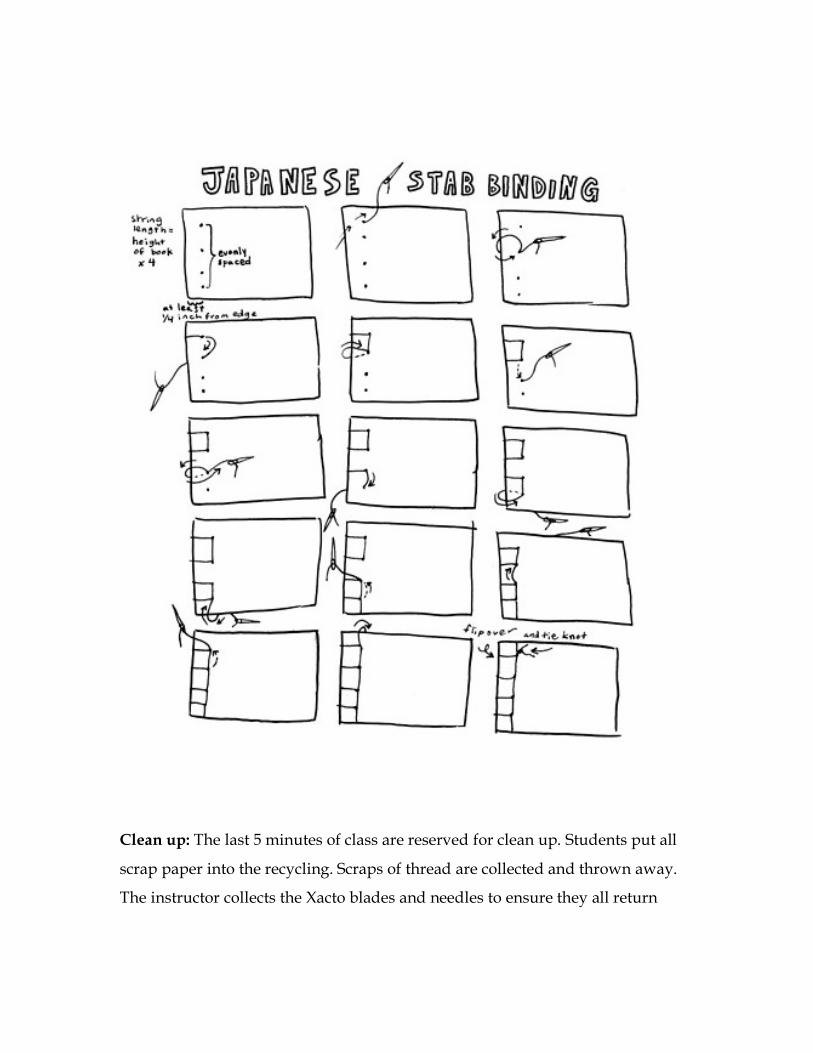
With the cover and the pages in order, the instructor starts to demonstrate the
sewing process for the binding. The instructor explains that the thread should be
around 4 times the length of the book. The Japanese Stab Binding instructional
illustration is handed out as a guide. The Youtube video: Bookbinding Tutorial:
How to Japanese Bind (4-Hole) is shown. http://www.youtube.com/watch?v=j-
r6c_trSxY The video is used to reinforce the sewing technique and can be
referred back to as needed during the lesson.
Once the students understand the technique and all questions are answered they
may begin. The instructor passes out a Xacto blade and needle to each student.

Students have to complete the following tasks to make their sketchbook:
1. Collect all pages needed for the unit portfolio, (refer to the Sketchbook Checklist
as a guide). Organize the pages in order of the list on the Sketchbook Checklist.
2. Cut out two 4.25” x 5.5” pieces of cardboard or cardstock for the cover, and
any additional blank pages to be included in the book.
3. Glue the handmade paper to the cardboard or cardstock for the cover.
4. Make a template from a 1” x 4.25”piece of paper folded in half three times,
with marks made on every other fold.
5. Line the template up on the left side of the book and mark and punch all pages
according to the template.
6. Cut a piece of waxed thread 4 times the length of the pages, thread the needle,
and start from the second hole in, leaving a 4” tail in the center of the book.
7. Following the sewing steps from either the worksheet or the video, (but be
consistent, because they each have a different starting point).
8. Bring your last stitch back to where the beginning of the thread was
sandwiched between the pages of the book and tie the two ends together.
Clean up: The last 5 minutes of class are reserved for clean up. Students put all
scrap paper into the recycling. Scraps of thread are collected and thrown away.
The instructor collects the Xacto blades and needles to ensure they all return
safely. Completed sketchbooks are left on the students’ class shelves to be
evaluated.
Modifications: Sketchbooks can be made from alternative and pre-prepared
materials depending on availability of materials and skill-level of students.
Sketchbooks made with store-bought paper with pre-punched holes make this
project easier. A quicker two-hole stab-bind is an option for students who take
longer to sew the pages. A paper punch with thick paper and yarn and a plastic
needle is a visually clear method of explaining the sewing technique. Students
who complete the lesson early can choose to work in their new sketchbook, (a
good time to make sure journal entries are complete), or research alternative stab
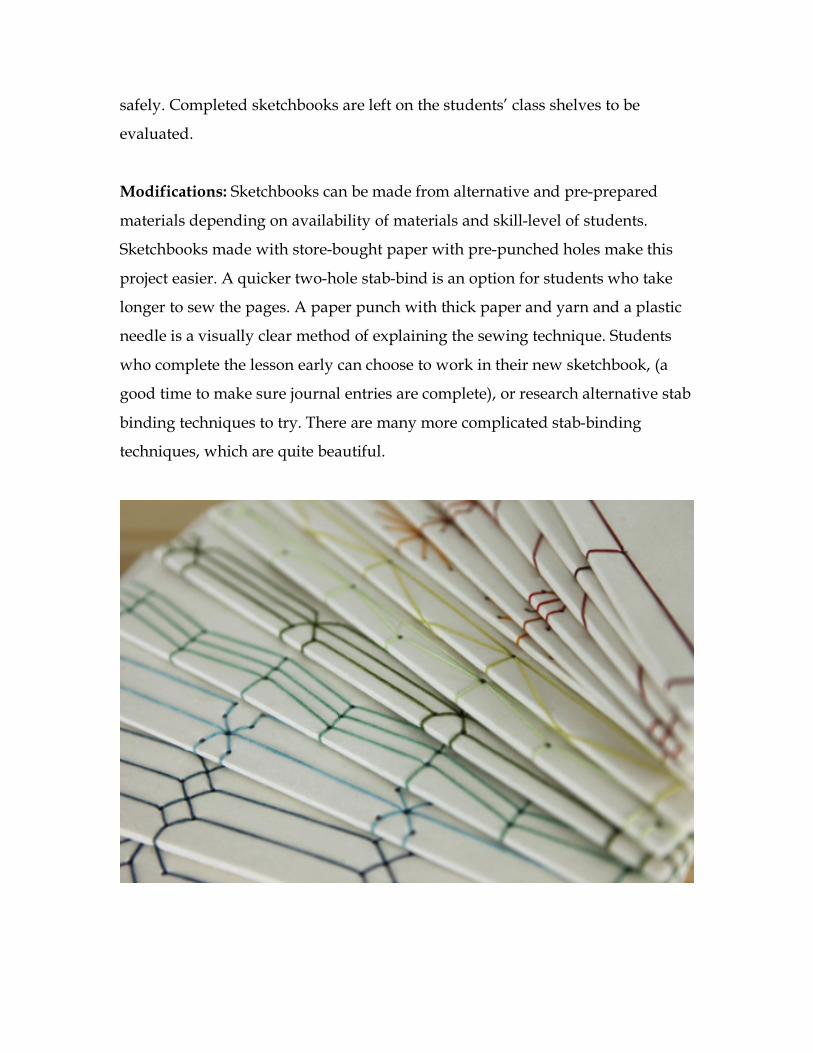
binding techniques to try. There are many more complicated stab-binding
techniques, which are quite beautiful.
Assessments: Students will receive a summative evaluation for the unit based on
the art and journal entries contained in the stab-bound sketchbook. The
following artifacts from the unit must be contained in the sketchbook-portfolio:
From Recycled Papermaking:
1. Feature a handmade paper cover on the stab-bound sketchbook.
Answer the questions:
2. What was your handmade paper made from?
3. What are the essential steps in papermaking?
4. How does this method of papermaking compare to the ancient Chinese
method?
From Personal Paintbrushes:
1. Draw a sketch of your paintbrush and label the materials used in its
construction.
2. Create a small abstract painting using your handmade paintbrush, or cut out a
favorite piece from a practice sheet to include in your journal.
3. Answer the question: How did your paintings differ with the music from
different cultures? Use as many pieces of paper as needed.
From Personal Pigments:
1. Collect all recipe cards, (You should have a minimum of three), and “collection
cards”.
Answer the questions:
2. Which color do you think was most successful, and how did you make it?
Why do you think that color worked well?
3. Which color was least successful, and how did you make it?
Why don’t you think the pigment material and medium worked well?
4. Would you ever attempt to recreate any natural paints for a future art project?
Students receive the above handout and a copy of the grading rubric.
Maine Learning Results:
A. Disciplinary Literacy - Visual Arts: Students show literacy in the art
discipline by understanding and demonstrating concepts, skills, terminology,
and processes.
A3. Media, Tools, Techniques, and Processes:
Students compare the effects of media and their associated tools, techniques, and
processes, using elements, principles, and expressive qualities in art forms and
genres.
B. Creation, Performance, and Expression - Visual Arts: Students create,
express, and communicate through the art discipline.
B3 Meaning Making:
Students create a body of original art work.
a. Demonstrate sophisticated use of media, tools, techniques, and processes.
b. Demonstrate knowledge of visual art concepts.
c. Communicate a variety of ideas, feelings, and meanings.
E. Visual and Performing Arts Connections: Students understand the
relationship among the arts, history and world culture; and they make
connections among the arts and to other disciplines, to goal-setting, and to
interpersonal interaction.
E1 The Arts and History and World Cultures:
Students analyze the characteristics and purposes of products of the
visual/performing arts to understand history and/or world