
SQL server Section 4&5. Creating Database Objects Modifying Database Objects Removing Database...
48
SQL server Section 4&5
-
Upload
blake-jennings -
Category
Documents
-
view
239 -
download
0
Transcript of SQL server Section 4&5. Creating Database Objects Modifying Database Objects Removing Database...

SQL server Section 4&5
Data Definition Language• Creating Database Objects• Modifying Database Objects• Removing Database Objects
Defining tables:
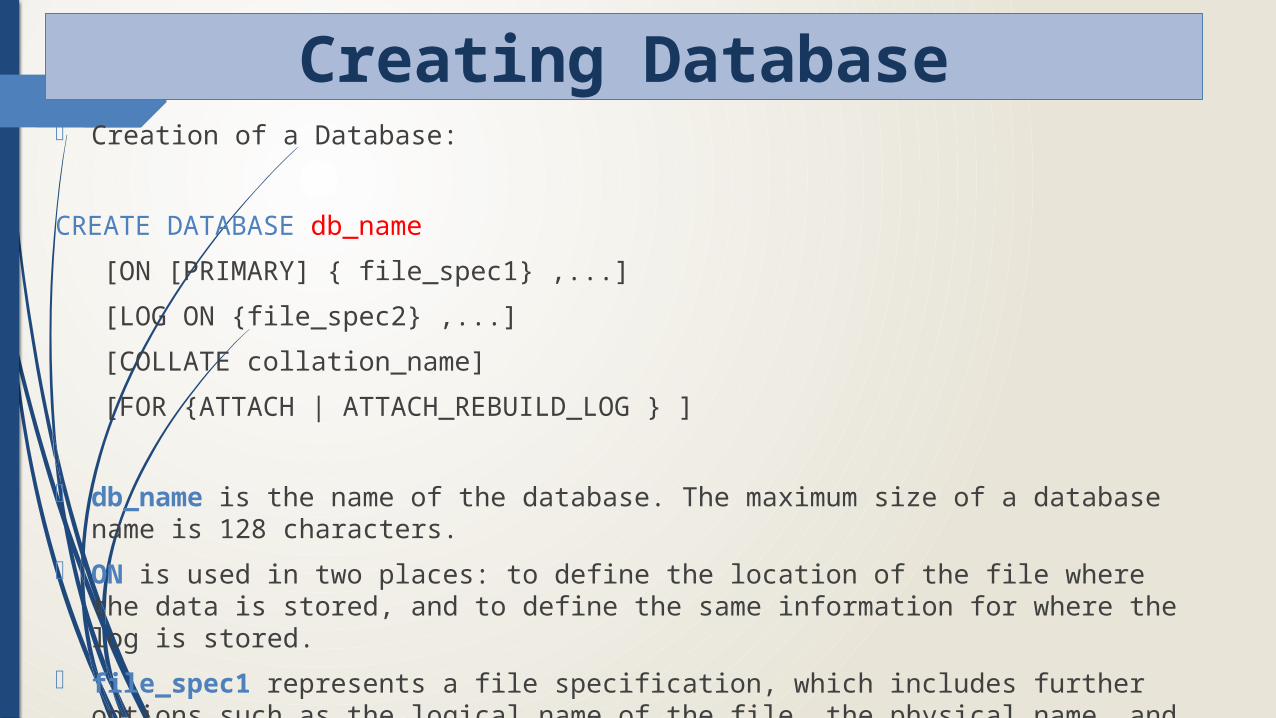
Creation of a Database:
CREATE DATABASE db_name
[ON [PRIMARY] { file_spec1} ,...]
[LOG ON {file_spec2} ,...]
[COLLATE collation_name]
[FOR {ATTACH | ATTACH_REBUILD_LOG } ]
db_name is the name of the database. The maximum size of a database name is 128 characters.
ON is used in two places: to define the location of the file where the data is stored, and to define the same information for where the log is stored.
file_spec1 represents a file specification, which includes further options such as the logical name of the file, the physical name, and the size. The PRIMARY option specifies the first (and most important) file that contains system tables and other important internal information concerning the database. If the PRIMARY option is omitted, the first file listed in the specification is used as the primary file.
Creating Database
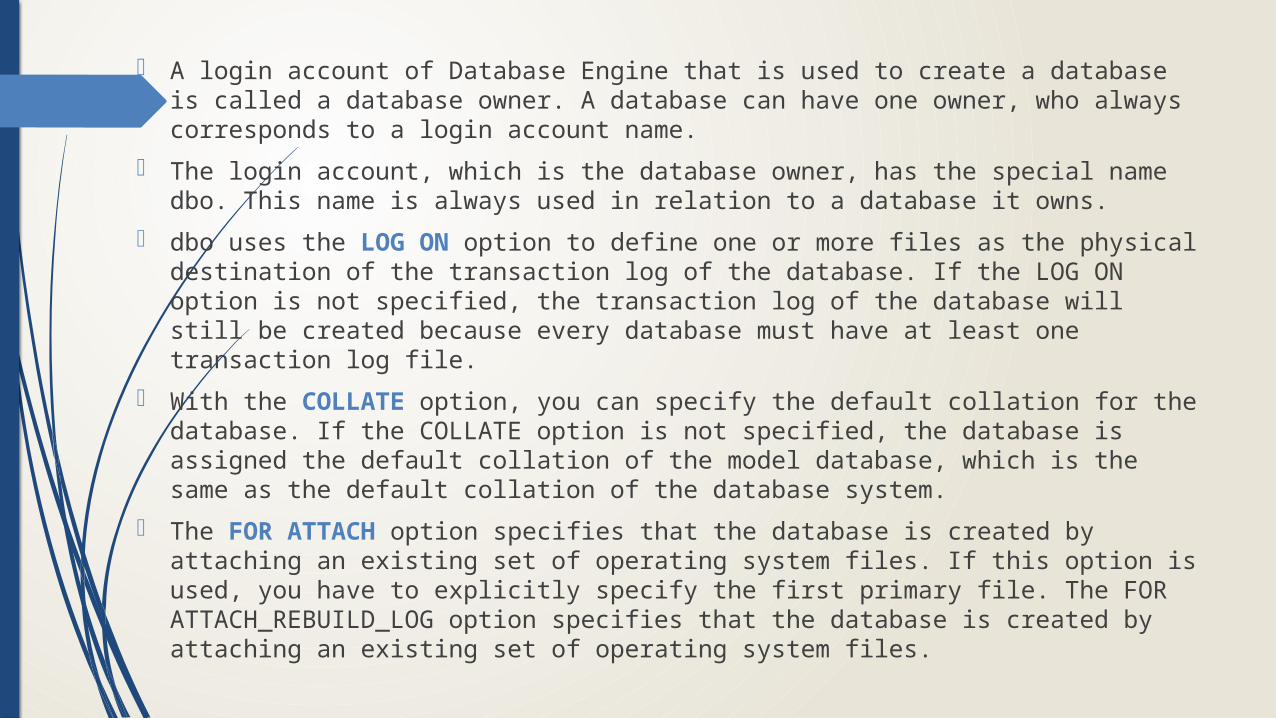
A login account of Database Engine that is used to create a database is called a database owner. A database can have one owner, who always corresponds to a login account name.
The login account, which is the database owner, has the special name dbo. This name is always used in relation to a database it owns.
dbo uses the LOG ON option to define one or more files as the physical destination of the transaction log of the database. If the LOG ON option is not specified, the transaction log of the database will still be created because every database must have at least one transaction log file.
With the COLLATE option, you can specify the default collation for the database. If the COLLATE option is not specified, the database is assigned the default collation of the model database, which is the same as the default collation of the database system.
The FOR ATTACH option specifies that the database is created by attaching an existing set of operating system files. If this option is used, you have to explicitly specify the first primary file. The FOR ATTACH_REBUILD_LOG option specifies that the database is created by attaching an existing set of operating system files.
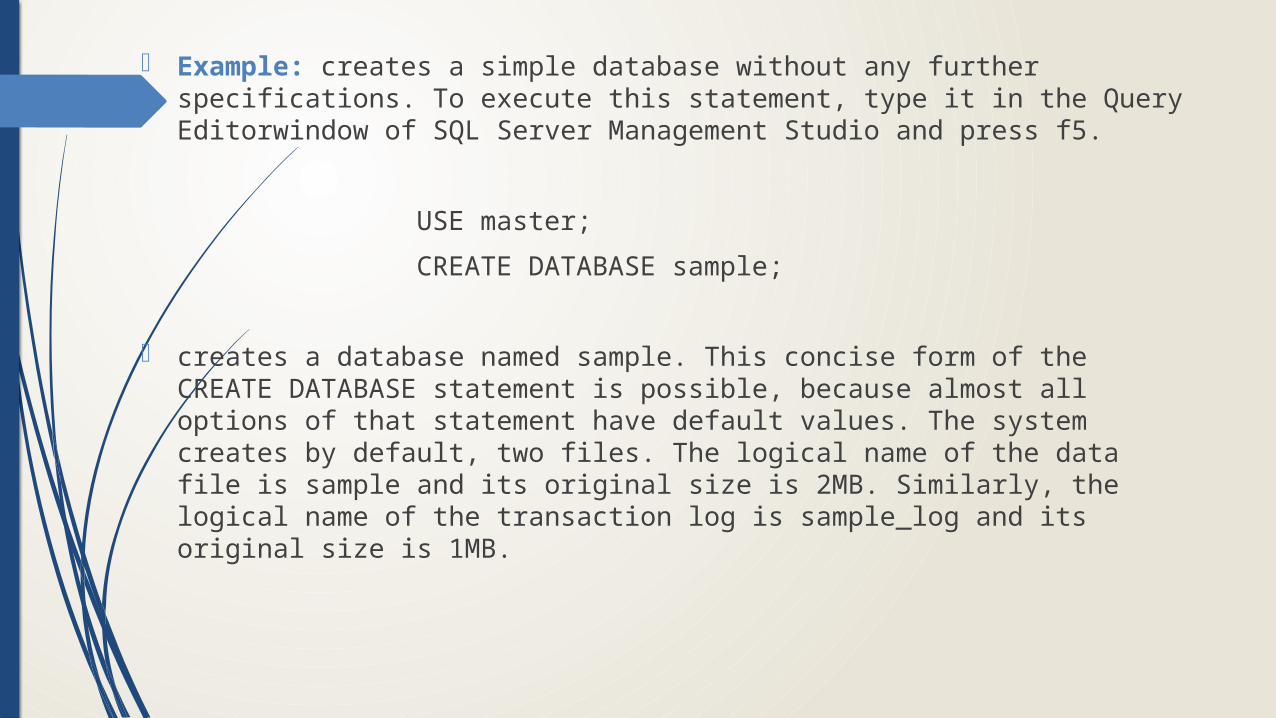
Example: creates a simple database without any further specifications. To execute this statement, type it in the Query Editorwindow of SQL Server Management Studio and press f5.
USE master;
CREATE DATABASE sample;
creates a database named sample. This concise form of the CREATE DATABASE statement is possible, because almost all options of that statement have default values. The system creates by default, two files. The logical name of the data file is sample and its original size is 2MB. Similarly, the logical name of the transaction log is sample_log and its original size is 1MB.
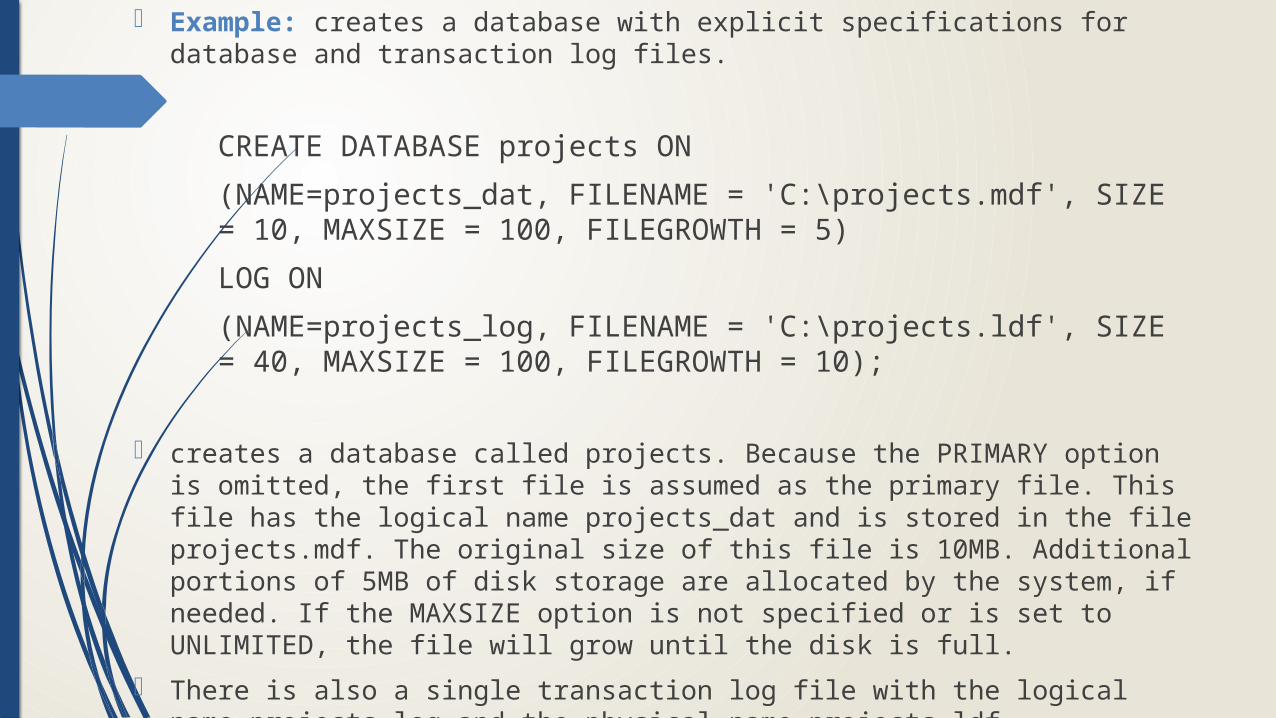
Example: creates a database with explicit specifications for database and transaction log files.
CREATE DATABASE projects ON
(NAME=projects_dat, FILENAME = 'C:\projects.mdf', SIZE = 10, MAXSIZE = 100, FILEGROWTH = 5)
LOG ON
(NAME=projects_log, FILENAME = 'C:\projects.ldf', SIZE = 40, MAXSIZE = 100, FILEGROWTH = 10);
creates a database called projects. Because the PRIMARY option is omitted, the first file is assumed as the primary file. This file has the logical name projects_dat and is stored in the file projects.mdf. The original size of this file is 10MB. Additional portions of 5MB of disk storage are allocated by the system, if needed. If the MAXSIZE option is not specified or is set to UNLIMITED, the file will grow until the disk is full.
There is also a single transaction log file with the logical name projects_log and the physical name projects.ldf.
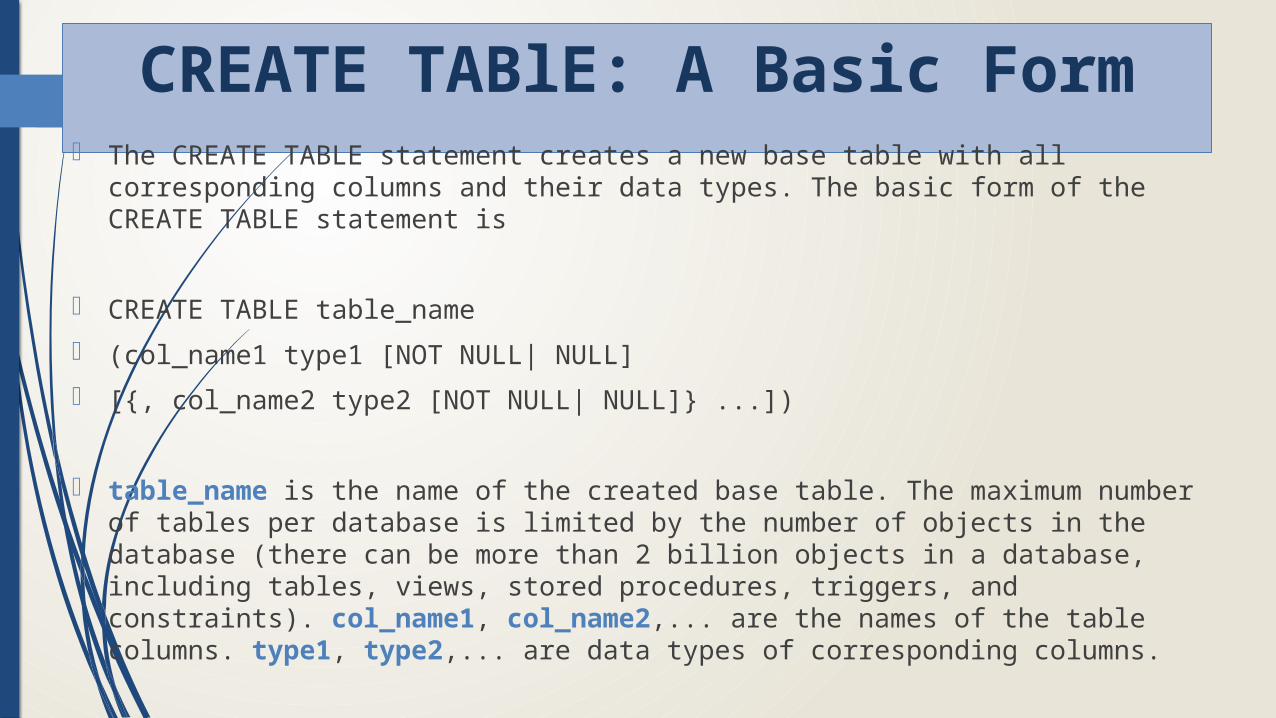
CREATE TABlE: A Basic Form The CREATE TABLE statement creates a new base table with all corresponding
columns and their data types. The basic form of the CREATE TABLE statement is
CREATE TABLE table_name
(col_name1 type1 [NOT NULL| NULL]
[{, col_name2 type2 [NOT NULL| NULL]} ...])
table_name is the name of the created base table. The maximum number of tables per database is limited by the number of objects in the database (there can be more than 2 billion objects in a database, including tables, views, stored procedures, triggers, and constraints). col_name1, col_name2,... are the names of the table columns. type1, type2,... are data types of corresponding columns.
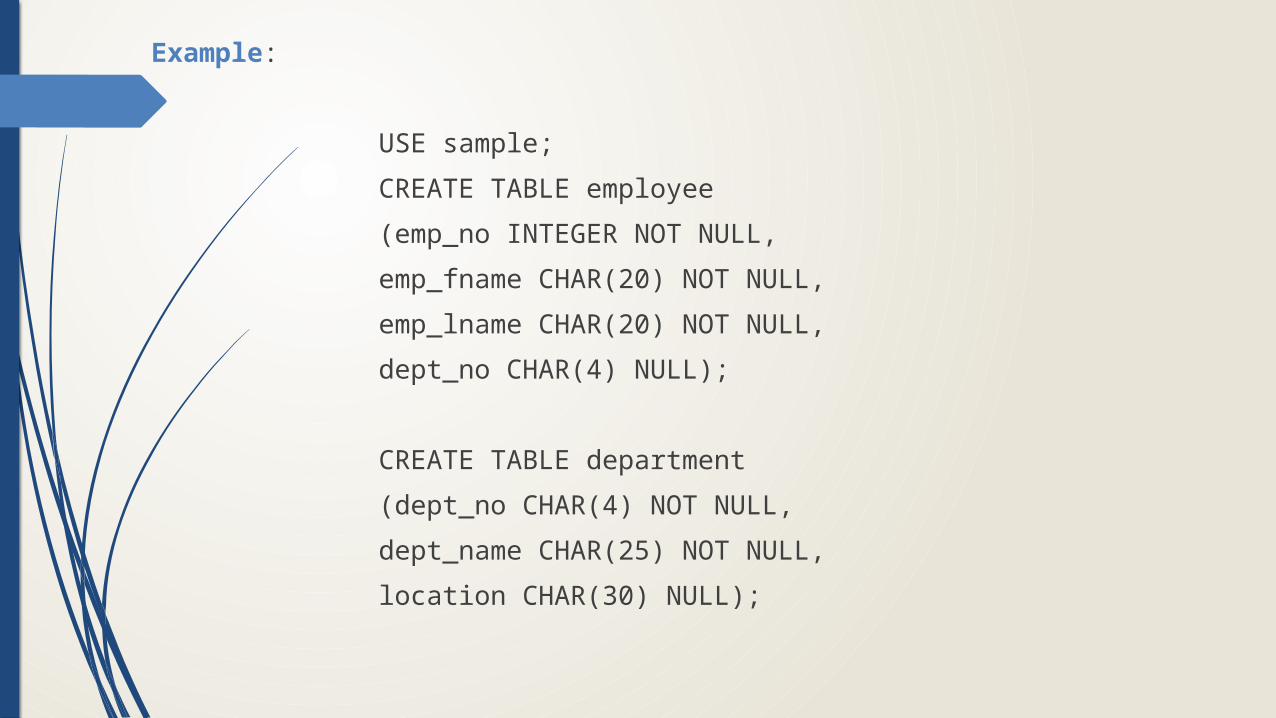
Example:
USE sample;
CREATE TABLE employee
(emp_no INTEGER NOT NULL,
emp_fname CHAR(20) NOT NULL,
emp_lname CHAR(20) NOT NULL,
dept_no CHAR(4) NULL);
CREATE TABLE department
(dept_no CHAR(4) NOT NULL,
dept_name CHAR(25) NOT NULL,
location CHAR(30) NULL);
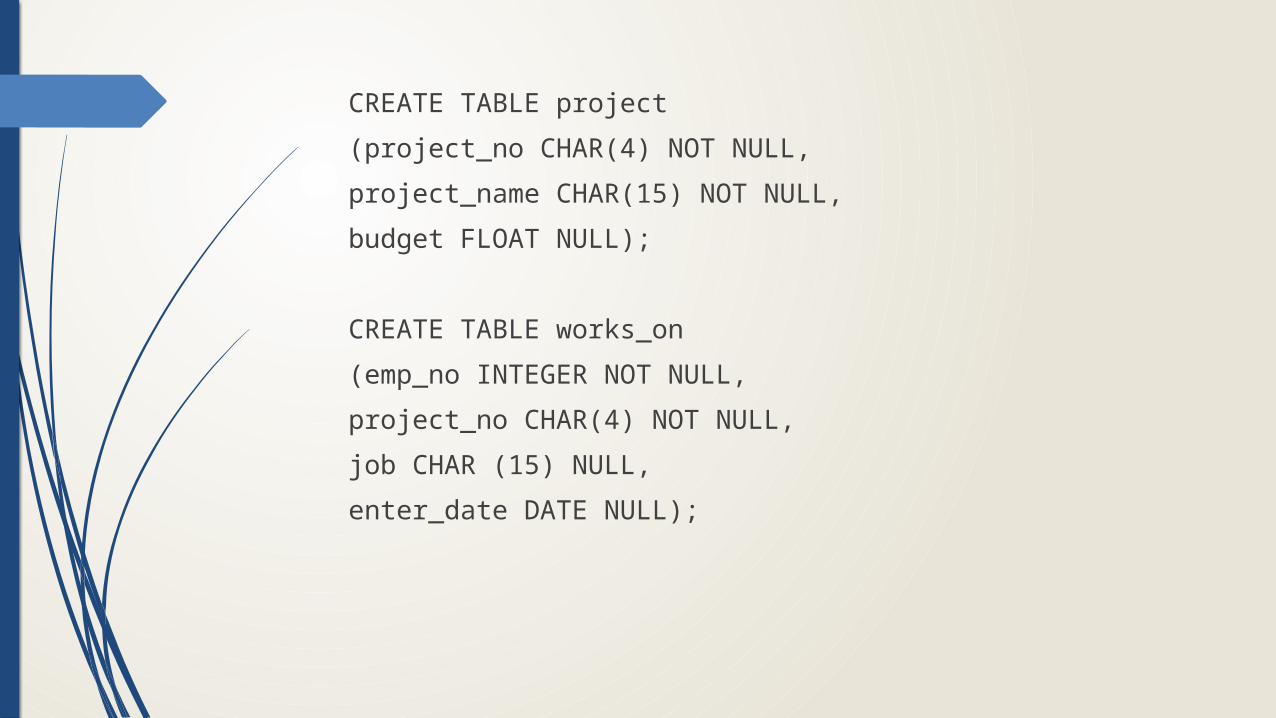
CREATE TABLE project
(project_no CHAR(4) NOT NULL,
project_name CHAR(15) NOT NULL,
budget FLOAT NULL);
CREATE TABLE works_on
(emp_no INTEGER NOT NULL,
project_no CHAR(4) NOT NULL,
job CHAR (15) NULL,
enter_date DATE NULL);
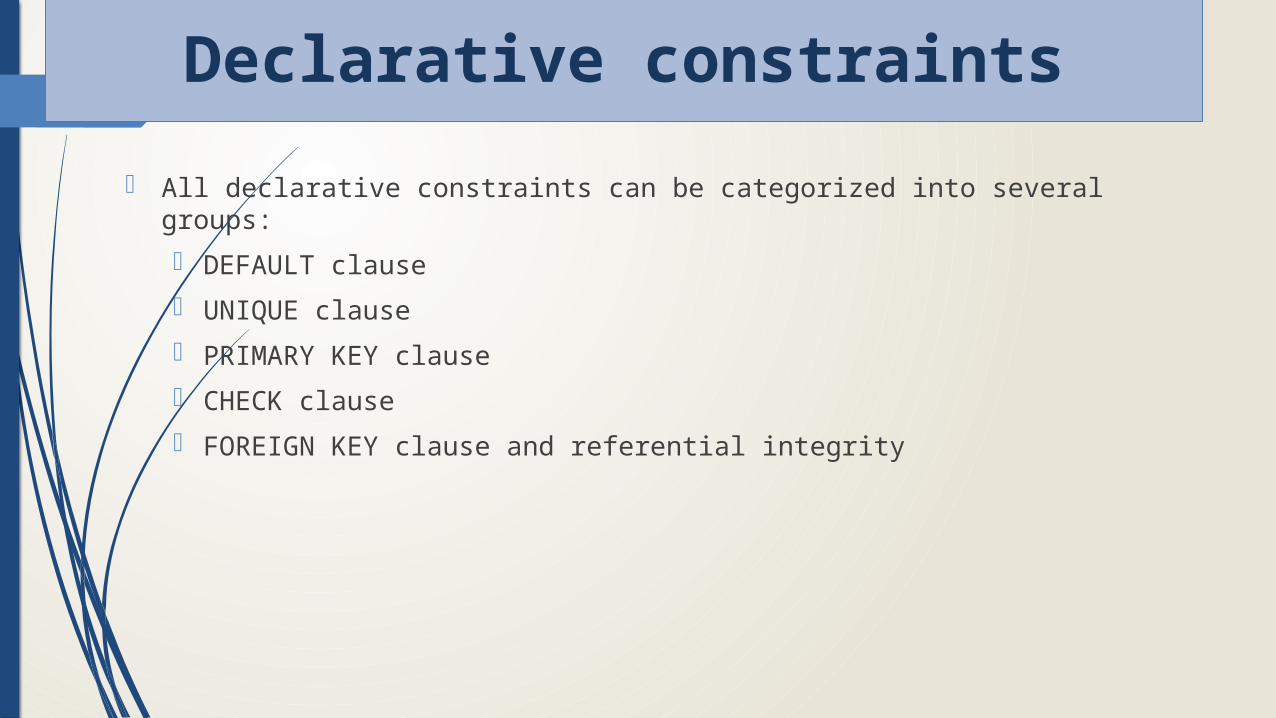
All declarative constraints can be categorized into several groups:
DEFAULT clause
UNIQUE clause
PRIMARY KEY clause
CHECK clause
FOREIGN KEY clause and referential integrity
Declarative constraints
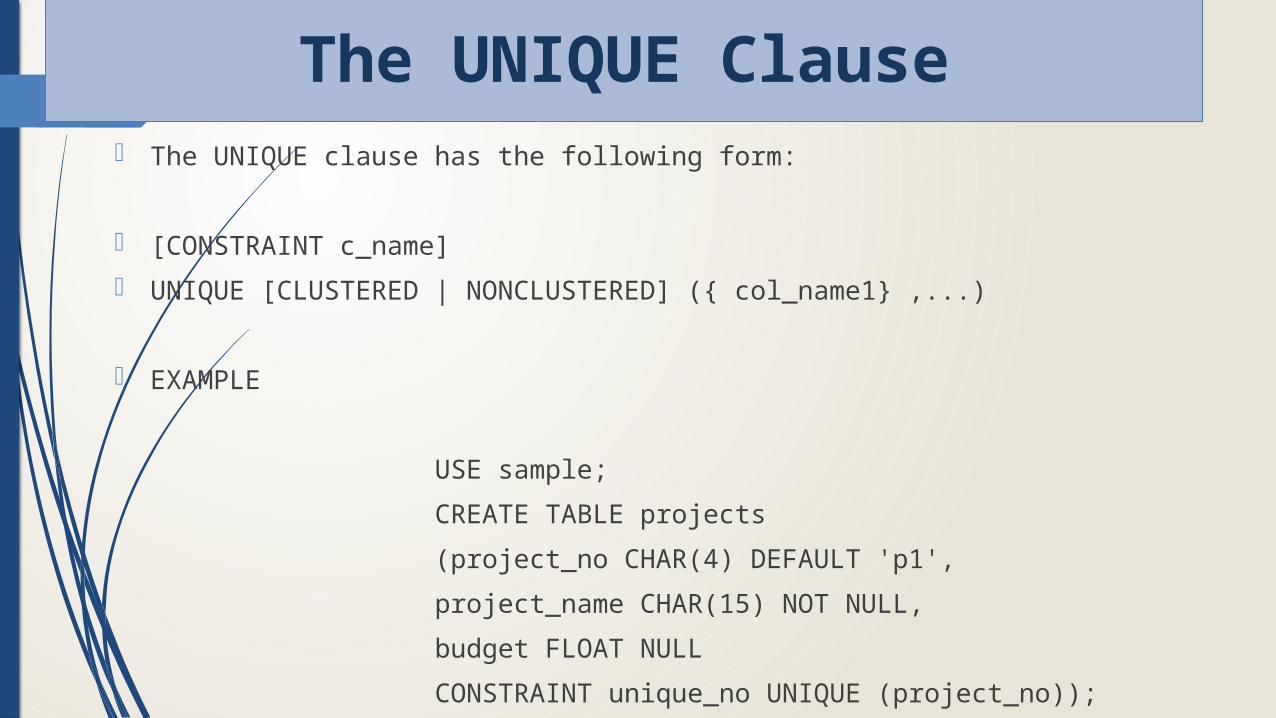
The UNIQUE Clause The UNIQUE clause has the following form:
[CONSTRAINT c_name]
UNIQUE [CLUSTERED | NONCLUSTERED] ({ col_name1} ,...)
EXAMPLE
USE sample;
CREATE TABLE projects
(project_no CHAR(4) DEFAULT 'p1',
project_name CHAR(15) NOT NULL,
budget FLOAT NULL
CONSTRAINT unique_no UNIQUE (project_no));
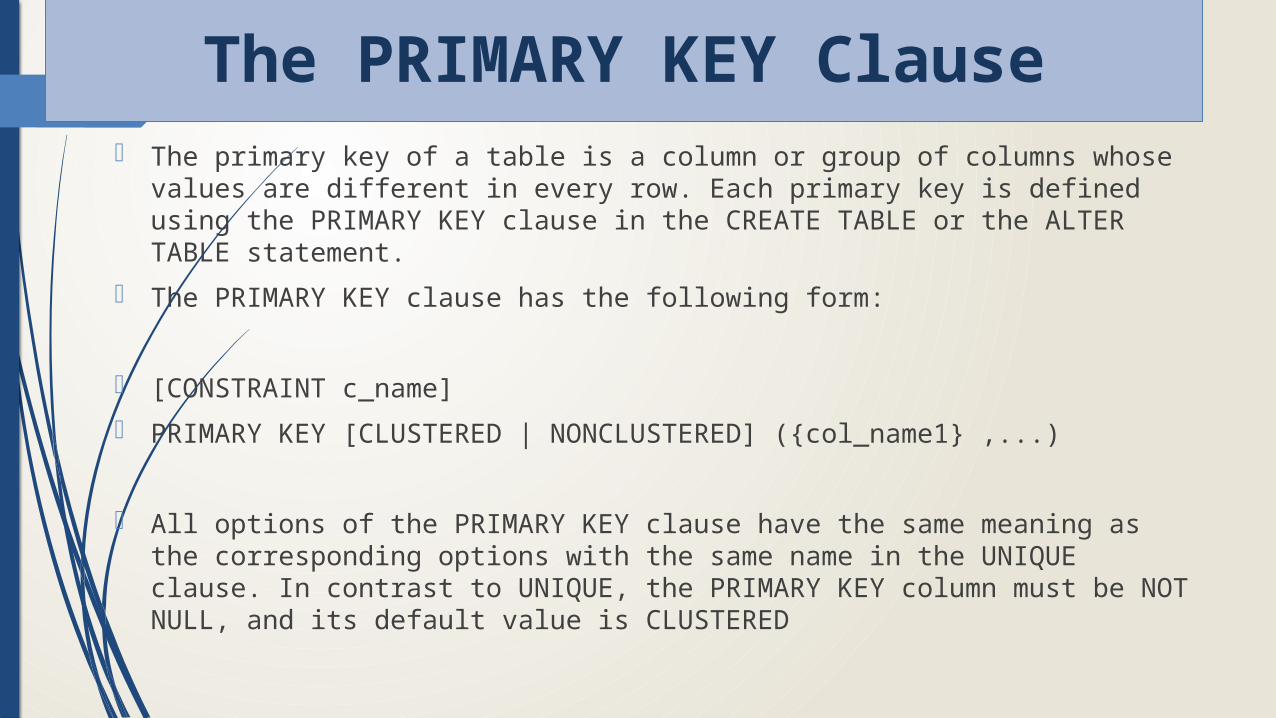
The PRIMARY KEY Clause The primary key of a table is a column or group of columns whose values are
different in every row. Each primary key is defined using the PRIMARY KEY clause in the CREATE TABLE or the ALTER TABLE statement.
The PRIMARY KEY clause has the following form:
[CONSTRAINT c_name]
PRIMARY KEY [CLUSTERED | NONCLUSTERED] ({col_name1} ,...)
All options of the PRIMARY KEY clause have the same meaning as the corresponding options with the same name in the UNIQUE clause. In contrast to UNIQUE, the PRIMARY KEY column must be NOT NULL, and its default value is CLUSTERED

Example:
USE sample;
CREATE TABLE employee
(emp_no INTEGER NOT NULL,
emp_fname CHAR(20) NOT NULL,
emp_lname CHAR(20) NOT NULL,
dept_no CHAR(4) NULL,
CONSTRAINT prim_empl PRIMARY KEY (emp_no));
The employee table is re-created and its primary key is defined in Example 5.7. The primary key of the table is specified using the declarative integrity constraint named prim_empl. This integrity constraint is a table-level constraint, because it is specified after the definition of all columns of the employee table
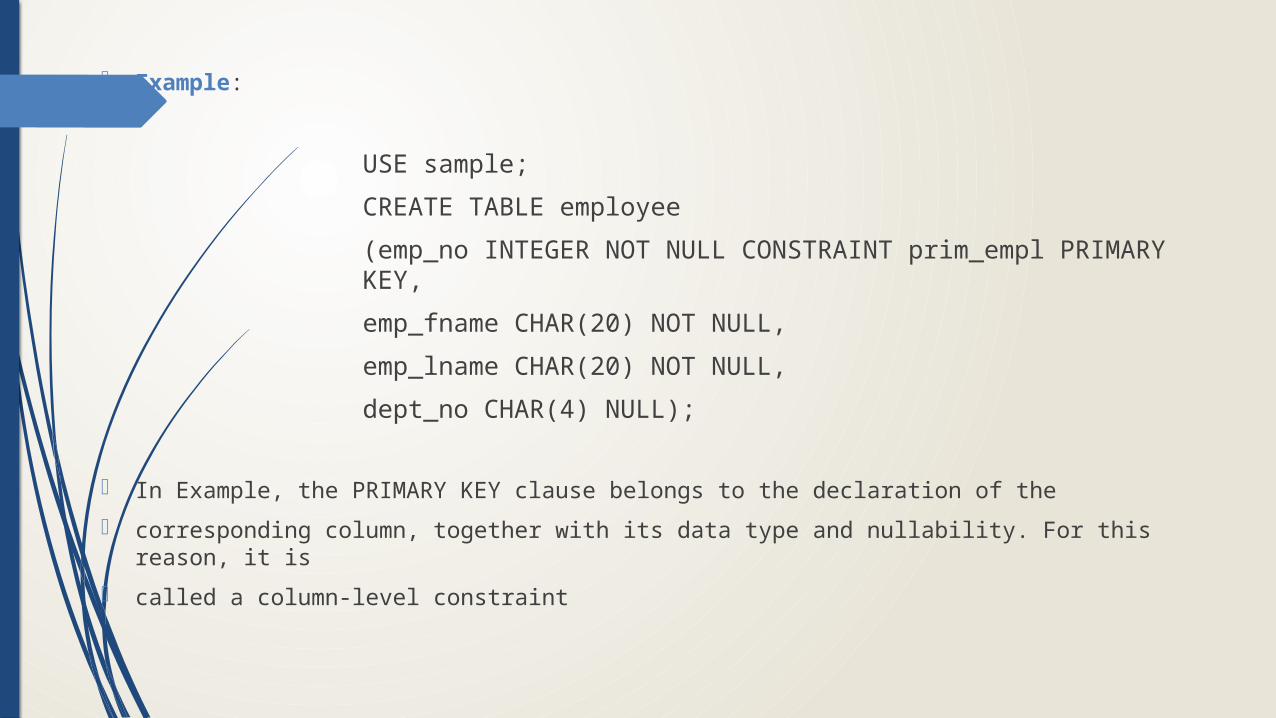
Example:
USE sample;
CREATE TABLE employee
(emp_no INTEGER NOT NULL CONSTRAINT prim_empl PRIMARY KEY,
emp_fname CHAR(20) NOT NULL,
emp_lname CHAR(20) NOT NULL,
dept_no CHAR(4) NULL);
In Example, the PRIMARY KEY clause belongs to the declaration of the
corresponding column, together with its data type and nullability. For this reason, it is
called a column-level constraint
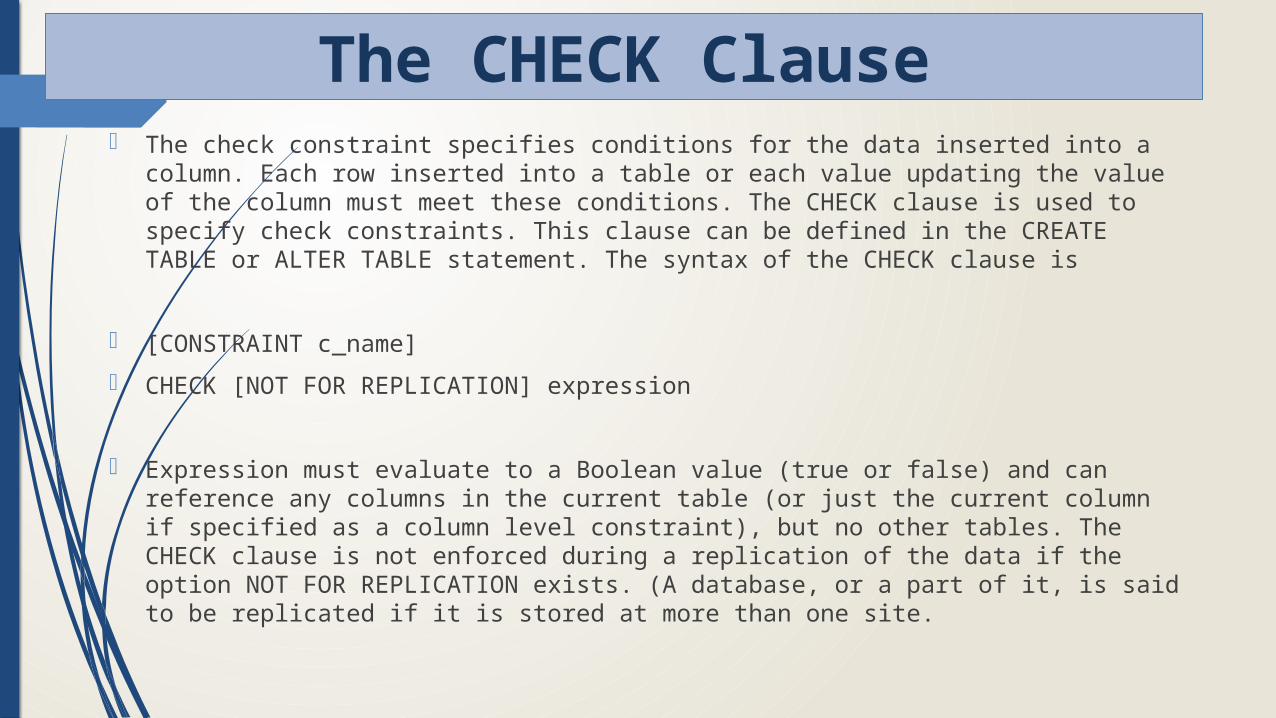
The check constraint specifies conditions for the data inserted into a column. Each row inserted into a table or each value updating the value of the column must meet these conditions. The CHECK clause is used to specify check constraints. This clause can be defined in the CREATE TABLE or ALTER TABLE statement. The syntax of the CHECK clause is
[CONSTRAINT c_name]
CHECK [NOT FOR REPLICATION] expression
Expression must evaluate to a Boolean value (true or false) and can reference any columns in the current table (or just the current column if specified as a column level constraint), but no other tables. The CHECK clause is not enforced during a replication of the data if the option NOT FOR REPLICATION exists. (A database, or a part of it, is said to be replicated if it is stored at more than one site.
The CHECK Clause

Example:
USE sample;
CREATE TABLE customer
(cust_no INTEGER NOT NULL,
cust_group CHAR(3) NULL,
CHECK (cust_group IN ('c1', 'c2', 'c10')));
The customer table that is created in Example contains the cust_group column with the corresponding check constraint. The database system returns an error if the cust_group column, after a modification of its existing values or after the insertion of a new row, would contain a value different from the values in the set ('c1', 'c2', 'c10').
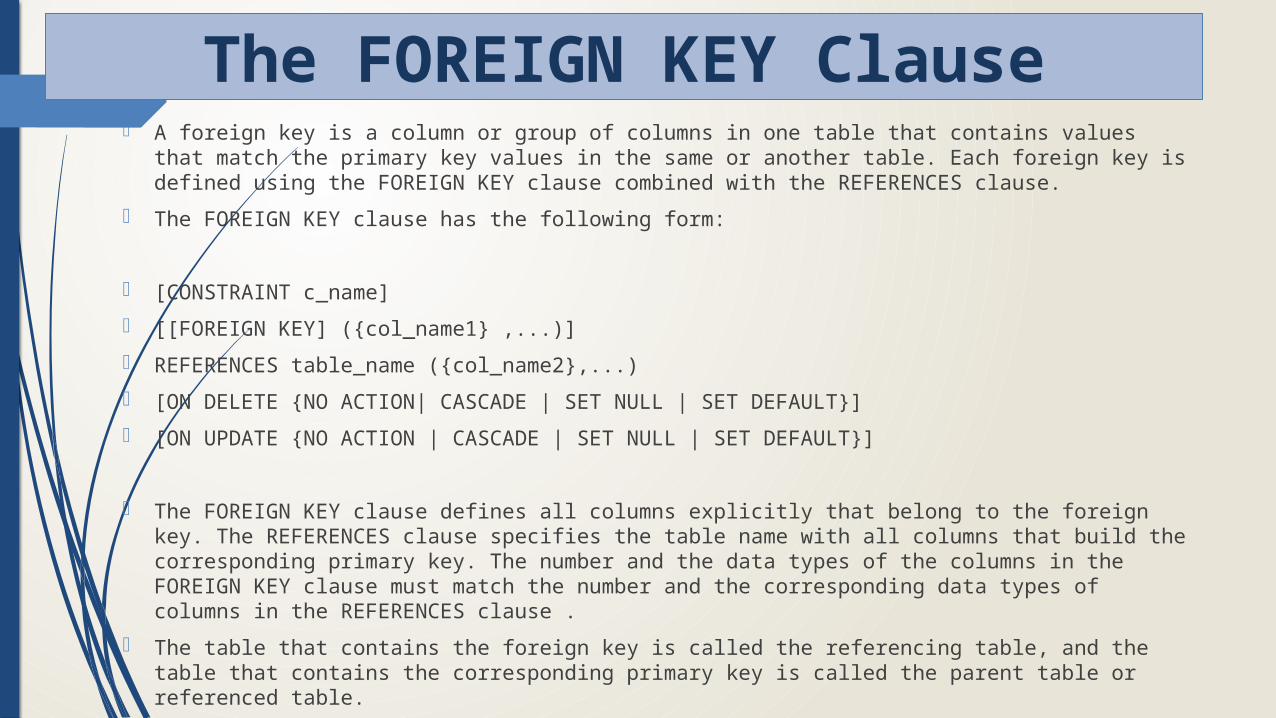
A foreign key is a column or group of columns in one table that contains values that match the primary key values in the same or another table. Each foreign key is defined using the FOREIGN KEY clause combined with the REFERENCES clause.
The FOREIGN KEY clause has the following form:
[CONSTRAINT c_name]
[[FOREIGN KEY] ({col_name1} ,...)]
REFERENCES table_name ({col_name2},...)
[ON DELETE {NO ACTION| CASCADE | SET NULL | SET DEFAULT}]
[ON UPDATE {NO ACTION | CASCADE | SET NULL | SET DEFAULT}]
The FOREIGN KEY clause defines all columns explicitly that belong to the foreign key. The REFERENCES clause specifies the table name with all columns that build the corresponding primary key. The number and the data types of the columns in the FOREIGN KEY clause must match the number and the corresponding data types of columns in the REFERENCES clause .
The table that contains the foreign key is called the referencing table, and the table that contains the corresponding primary key is called the parent table or referenced table.
The FOREIGN KEY Clause
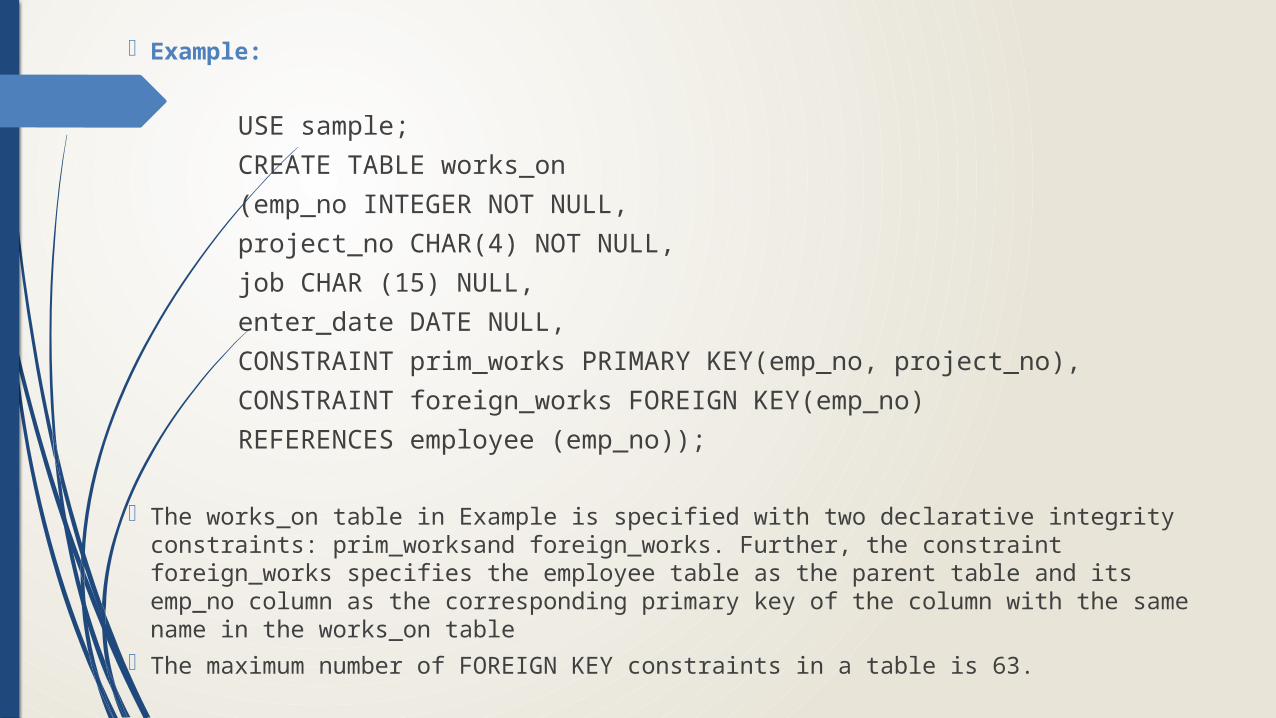
Example:
USE sample;
CREATE TABLE works_on
(emp_no INTEGER NOT NULL,
project_no CHAR(4) NOT NULL,
job CHAR (15) NULL,
enter_date DATE NULL,
CONSTRAINT prim_works PRIMARY KEY(emp_no, project_no),
CONSTRAINT foreign_works FOREIGN KEY(emp_no)
REFERENCES employee (emp_no));
The works_on table in Example is specified with two declarative integrity constraints: prim_worksand foreign_works. Further, the constraint foreign_works specifies the employee table as the parent table and its emp_no column as the corresponding primary key of the column with the same name in the works_on table
The maximum number of FOREIGN KEY constraints in a table is 63.
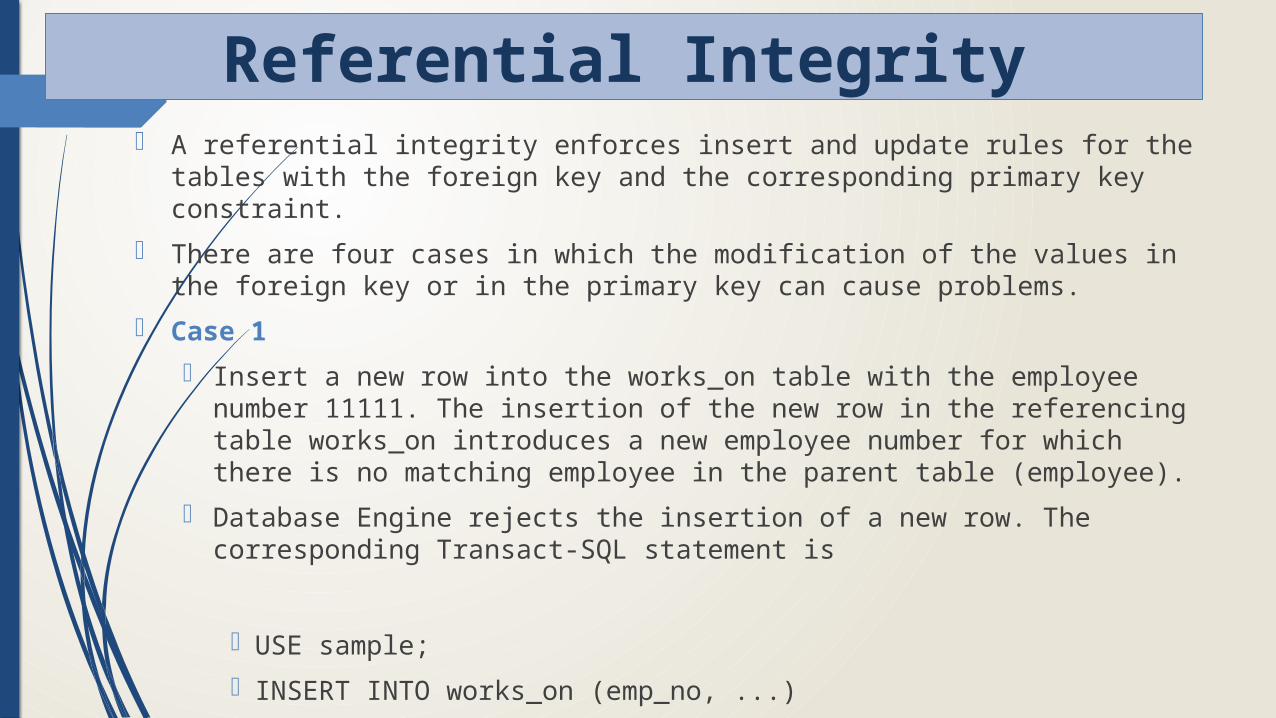
A referential integrity enforces insert and update rules for the tables with the foreign key and the corresponding primary key constraint.
There are four cases in which the modification of the values in the foreign key or in the primary key can cause problems.
Case 1
Insert a new row into the works_on table with the employee number 11111. The insertion of the new row in the referencing table works_on introduces a new employee number for which there is no matching employee in the parent table (employee).
Database Engine rejects the insertion of a new row. The corresponding Transact-SQL statement is
USE sample;
INSERT INTO works_on (emp_no, ...)
VALUES (11111, ...);
Referential Integrity
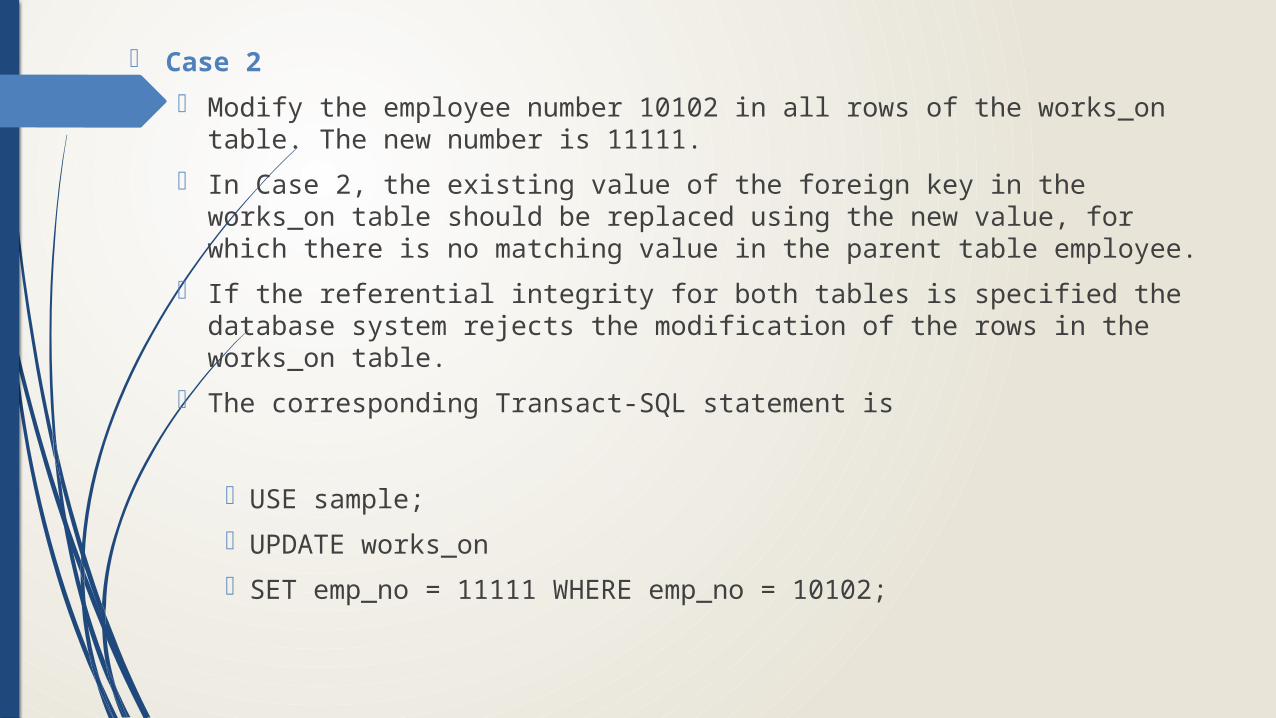
Case 2
Modify the employee number 10102 in all rows of the works_on table. The new number is 11111.
In Case 2, the existing value of the foreign key in the works_on table should be replaced using the new value, for which there is no matching value in the parent table employee.
If the referential integrity for both tables is specified the database system rejects the modification of the rows in the works_on table.
The corresponding Transact-SQL statement is
USE sample;
UPDATE works_on
SET emp_no = 11111 WHERE emp_no = 10102;
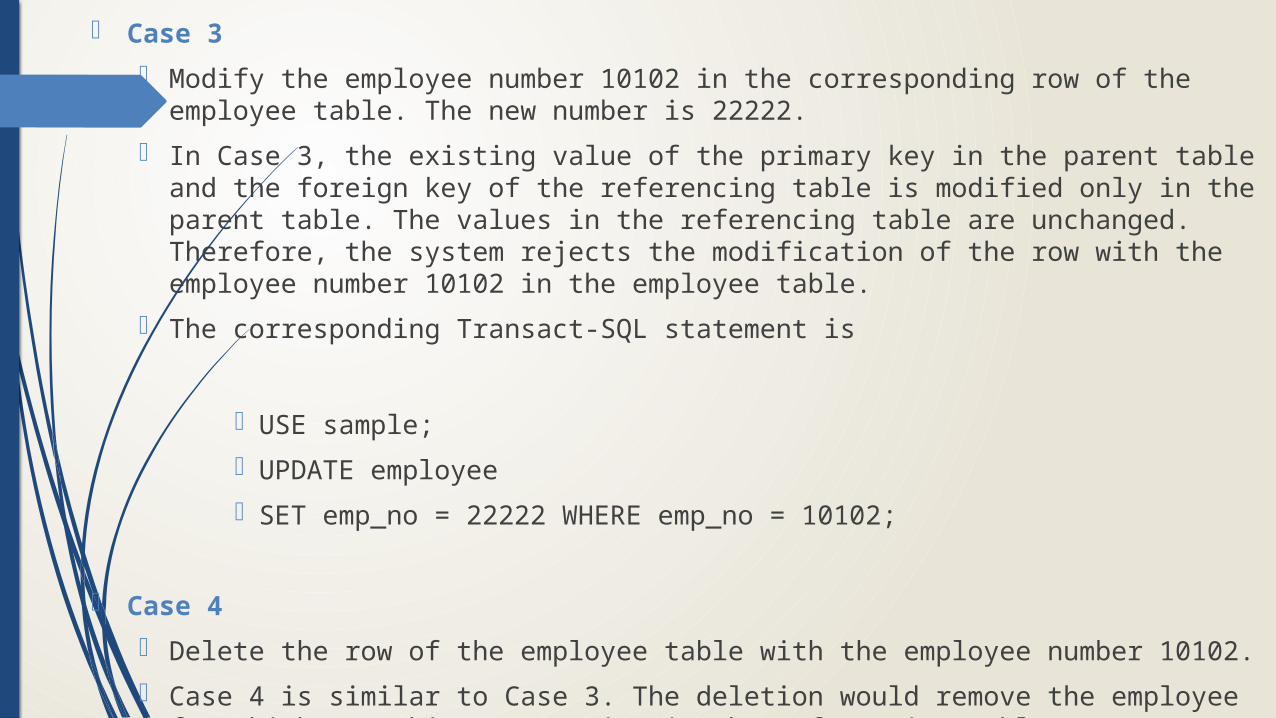
Case 3
Modify the employee number 10102 in the corresponding row of the employee table. The new number is 22222.
In Case 3, the existing value of the primary key in the parent table and the foreign key of the referencing table is modified only in the parent table. The values in the referencing table are unchanged. Therefore, the system rejects the modification of the row with the employee number 10102 in the employee table.
The corresponding Transact-SQL statement is
USE sample;
UPDATE employee
SET emp_no = 22222 WHERE emp_no = 10102;
Case 4
Delete the row of the employee table with the employee number 10102.
Case 4 is similar to Case 3. The deletion would remove the employee for which matching rows exist in the referencing table.
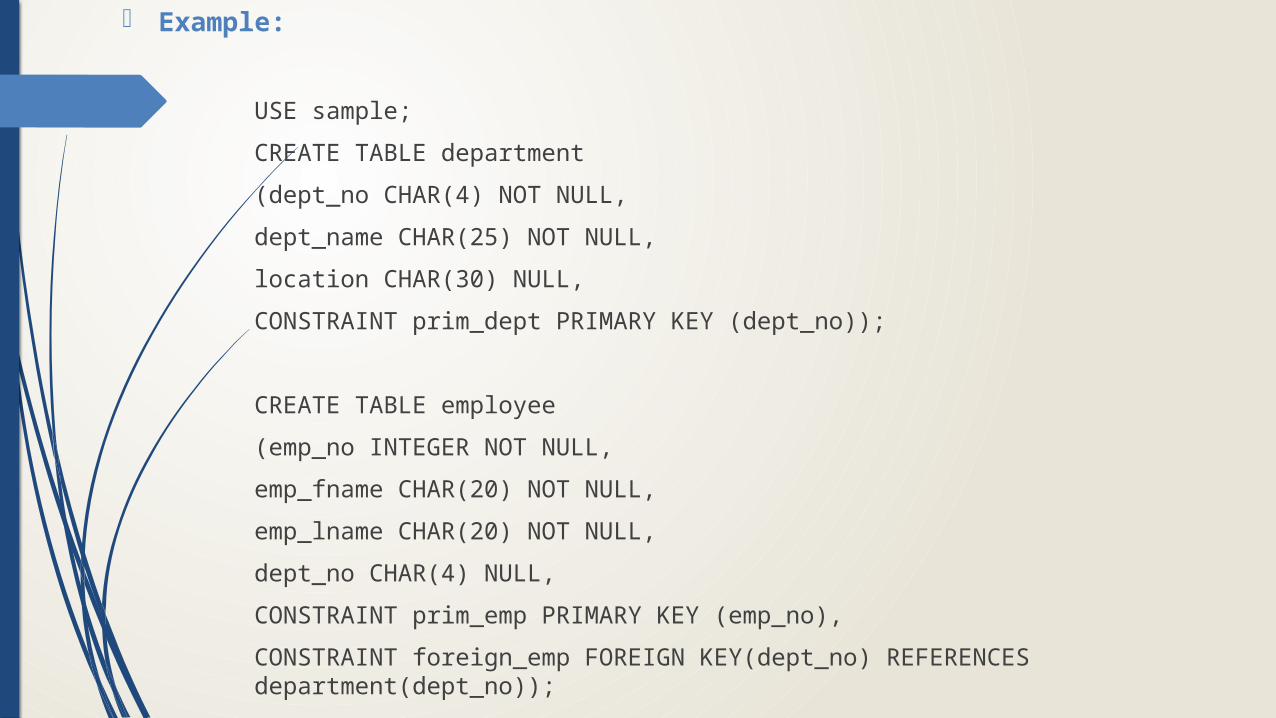
Example:
USE sample;
CREATE TABLE department
(dept_no CHAR(4) NOT NULL,
dept_name CHAR(25) NOT NULL,
location CHAR(30) NULL,
CONSTRAINT prim_dept PRIMARY KEY (dept_no));
CREATE TABLE employee
(emp_no INTEGER NOT NULL,
emp_fname CHAR(20) NOT NULL,
emp_lname CHAR(20) NOT NULL,
dept_no CHAR(4) NULL,
CONSTRAINT prim_emp PRIMARY KEY (emp_no),
CONSTRAINT foreign_emp FOREIGN KEY(dept_no) REFERENCES department(dept_no));

CREATE TABLE project
(project_no CHAR(4) NOT NULL,
project_name CHAR(15) NOT NULL,
budget FLOAT NULL,
CONSTRAINT prim_proj PRIMARY KEY (project_no));
CREATE TABLE works_on
(emp_no INTEGER NOT NULL,
project_no CHAR(4) NOT NULL,
job CHAR (15) NULL,
enter_date DATE NULL,
CONSTRAINT prim_works PRIMARY KEY(emp_no, project_no),
CONSTRAINT foreign1_works FOREIGN KEY(emp_no) REFERENCES employee(emp_no),
CONSTRAINT foreign2_works FOREIGN KEY(project_no) REFERENCES project(project_no));
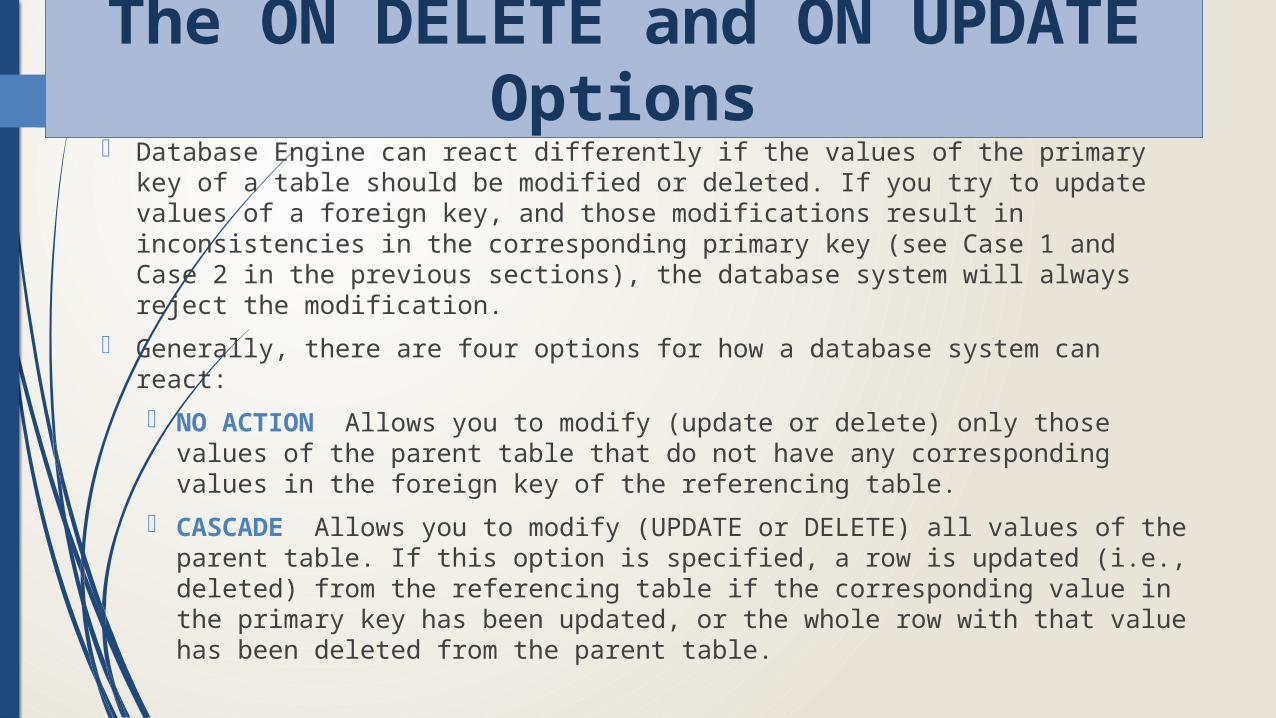
Database Engine can react differently if the values of the primary key of a table should be modified or deleted. If you try to update values of a foreign key, and those modifications result in inconsistencies in the corresponding primary key (see Case 1 and Case 2 in the previous sections), the database system will always reject the modification.
Generally, there are four options for how a database system can react:
NO ACTION Allows you to modify (update or delete) only those values of the parent table that do not have any corresponding values in the foreign key of the referencing table.
CASCADE Allows you to modify (UPDATE or DELETE) all values of the parent table. If this option is specified, a row is updated (i.e., deleted) from the referencing table if the corresponding value in the primary key has been updated, or the whole row with that value has been deleted from the parent table.
The ON DELETE and ON UPDATE Options
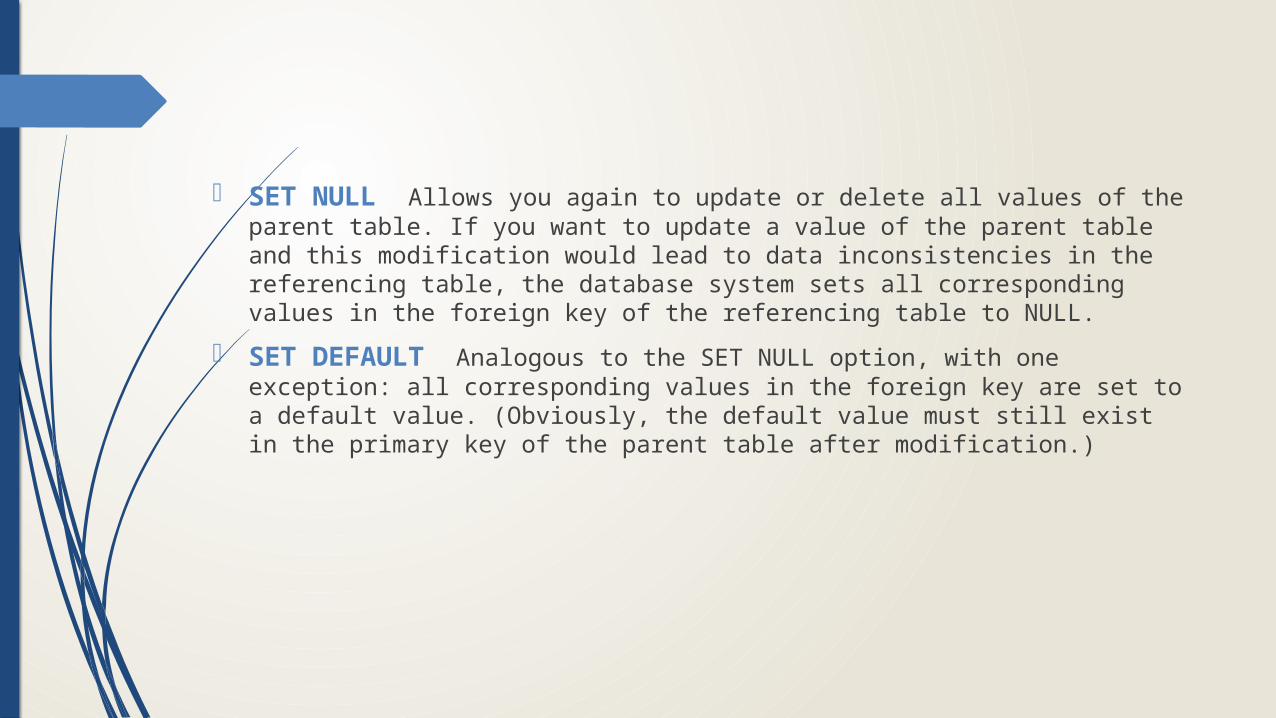
SET NULL Allows you again to update or delete all values of the parent table. If you want to update a value of the parent table and this modification would lead to data inconsistencies in the referencing table, the database system sets all corresponding values in the foreign key of the referencing table to NULL.
SET DEFAULT Analogous to the SET NULL option, with one exception: all corresponding values in the foreign key are set to a default value. (Obviously, the default value must still exist in the primary key of the parent table after modification.)
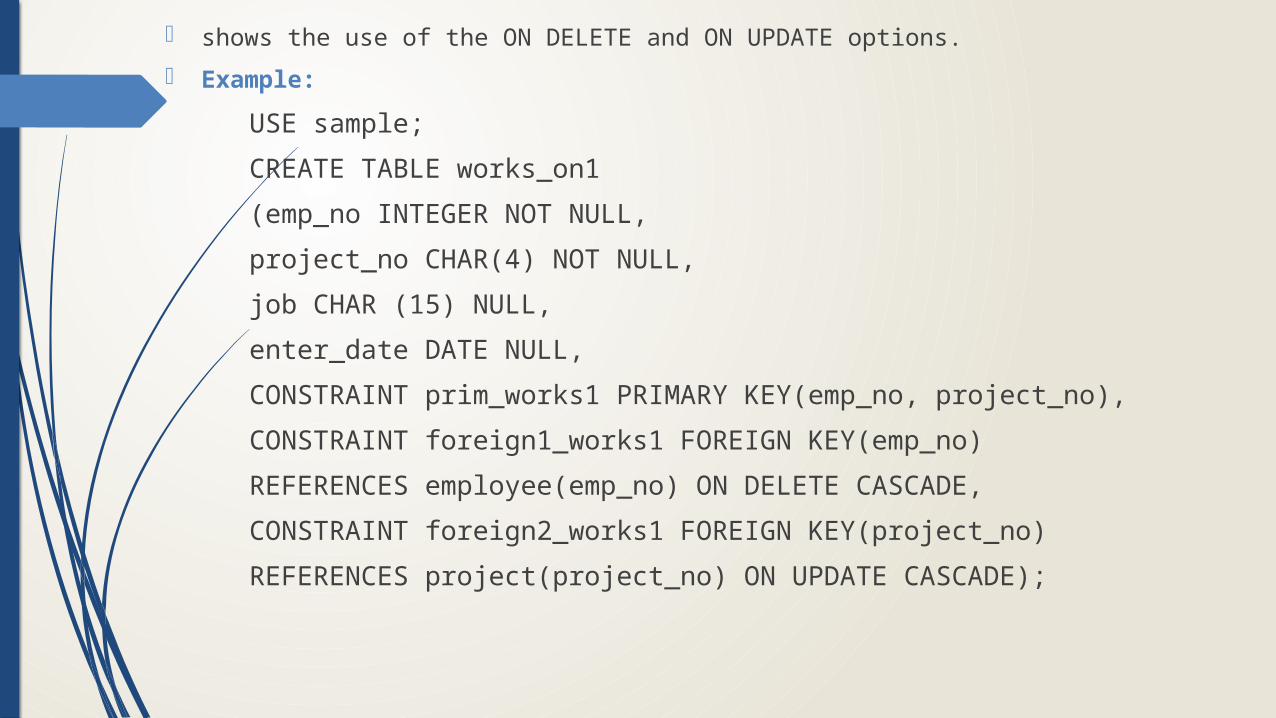
shows the use of the ON DELETE and ON UPDATE options.
Example:
USE sample;
CREATE TABLE works_on1
(emp_no INTEGER NOT NULL,
project_no CHAR(4) NOT NULL,
job CHAR (15) NULL,
enter_date DATE NULL,
CONSTRAINT prim_works1 PRIMARY KEY(emp_no, project_no),
CONSTRAINT foreign1_works1 FOREIGN KEY(emp_no)
REFERENCES employee(emp_no) ON DELETE CASCADE,
CONSTRAINT foreign2_works1 FOREIGN KEY(project_no)
REFERENCES project(project_no) ON UPDATE CASCADE);
Altering a Table
The ALTER TABLE statement modifies the schema of a table. The Transact-SQL language allows the following types of alteration:
Add or drop one or more new columns
Modify column properties
Add or remove integrity constraints
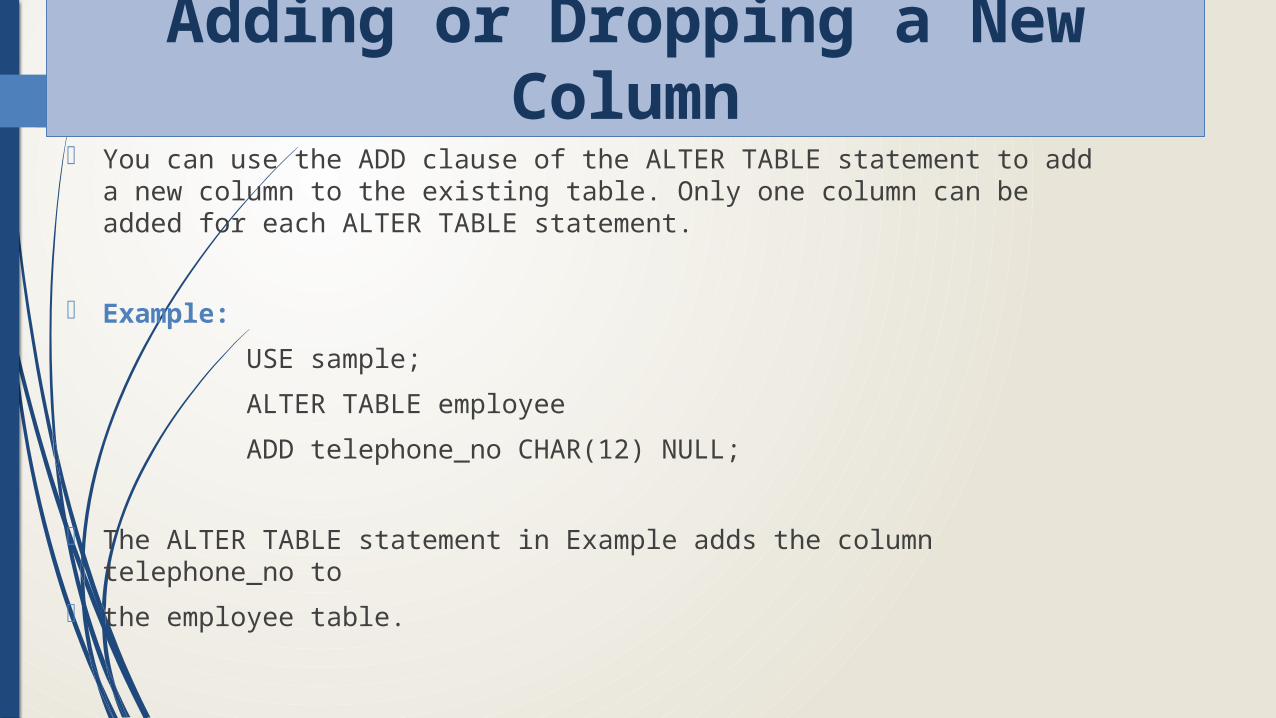
You can use the ADD clause of the ALTER TABLE statement to add a new column to the existing table. Only one column can be added for each ALTER TABLE statement.
Example:
USE sample;
ALTER TABLE employee
ADD telephone_no CHAR(12) NULL;
The ALTER TABLE statement in Example adds the column telephone_no to
the employee table.
Adding or Dropping a New Column

The DROP COLUMN clause provides the ability to drop an existing column of the table.
Example:
USE sample;
ALTER TABLE employee
DROP COLUMN telephone_no;
ALTER TABLE department
ADD CONSTRAINT CN_ department
DEFAULT 'UNKNOWN' FOR location;
The ALTER TABLE statement in Example removes the telephone_no column, which was added to the employee table with the ALTER TABLE statement.

The Transact-SQL language supports the ALTER COLUMN clause of ALTER TABLE to modify properties of an existing column. The following column properties can be modified:
Data type
Nullability
Example:
USE sample;
ALTER TABLE department
ALTER COLUMN location CHAR(25) NOT NULL;
The ALTER TABLE statement in Example changes the previous properties (CHAR(30), nullable) of the location column of the department table to new properties (CHAR(25), not nullable).
Modifying Column Properties
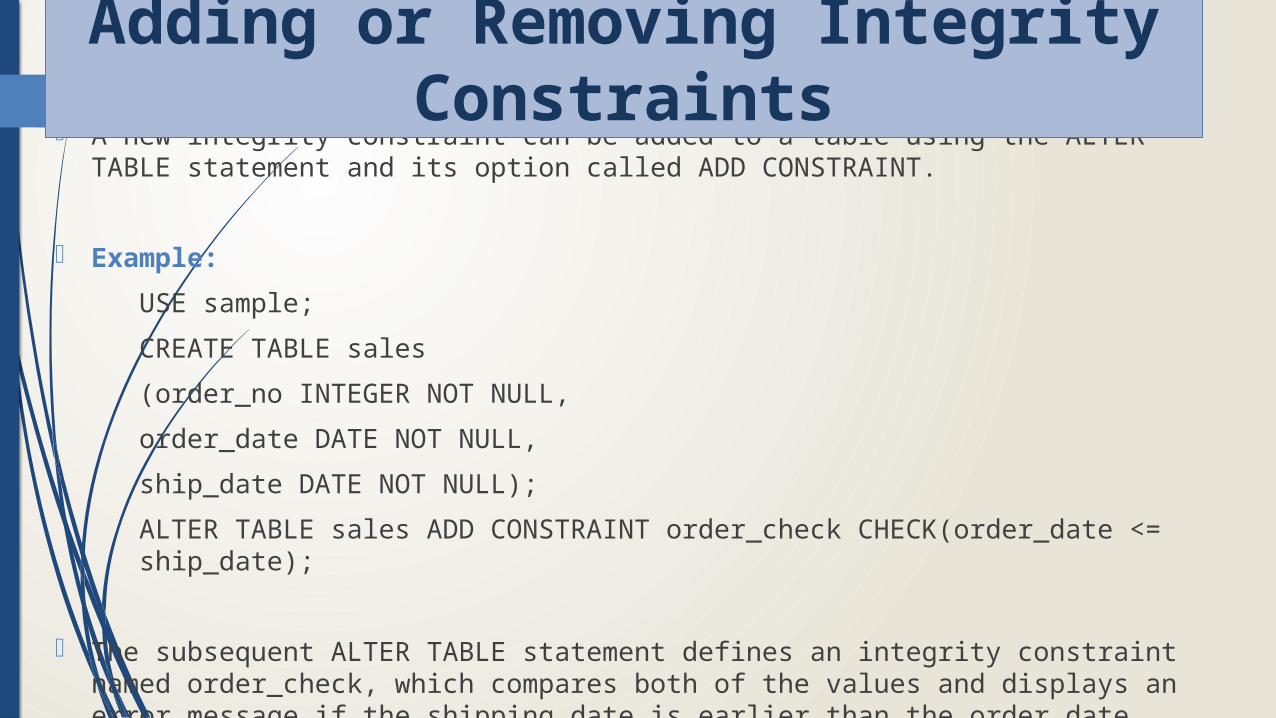
A new integrity constraint can be added to a table using the ALTER TABLE statement and its option called ADD CONSTRAINT.
Example:
USE sample;
CREATE TABLE sales
(order_no INTEGER NOT NULL,
order_date DATE NOT NULL,
ship_date DATE NOT NULL);
ALTER TABLE sales ADD CONSTRAINT order_check CHECK(order_date <= ship_date);
The subsequent ALTER TABLE statement defines an integrity constraint named order_check, which compares both of the values and displays an error message if the shipping date is earlier than the order date.
Adding or Removing Integrity Constraints
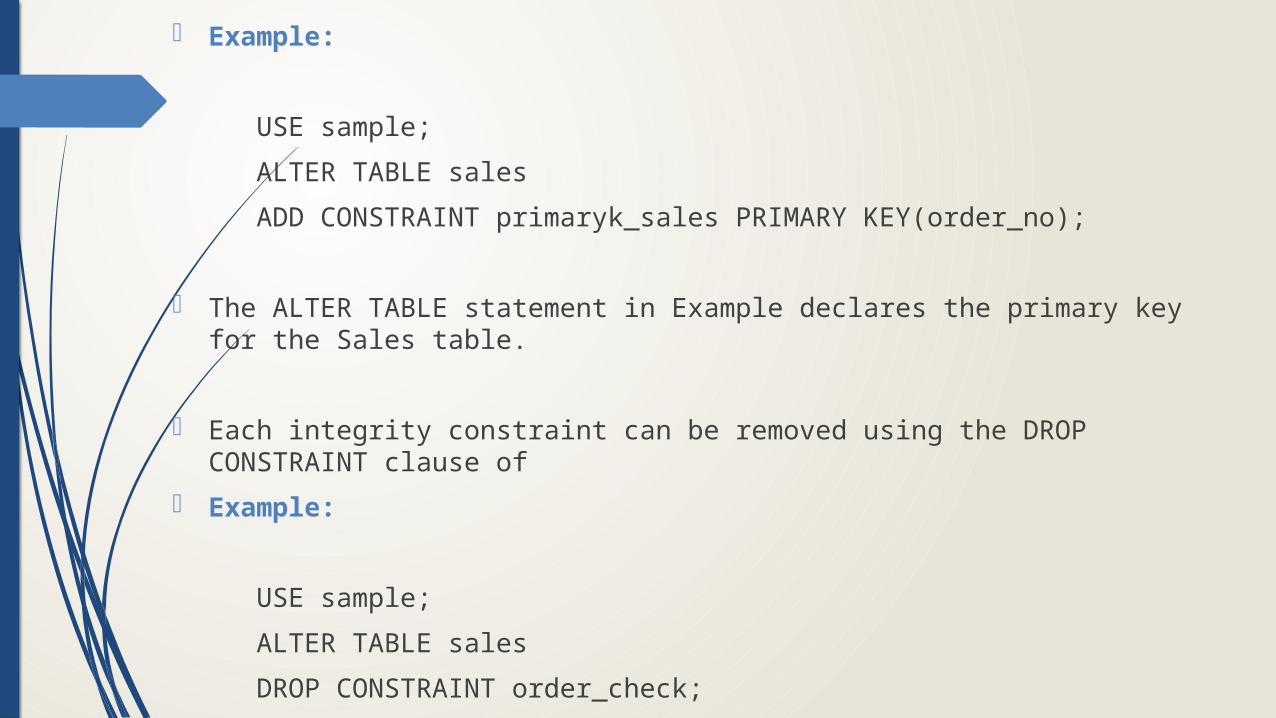
Example:
USE sample;
ALTER TABLE sales
ADD CONSTRAINT primaryk_sales PRIMARY KEY(order_no);
The ALTER TABLE statement in Example declares the primary key for the Sales table.
Each integrity constraint can be removed using the DROP CONSTRAINT clause of
Example:
USE sample;
ALTER TABLE sales
DROP CONSTRAINT order_check;
The ALTER TABLE statement in Example 5.23 removes the CHECK constraint called order_check, specified in Example.

As previously stated, an integrity constraint always has a name that can be explicitly declared using the CONSTRAINT option or implicitly declared by the system
A constraint is enforced by default during future insert and update operations. Additionally, the existing values in the column(s) are checked against the constraint. Otherwise, a constraint that is created with the WITH NOCHECK option is disabled in the second case. In other words, if you use the WITH NOCHECK option, the constraint will be applied only to future insert and update operations.
Example:
USE sample;
ALTER TABLE sales
NOCHECK CONSTRAINT ALL;
In Example, the keyword ALL is used to disable all the constraints on the sales table.
Enabling or Disabling Constraints
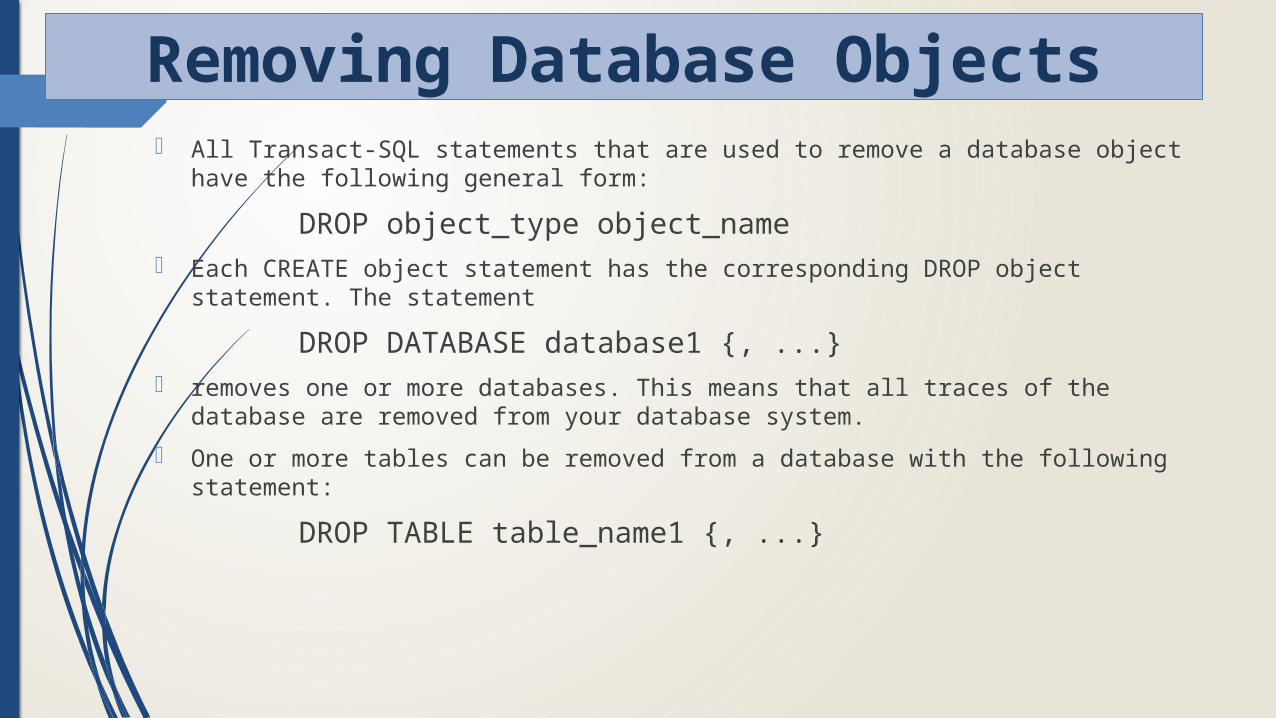
All Transact-SQL statements that are used to remove a database object have the following general form:
DROP object_type object_name Each CREATE object statement has the corresponding DROP object statement. The
statement
DROP DATABASE database1 {, ...} removes one or more databases. This means that all traces of the database are
removed from your database system.
One or more tables can be removed from a database with the following statement:
DROP TABLE table_name1 {, ...}
Removing Database Objects
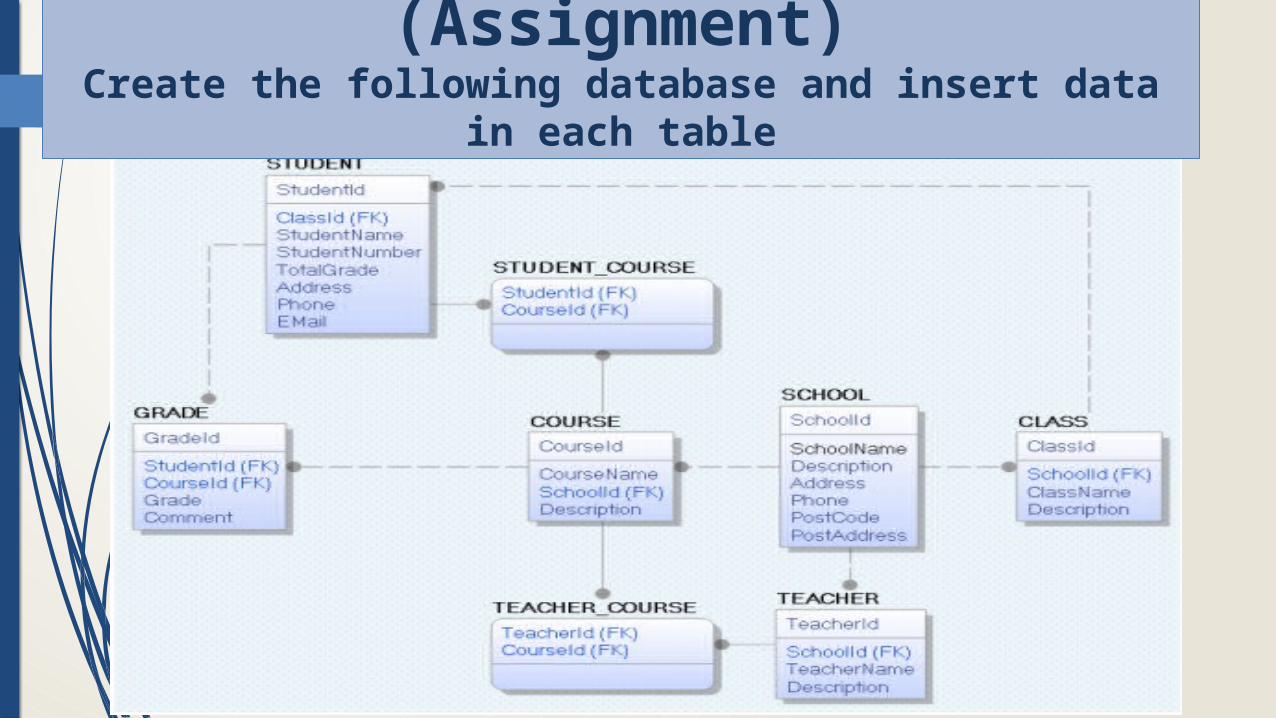
(Assignment)Create the following database and insert data in each table
Modification of a Table’s Contents• INSERT Statement• UPDATE Statement• DELETE Statement• TRUNCATE Statement
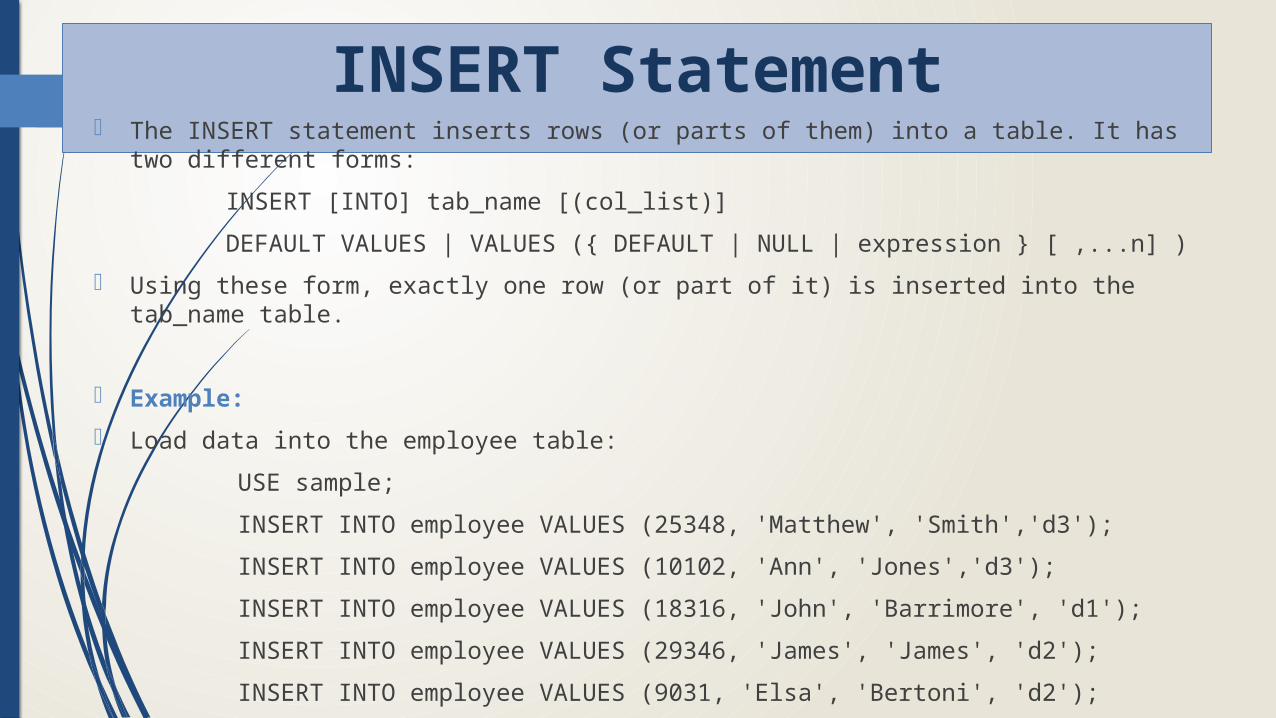
INSERT Statement The INSERT statement inserts rows (or parts of them) into a table. It has two different
forms:
INSERT [INTO] tab_name [(col_list)]
DEFAULT VALUES | VALUES ({ DEFAULT | NULL | expression } [ ,...n] )
Using these form, exactly one row (or part of it) is inserted into the tab_name table.
Example:
Load data into the employee table:
USE sample;
INSERT INTO employee VALUES (25348, 'Matthew', 'Smith','d3');
INSERT INTO employee VALUES (10102, 'Ann', 'Jones','d3');
INSERT INTO employee VALUES (18316, 'John', 'Barrimore', 'd1');
INSERT INTO employee VALUES (29346, 'James', 'James', 'd2');
INSERT INTO employee VALUES (9031, 'Elsa', 'Bertoni', 'd2');
INSERT INTO employee VALUES (2581, 'Elke', 'Hansel', 'd2');
INSERT INTO employee VALUES (28559, 'Sybill', 'Moser', 'd1');
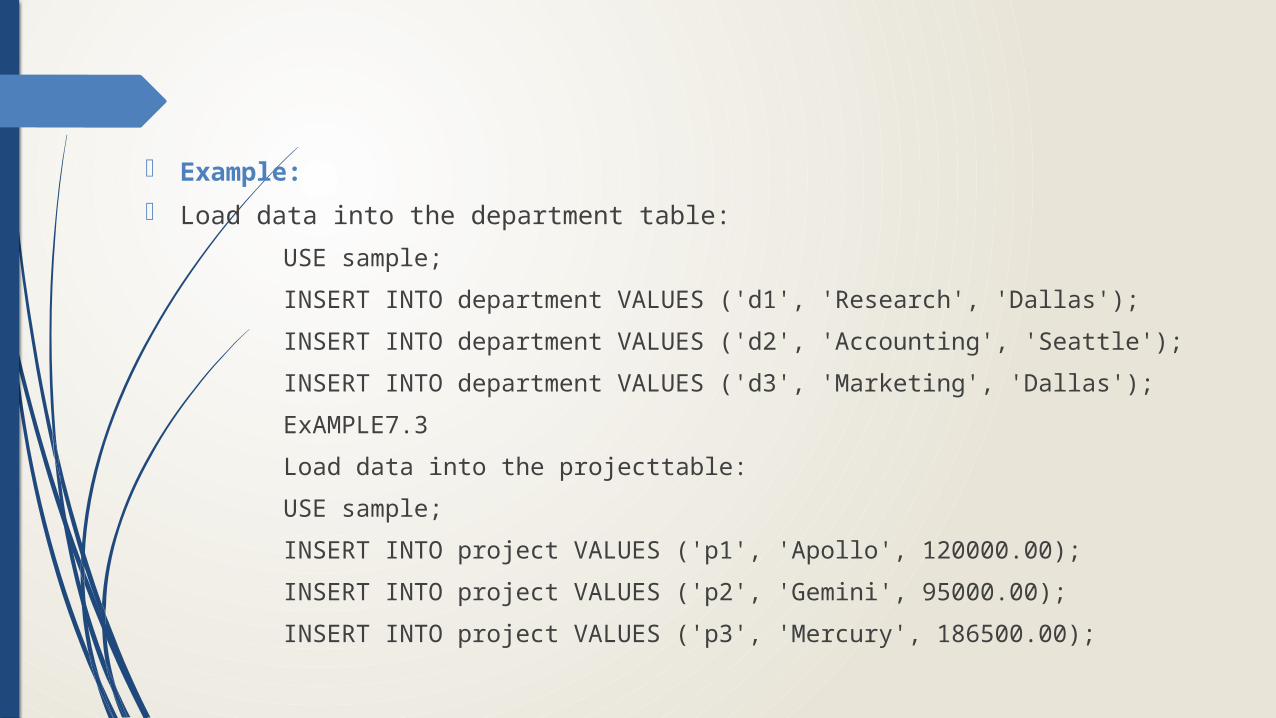
Example:
Load data into the department table:
USE sample;
INSERT INTO department VALUES ('d1', 'Research', 'Dallas');
INSERT INTO department VALUES ('d2', 'Accounting', 'Seattle');
INSERT INTO department VALUES ('d3', 'Marketing', 'Dallas');
ExAMPLE7.3
Load data into the projecttable:
USE sample;
INSERT INTO project VALUES ('p1', 'Apollo', 120000.00);
INSERT INTO project VALUES ('p2', 'Gemini', 95000.00);
INSERT INTO project VALUES ('p3', 'Mercury', 186500.00);
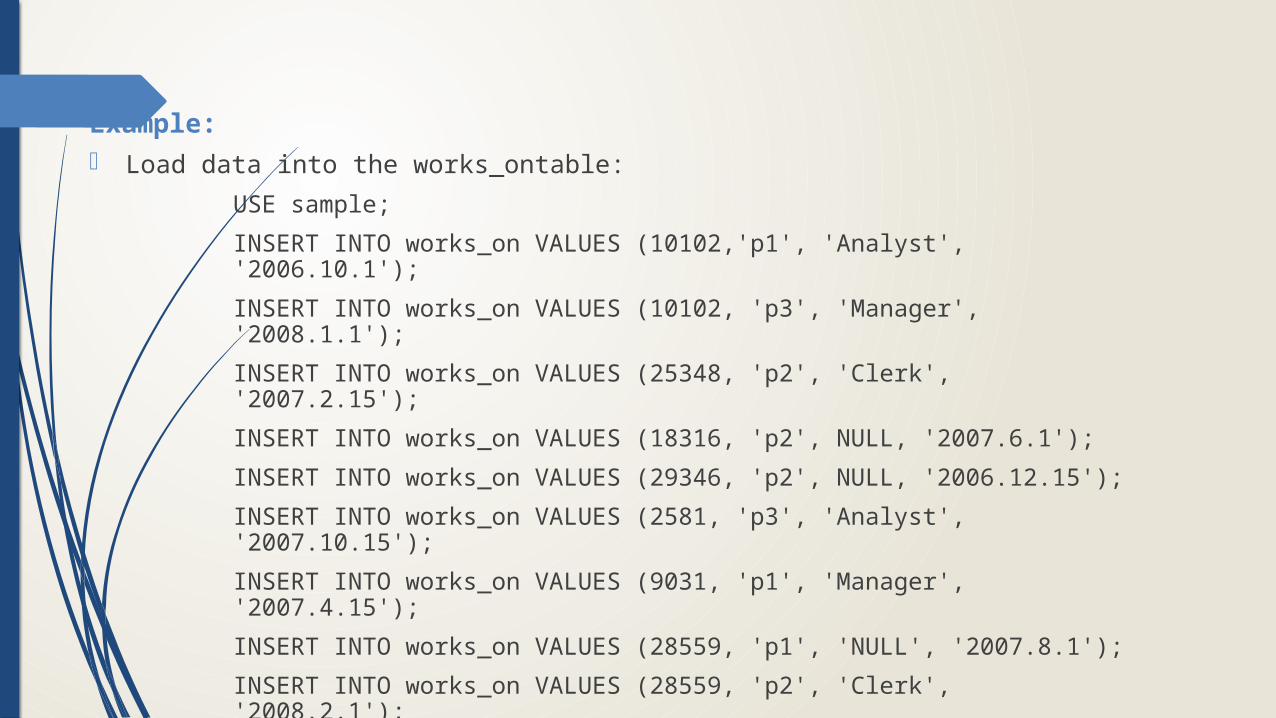
Example: Load data into the works_ontable:
USE sample;
INSERT INTO works_on VALUES (10102,'p1', 'Analyst', '2006.10.1');
INSERT INTO works_on VALUES (10102, 'p3', 'Manager', '2008.1.1');
INSERT INTO works_on VALUES (25348, 'p2', 'Clerk', '2007.2.15');
INSERT INTO works_on VALUES (18316, 'p2', NULL, '2007.6.1');
INSERT INTO works_on VALUES (29346, 'p2', NULL, '2006.12.15');
INSERT INTO works_on VALUES (2581, 'p3', 'Analyst', '2007.10.15');
INSERT INTO works_on VALUES (9031, 'p1', 'Manager', '2007.4.15');
INSERT INTO works_on VALUES (28559, 'p1', 'NULL', '2007.8.1');
INSERT INTO works_on VALUES (28559, 'p2', 'Clerk', '2008.2.1');
INSERT INTO works_on VALUES (9031, 'p3', 'Clerk', '2006.11.15');
INSERT INTO works_on VALUES (29346, 'p1','Clerk', '2007.1.4');

The insertion of values into some (but not all) of a table’s columns usually requires the explicit specification of the corresponding columns. The omitted columns must either be nullable or have a DEFAULT value.
Example:
USE sample;
INSERT INTO employee (emp_no, emp_fname, emp_lname)
VALUES (15201, 'Dave', 'Davis');
The dept_no column is the only nullable column in the employeetable because all other columns in the employee table were declared with the NOT NULL clause in the CREATE TABLE statement.

The order of column names in the VALUE clause of the INSERT statement can be different from the original order of those columns, which is determined in the CREATE TABLE statement. In this case, it is absolutely necessary to list the columns in the new order.
Example:
USE sample;
INSERT INTO employee (emp_lname, emp_fname, dept_no, emp_no)
VALUES ('Davis', 'Dave', 'd1', 15201);
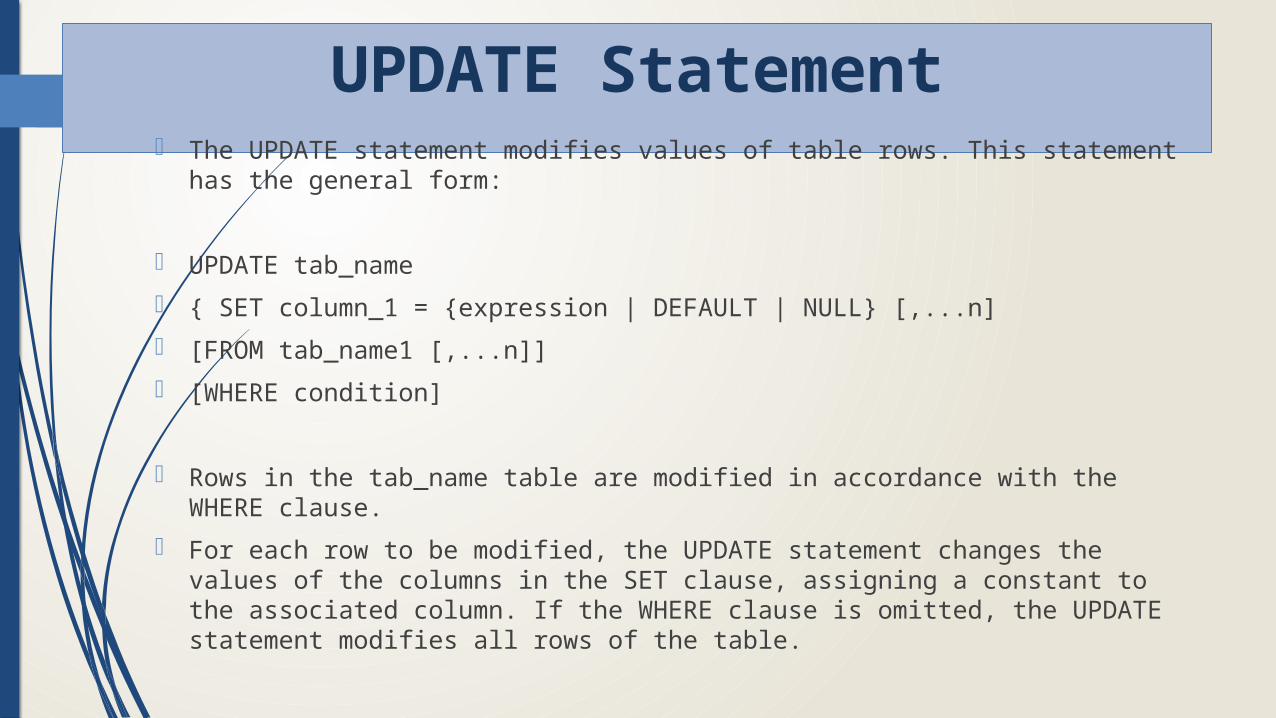
UPDATE Statement The UPDATE statement modifies values of table rows. This statement has the
general form:
UPDATE tab_name
{ SET column_1 = {expression | DEFAULT | NULL} [,...n]
[FROM tab_name1 [,...n]]
[WHERE condition]
Rows in the tab_name table are modified in accordance with the WHERE clause.
For each row to be modified, the UPDATE statement changes the values of the columns in the SET clause, assigning a constant to the associated column. If the WHERE clause is omitted, the UPDATE statement modifies all rows of the table.
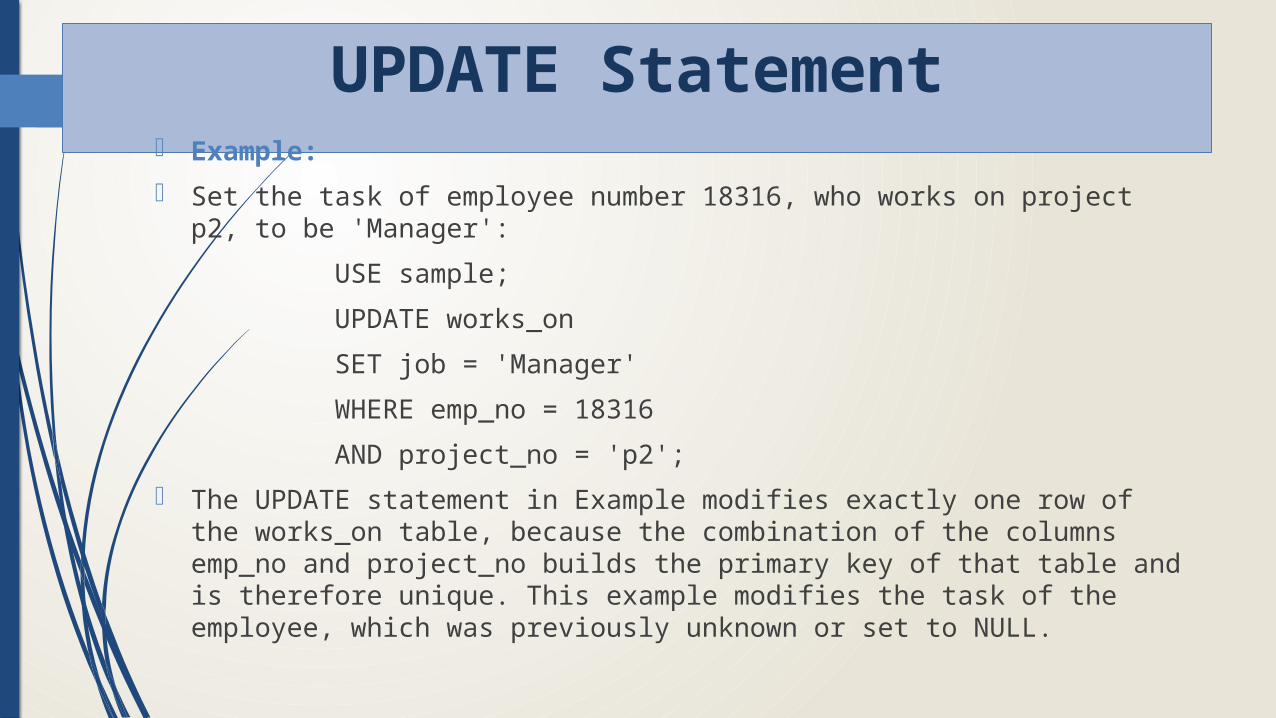
UPDATE Statement Example:
Set the task of employee number 18316, who works on project p2, to be 'Manager':
USE sample;
UPDATE works_on
SET job = 'Manager'
WHERE emp_no = 18316
AND project_no = 'p2';
The UPDATE statement in Example modifies exactly one row of the works_on table, because the combination of the columns emp_no and project_no builds the primary key of that table and is therefore unique. This example modifies the task of the employee, which was previously unknown or set to NULL.
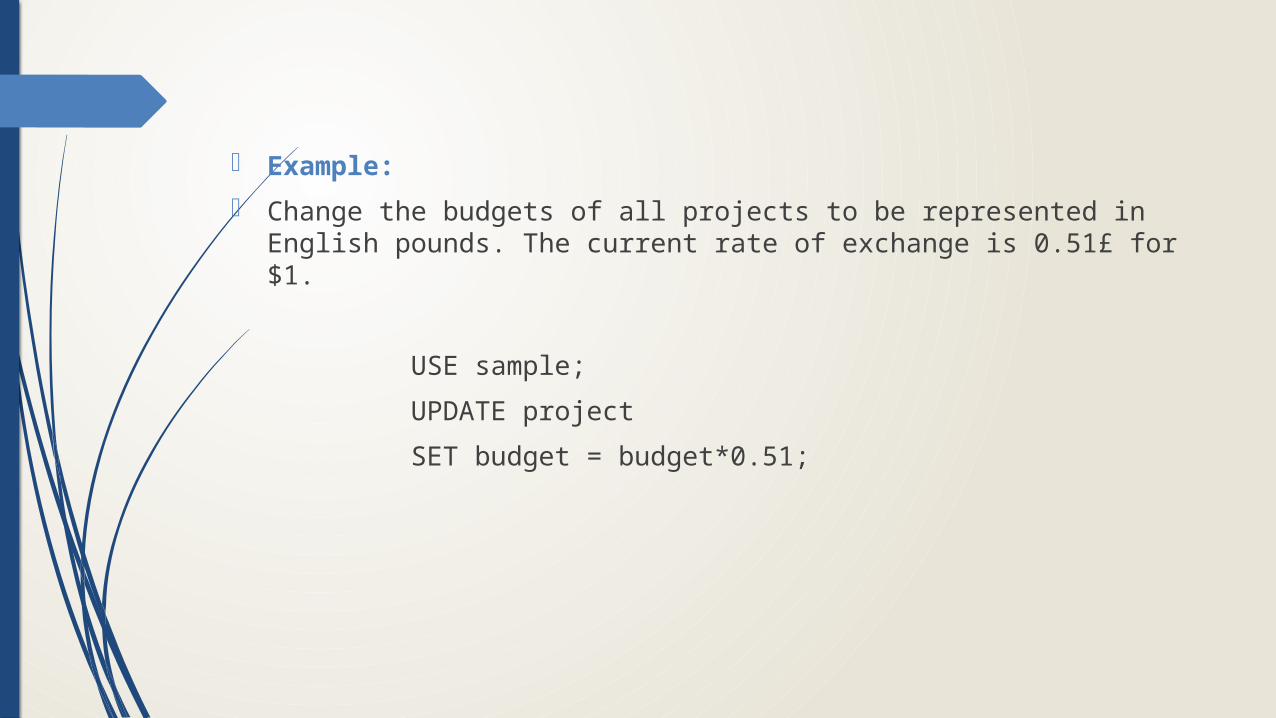
Example:
Change the budgets of all projects to be represented in English pounds. The current rate of exchange is 0.51£ for $1.
USE sample;
UPDATE project
SET budget = budget*0.51;
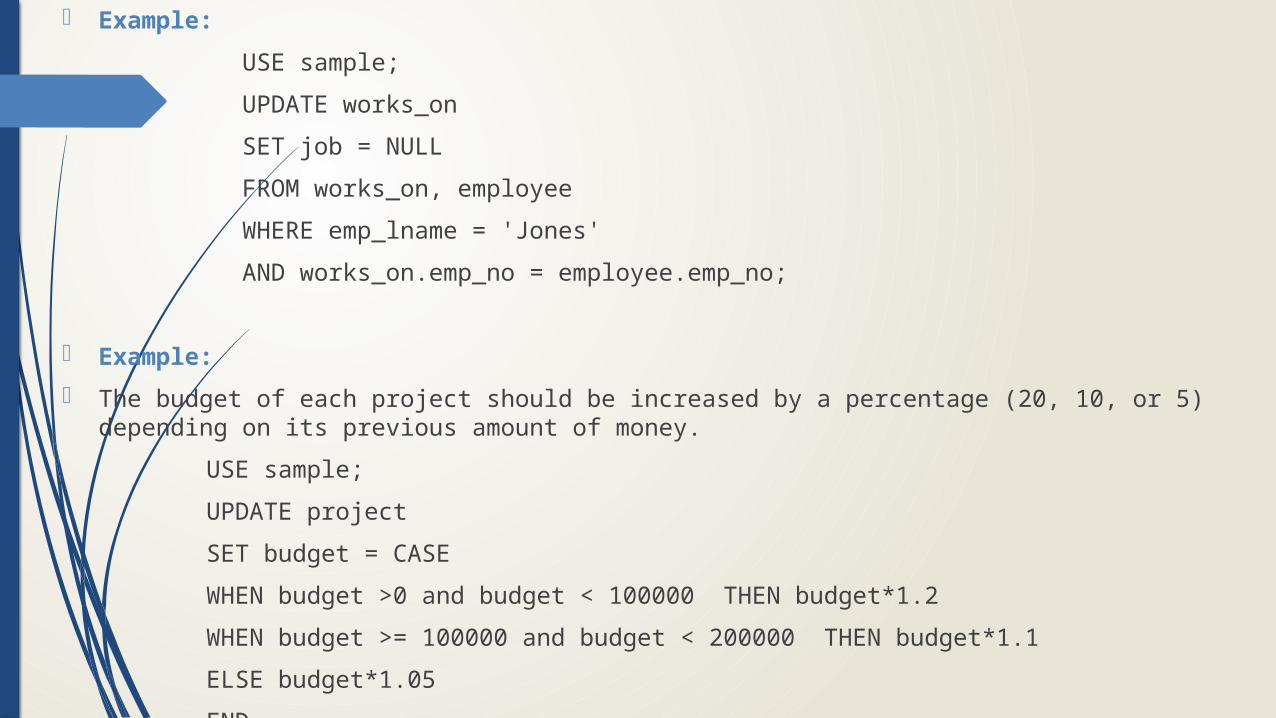
Example:
USE sample;
UPDATE works_on
SET job = NULL
FROM works_on, employee
WHERE emp_lname = 'Jones'
AND works_on.emp_no = employee.emp_no;
Example:
The budget of each project should be increased by a percentage (20, 10, or 5) depending on its previous amount of money.
USE sample;
UPDATE project
SET budget = CASE
WHEN budget >0 and budget < 100000 THEN budget*1.2
WHEN budget >= 100000 and budget < 200000 THEN budget*1.1
ELSE budget*1.05
END
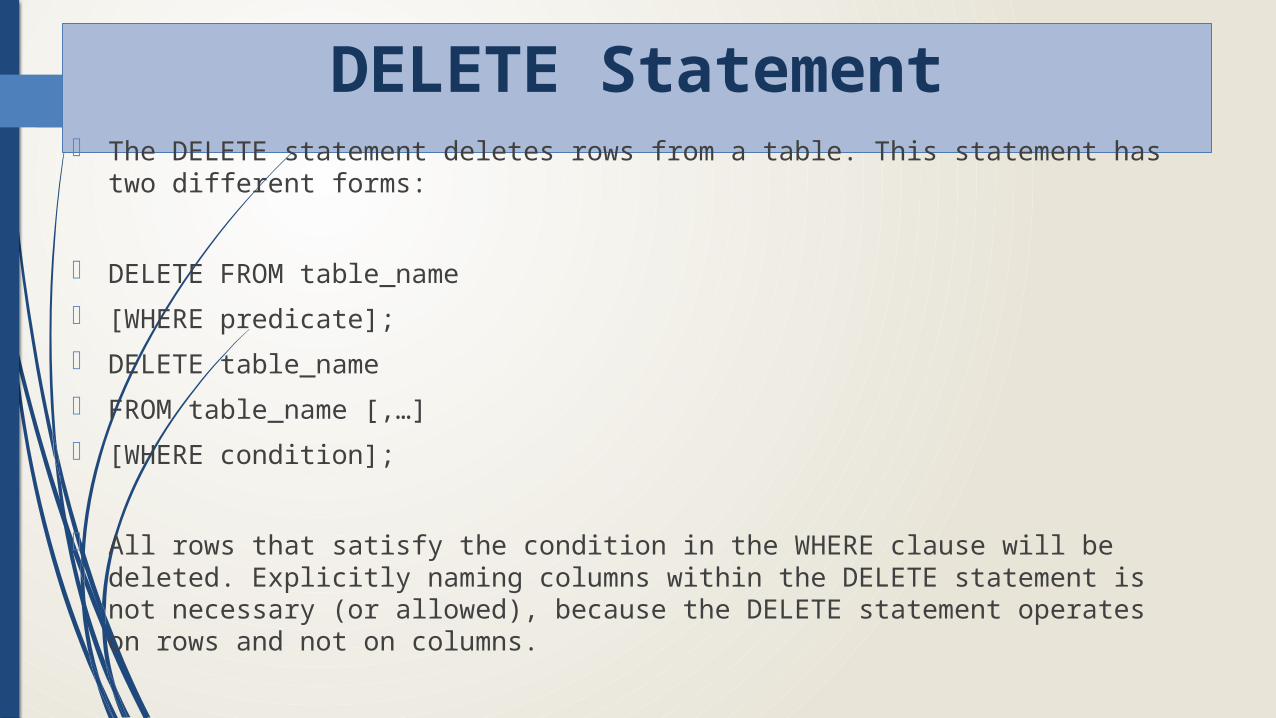
DELETE Statement The DELETE statement deletes rows from a table. This statement has two
different forms:
DELETE FROM table_name
[WHERE predicate];
DELETE table_name
FROM table_name [,…]
[WHERE condition];
All rows that satisfy the condition in the WHERE clause will be deleted. Explicitly naming columns within the DELETE statement is not necessary (or allowed), because the DELETE statement operates on rows and not on columns.
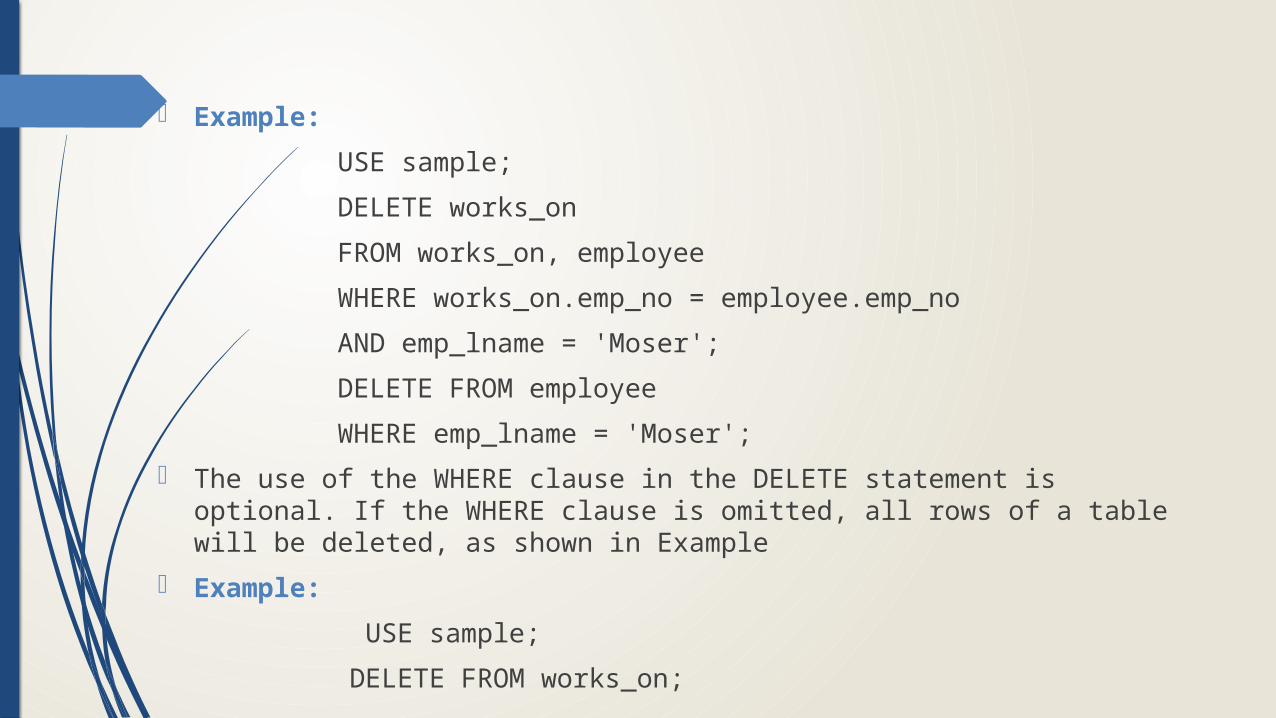
Example:
USE sample;
DELETE works_on
FROM works_on, employee
WHERE works_on.emp_no = employee.emp_no
AND emp_lname = 'Moser';
DELETE FROM employee
WHERE emp_lname = 'Moser';
The use of the WHERE clause in the DELETE statement is optional. If the WHERE clause is omitted, all rows of a table will be deleted, as shown in Example
Example:
USE sample;
DELETE FROM works_on;
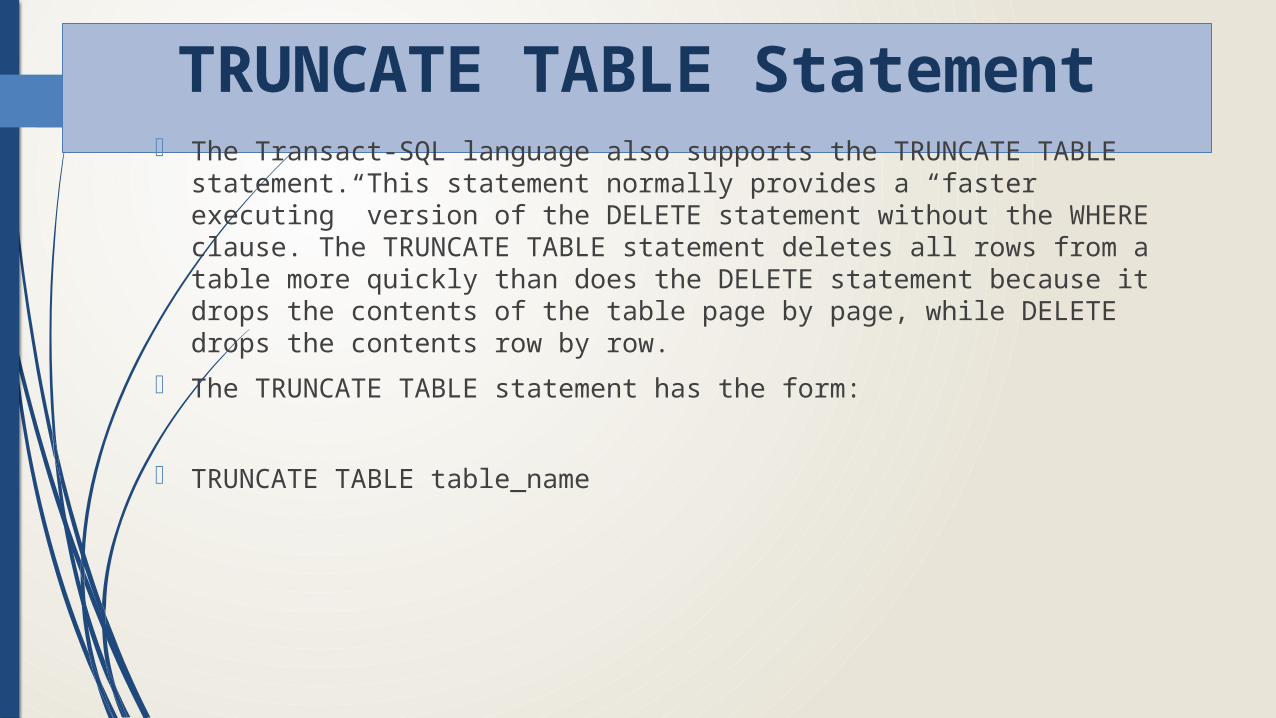
TRUNCATE TABLE Statement The Transact-SQL language also supports the TRUNCATE TABLE statement.
This statement normally provides a “faster executing” version of the DELETE statement without the WHERE clause. The TRUNCATE TABLE statement deletes all rows from a table more quickly than does the DELETE statement because it drops the contents of the table page by page, while DELETE drops the contents row by row.
The TRUNCATE TABLE statement has the form:
TRUNCATE TABLE table_name