SMILE Engineering Transportation Challenge Weekend 2009.
26
SMILE Engineering Transportation Challenge Weekend 2009
-
Upload
justin-jordan -
Category
Documents
-
view
218 -
download
1
Transcript of SMILE Engineering Transportation Challenge Weekend 2009.

SMILE Engineering
Transportation Challenge Weekend
2009

Objective• As hired consultants, your team will
design and construct a crane prototype that can lift a Maglev train car onto the magnetic guideway track.

Background• There’s a growing need for quicker and
more efficient methods for moving people and goods.
• Researchers have turned to using electromagnetic rails and trains: magnetic levitation or Maglev
• One of the key principles in maglev design is reduced friction (which means reduced costs)

Engineering Process
• Identify the problem • Preliminary Design• Design Refinement • Construction • Test • Redesign for changes• Retest

Crane Specifications

1) Lifting Mechanism of Crane:
• Boom: must move right & left and up & down.
• Hydraulics must be used for lifting load.
• Use string for the cable. – The cable must have a winder (roller)
mechanism that allows the lifting hook to go up and down.

2) Rotating Mechanism of Crane:
• Boom rotation by mechanical means – not by directly turning with your fingers. – Turntable at base of crane. – Rotation is controlled by a gear system (allows
boom to turn right and left).
• You are allowed to hold down the base with fingers while operating the controls.– *Hint: The counterweight is the most important
part of the mechanism used to balance the crane during lifting operations.

Maglev Car Specifications

• Your Maglev car design must accommodate:
– A hook-up device (i.e. paperclip) for attachment to crane on the top of the car
– Magnetic stripping on the bottom of the car
– A red line across the front for testing

When testing your Maglev car:
• You may use your fingers to attach and detach your Maglev car to and from your crane.
• It must operate without being pushed, touched, or interfered with once in place at the starting position on the track

I. First Task:Design Process
• 10:15-11:30 AM
• Discuss and sketch out prototypes for your ideal crane and maglev designs.
• Construction should begin only after the design has been perfected and all members of the group have agreed.
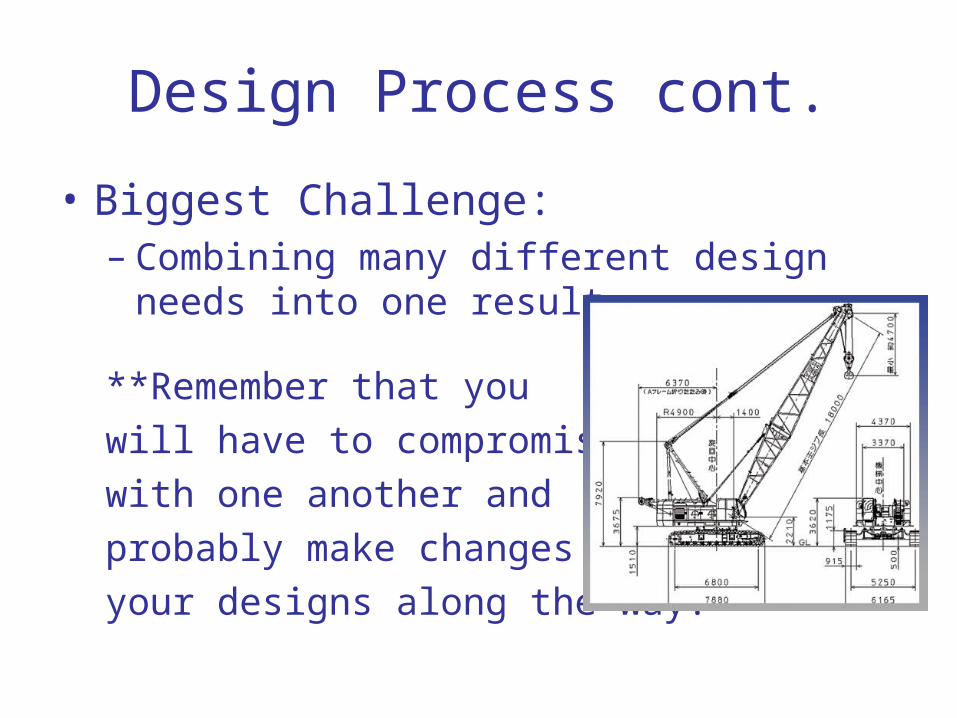
Design Process cont.
• Biggest Challenge:– Combining many different design needs
into one result
**Remember that you will have to compromise with one another and probably make changes to your designs along the way.

Design Process cont.
• When designing the Maglev, keep in mind:– 1) Balance (very important!)– 2) Placement and size of magnets– 3) Drag and aerodynamics– 4) Friction
**Look in your packet for details
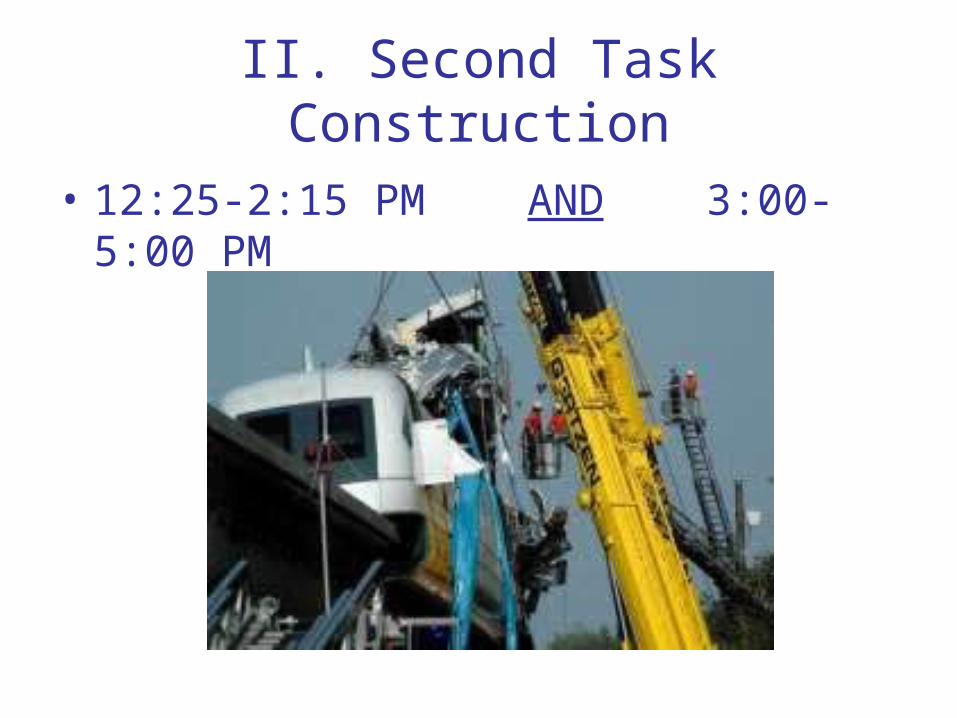
II. Second TaskConstruction
• 12:25-2:15 PM AND 3:00-5:00 PM

Construction cont.• Division of Labor
– Two people:• 1) Maglev Car• 2) Rotation of Base (crane)
– Two people:• 1) Hydraulics to raise boom• 2) Boom
– Two people:• 1) Crank to turn base• 2) Crank to raise and lower boom string w/ load

Construction cont.• You can use the tracks at any time to
test out your design.
• When your Maglev car is ready, you can have a trial run down the track to make any last minute adjustments to your design.

Tracking Cost
• Before you start building the crane and maglev car, figure out the cost. • Modify your design if necessary.• Purchase extra materials, if needed, but be sure to keep track.

III. Third Task:Testing
• 6:00-8:00 PM

Testing cont.
• There will be two tracks:– 1) Stopwatch track
– 2) Technology (IMU) track
**You will be testing your prototypes on BOTH tracks.

Testing cont.
• When you are ready to test:
– 1) Bring your crane and maglev car over to the Stopwatch Track
– 2) Two people will operate the crane (one holds the base and the other operates)
– 3) The other members will stand along the track at the markers with stopwatches

Testing cont.
– 4) Record data
– 5) Repeat process for a total of 3 trials
– 6) Go back to your group table to graph data and answer questions

Testing cont.– 7) Take your Maglev car to the Technology
(IMU) Track
– 8) Remove your hook and place the IMU on your car (using the Velcro) – even distribution!
– 9) Do a test run and look at the graph that the computer produces

Testing cont.
– 10) Sketch the graph in your packet
– 11) Compare to the other graph that you made and answer questions.

When you’re done…
• You will display your graphs and question sheet next to the prototype at your table.

SAFETY
• All tools at the tool table are to be used at the tool table.
• Utility knives are to be used ONLY by adults at the tool table.
• Safety glasses must be worn at the tool table.

TEAMWORK
• Failure is an essential step towards success. Don’t be discouraged when something you worked on doesn’t work the
first time. Just try again!