Simple Step® ActiveX Manual · the ActiveX control into the COM+ listing for your system. The...
24
Simple Step ® ActiveX Manual Version: 2.0.1 Simple Step LLC 12 West Owassa Turnpike Newton, New Jersey, 07860 Phone: (973) 948-2938 Fax: (973) 948-0182 http://www.simplestep.com email: [email protected]
Transcript of Simple Step® ActiveX Manual · the ActiveX control into the COM+ listing for your system. The...

Simple Step® ActiveX Manual Version: 2.0.1
Simple Step LLC 12 West Owassa Turnpike
Newton, New Jersey, 07860 Phone: (973) 948-2938
Fax: (973) 948-0182
http://www.simplestep.com email: [email protected]
Contents
Simple Step ActiveX Installation Notes................................................................................................ 4
Microsoft Visual Basic version 6.0: .................................................................................................... 4
Microsoft C++.NET 2003: .................................................................................................................... 4
Borland C++ Builder 6.0:......................................................................................................................5
National Instruments LabVIEW 6.0:....................................................................................................5
Simple Step ActiveX Methods and Properties ......................................................................................7
Properties ..................................................................................................................................................7
baudrate (LONG . R/W) .........................................................................................................................7
port (SHORT . R/W) .............................................................................................................................. 8
comm_activated (SHORT - RO) .......................................................................................................... 8
comm_error (LONG - R/W) .................................................................................................................. 8
txd_time (LONG - R/W)........................................................................................................................ 8
wait_timer (LONG -. R/W) ................................................................................................................... 8
board_count (SHORT - RO) ................................................................................................................. 8
wait_port_result (SHORT - RO) ......................................................................................................... 8
hex_numbers (SHORT - R/W) ............................................................................................................. 9
Windows Initialization and Release of the Serial Port Control ........................................................ 10
VB: SHORT InitializeCommPort(void) or C++: void InitializeCommPortC(SHORT *pVal) .......... 10
C++ Example ....................................................................................................................................... 10
VB Example: .......................................................................................................................................... 11
void ReleaseCommPort(void)............................................................................................................. 11
Serial Port Methods ................................................................................................................................ 12
void ChangeBaudrate(LONG new_baudrate) .................................................................................. 12
BYTE RawCharacterIn(void) .............................................................................................................. 12
SHORT RawCharacterOut(BYTE data) ............................................................................................. 12
SHORT CheckReadBuffer(void) ......................................................................................................... 12
void ClearReadBuffer(void) ............................................................................................................... 12
SHORT WaitPort(LONG timer) ........................................................................................................... 12
VB: BSTR MessageIn(void) or C++: void MessageInC(CHAR* message)..................................... 13
VB: void MessageOut(BSTR message) or C++: void MessageOutC(CHAR* message) ............. 13
VB: BSTR SendCommand(BSTR message) or C++: void SendCommandC(CHAR* message, CHAR* response)................................................................................................................................. 13
Board Information and Networking Methods...................................................................................... 14
void GetNetworkStructure(SHORT *data)....................................................................................... 14
VB: BSTR GetAxisInformation(BYTE axis BYTE address) or C++: void GetAxisInformationC(BYTE axis, BYTE address, CHAR* result) .................................................. 14
SHORT *SetCurrentLevel BYTE axis, BYTE address BYTE running, BYTE idle, BYTE decay) .. 15
BYTE CheckMotorStatus(BYTE axis, BYTE address) .................................................................... 16
Initialization and Motor Movement Methods....................................................................................... 17
SHORT MoveMotorAboslute(BYTE axis, BYTE address, LONG begin_velocity, LONG top_velocity, BYTE slope, LONG position)....................................................................................... 17
SHORT MoveMotorRelative(BYTE axis, BYTE address, LONG begin_velocity, LONG top_velocity, BYTE slope, BYTE home_active, BYTE limit_active, LONG position) .................. 17
VB: SHORT InitializeMotor(BYTE axis, BYTE address, BYTE direction, BYTE move, BSTR options) or C++: SHORT InitializeMotorC(BYTE axis, BYTE address, BYTE direction, BYTE move, CHAR* options) ........................................................................................................................ 18
Motor Movement Parameter Methods (Write) .................................................................................. 20
SHORT SetMotorPosition(BYTE axis, BYTE address, LONG position)......................................... 20
SHORT SetTopVelocity(BYTE axis, BYTE address, LONG speed)................................................ 20
SHORT SetBeginVelocity(BYTE axis, BYTE address, LONG speed)............................................. 20
SHORT SetSlope(BYTE axis, BYTE address, BYTE slope) ............................................................ 20
SHORT SetPrescale(BYTE axis, BYTE address, BYTE prescale) ................................................. 20
SHORT SetSteppingMode(BYTE axis, BYTE address, BYTE mode)............................................. 20
Motor Movement Parameter Methods (Read) ....................................................................................22
LONG ReadTopVelocity(BYTE axis, BYTE address)........................................................................22
LONG ReadBeginVelocity(BYTE axis, BYTE address) ....................................................................22
BYTE ReadSlope(BYTE axis, BYTE address)...................................................................................22
LONG ReadMotorPosition(BYTE axis, BYTE address) ....................................................................22
IEEPROM Methods...................................................................................................................................23
VB: BSTR IEEPROM_Read(BYTE axis, BYTE address, SHORT ieeprom_address) or C++: void IEEPROM_ReadC(BYTE axis, BYTE address, SHORT address, CHAR* ieeprom_data) ...............23
SHORT IEEPROM_Erase(BYTE axis, BYTE address) .......................................................................23
VB: SHORT IEEPROM_Write(BYTE axis, BYTE address, BSTR ieeprom_data, SHORT ieeprom_address) or C++: SHORT IEEPROM_WriteC(BYTE axis, BYTE address, CHAR* ieeprom_data, SHORT ieeprom_address)........................................................................................23

Simple Step ActiveX Installation Notes
Install the Simple Step ActiveX by clicking on the setup.exe file. This will install the ActiveX control into the COM+ listing for your system. The ActiveX DLL with the associated files will be installed to the "\Program Files\Simple Step LLC\ActiveX" subdirectory. In that subdirectory there will also be two (2) more subdirectories that are shown below. The projects where written to test an SSXYMicro board at address 0. Please make changes to them before attempting to run these projects for your particular board.
Borland C++ Builder 6.0 Example: This subdirectory has a project in it for Borland C++ Builder. It tests all the methods of the ActiveX control.
VB 6.0 Example: This subdirectory has a VB project that was written to test all the variables and methods of the ActiveX control.
VC++.NET 2003 Example: This subdirectory has a VC++ project that was written to test all the variables and methods of the ActiveX control.
NI LabVIEW 6.0 Example: This subdirectory has a VI project that was written to test some the variables and methods of the ActiveX control.
To use the ActiveX control, the user will need to start the respective compiler and have it recognize the ActiveX control in the toolbox as shown before any attempt is made to run the programs.
Microsoft Visual Basic version 6.0: Start VB as normal. Make sure that there are no projects/solutions loaded. Point your mouse in the "Toolbox" area and "Right Click" the mouse button. A dialog will appear. Move the mouse so that the "Components.." Is highlighted and Left click the mouse for that selection. A components dialog will appear. Scroll down the list until you see the listing for "Simple Step ActiveX x.x Type Library" (where x.x is the version number) is shown. Left click the check box to the left of the listing and click the "Ok" button. You should now see the Simple Step ICON in the toolbox area.
Microsoft C++.NET 2003: Start VC++ as normal. Make sure that no projects/solutions are loaded. Point your mouse in the "Toolbox" area and "Right Click" the mouse button. A dialog will appear. Move the mouse so that the "Add/Remove Items..." is highlighted and Left click the mouse button. A new dialog will appear labeled "Customized Toolbox". Left click on the "COM Components" tab at the top of the dialog. Scroll down until you see in the listing "SimpleStepComm Class". Left click the check box to the left of the listing and click the "Ok" button. You should now see the Simple Step ICON in the toolbox area.
Borland C++ Builder 6.0: Start C++ Builder 6 as normal. Make sure that no projects/solutions are loaded. Click on the "Component" from the menu. Highlight the "Import ActiveX Control... " from the menu and Left click on the menu selection. A new dialog will appear that will show you all the currently installed ActiveX controls available. Scroll down until you see the listing for the "Simple Step ActiveX x.x Type Library" (where x.x is the version number) and select it with the left button on the mouse. Click on the .Install. button. Another dialog will appear that has the header of "Install". Click on the "into new package" tab. Click on the "Browse" button and find the "\Program Files\Simple Step LLC\ActiveX" subdirectory that the DLL was installed. It will ask for a name for the new package file. Type in "SimpleStep" and click the "OK" button. Click the "OK" button again and another dialog will appear that says "Package - SimpleStep" at the top of the dialog with another dialog appearing "Confirm" with the message appearing saying "Package SimpleStep.bpl will be built then installed, Continue?". Click the "Yes" button and then a "Compiling" dialog box will appear. Once complete, a new dialog will appear saying that the package has been installed and the following new component has been registered. Click the "Ok" button and the message will disappear leaving the "Compiling" dialog. Click on the "close" button in the upper right corner of the dialog to close it. A new dialog will appear asking if you want to save the project "SimpleStep". Click the "Yes" button. Now with all the dialogs closed. At the top of the menu bar you will see a tab labeled "ActiveX". Click on that tab and you should see the Simple Step ICON on the menu bar. You are now ready to create your project and add the control to any projects.
National Instruments LabVIEW 6.0: Start LabVIEW as normal. When the LabVIEW menu displays, click on the .New VI. button. Make sure that the "Panel" is selected and the "Controls" toolbox is displayed. The next step is to click on the "ActiveX" Button in the lower right corner of the toolbox. This will display another control toolbox dialog. Click on the "Container" button with the Left mouse button and "drag" it into the "Panel". Make sure the cursor is set for pointer and click on the new "Container" that you just dragged into the Panel area. Once selected, right click on the "Container" object and select on the menu that will appear "Insert ActiveX Object". An "Select ActiveX object" dialog will appear. Scroll down until you see the SimpleStepComm Class" and select it with the left mouse button and click the OK button. You are now ready to use the ActiveX control. Click to open the diagram window and then click the toolbox for "Communication". This will change the toolbox to the "Communication" toolbox. Select the "ActiveX" button in that toolbox. This will switch the toolbox to "ActiveX". Click on the .Invoke Node. button and drag that into the browser. Select the "Automation" icon in the Diagram and right click the mouse. Right click the mouse and select the "Select ActiveX Class" and choose "SimpleStepSerialCommXLib.ISimpleStepComm" from the menu. At this point the icon in the diagram will now have in the upper section of the icon "ISimpleStepComm". Right click the mouse again and choose "methods" from the menu. A list of methods will be

displayed. You can go to the example that was installed onto the hard drive to see a few of the basic methods being used from the Simple Step ActiveX control. Choose the method called "InitializeCommPortC". The method icon will change so now there are 3 levels. The first level (upper left corner of the icon) must now be wired to the green boxed icon that says "SimpleStepSerialCommActiveXLib.ISimpleStepComm". This will make a connection to the ActiveX control. The second level of the method does not have to be wired. The third level of the ActiveX method must have a numeric constant of 0 place and wired to the left of the "pVal" level. You should then go to the "Panel" and add a numeric "Digital Indicator" and drag that onto the "panel" and change the name "Numeric" to "board count". Go to the diagram and change the "Representation" to I16 type number. Wire the "board count" icon to the right side of the "pVal" level of the ActiveX. When you run the program you should have the program call the Simple Step ActiveX method "InitializeCommPortC" which will initialize the communication port to the default values of the variables "port", "txd_delay", "wait_timer" and .baudrate. properties which can be initialized via the "Communications, ActiveX, Property Node" icon being dragged into the "Diagram" window and setting it via the "Select ActiveX Class" then select the "SimpleStepSerialCommActiveXLib.ISimpleStepComm". Click the right button again on the icon you just created and tell to what property you want it to change or read. Also make sure that the "ReleaseCommPort" method is performed last after the you have completed or else the communication port WILL be locked out to that thread.
Simple Step ActiveX Methods and Properties The Simple Step ActiveX was designed to help our customers interface custom controls without having to get into the .hooks. associated with Microsoft Windows serial communications pathways. We hope that this ActiveX will allow you to control the Simple Step Motion Controller boards in a much simpler way then designing your own serial communications .hooks. to Microsoft Windows. If you have any questions, comments or suggestions, please e-mail us at [email protected]. We currently have broken down the Simple Step ActiveX control into 8 groups.
1. Variables 2. Windows Initialization and Release of the Serial Port Control 3. Serial Port Methods 4. Board Information and Networking Methods 5. Motor Initialization and Movement Methods 6. Motor Movement Parameters (Setting) 7. Motor Movement Parameters (Reading) 8. IEEPROM Programming Methods
Properties
The first group is the variables themselves. Most of these variables need to be set before any methods are called. Most of the variables are used when initializing the Serial Communications port under Microsoft Windows. baudrate (LONG . R/W) - This sets the serial communications port baudrate. This variable MUST be set before calling the InitializeCommPort method. The value should not be changed AFTER the InitializeCommPort method is called. Default: 57600. Valid baudrates are as follows:
9600 19200 38400 57600 115200
port (SHORT . R/W) - This sets the Serial Communications Port to use. This variable MUST be set before calling the InitializeCommPort method. The value should not be changed AFTER the InitializeCommPort method is called. Default: 0. Valid values are as follows:
0 = Comm Port 1 1 = Comm Port 2 2 = Comm Port 3 3 = Comm Port 4 4 = Comm Port 5 5 = Comm Port 6 6 = Comm Port 7 7 = Comm Port 8
comm_activated (SHORT - RO) . This variable will be set to a TRUE (1) once the InitializeCommPort method is called and successfully opened. Default: 0
0 = FALSE . Serial Communications Port is not active 1 = TRUE . Serial Communications Port is active and ready
comm_error (LONG - R/W) . This variable counts the serial communication errors that are found while transmitting and receiving. Default: 0 txd_time (LONG - R/W) . This variable is used when transmission to the Serial port occurs. The timer is a millisecond timer and every character transfer to the Serial Port will be delayed by this time value. Default: 0 wait_timer (LONG -. R/W) . This variable is used when the WaitPort and SendCommand methods are called. The timer is in milliseconds. The PC speed, currently active programs and the type of Microsoft Windows will determine the overall value that should be used. Most times the Microsoft Windows switching speed between tasks will help in this matter. Example: Windows 95 and 98 running on a 133MHz PII will need a value of 180 and a Windows XP running on a 2GHz P4 can use as little as 40. Default: 100 board_count (SHORT - RO) . This variable is set after the InitializeCommPort method is called. It has the total count of boards that are on the network when the InitializeCommPort method is performed and the Simple Step network is initialized. Default: 0 wait_port_result (SHORT - RO) . This variable is set after each call to the WaitPort method is called.
0 = FALSE . No characters in the receive buffer (2 or less). 1 = TRUE . Receive buffer has 3 or more characters in the buffer.
hex_numbers (SHORT - R/W) - This variable should be set before the InitializeCommPort method is called. If TRUE (1), then all numeric entries and responses will be in hexadecimal format. This saves transfer times and allows the axis to convert numbers to and from the Host in a faster way. If FALSE (0), then All numeric entries and responses are in decimal format. The only methods that do not perform numeric transfers are the following commands so care should be taken when putting the Network in hexadecimal format and using these commands directly. Default: FALSE
SendCommand method MessageOut method MessageIn method
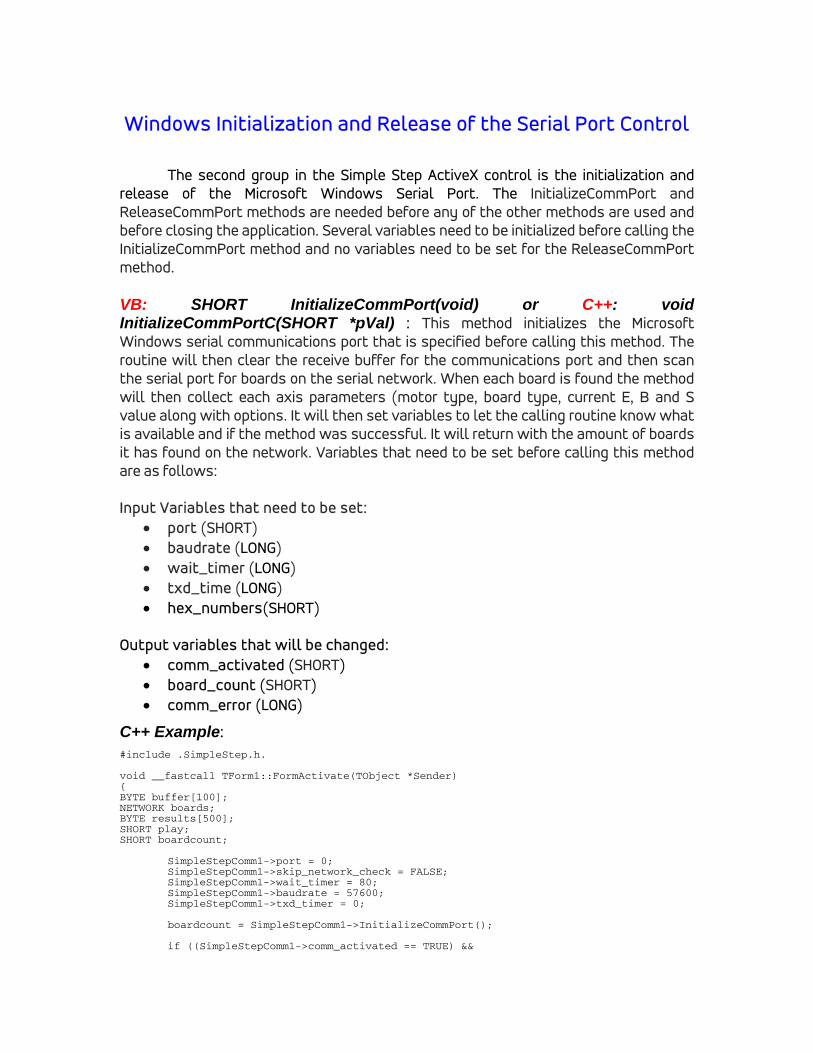
Windows Initialization and Release of the Serial Port Control
The second group in the Simple Step ActiveX control is the initialization and release of the Microsoft Windows Serial Port. The InitializeCommPort and ReleaseCommPort methods are needed before any of the other methods are used and before closing the application. Several variables need to be initialized before calling the InitializeCommPort method and no variables need to be set for the ReleaseCommPort method. VB: SHORT InitializeCommPort(void) or C++: void InitializeCommPortC(SHORT *pVal) : This method initializes the Microsoft Windows serial communications port that is specified before calling this method. The routine will then clear the receive buffer for the communications port and then scan the serial port for boards on the serial network. When each board is found the method will then collect each axis parameters (motor type, board type, current E, B and S value along with options. It will then set variables to let the calling routine know what is available and if the method was successful. It will return with the amount of boards it has found on the network. Variables that need to be set before calling this method are as follows: Input Variables that need to be set:
port (SHORT) baudrate (LONG) wait_timer (LONG) txd_time (LONG) hex_numbers(SHORT)
Output variables that will be changed:
comm_activated (SHORT) board_count (SHORT) comm_error (LONG)
C++ Example: #include .SimpleStep.h. void __fastcall TForm1::FormActivate(TObject *Sender) { BYTE buffer[100]; NETWORK boards; BYTE results[500]; SHORT play; SHORT boardcount;
SimpleStepComm1->port = 0; SimpleStepComm1->skip_network_check = FALSE; SimpleStepComm1->wait_timer = 80; SimpleStepComm1->baudrate = 57600; SimpleStepComm1->txd_timer = 0; boardcount = SimpleStepComm1->InitializeCommPort(); if ((SimpleStepComm1->comm_activated == TRUE) &&
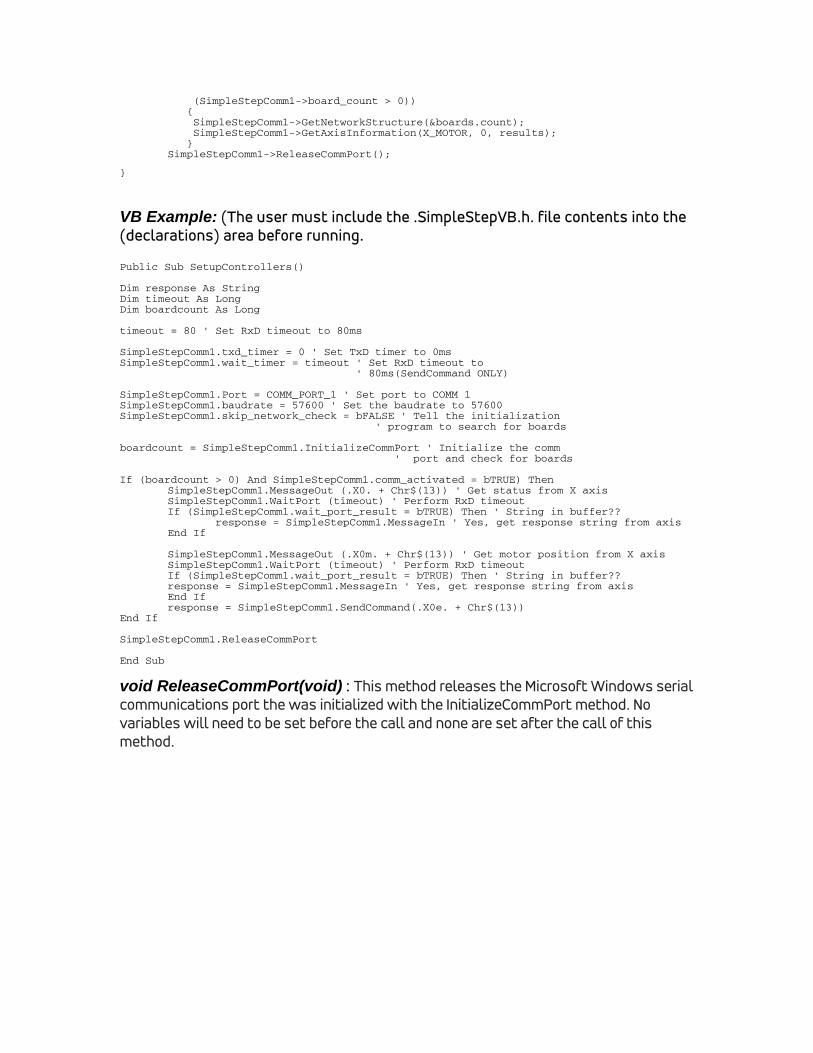
(SimpleStepComm1->board_count > 0)) { SimpleStepComm1->GetNetworkStructure(&boards.count); SimpleStepComm1->GetAxisInformation(X_MOTOR, 0, results); } SimpleStepComm1->ReleaseCommPort();
}
VB Example: (The user must include the .SimpleStepVB.h. file contents into the (declarations) area before running. Public Sub SetupControllers() Dim response As String Dim timeout As Long Dim boardcount As Long timeout = 80 ' Set RxD timeout to 80ms SimpleStepComm1.txd_timer = 0 ' Set TxD timer to 0ms SimpleStepComm1.wait_timer = timeout ' Set RxD timeout to ' 80ms(SendCommand ONLY) SimpleStepComm1.Port = COMM_PORT_1 ' Set port to COMM 1 SimpleStepComm1.baudrate = 57600 ' Set the baudrate to 57600 SimpleStepComm1.skip_network_check = bFALSE ' Tell the initialization ' program to search for boards boardcount = SimpleStepComm1.InitializeCommPort ' Initialize the comm ' port and check for boards If (boardcount > 0) And SimpleStepComm1.comm_activated = bTRUE) Then SimpleStepComm1.MessageOut (.X0. + Chr$(13)) ' Get status from X axis SimpleStepComm1.WaitPort (timeout) ' Perform RxD timeout If (SimpleStepComm1.wait_port_result = bTRUE) Then ' String in buffer?? response = SimpleStepComm1.MessageIn ' Yes, get response string from axis End If SimpleStepComm1.MessageOut (.X0m. + Chr$(13)) ' Get motor position from X axis SimpleStepComm1.WaitPort (timeout) ' Perform RxD timeout If (SimpleStepComm1.wait_port_result = bTRUE) Then ' String in buffer?? response = SimpleStepComm1.MessageIn ' Yes, get response string from axis End If response = SimpleStepComm1.SendCommand(.X0e. + Chr$(13)) End If SimpleStepComm1.ReleaseCommPort End Sub
void ReleaseCommPort(void) : This method releases the Microsoft Windows serial communications port the was initialized with the InitializeCommPort method. No variables will need to be set before the call and none are set after the call of this method.
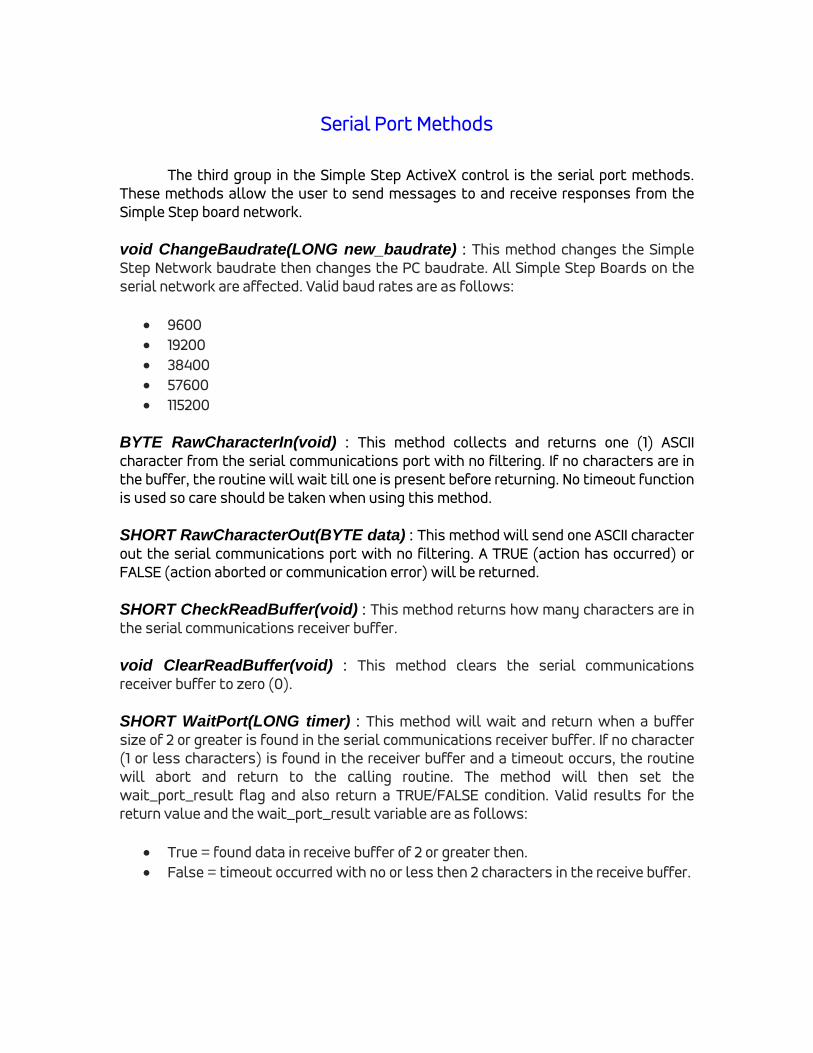
Serial Port Methods
The third group in the Simple Step ActiveX control is the serial port methods. These methods allow the user to send messages to and receive responses from the Simple Step board network. void ChangeBaudrate(LONG new_baudrate) : This method changes the Simple Step Network baudrate then changes the PC baudrate. All Simple Step Boards on the serial network are affected. Valid baud rates are as follows:
9600 19200 38400 57600 115200
BYTE RawCharacterIn(void) : This method collects and returns one (1) ASCII character from the serial communications port with no filtering. If no characters are in the buffer, the routine will wait till one is present before returning. No timeout function is used so care should be taken when using this method. SHORT RawCharacterOut(BYTE data) : This method will send one ASCII character out the serial communications port with no filtering. A TRUE (action has occurred) or FALSE (action aborted or communication error) will be returned. SHORT CheckReadBuffer(void) : This method returns how many characters are in the serial communications receiver buffer. void ClearReadBuffer(void) : This method clears the serial communications receiver buffer to zero (0). SHORT WaitPort(LONG timer) : This method will wait and return when a buffer size of 2 or greater is found in the serial communications receiver buffer. If no character (1 or less characters) is found in the receiver buffer and a timeout occurs, the routine will abort and return to the calling routine. The method will then set the wait_port_result flag and also return a TRUE/FALSE condition. Valid results for the return value and the wait_port_result variable are as follows:
True = found data in receive buffer of 2 or greater then. False = timeout occurred with no or less then 2 characters in the receive buffer.
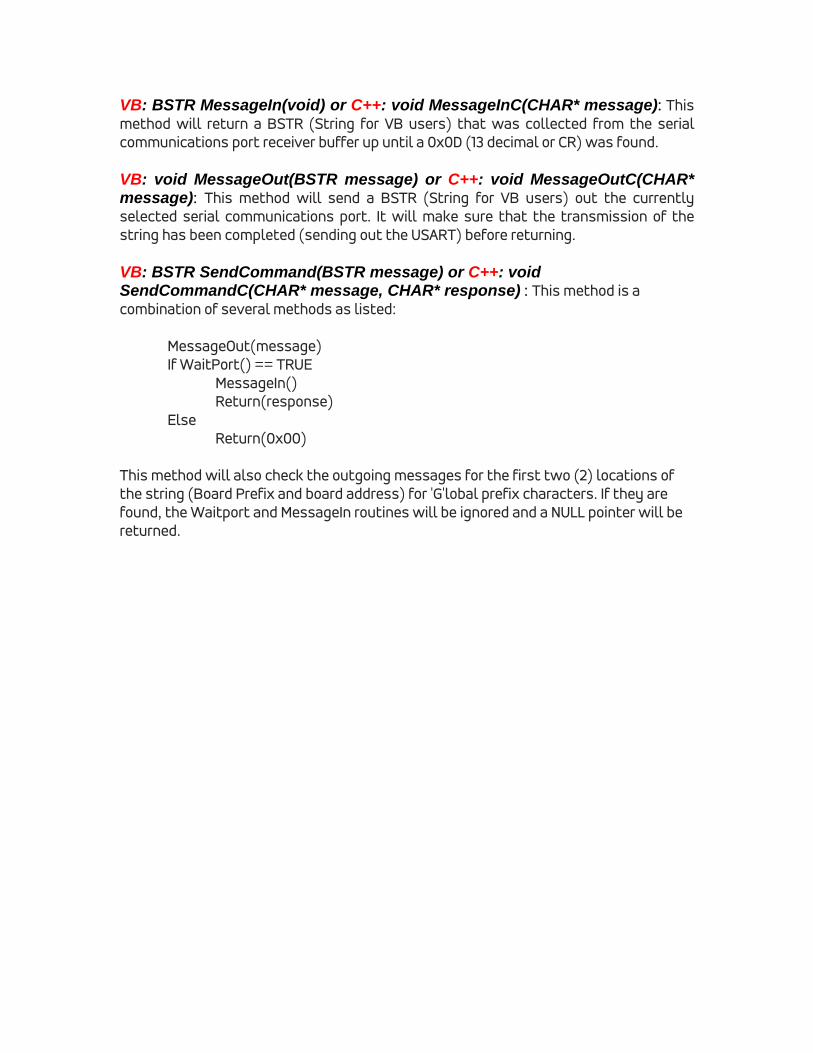
VB: BSTR MessageIn(void) or C++: void MessageInC(CHAR* message): This method will return a BSTR (String for VB users) that was collected from the serial communications port receiver buffer up until a 0x0D (13 decimal or CR) was found. VB: void MessageOut(BSTR message) or C++: void MessageOutC(CHAR* message): This method will send a BSTR (String for VB users) out the currently selected serial communications port. It will make sure that the transmission of the string has been completed (sending out the USART) before returning. VB: BSTR SendCommand(BSTR message) or C++: void SendCommandC(CHAR* message, CHAR* response) : This method is a combination of several methods as listed:
MessageOut(message) If WaitPort() == TRUE MessageIn() Return(response) Else Return(0x00)
This method will also check the outgoing messages for the first two (2) locations of the string (Board Prefix and board address) for 'G'lobal prefix characters. If they are found, the Waitport and MessageIn routines will be ignored and a NULL pointer will be returned.
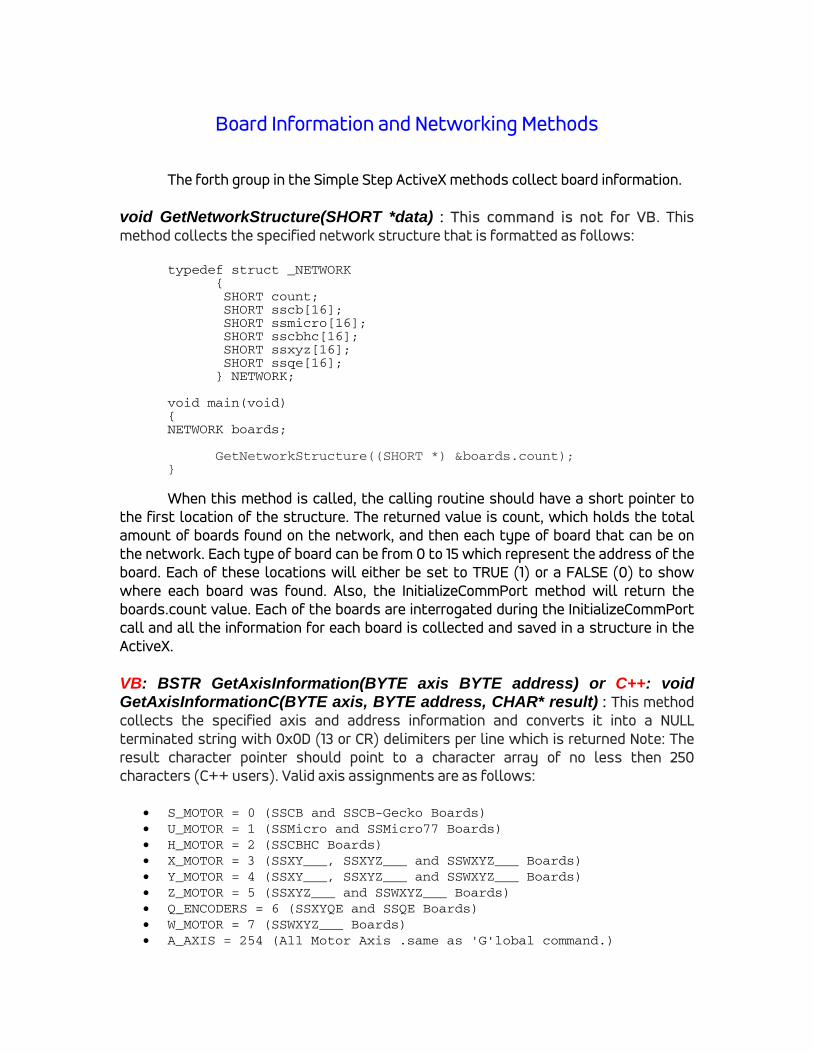
Board Information and Networking Methods
The forth group in the Simple Step ActiveX methods collect board information. void GetNetworkStructure(SHORT *data) : This command is not for VB. This method collects the specified network structure that is formatted as follows:
typedef struct _NETWORK { SHORT count; SHORT sscb[16]; SHORT ssmicro[16]; SHORT sscbhc[16]; SHORT ssxyz[16]; SHORT ssqe[16]; } NETWORK; void main(void) { NETWORK boards; GetNetworkStructure((SHORT *) &boards.count); }
When this method is called, the calling routine should have a short pointer to the first location of the structure. The returned value is count, which holds the total amount of boards found on the network, and then each type of board that can be on the network. Each type of board can be from 0 to 15 which represent the address of the board. Each of these locations will either be set to TRUE (1) or a FALSE (0) to show where each board was found. Also, the InitializeCommPort method will return the boards.count value. Each of the boards are interrogated during the InitializeCommPort call and all the information for each board is collected and saved in a structure in the ActiveX. VB: BSTR GetAxisInformation(BYTE axis BYTE address) or C++: void GetAxisInformationC(BYTE axis, BYTE address, CHAR* result) : This method collects the specified axis and address information and converts it into a NULL terminated string with 0x0D (13 or CR) delimiters per line which is returned Note: The result character pointer should point to a character array of no less then 250 characters (C++ users). Valid axis assignments are as follows:
S_MOTOR = 0 (SSCB and SSCB-Gecko Boards) U_MOTOR = 1 (SSMicro and SSMicro77 Boards) H_MOTOR = 2 (SSCBHC Boards) X_MOTOR = 3 (SSXY___, SSXYZ___ and SSWXYZ___ Boards) Y_MOTOR = 4 (SSXY___, SSXYZ___ and SSWXYZ___ Boards) Z_MOTOR = 5 (SSXYZ___ and SSWXYZ___ Boards) Q_ENCODERS = 6 (SSXYQE and SSQE Boards) W_MOTOR = 7 (SSWXYZ___ Boards) A_AXIS = 254 (All Motor Axis .same as 'G'lobal command.)
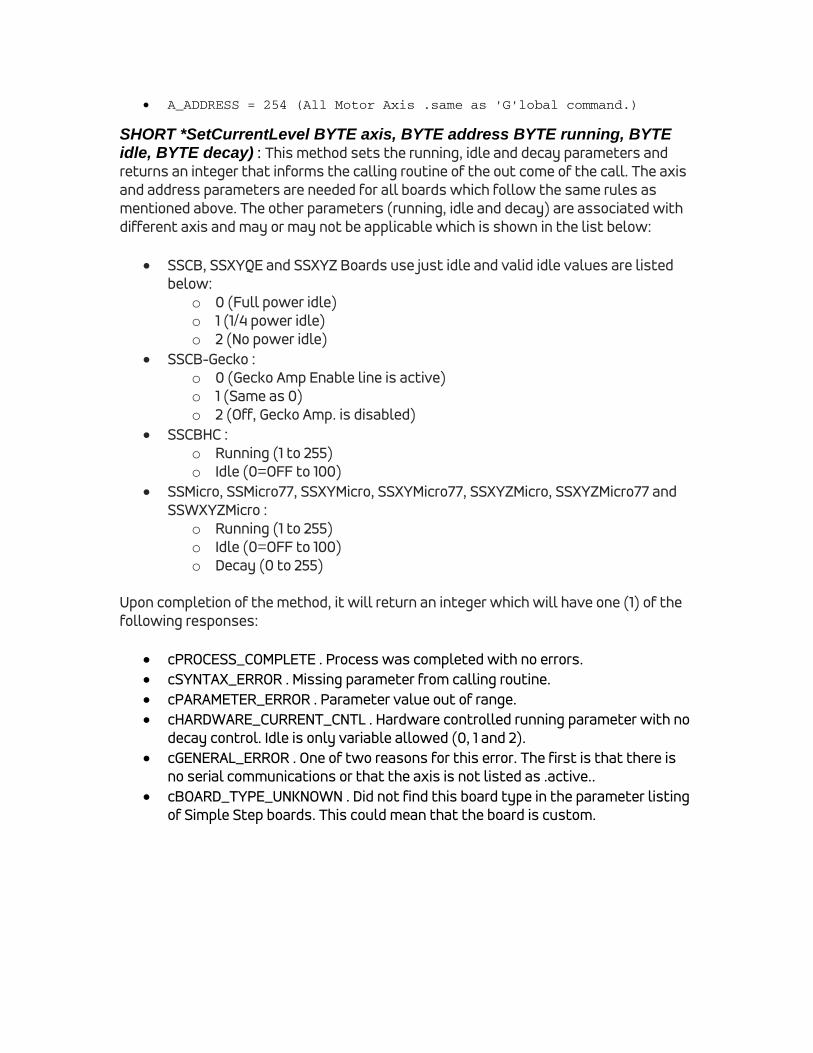
A_ADDRESS = 254 (All Motor Axis .same as 'G'lobal command.) SHORT *SetCurrentLevel BYTE axis, BYTE address BYTE running, BYTE idle, BYTE decay) : This method sets the running, idle and decay parameters and returns an integer that informs the calling routine of the out come of the call. The axis and address parameters are needed for all boards which follow the same rules as mentioned above. The other parameters (running, idle and decay) are associated with different axis and may or may not be applicable which is shown in the list below:
SSCB, SSXYQE and SSXYZ Boards use just idle and valid idle values are listed below:
o 0 (Full power idle) o 1 (1/4 power idle) o 2 (No power idle)
SSCB-Gecko : o 0 (Gecko Amp Enable line is active) o 1 (Same as 0) o 2 (Off, Gecko Amp. is disabled)
SSCBHC : o Running (1 to 255) o Idle (0=OFF to 100)
SSMicro, SSMicro77, SSXYMicro, SSXYMicro77, SSXYZMicro, SSXYZMicro77 and SSWXYZMicro :
o Running (1 to 255) o Idle (0=OFF to 100) o Decay (0 to 255)
Upon completion of the method, it will return an integer which will have one (1) of the following responses:
cPROCESS_COMPLETE . Process was completed with no errors. cSYNTAX_ERROR . Missing parameter from calling routine. cPARAMETER_ERROR . Parameter value out of range. cHARDWARE_CURRENT_CNTL . Hardware controlled running parameter with no
decay control. Idle is only variable allowed (0, 1 and 2). cGENERAL_ERROR . One of two reasons for this error. The first is that there is
no serial communications or that the axis is not listed as .active.. cBOARD_TYPE_UNKNOWN . Did not find this board type in the parameter listing
of Simple Step boards. This could mean that the board is custom.
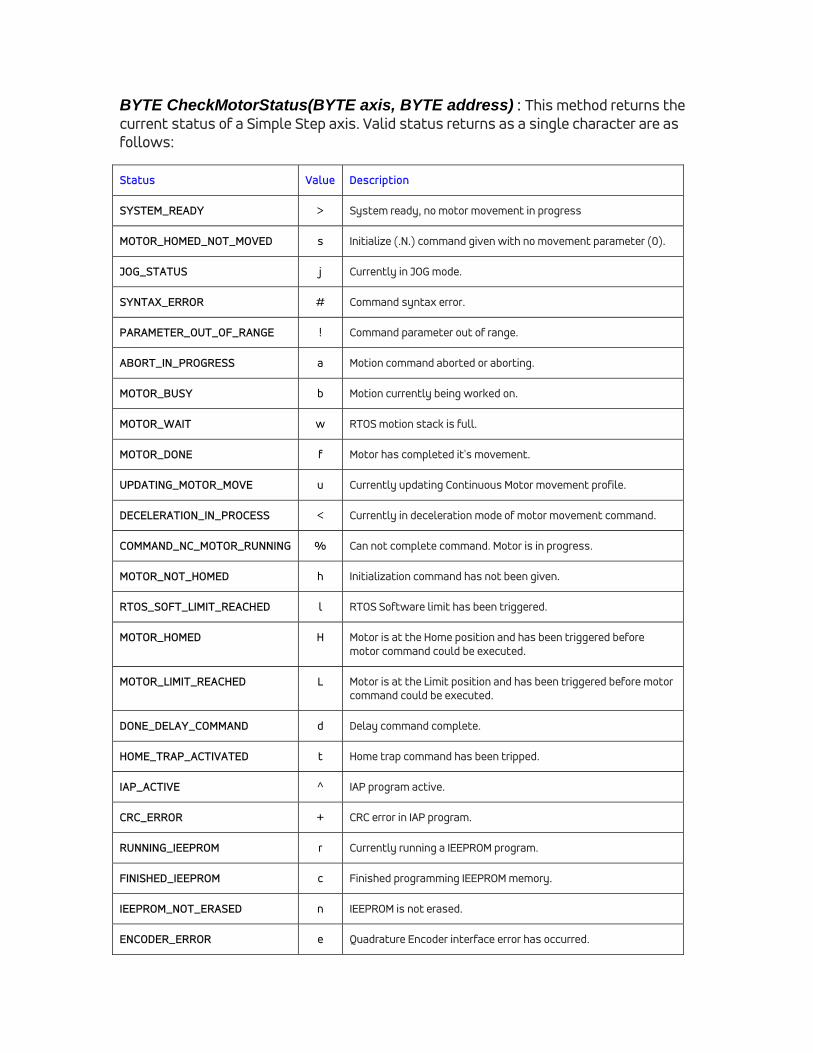
BYTE CheckMotorStatus(BYTE axis, BYTE address) : This method returns the current status of a Simple Step axis. Valid status returns as a single character are as follows:
Status Value Description
SYSTEM_READY > System ready, no motor movement in progress
MOTOR_HOMED_NOT_MOVED s Initialize (.N.) command given with no movement parameter (0).
JOG_STATUS j Currently in JOG mode.
SYNTAX_ERROR # Command syntax error.
PARAMETER_OUT_OF_RANGE ! Command parameter out of range.
ABORT_IN_PROGRESS a Motion command aborted or aborting.
MOTOR_BUSY b Motion currently being worked on.
MOTOR_WAIT w RTOS motion stack is full.
MOTOR_DONE f Motor has completed it's movement.
UPDATING_MOTOR_MOVE u Currently updating Continuous Motor movement profile.
DECELERATION_IN_PROCESS < Currently in deceleration mode of motor movement command.
COMMAND_NC_MOTOR_RUNNING % Can not complete command. Motor is in progress.
MOTOR_NOT_HOMED h Initialization command has not been given.
RTOS_SOFT_LIMIT_REACHED l RTOS Software limit has been triggered.
MOTOR_HOMED H Motor is at the Home position and has been triggered before motor command could be executed.
MOTOR_LIMIT_REACHED L Motor is at the Limit position and has been triggered before motor command could be executed.
DONE_DELAY_COMMAND d Delay command complete.
HOME_TRAP_ACTIVATED t Home trap command has been tripped.
IAP_ACTIVE ^ IAP program active.
CRC_ERROR + CRC error in IAP program.
RUNNING_IEEPROM r Currently running a IEEPROM program.
FINISHED_IEEPROM c Finished programming IEEPROM memory.
IEEPROM_NOT_ERASED n IEEPROM is not erased.
ENCODER_ERROR e Quadrature Encoder interface error has occurred.
Initialization and Motor Movement Methods
The fifth group in the Simple Step ActiveX methods is the initialization and motor movement commands. These methods allow the user to initialize and axis and to move the motor either to an absolute position or perform a relative move. MoveMotorAbsolute is usually used in Linear movement operations and MoveMotorRelative is usually used in Rotary operations. SHORT MoveMotorAboslute(BYTE axis, BYTE address, LONG begin_velocity, LONG top_velocity, BYTE slope, LONG position) : This method allows the user to have an axis at a specific board address to move to an absolute position (no negative positions commands are allowed). The method will return with a TRUE = operation successful or a FALSE = operation failed. A failure could be from any number of reasons as follows:
Syntax error of any parameter. Parameter error of any parameter passed to the MoveMotorAbsolute method. Motor position was in the Home (0) direction and motor Home input is already
tripped. Motor position was in the Limit direction and the Limit input was already
tripped. Communications port is NOT active.
SHORT MoveMotorRelative(BYTE axis, BYTE address, LONG begin_velocity, LONG top_velocity, BYTE slope, BYTE home_active, BYTE limit_active, LONG position) : This method allows the user to have an axis at a specific board address to move to an relative position (negative positions move towards Home and positive positions move towards Limit). The Home and Limit sensor is treated differently with the 'R'elative move command. One, both or no sensors can be used to stop the motor NO MATTER WHAT DIRECTION the motor is moving in. By setting the home_active and limit_active to TRUE or FALSE will determine if they are looked for in the move process. The method will return with a TRUE if the operation was successful or a FALSE if it has failed. A failure could be from any number of the following reasons:
Syntax error of any parameter. Parameter error of any parameter passed to the MoveMotorAbsolute method. Motor position was in the Home (0) direction and motor Home input is already
tripped. Motor position was in the Limit direction and the Limit input was already
tripped. Communications port is NOT active.
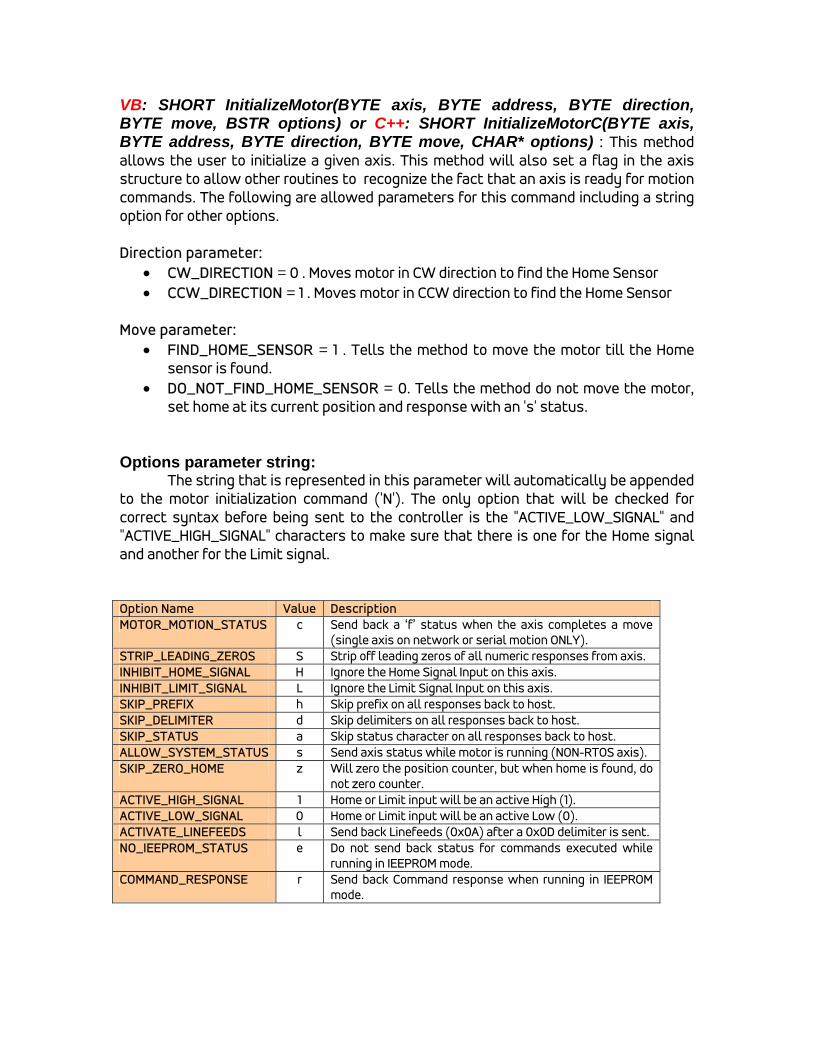
VB: SHORT InitializeMotor(BYTE axis, BYTE address, BYTE direction, BYTE move, BSTR options) or C++: SHORT InitializeMotorC(BYTE axis, BYTE address, BYTE direction, BYTE move, CHAR* options) : This method allows the user to initialize a given axis. This method will also set a flag in the axis structure to allow other routines to recognize the fact that an axis is ready for motion commands. The following are allowed parameters for this command including a string option for other options. Direction parameter:
CW_DIRECTION = 0 . Moves motor in CW direction to find the Home Sensor CCW_DIRECTION = 1 . Moves motor in CCW direction to find the Home Sensor
Move parameter:
FIND_HOME_SENSOR = 1 . Tells the method to move the motor till the Home sensor is found.
DO_NOT_FIND_HOME_SENSOR = 0. Tells the method do not move the motor, set home at its current position and response with an 's' status.
Options parameter string: The string that is represented in this parameter will automatically be appended to the motor initialization command ('N'). The only option that will be checked for correct syntax before being sent to the controller is the "ACTIVE_LOW_SIGNAL" and "ACTIVE_HIGH_SIGNAL" characters to make sure that there is one for the Home signal and another for the Limit signal. Option Name Value Description MOTOR_MOTION_STATUS c Send back a ‘f’ status when the axis completes a move
(single axis on network or serial motion ONLY). STRIP_LEADING_ZEROS S Strip off leading zeros of all numeric responses from axis. INHIBIT_HOME_SIGNAL H Ignore the Home Signal Input on this axis. INHIBIT_LIMIT_SIGNAL L Ignore the Limit Signal Input on this axis. SKIP_PREFIX h Skip prefix on all responses back to host. SKIP_DELIMITER d Skip delimiters on all responses back to host. SKIP_STATUS a Skip status character on all responses back to host. ALLOW_SYSTEM_STATUS s Send axis status while motor is running (NON-RTOS axis). SKIP_ZERO_HOME z Will zero the position counter, but when home is found, do
not zero counter. ACTIVE_HIGH_SIGNAL 1 Home or Limit input will be an active High (1). ACTIVE_LOW_SIGNAL 0 Home or Limit input will be an active Low (0). ACTIVATE_LINEFEEDS l Send back Linefeeds (0x0A) after a 0x0D delimiter is sent. NO_IEEPROM_STATUS e Do not send back status for commands executed while
running in IEEPROM mode. COMMAND_RESPONSE r Send back Command response when running in IEEPROM
mode.
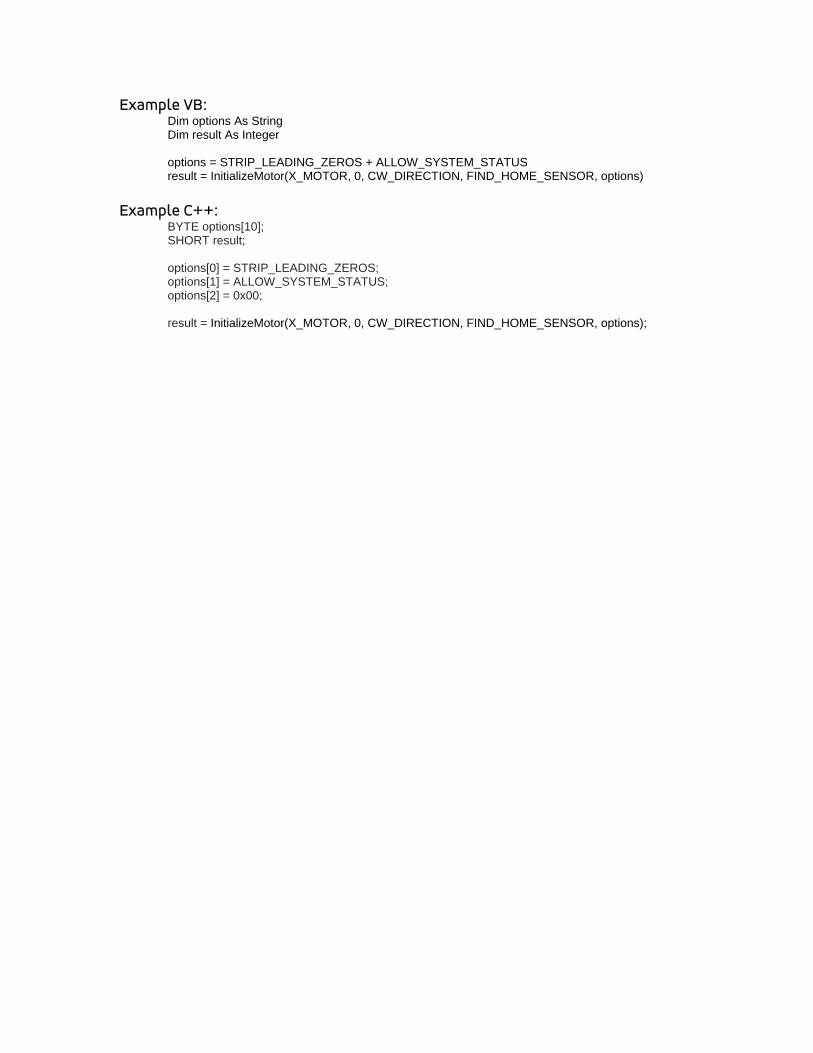
Example VB: Dim options As String Dim result As Integer options = STRIP_LEADING_ZEROS + ALLOW_SYSTEM_STATUS result = InitializeMotor(X_MOTOR, 0, CW_DIRECTION, FIND_HOME_SENSOR, options)
Example C++:
BYTE options[10]; SHORT result; options[0] = STRIP_LEADING_ZEROS; options[1] = ALLOW_SYSTEM_STATUS; options[2] = 0x00; result = InitializeMotor(X_MOTOR, 0, CW_DIRECTION, FIND_HOME_SENSOR, options);
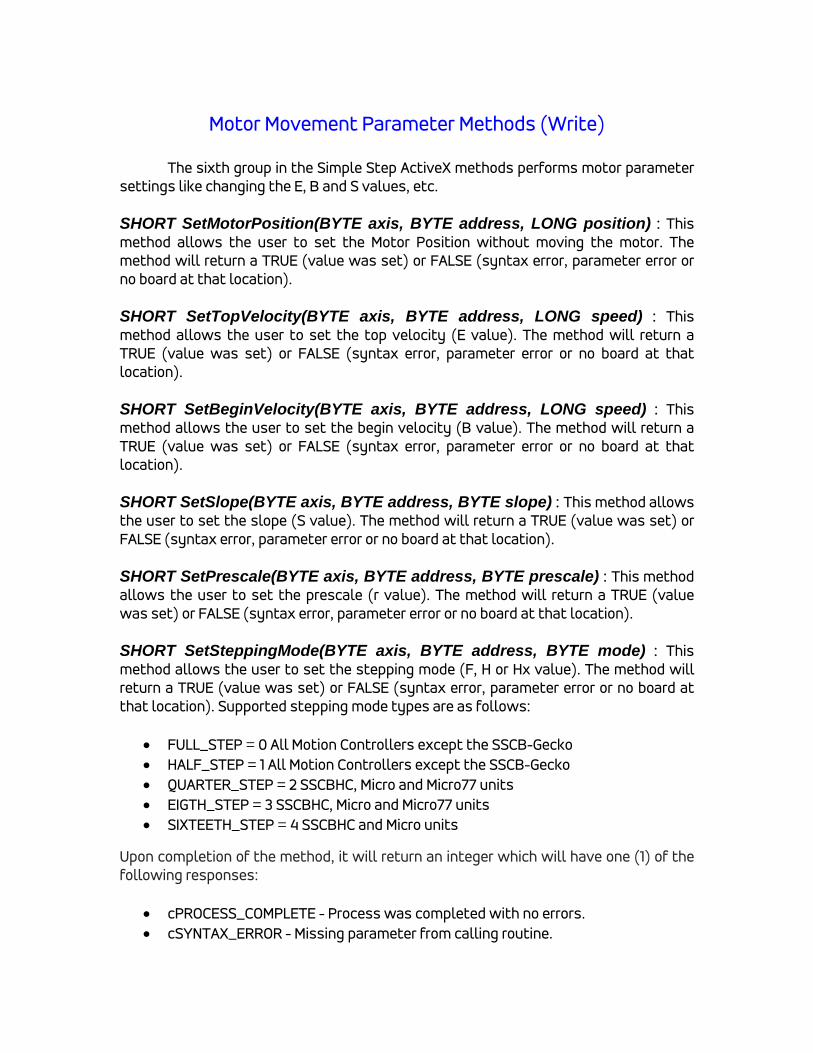
Motor Movement Parameter Methods (Write) The sixth group in the Simple Step ActiveX methods performs motor parameter settings like changing the E, B and S values, etc. SHORT SetMotorPosition(BYTE axis, BYTE address, LONG position) : This method allows the user to set the Motor Position without moving the motor. The method will return a TRUE (value was set) or FALSE (syntax error, parameter error or no board at that location). SHORT SetTopVelocity(BYTE axis, BYTE address, LONG speed) : This method allows the user to set the top velocity (E value). The method will return a TRUE (value was set) or FALSE (syntax error, parameter error or no board at that location). SHORT SetBeginVelocity(BYTE axis, BYTE address, LONG speed) : This method allows the user to set the begin velocity (B value). The method will return a TRUE (value was set) or FALSE (syntax error, parameter error or no board at that location). SHORT SetSlope(BYTE axis, BYTE address, BYTE slope) : This method allows the user to set the slope (S value). The method will return a TRUE (value was set) or FALSE (syntax error, parameter error or no board at that location). SHORT SetPrescale(BYTE axis, BYTE address, BYTE prescale) : This method allows the user to set the prescale (r value). The method will return a TRUE (value was set) or FALSE (syntax error, parameter error or no board at that location). SHORT SetSteppingMode(BYTE axis, BYTE address, BYTE mode) : This method allows the user to set the stepping mode (F, H or Hx value). The method will return a TRUE (value was set) or FALSE (syntax error, parameter error or no board at that location). Supported stepping mode types are as follows:
FULL_STEP = 0 All Motion Controllers except the SSCB-Gecko HALF_STEP = 1 All Motion Controllers except the SSCB-Gecko QUARTER_STEP = 2 SSCBHC, Micro and Micro77 units EIGTH_STEP = 3 SSCBHC, Micro and Micro77 units SIXTEETH_STEP = 4 SSCBHC and Micro units
Upon completion of the method, it will return an integer which will have one (1) of the following responses:
cPROCESS_COMPLETE - Process was completed with no errors. cSYNTAX_ERROR - Missing parameter from calling routine.

cPARAMETER_ERROR - Parameter value out of range. cHARDWARE_CURRENT_CNTL - Hardware controlled running parameter with no
decay control. Idle is only variable allowed (0, 1 and 2). cGENERAL_ERROR - One of two reasons for this error. The first is that there is
no serial communications or that the axis is not listed as "active". cBOARD_TYPE_UNKNOWN - Did not find this board type in the parameter listing
of Simple Step boards. This could mean that the board is custom.
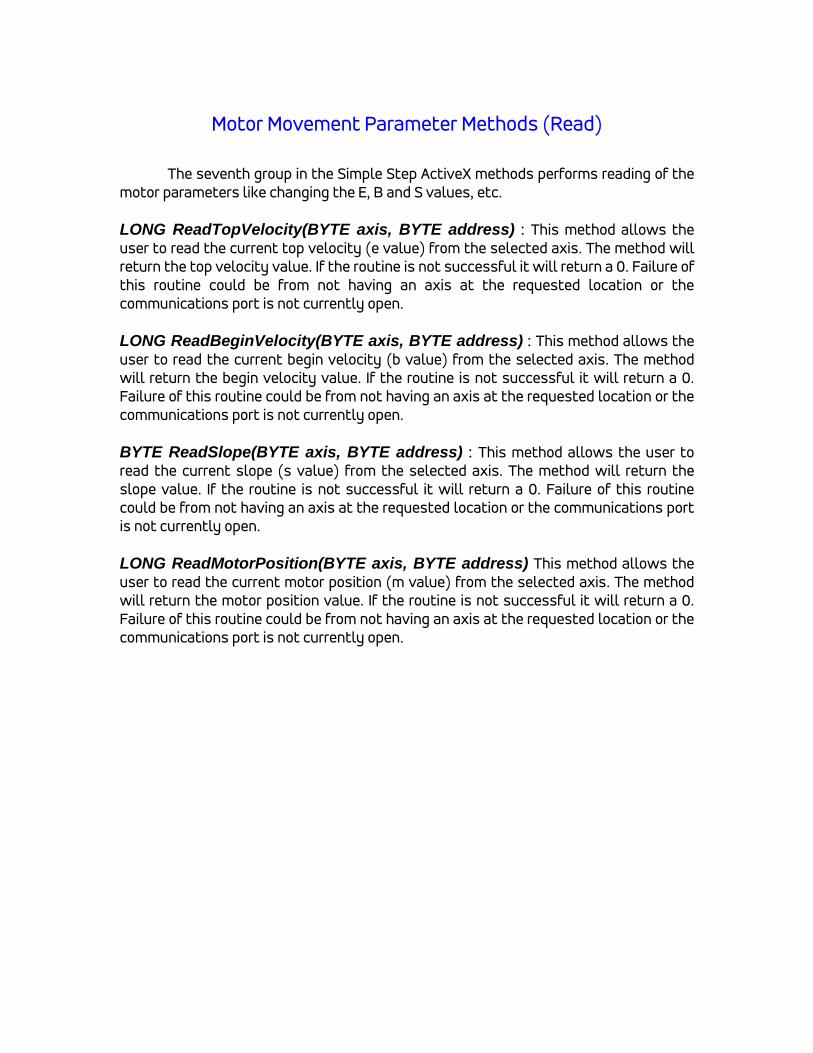
Motor Movement Parameter Methods (Read) The seventh group in the Simple Step ActiveX methods performs reading of the motor parameters like changing the E, B and S values, etc. LONG ReadTopVelocity(BYTE axis, BYTE address) : This method allows the user to read the current top velocity (e value) from the selected axis. The method will return the top velocity value. If the routine is not successful it will return a 0. Failure of this routine could be from not having an axis at the requested location or the communications port is not currently open. LONG ReadBeginVelocity(BYTE axis, BYTE address) : This method allows the user to read the current begin velocity (b value) from the selected axis. The method will return the begin velocity value. If the routine is not successful it will return a 0. Failure of this routine could be from not having an axis at the requested location or the communications port is not currently open. BYTE ReadSlope(BYTE axis, BYTE address) : This method allows the user to read the current slope (s value) from the selected axis. The method will return the slope value. If the routine is not successful it will return a 0. Failure of this routine could be from not having an axis at the requested location or the communications port is not currently open. LONG ReadMotorPosition(BYTE axis, BYTE address) This method allows the user to read the current motor position (m value) from the selected axis. The method will return the motor position value. If the routine is not successful it will return a 0. Failure of this routine could be from not having an axis at the requested location or the communications port is not currently open.
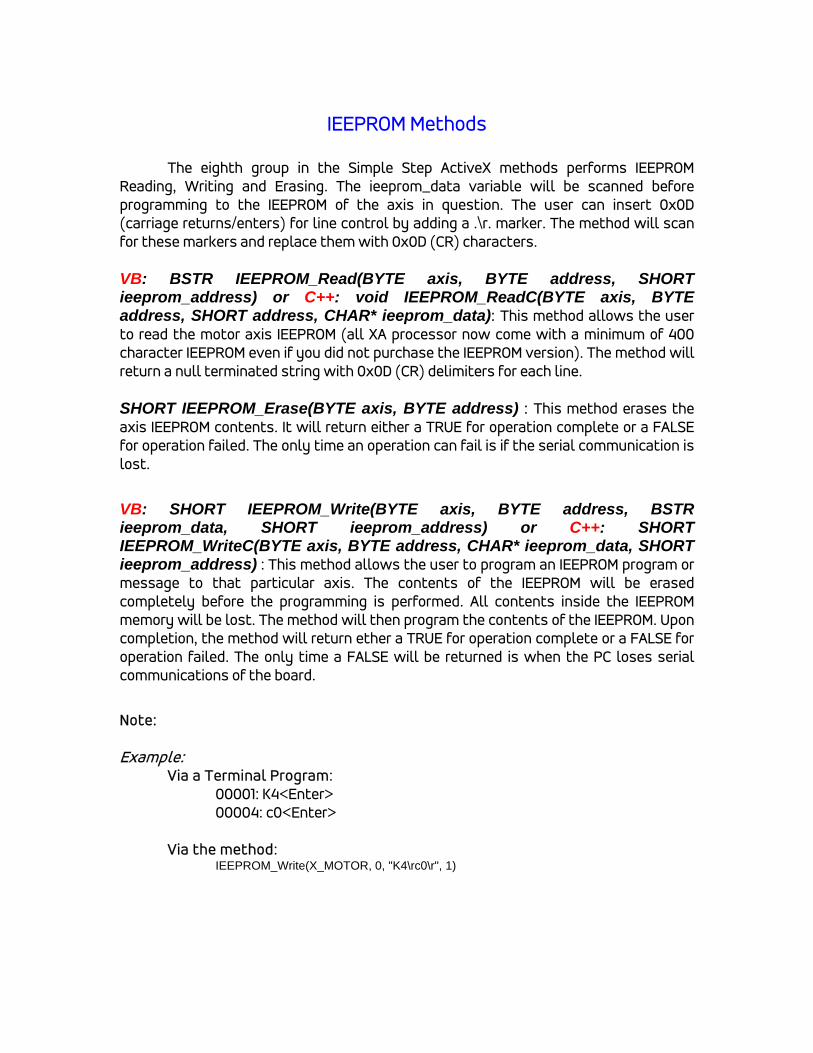
IEEPROM Methods The eighth group in the Simple Step ActiveX methods performs IEEPROM Reading, Writing and Erasing. The ieeprom_data variable will be scanned before programming to the IEEPROM of the axis in question. The user can insert 0x0D (carriage returns/enters) for line control by adding a .\r. marker. The method will scan for these markers and replace them with 0x0D (CR) characters. VB: BSTR IEEPROM_Read(BYTE axis, BYTE address, SHORT ieeprom_address) or C++: void IEEPROM_ReadC(BYTE axis, BYTE address, SHORT address, CHAR* ieeprom_data): This method allows the user to read the motor axis IEEPROM (all XA processor now come with a minimum of 400 character IEEPROM even if you did not purchase the IEEPROM version). The method will return a null terminated string with 0x0D (CR) delimiters for each line. SHORT IEEPROM_Erase(BYTE axis, BYTE address) : This method erases the axis IEEPROM contents. It will return either a TRUE for operation complete or a FALSE for operation failed. The only time an operation can fail is if the serial communication is lost.
VB: SHORT IEEPROM_Write(BYTE axis, BYTE address, BSTR ieeprom_data, SHORT ieeprom_address) or C++: SHORT IEEPROM_WriteC(BYTE axis, BYTE address, CHAR* ieeprom_data, SHORT ieeprom_address) : This method allows the user to program an IEEPROM program or message to that particular axis. The contents of the IEEPROM will be erased completely before the programming is performed. All contents inside the IEEPROM memory will be lost. The method will then program the contents of the IEEPROM. Upon completion, the method will return ether a TRUE for operation complete or a FALSE for operation failed. The only time a FALSE will be returned is when the PC loses serial communications of the board.
Note: Example: Via a Terminal Program: 00001: K4<Enter> 00004: c0<Enter> Via the method: IEEPROM_Write(X_MOTOR, 0, "K4\rc0\r", 1)
Filename: Simple Step ActiveX Manual.doc Directory: \\SIMPLESTPSERVER\Simple Step LLC\Documents\Simple Step
ActiveX Manual Template: C:\Users\User\AppData\Roaming\Microsoft\Templates\Normal.dot Title: Simple Step® ActiveX Manual Subject: Author: Charles R. Grenz Keywords: Comments: Creation Date: 12/17/2010 6:48 AM Change Number: 25 Last Saved On: 12/19/2010 7:37 PM Last Saved By: Charles R. Grenz Total Editing Time: 212 Minutes Last Printed On: 12/19/2010 7:38 PM As of Last Complete Printing Number of Pages: 23 Number of Words: 6,718 (approx.) Number of Characters: 35,474 (approx.)