Samba
111
Samba
-
Upload
raghu-nath -
Category
Documents
-
view
142 -
download
1
Transcript of Samba

Samba
Introduction
Samba is an extremely useful networking tool for anyone who has both Windows and Unix systems on his network.
Running on a Unix system, it allows Windows to share files and printers on the Unix host, and it also allows Unix users to access resources shared by Windows systems.
Samba is reliable software that runs on reliable Unix operating systems, resulting in fewer problems and a low cost of maintenance

What Is Samba?
Samba is a suite of Unix applications that speak the Server Message Block (SMB) protocol
Microsoft Windows operating systems and the OS/2 operating system use SMB to perform client-server networking for file and printer sharing and associated operations.
By supporting this protocol, Samba enables computers running Unix to get in on the action, communicating with the same networking protocol as Microsoft Windows and appearing as another Windows system on the network from the perspective of a Windows client.

The Samba suite also includes client tools that allow users on a Unix system to access folders and printers that Windows systems and Samba servers offer on the network.
Samba is the brainchild of Andrew Tridgell, who currently heads the Samba development team.

Sharing a Disk Service
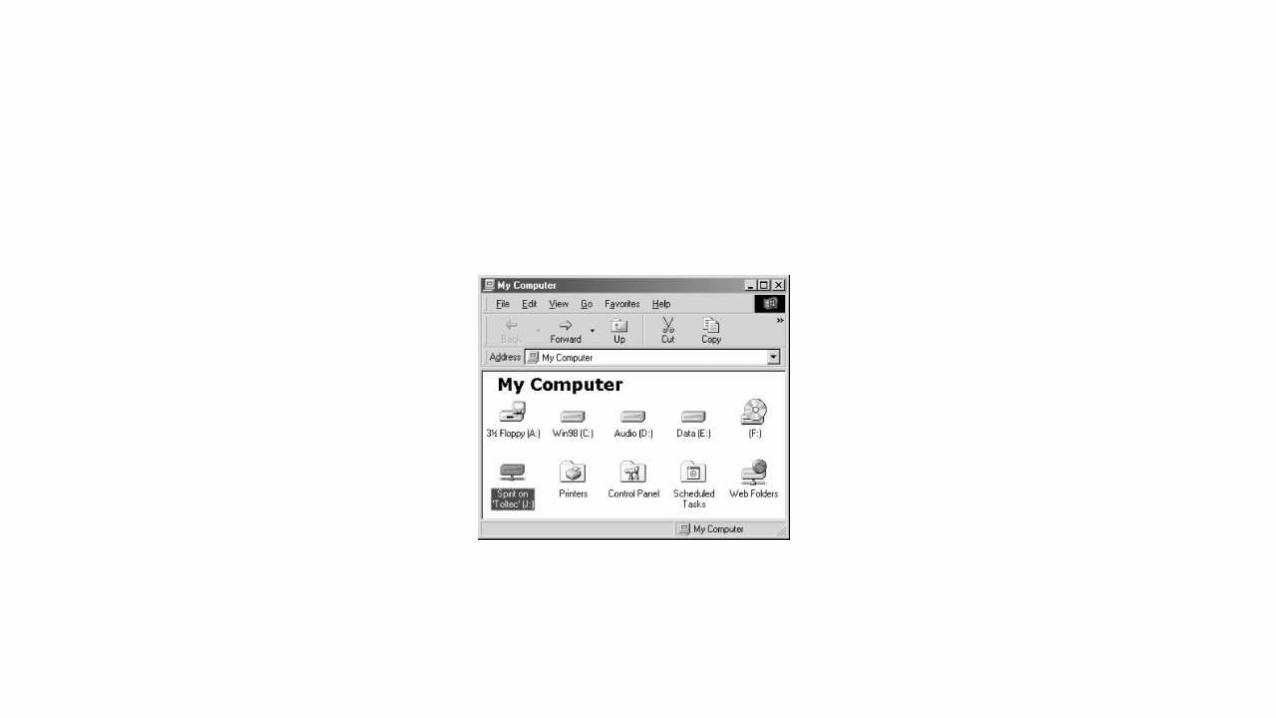
If everything is properly configured, we should be able to see the Samba server, toltec, through the Network Neighborhood of the maya Windows desktop.
Sharing a Disk Service


One popular Windows feature is the ability to map a drive letter (such as E:, F:, or Z:) to a shared directory on the network using the Map Network Drive option in Windows Explorer Once you do so, your applications can access the folder across the network using the drive letter. You can store data on it, install and run programs from it, and even password-protect it against unwanted visitors. for an example of mapping a drive letter to a network directory.

\\network-computer\directory

This is known as the Universal Naming Convention (UNC) in the Windows world


Sharing a Printer
You probably noticed that the printer lp appeared under the available shares for toltec
This indicates that the Unix server has a printer that can be shared by the various SMB clients in the workgroup. Data sent to the printer from any of the clients will be spooled on the Unix server and printed in the order in which it is received.Setting up a Samba-enabled printer on the Windows side is even easier than setting up a disk share. By double-clicking the printer and identifying the manufacturer and model, you can install a driver for this printer on the Windows client. Windows can then properly format any information sent to the network printer and access it as if it were a local printer


Seeing things from the Unix side
As mentioned earlier, Samba appears in Unix as a set of daemon programs. You can view them with the Unix ps command; you can read any messages they generate through custom debug files or the Unixsyslog (depending on how Samba is set up); and you can configure them from a single Samba configuration file: smb.conf. In addition, if you want to get an idea of what the daemons are doing, Samba has a program called smbstatus that will lay it all on the line. Here is how it works:

# smbstatus Processing section "[homes]" Processing section "[printers]" Processing section "[spirit]" Samba version 2.2.6 Service uid gid pid machine -----------------------------------------spirit jay jay 7735 maya (172.16.1.6) Sun Aug 12 12:17:14 2002 spirit jay jay 7779 aztec(172.16.1.2) Sun Aug 12 12:49:11 2002 jay jay jay 7735 maya (172.16.1.6) Sun Aug 12 12:56:19 2002 Locked files: Pid DenyMode R/W OplockName -------------------------------------------------- 7735 DENY_WRITE RDONLY NONE
/u/RegClean.exe Sun Aug 12 13:01:22 2002 Share mode memory usage (bytes): 1048368(99%) free + 136(0%) used + 72(0%) overhead = 1048576(100%) total
Getting Familiar with an SMB Network
Now that you have had a brief tour of Samba, let's take some time to get familiar with Samba's adopted environment: an SMB network.
The NBT standard (RFC 1001/1002) currently outlines a trio of services on a network:
A name service
Two communication services:
Datagrams
Sessions

Getting a Name
In the NetBIOS world, when each computer comes online, it wants to claim a name for itself; this is called name registration. However, no two computers in the same workgroup should be able to claim the same name; this would cause endless confusion for any computer that wanted to communicate with either of them. There are two different approaches to ensuring that this doesn't happen:
Use an NBNS to keep track of which hosts have registered a NetBIOS name.
Allow each computer on the network to defend its name in the event that another computer attempts to use it.


As mentioned earlier, there must be a way to resolve a NetBIOS name to a specific IP address; this is known as name resolution. There are two different approaches with NBT here as well:
Have each computer report back its IP address when it "hears" a broadcast request for its NetBIOS name.
Use an NBNS to help resolve NetBIOS names to IP addresses.

As you might expect, having an NBNS on your network can help out tremendously. To see exactly why, let's look at the broadcast method.
Here, when a client computer boots, it will broadcast a message declaring that it wishes to register a specified NetBIOS name as its own. If nobody objects to the use of the name, it keeps the name. On the other hand, if another computer on the local subnet is currently using the requested name, it will send a message back to the requesting client that the name is already taken. This is known as defending the hostname. This type of system comes in handy when one client has unexpectedly dropped off the network—another can take its name unchallenged—but it does incur an inordinate amount of traffic on the network for something as simple as name registration.

What's in a Name?
The names NetBIOS uses are quite different from the DNS hostnames you might be familiar with. First, NetBIOS
names exist in a flat namespace. In other words, there are no hierarchical levels, such as inoreilly.com (two levels)
or ftp.samba.org (three levels
NetBIOS names consist of a single unique string such as navaho or hopi within each workgroup or domain. Second,
NetBIOS names are allowed to be only 15 characters and can consist only of standard alphanumeric characters (a-
z, A-Z, 0-9) and the following:

! @ # $ % ^ & ( ) - ' { } . ~

Resource names and types
With NetBIOS, a computer not only advertises its presence, but also tells others what types of services it offers.

The 1-byte resource type indicates a unique service that the named computer provides. In this book, you will often
see the resource type shown in angled brackets (<>) after the NetBIOS name, such as:MIXTEC<00>
You can see which names are registered for a particular NBT computer using the Windows command-
line nbtstat utility. Because these services are unique (i.e., there cannot be more than one registered), you will see
them listed as type UNIQUE in the output. For example, the following partial output describes the toltec server:

C:\>nbtstat -a toltec NetBIOS Remote Machine Name Table Name Type Status --------------------------------------------- TOLTEC <00> UNIQUE Registered TOLTEC <03> UNIQUE Registered TOLTEC <20> UNIQUE Registered ...

Group names and types
SMB also uses the concept of groups, with which computers can register themselves. Earlier we mentioned that the computers in our example belonged to a workgroup, which is a partition of computers on the same network. For example, a business might very easily have an ACCOUNTING and a SALES workgroup,

An Introduction to the SMB Protocol
Now we're going to cover some low-level technical details and explore the elementals of the SMB protocol. You probably don't need to know much about this to implement a simple Samba network, and therefore you might want to skip or skim over this section and go on to the next one ("Windows Workgroups and Domains") on your first reading. However, assuming you are going to be responsible for long-term maintenance of a Samba network, it will help if you understand how it actually works. You will more easily be able to diagnose and correct any odd problems that pop up.
At a high level, the SMB protocol suite is relatively simple. It includes commands for all the file and print operations thatyou might perform on a local disk or printer, such as:
Opening and closing files
Creating and deleting files and directories
Reading and writing files
Searching for files
Queueing and dequeueing files in a print spool

SMB Format
Richard Sharpe of the Samba team defines SMB as a request-response protocol.[4] In effect, this means that a client sends an SMB request to a server and the server sends an SMB response back to the client. In only one rare circumstance does a server send a message that is not in response to a client.
An SMB message is not as complex as you might think. Let's take a closer look at the internal structure of such a message. It can be broken down into two parts: the header, which is a fixed size, and thecommand string, whose size can vary dramatically based on the contents of the message.

SMB Clients and Servers
As mentioned earlier, SMB is a client/server protocol. In the purest sense, this means that a client sends a request to a server, which acts on the request and returns a reply. However, the client/server roles can often be reversed, sometimes within the context of a single SMB session

Installing Samba on a Unix System
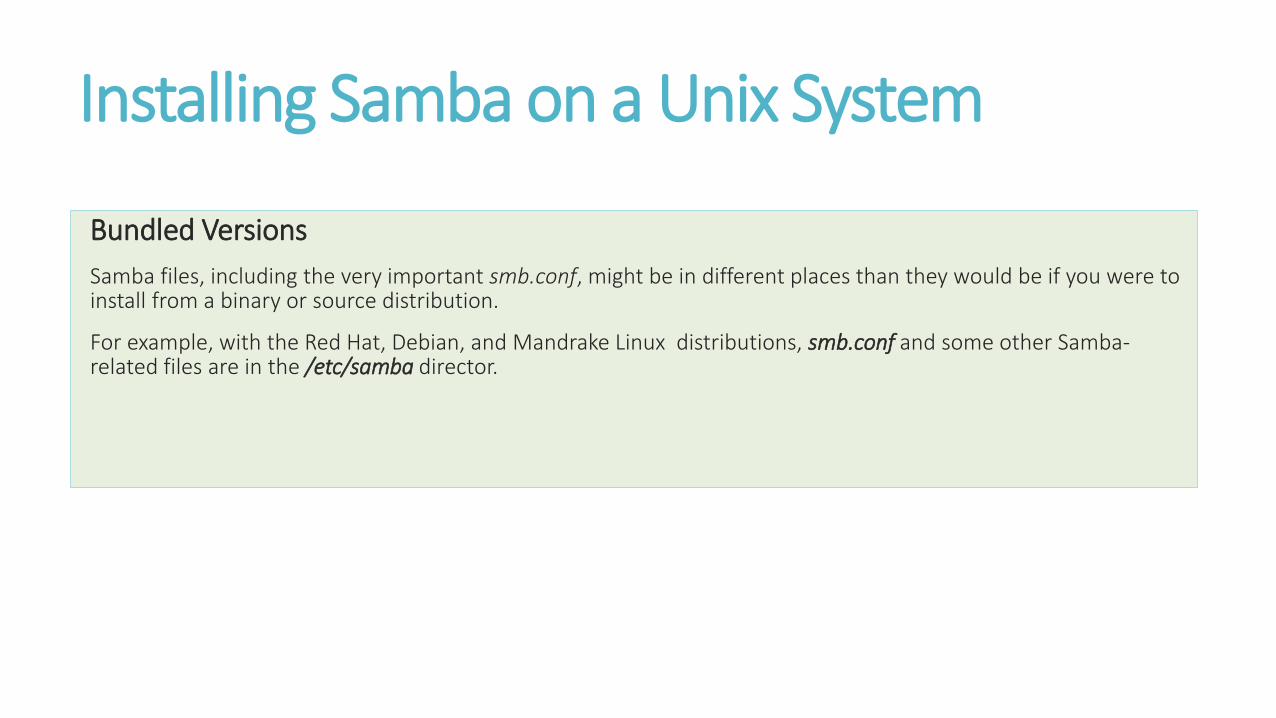
Bundled Versions
Samba files, including the very important smb.conf, might be in different places than they would be if you were to install from a binary or source distribution.
For example, with the Red Hat, Debian, and Mandrake Linux distributions, smb.conf and some other Samba-related files are in the /etc/samba director.

If Samba is already installed on your system, you can check to see what version you have by using the command:
$rpm -qa | grep samba
Samba-client-2.0.8-1.7.1
Samba-2.0.8-1.7.1
Samba-common-2.0-8-1.7.1

•$ ldd smbd libdl.so.2 => /lib/libdl.so.2 (0x40026000) libnsl.so.1 =>
/lib/libnsl.so.1
• (0x4002a000) libpam.so.0 => /lib/libpam.so.0 (0x40041000)
•libc.so.6 => /lib/libc.so.6 (0x40049000) /lib/ld-linux.so.2 => /lib/ld-linux.so.2
(0x40000000)

Downloading the Samba Distribution
If you would like to download the latest version of the Samba software, the primary web site is http://www.samba.org.
The standard Samba web sites have Samba documentation and tutorials, mailing-list archives, and the latest Samba news, as well as source and binary distributions of Samba.

$ tar xvfz samba-latest.tar.gz

Read the Documentation
This part might seem obvious, but at one time or other you probably uncompressed a package, blindly typed:
$ configure; make; make install

Configuring Samba
When the configure script is run, it prints out messages telling what it is doing, and error messages might be mixed in.

# ./configure | more

Enabling SWAT
The Samba Web Administration Tool (SWAT) runs as a daemon under inetd or xinetd and provides a forms-based editor in your web browser for creating and modifying Samba's configuration file
For SWAT to work, entries must be added for it in the /etc/services and /etc/inetd.conf (or /etc/xinetd.d/swat) configuration files
1.Check your /etc/services file, and if it does not contain the following line, add it to the end of the file:swat 901/tcp

Now for inetd or xinetd. These are "Internet super daemons" that handle starting daemons on demand, instead of letting them sit around in memory consuming system resources. Most systems use inetd,but xinetd is also used in some versions of Unix, notably the Red Hat Linux (Versions 7 and newer) that we use in our examples. You can use the ps command to see which of the two your system is running.

For inetd, add a line to the /etc/inetd.conf file. (Check your inetd.conf manual page to see the exact format of the inetd.conf file if it differs from the following example.) Don't forget to change the path to the SWAT binary if you installed it in a different location from the default /usr/local/samba:
swat stream tcp nowait root /usr/local/samba/bin/swat swat
Then force inetd to reread its configuration file by sending it a SIGHUP (hangup) signal:# /bin/kill -HUP -a inetd

swat stream tcp nowait root /usr/local/samba/bin/swat swat
Then force inetd to reread its configuration file by sending it a SIGHUP (hangup) signal:# /bin/kill -HUP -a inetd

# killall -HUP inetd

# ps ax | grep inetd 780 ? S 0:00 inetd 1981 pts/4 S 0:00 grep inetd # kill -HUP 780

A Basic Samba Configuration File
The key to configuring Samba is its configuration file, smb.conf.
This configuration file can be very simple or extremely complex, and the rest of this book is devoted to helping you get deeply personal with this file. For now, however, we'll show you how to set up a single file service, which will allow you to fire up the Samba daemons and see that everything is running as it should be. In later chapters, you will see how to configure Samba for more complicated and interesting tasks.

# mkdir /usr/local/samba/tmp
# chmod 777 /usr/local/samba/tmp

Encrypted Passwords
[global] encrypt passwords = yes

# smbpasswd -a steve New SMB password: Retype new SMB password: Added user steve.

Using SWAT
Creating a configuration file with SWAT is even easier than writing a configuration file by hand. To invoke SWAT,

Starting the Samba Daemons
Two Samba processes, smbd and nmbd
Manually
Automatically, during system boot
From inetd or xinetd

Starting the Daemons Manually
If you're in a hurry, you can start the Samba daemons by hand.
As root, simply enter the following commands:
# /usr/local/samba/bin/smbd -D
# /usr/local/samba/bin/nmbd -D

Configuring Windows Clients
Windows Networking Concepts
Windows is different from Unix in many ways, including how it supports networking

For each Windows version, these are the main issues we will be dealing with:
Making sure required networking components are installed and bound to the network adapter
Configuring networking with a valid IP address, netmask and gateway, and WINS and DNS name servers
Assigning workgroup and computer names
Setting the username(s) and password(s)

Components
Unix systems historically have been monolithic in nature, requiring recompilation or relinking to create a kernel with a customized feature set.
Windows allows for configuration by installing or uninstalling components. As far as networking goes, components can be one of three things
Protocols
Clients
Services
Name Resolution
Name resolution is the function of translating human-friendly hostnames,
Unix systems can perform name resolution using an /etc/hosts file at the minimum, and more commonly can also incorporate services such as DNS (Domain Name System) and NIS (Network Information Service).

Broadcast name resolution
On the other hand, there is one way in which Windows is not at all similar to Unix. If a Windows workstation is set up with no WINS name server, it will use the broadcast method of name resolution
WINS
WINS can translate simple NetBIOS computer names such as huastec or navajo into IP addresses

wins support = yes
in your Samba server's smb.conf file

DNS
The DNS is responsible for translating human-readable, Internet-style hostnames such
as pima.metran.cx or sales.oreilly.com into IP addresses.

To find the address of your DNS server, look at the file /etc/resolv.conf on your Samba server:

#resolv.conf
domain metran.cx
nameserver 127.0.0.1
nameserver 172.16.1.53

The Samba Configuration File
The Samba configuration file, called smb.conf by default, uses the same format as Windows .ini files.

If you have ever worked with a .ini file, you will find smb.conf easy to create and modify.

[global] workgroup = METRAN
encrypt passwords = yes wins support = yes log level = 1
max log size = 1000 read only = no
[homes] browsable = no map archive = yes
[printers] path = /var/tmp printable = yes min print space = 2000
[test] browsable = yes read only = yes
path = /usr/local/samba/tmp

Configuration File Structure
Let's take another look at this configuration file,
this time from a higher level:
[global]
...
[homes]
...
[printers]
...
[test]
...

The names inside the square brackets delineate unique sections of the smb.conf file
The remaining lines are individual configuration options for that share

Options in the smb.conf file are set by assigning a value to them.
Whitespace, quotes, and commas
Disk Share Configuration
We mentioned in the previous section that there were no disk shares on the toltec server.

[data] path = /export/samba/data
comment = Data Drive
volume = Sample-Data-Drive
writable = yes

# mkdir /export/samba/data
# chmod 777 /export/samba/data
Networking Options with Samba
If you're running Samba on a multihomed system (on multiple subnets), you will need to configure Samba to use all the network interfaces.

[global] # Networking configuration
options hosts allow = 192.168.220. 134.213.233.
hosts deny = 192.168.220.102
interfaces = 192.168.220.100/255.255.255.0 \
134.213.233.110/255.255.255.
0 bind interfaces only = yes

Name Resolution and Browsing
Name resolution is critical to Samba's operation because names are used to find the servers that share files or printers
While name resolution and browsing are not difficult to configure, some complexity is introduced by the variety of available name-resolution systems
SMB networking is dynamic. Computers are allowed to leave the network at any time, sometimes without warning, and also to join or rejoin the network at any time.

Name Resolution
TCP/IP networks identify systems by IP addresses and always associate these addresses with more human-readable text names
Modern Windows clients use a variety of methods for translating hostnames into IP addresses

Looking up the name in its cache of recently resolved names
Querying DNS servers
Using the DNS Hosts file
Querying WINS servers
Using the WINS LMHOSTS file
Performing broadcast name resolution

BrowsingBrowsing was developed by Microsoft to help users find shared resources on the network
browsing was added to SMB networking
Browsing in a Windows Network
The basic way browsing works is that one computer in the network takes on the role of the master browser (also called local master browser, browse master, or browse server) and keeps a list of all the computers on the local subnet that are acting as SMB servers
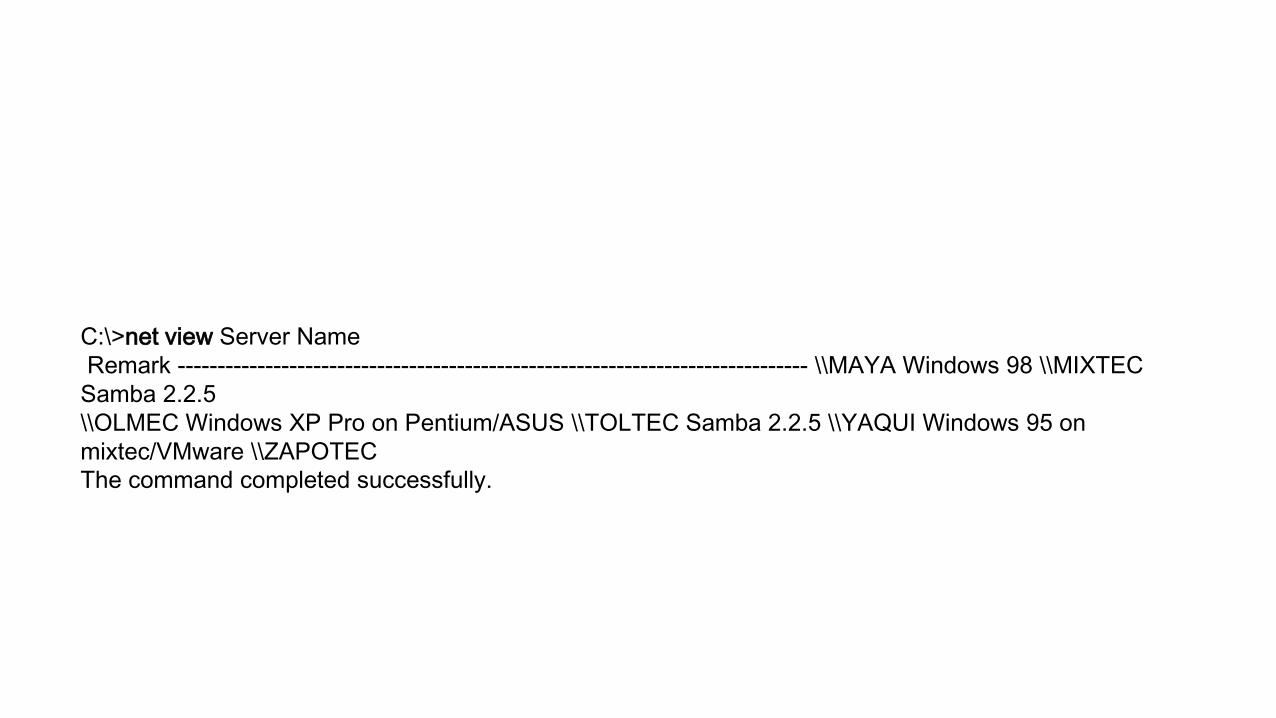
C:\>net view Server Name
Remark ------------------------------------------------------------------------------- \\MAYA Windows 98 \\MIXTEC
Samba 2.2.5
\\OLMEC Windows XP Pro on Pentium/ASUS \\TOLTEC Samba 2.2.5 \\YAQUI Windows 95 on
mixtec/VMware \\ZAPOTEC
The command completed successfully.

Multiple subnets with Samba servers

Users and Security
One of Samba's most complicated tasks lies in reconciling the security models of Unix and Windows systems
Users and Groups
Let's start out as simply as possible and add support for a single user.

[dave] path = /home/dave comment = Dave's home directory
writable = yes valid users = dave

Installing Samba on a Unix SystemBinary Packages
smb.conf
/usr/local/samba/lib
$ smbd –V
$ find / -name smbd -print
/opt/samba/sbin/smbd

$ rpm -qa | grep samba
samba-3.0.12-5
samba-client-3.0.12-5
samba-common-3.0.12-5

The following example shows that smbd expects its configuration file to
be found in the /etc/samba directory.
$ smbd -b | grep CONFIGFILE
CONFIGFILE: /etc/samba/smb.conf

Samba packages is http://www.samba.org/samba/ftp/Binary_Packages.
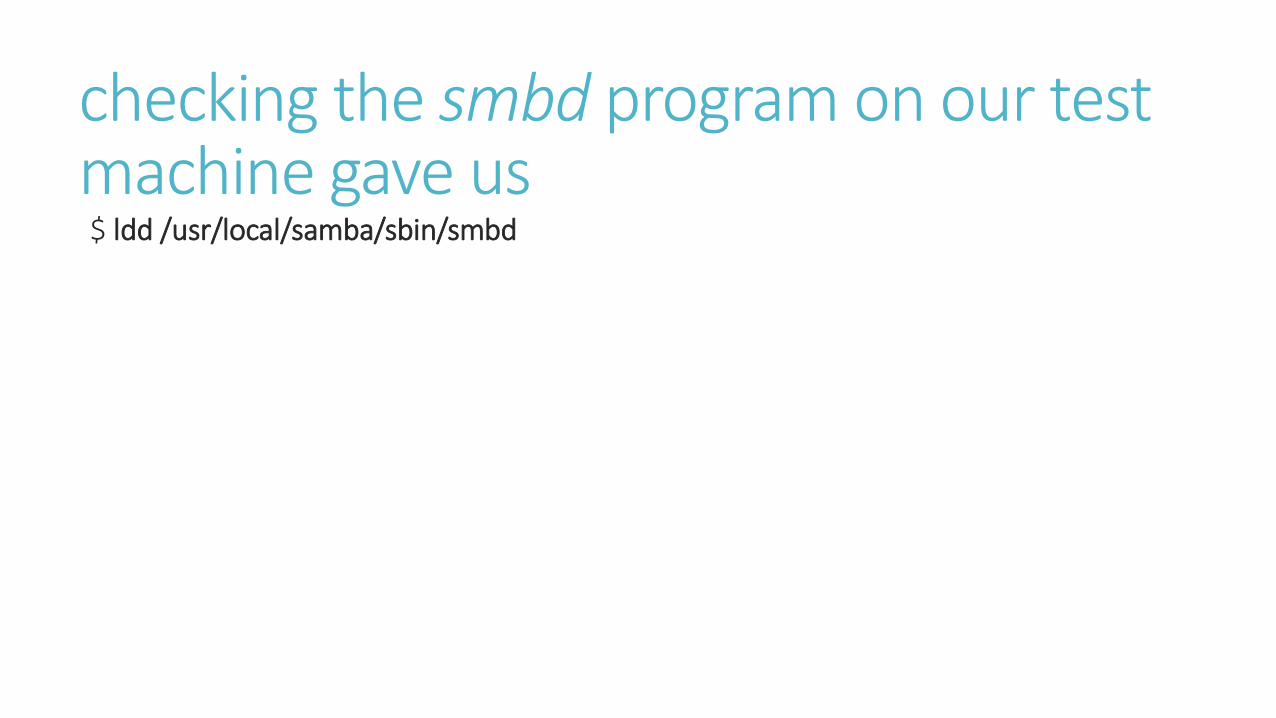
checking the smbd program on our test machine gave us$ ldd /usr/local/samba/sbin/smbd

Compiling from SourceA typical Samba installation takes about an hour to complete, including downloading
the source files and compiling them, setting up the configuration files, and testing
the server. Conventionally installing from source is called the ./configure &&
make && make install process. Here is a complete list of the individual steps:

1. Download the source or binary files.
2. Read the installation documentation.
3. Run the autoconf script that generates the Makefile appropriate for your system.
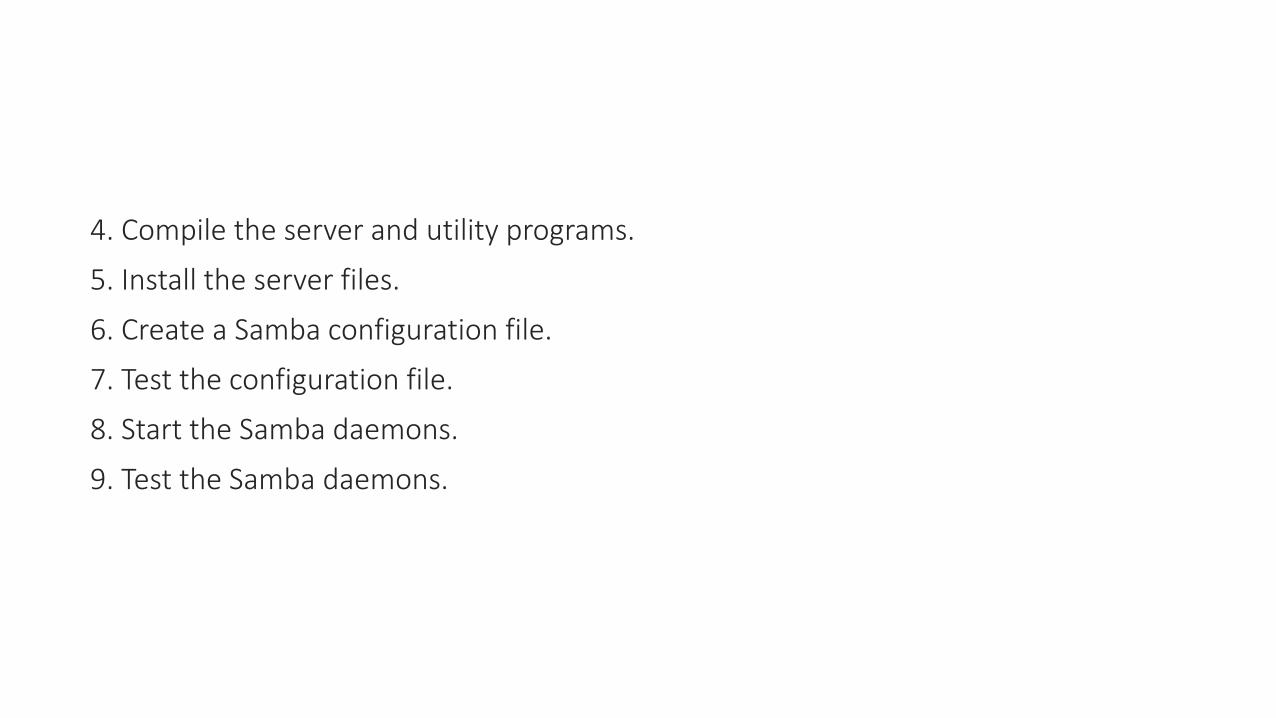
4. Compile the server and utility programs.
5. Install the server files.
6. Create a Samba configuration file.
7. Test the configuration file.
8. Start the Samba daemons.
9. Test the Samba daemons.
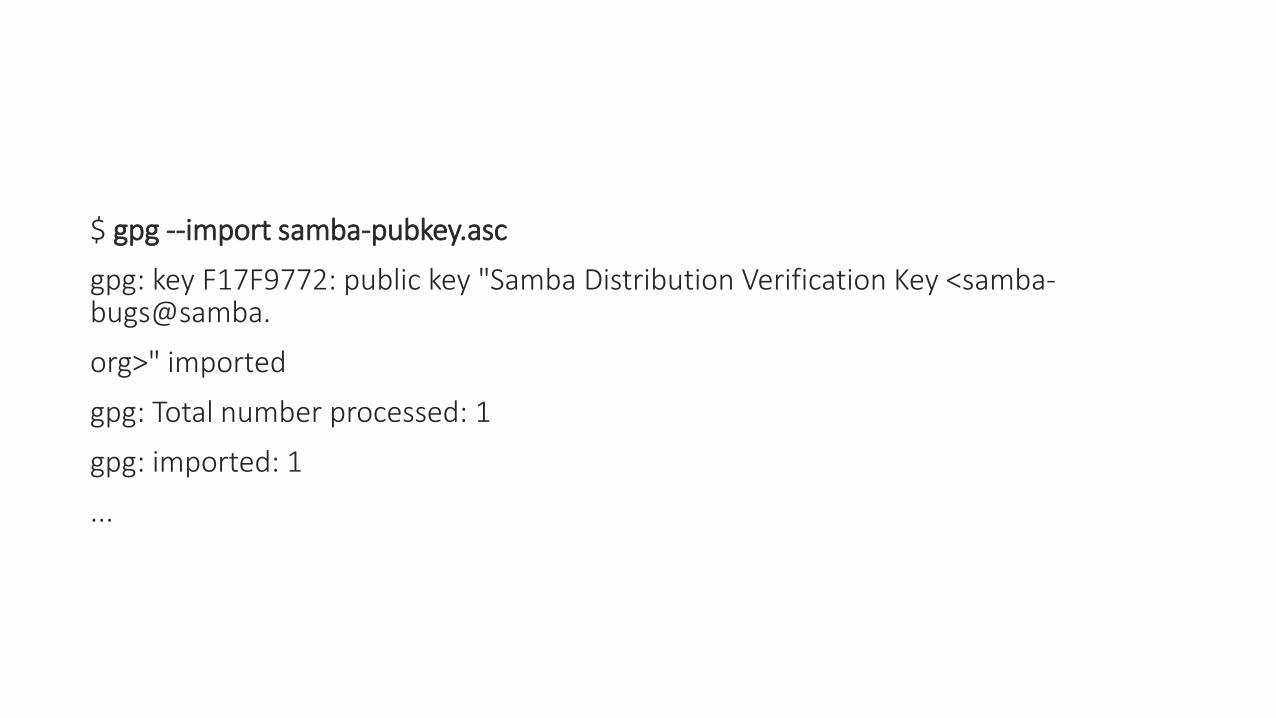
$ gpg --import samba-pubkey.asc
gpg: key F17F9772: public key "Samba Distribution Verification Key <samba-bugs@samba.
org>" imported
gpg: Total number processed: 1
gpg: imported: 1
...

$ gunzip samba-latest.tar.gz
$ gpg --verify samba-latest.tar.asc
gpg: Signature made Thu 14 Apr 2005 01:23:58 AM CDT using DSA key ID F17F9772
gpg: Good signature from "Samba Distribution Verification Key <[email protected]>"

$ tar xvf samba-latest.tar
Configuring Samba
$ ./configure | more

$ ./configure --with-pam
$ ./configure –help
$ cd samba-3.0.22/source/
$ ./configure --prefix=/usr/samba --with-smbmount \
--with-syslog 2>&1 | more

Reconfiguring SambaIf you have already compiled Samba and wish to recompile the same source code
with different configure options, run the following command in the source directory
before rerunning the configure script:
$ make distclean
./configure and then make and make install.

Enabling the Samba Web Administration Tool (SWAT)The Samba Web Administration Tool (SWAT) provides a forms-based editor in your
web browser for creating and modifying Samba’s configuration file. It runs as a
daemon under inetd or xinetd.
For SWAT to work, entries must be added for it in
the /etc/services and /etc/inetd.conf (or /etc/xinetd.d/swat) configuration files. To
add the entries, follow these three steps:

1. Check your /etc/services file, and add the following line to the end if a line like it
does not already appear.
swat 901/tcp
2. If an entry exists and has assigned port 901 to a service other than SWAT, you
can select any unused port. However, you will need to adapt any references to
port 901 in our examples to your local configuration.

3. Make sure that an inetd-style daemon is running. inetd and xinetd are “Internet
super daemons” that handle starting daemons on demand, instead of letting
them sit around in memory consuming system resources. Most Unix systems use
inetd, but some utilize the more secure xinetd service. Most Linux distribution
now use xinetd by default. You can use the ps command to see which of the two
your system is running.

For inetd, add a line to the /etc/inetd.conf file. (Check your inetd.conf manual page to
see the exact format of the inetd.conf file whether it differs from the following example.)
Don’t forget to change the path to the SWAT binary if you installed it in a different
location from the default /usr/local/samba:

swat stream tcp nowait root /usr/local/samba/sbin/swat swat
Then force inetd to reread its configuration file by sending it a SIGHUP (hangup) signal:
$ kill -HUP -a inetd
$ killall -HUP inetd
On Solaris up to and including Solaris 9, use the pkill command.
$ pkill -HUP inetd

On Solaris 10 and later, inetd is not used, but there is an automatic conversion program.
Enter the configureation details into inetd.conf and then run the following
command.
$ inetconv

$ ps ax | grep inetd
780 ? S 0:00 inetd
1981 pts/4 S 0:00 grep inetd
$ kill -HUP 780

A Basic Samba Configuration FileThe key to configuring Samba is its configuration file, smb.conf.
It should be named smb.conf
and placed in the /usr/local/samba/lib directory:

[global]
workgroup = GARDEN
[test]
comment = For testing only, please
path = /export/tmp
read only = no

# mkdir -p /export/tmp
# chmod 1777 /export/tmp
Encrypted Passwords
Password encryption is one of those areas where interoperability between Windows
and Unix/Linux systems gets extremely messy. Both sides of the fence use a different
nonreversible encryption algorithm, which means that you cannot generically convert
Unix passwords to the LanMan or NT password hashes or vice versa.

encrypt passwords = yes
# smbpasswd -a lizard
New SMB password: <enter password for lizard>
Retype new SMB password: <re-enter password for lizard>
Added user lizard.

System V Unix and most Linux distributionsThe first step to implement this is to modify the
contents of the /etc/rc.d/init.d directory by adding an init script
# /etc/rc.d/init.d/smb start
Starting SMB services:
Starting NMB services:

# ps ax | grep mbd
1268 ? S 0:00 smbd -D
1269 ? S 0:00 smbd -D
1270 ? S 0:00 nmbd -D
1465 pts/2 S 0:00 grep mbd
# /etc/rc.d/init.d/smb stop
Shutting down SMB services:
Shutting down NMB services:

# for i in 3 5; do
> ln -s /etc/rc.d/init.d/smb /etc/rc.d/rc$i.d/S35smb
> done
# for i in 0 1 2 4 6; do
> ln -s /etc/rc.d/init.d/smb /etc/rc.d/rc$i.d/K35smb
> done


![13885 - Uma história do samba - 05 [emendas] · O samba é pai do prazer O samba é filho da dor. Caetano Veloso, “ Desde que o samba é samba” 13885 - Uma história do samba](https://static.fdocuments.net/doc/165x107/5ae903e07f8b9a290490f3a0/13885-uma-histria-do-samba-05-emendas-samba-pai-do-prazer-o-samba-filho-da.jpg)