Robe Fillette (Ric-Rac Dress) Tuto
11
~ 1 ~ http://www.craftinessisnotoptional.com/2011/03/ric-rac-dress -tutorial.html TUESDAY, MARCH 22, 2011 Ric rac dress tutorial Here's how I transformed the Rachel wrap pattern into this retro ric rac d ress! Get the how to after the jump! You'll need: fabric (I used about 1.5 yards for my 2 year old, with leftovers. You need a lot of yardage for the pleats) ric rac (I used under 2 yards) buttons 1/4" elastic (or smaller, I used a scrap) thread Rachel wrap pattern Printable version of this tutorial
Transcript of Robe Fillette (Ric-Rac Dress) Tuto

8/3/2019 Robe Fillette (Ric-Rac Dress) Tuto
http://slidepdf.com/reader/full/robe-fillette-ric-rac-dress-tuto 1/11~ 1 ~
http://www.craftinessisnotoptional.com/2011/03/ric-rac-dress-tutorial.html
TUESDAY, MARCH 22, 2011
Ric rac dress tutorial
Here's how I transformed the Rachel wrap pattern into this retro ric rac d ress!
Get the how to after the jump!
You'l l need:
fabric (I used about 1.5 yards for my 2 year old, with leftovers. You need a lot of yardage
for the pleats)ric rac (I used under 2 yards)
buttons
1/4" elastic (or smaller, I used a scrap)
thread
Rachel wrap pattern
Printable version of this tutorial

8/3/2019 Robe Fillette (Ric-Rac Dress) Tuto
http://slidepdf.com/reader/full/robe-fillette-ric-rac-dress-tuto 2/11~ 2 ~
First, I altered my Rachel wrap pattern-I traced the back and front together-and cut it off
about 2-3 inches below the armpits.
Then I cut the pieces-two for the front (cut them right sides facing) and one of the back. I
do wish I 'd cut a l ining b ecause it 's a t iny bit see through, oh well.
Then I pinned them right sides together at the shoulder seams, and sewed them there, then
serged the edges. (or zig zag stitch)
8/3/2019 Robe Fillette (Ric-Rac Dress) Tuto
http://slidepdf.com/reader/full/robe-fillette-ric-rac-dress-tuto 3/11~ 3 ~
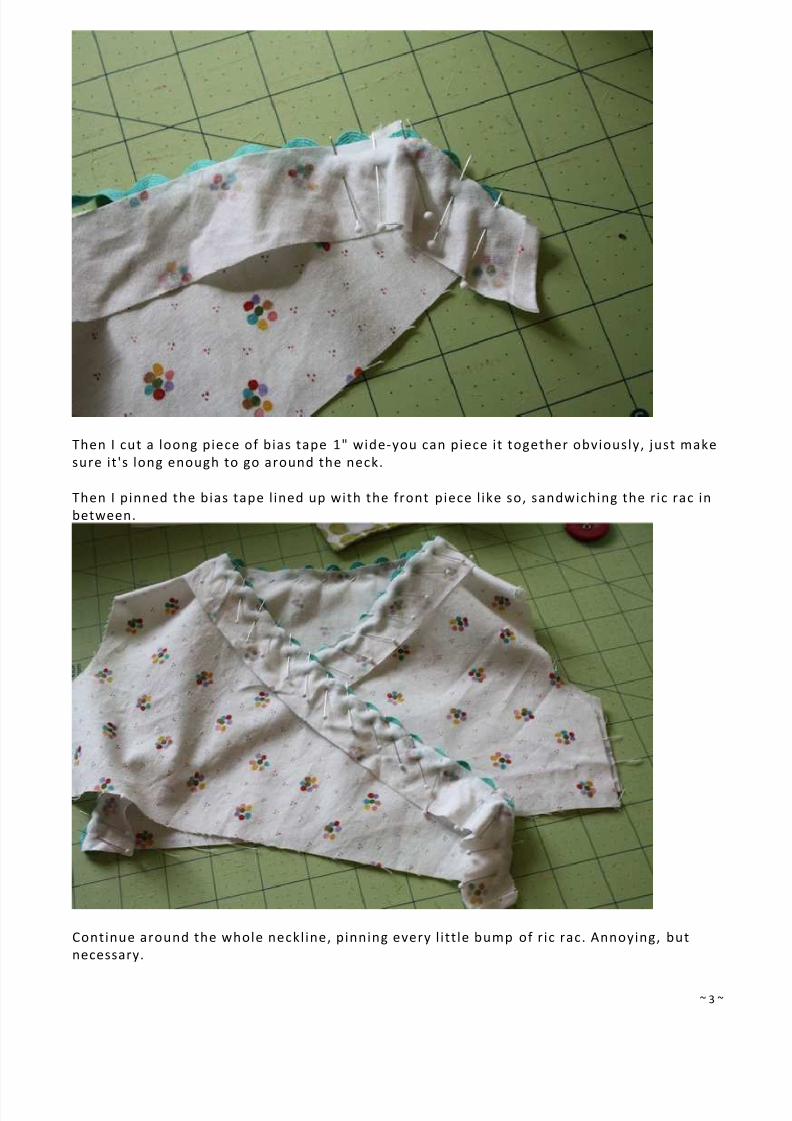
Then I cut a loong piece of bias tape 1" wide-you can piece it together obviously, just make
sure it 's long enough to go around the neck.
Then I pinned the bias tape l ined up with the front piece l ike so, sandwiching the ric rac in
between.
Continue around the whole neckline, pinning every l itt le bump of ric rac. Annoying, but
necessary.

8/3/2019 Robe Fillette (Ric-Rac Dress) Tuto
http://slidepdf.com/reader/full/robe-fillette-ric-rac-dress-tuto 4/11~ 4 ~
Then, sew around where you pinned, making sure your seam is right in the middle of the ric
rac.
Next, on the inside, I folded it over once l ike so..

8/3/2019 Robe Fillette (Ric-Rac Dress) Tuto
http://slidepdf.com/reader/full/robe-fillette-ric-rac-dress-tuto 5/11~ 5 ~
and over again to conceal the raw edges.
Then I pinned it down...

8/3/2019 Robe Fillette (Ric-Rac Dress) Tuto
http://slidepdf.com/reader/full/robe-fillette-ric-rac-dress-tuto 6/11~ 6 ~
and sewed along the inside edge.
Next, the sleeves. I did them just l ike the Charlotte dress sleeves, only I sandwiched some
ric rac in between the sleeve and the binding as well.

8/3/2019 Robe Fillette (Ric-Rac Dress) Tuto
http://slidepdf.com/reader/full/robe-fillette-ric-rac-dress-tuto 7/11~ 7 ~
then I cut a piece of 1/4" elastic to 2" (depends on your button, mine was rather large), and
pinned it to the inside of one of my side seams. Just make sure it 's the side you want to bebuttoning on the inside. (make sense?) Then sew the sides together and f inish your seams.
Next for the skirt. I measured around the bottom of the bodice and got a measurement of
34".
I measured around and f igured I would do pleats every 3 inches. That meant 11 pleats for
my length. I needed 2 extra inches for every pleat so I added 22 " to my 34"=56"+1 inch for
the side hem.
It didn't quite work out perfectly, but it worked out. More on that later. First, I sergedaround the whole thing (and the bottom of the bodice), and ironed over the sides 1/2" and
hemmed them, and the bottom 1" and hemmed that.

8/3/2019 Robe Fillette (Ric-Rac Dress) Tuto
http://slidepdf.com/reader/full/robe-fillette-ric-rac-dress-tuto 8/11~ 8 ~
Then starting from the edge which would be in the front of the dress, I measured 3 i nches
and made a mark. (pretend that's the edge in the pic above) Then I made marks an inch
away on both sides.
Then I pulled over one mark to the center, and then the other, and pinned well.
8/3/2019 Robe Fillette (Ric-Rac Dress) Tuto
http://slidepdf.com/reader/full/robe-fillette-ric-rac-dress-tuto 9/11~ 9 ~
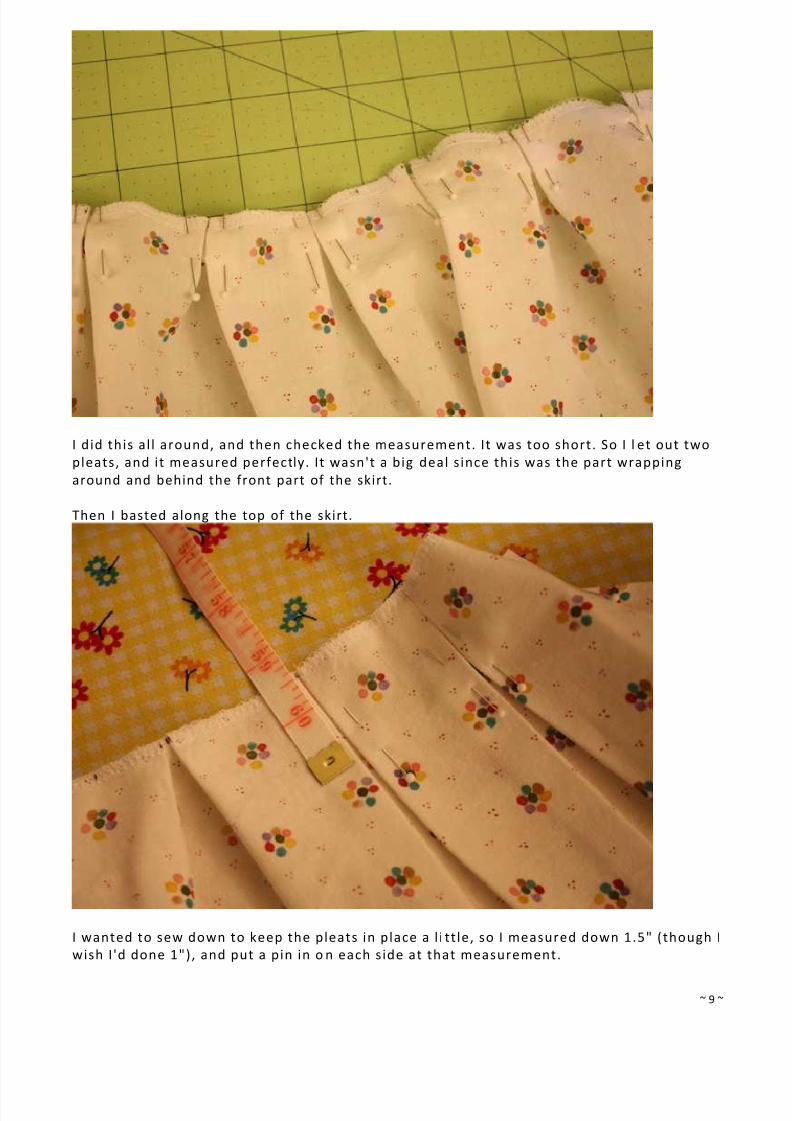
I did this al l around, and then checked the measurement. It was too short. So I l et out two
pleats, and it measured perfectly. It wasn't a big deal s ince this was the part wrapping
around and behind the front part of the skirt.
Then I basted along the top of the skirt.
I wanted to sew down to keep the pleats in place a l i tt le, so I measured down 1.5" (though I
wish I 'd done 1"), and put a pin in o n each side at that measurement.
8/3/2019 Robe Fillette (Ric-Rac Dress) Tuto
http://slidepdf.com/reader/full/robe-fillette-ric-rac-dress-tuto 10/11~ 10 ~
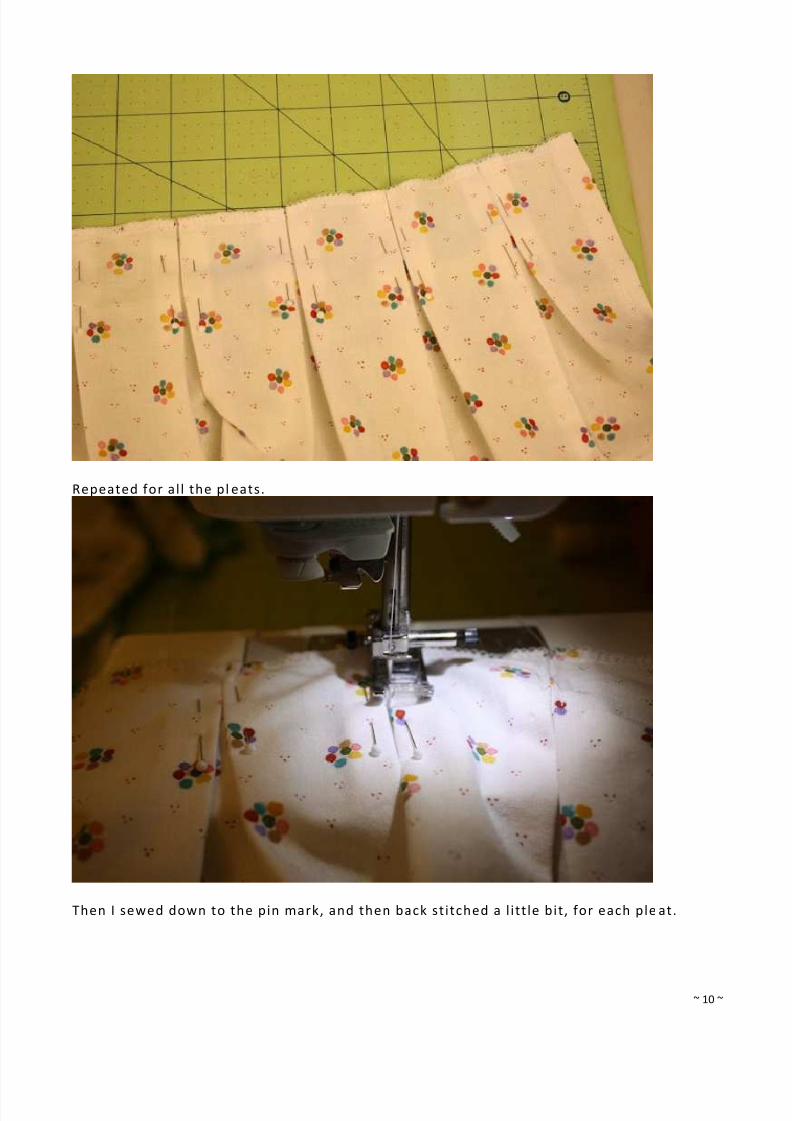
Repeated for al l the pl eats.
Then I sewed down to the pin mark, and then back stitched a l itt le bit, for each ple at.

8/3/2019 Robe Fillette (Ric-Rac Dress) Tuto
http://slidepdf.com/reader/full/robe-fillette-ric-rac-dress-tuto 11/11
This is what it looked l ike after that step-then I s imply pinned the bodice and skirt r ight
sides together and sewed it up!
I also sewed on the button on the inside of the dress, and placed my buttons and button
holes on the front side. V oila!


![Imprimer – Tuto [TUTO] Montage bouton verrouillage_deverrouillage - planète citroën](https://static.fdocuments.net/doc/165x107/5571fffa49795991699e8a7e/imprimer-tuto-tuto-montage-bouton-verrouillagedeverrouillage-planete-citroen.jpg)