R.L. Kellogg, Ph.D. North American Sundial Society June 2013
33
1 R.L. Kellogg, Ph.D. North American Sundial Society June 2013
Transcript of R.L. Kellogg, Ph.D. North American Sundial Society June 2013

1
R.L. Kellogg, Ph.D.North American Sundial Society
June 2013

2
Analemmatic Sundials – The Human Sundial
• The Analemmatic Sundial or “Human” Sundial was first described by M. de Vaulezard in 1640 in a “Treatise on the Usage of the Analemmatic Dial”
• The dial consists of a central way for the shadow casting gnomon.
– The gnomon is positioned according to the date
– The gnomon height is of no consequence, hence ideal for “human” gnomons of varying size
• The hour markers are positioned on an ellipse surrounding the central way
– The size of the ellipse is designed to fit human proportions … typically with a maximum radius of 8-10 feet
– The shape of the ellipse is set by latitude

3
Step 1 Decide on the Sundial Location
• Find a level, sunny area
• Could be a level grassy area away from trees.
– Use pavers to create a walk way where the person will stand to cast his/her shadow
– Use pavers or other markers for the hour marks
– Use acrylic paint to create the monthly standing marks on the walkway and hour marks
• Could be unused, level area of the playground away from basketball hoops or other equipment
– Use acrylic paint to create the monthly standing marks on the walkway and hour marks
4
Step 2 Tools and Materials Required
• Hammer and about 20 nails– Grass: use long nails with ribbons so they don’t get lost
– Asphalt: use concrete or brick nails. Paint the tops yellow or orange so they don’t get lost
• Chalk Line• Two Tape Measures
– Must extend at least 12 feet
• Paint and Masking Tape– Asphalt: Use regular acrylic latex paint. Some acrylic paint comes by
various names such as “Parking Lot Striping Paint”, “Traffic Paint” or “Athletic Field Paint”. Behr, Glidden and Rustoleum all sell versions of this “traffic paint” at Home Depot and Lowe's.
– Concrete playgrounds and pavers stones: will require a sealant before applying the acrylic latex paint. This is available at Home Depot and Lowe's as well.
– BEWARE: The masking tape will not work well and may allow “run under” of the paint. Nevertheless, it provides a good guiding line and prevents small mistakes.

5
Step 2 Tools and Materials Required (cont’d)
• Finding North Using Google Earth– Use Google Earth on Computer to find your position on the earth
– Two stakes (about 2 foot long)
– Chalk Line– Hammer and Nails
• Finding North Using Noon Shadow– Equation of Time from NOAA:
http://www.esrl.noaa.gov/gmd/grad/solcalc/azel.html– Watch set to time from USNO atomic clock:
http://tycho.usno.navy.mil/simpletime.html– Tripod, Plumb Bob and string to hold the Plumb Bob on Tripod
• Finding North Using Stick Shadow– One stake (about 2 foot long)
– Carpenter’s level for finding vertical
– Hammer and Nails

6
Step 3 Mark the Start Position
• Start at the position that will be the center of th e sundial. The dial will occupy an area about 8 foot to either side (ea st-west) and about 5 foot to the north and about 4 foot to the s outh.
• Prepare your marking nails– Grassy Areas: use a large nails with a ribbon or plastic flag so that you can
easily find the nail again. You’ll need about 20 flagged nails in all.
– Asphalt Playgrounds: use small concrete nails. Paint the head of the nails yellow or orange. You can also use a ribbon.
• Hammer one nail into the asphalt or grass and mark the start position of your sundial.

7
Step 4A Find North at the Start Position - Google
• This takes two people• Use Google Earth to locate your position and a dist ant (~300 feet)
identifiable object that is directly north, such as a portion of a building roof, a tree, a distant sign, etc.
– Place a stake at the start position nail
– About 5 feet away have someone move a second stake until it aligns to the background object. Hammer it in the ground
Start Position
Stake
Move StakeFor Alignment
TempNorthNail
Chalk Line
TrueNorth
8
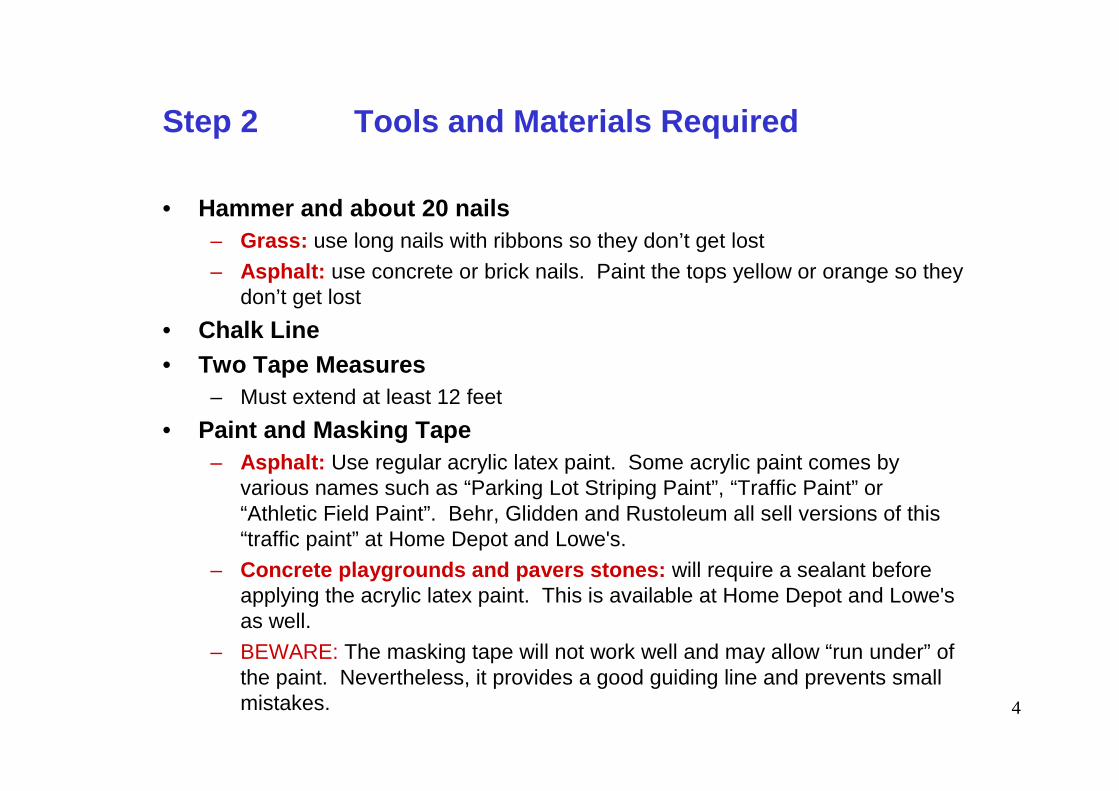
Step 4B Find North at the Start Position - Shadows
• This takes one person for most of the day. At late afternoon, need second person
• Place a stake at the start position nail• Measure stake’s shadow in morning and afternoon
– In the morning, from 9am to 11am, every half hour place a nail at the position of the stake’s shadow tip.
– In the afternoon, from 1pm to 4pm, every half hour place a nail at the position of the stake’s shadow tip.
– IMPORTANT: must nail at the tip of the shadow!
– IMPORTANT: don’t hammer the nails all the way down. They are temporary and will be removed after we’re done
• Next Slide Please
Start Position
Stake
Shadow
Nail
Nail
Nail
Nail

9
Step 4B Find North at the Start Position - Shadows
• With all the nails in place, use the chalk line str ing to “connect” the string from nail to nail. Here’s the top down view
• Now use the tape measure from the stake at the star t nail. Measure out to the 9:30am nail (or other early morning nail … it really doesn’t matter. Remember the shadow nail (place a marker b y it’s side).
• Using the same tape measure length, go to the after noon side andfind where that tape measure length crosses the str ing. Place a new nail at that point.
Nails from Morning Nails from Afternoon
Chalk Line String
StakeAnd
Start Nail

10
Step 4B Find North at the Start Position - Shadows
• Use Tape Measure to Find Places of String Crossing
StakeAnd
Start Nail
Nails from Morning Nails from Afternoon
New PM NailWhere String and
Tape Measure cross
AM Nail
Start by MeasuringTo A Morning Nail
Using Tape Measure
Use Tape MeasureOf Same Length To
Find Where it CrossesChalk Line in PM

11
Step 4B Find North at the Start Position - Shadows
• Next, take the chalk line string and connect the AM and PM Nails. This chalk line string between the AM and PM Nails is now aligned East-West
• Measure the closest distance between the Start Nail and the E-W string. Repeat that distance from the AM and PM Na il.
• Put in new AM and PM Nails. Move the chalk line st ring between these nails. The new E-W line goes through the Sta rt Nail
Start Nail
AM NailPM NailWest
East-West Line East
Start Nail
AM NailPM NailWest
East-West Line East
d dd
New EW Line

12
Step4C Find North at the Start Position - Plumb
• Use NOAA Solar Calculator• http://www.esrl.noaa.gov/gmd/
grad/solcalc/azel.html• Example:
Lat: 44° 20’ 22”Lon: 72° 45’ 14”
Select “Enter Lat/Long”Select Date (e.g. June 15 2013)Select Offset to UTC = 5hr for
Eastern Time ZoneSelect 12:00:00 (24hr)--------------------------------Click Calculate Position--------------------------------EOT = -0.58 min

13
Step 4C Find North at the Start Position - Plumb
• Set a tripod with a hanging plumb bob directly over the Start Nail
• When the sun is on the local meridian, the shadow p oints due North. We need math to find Local Solar Time
Start with you longitude 72.75389 W Dial Longitude (W)Subtract time zone meridian 75.00000 W Eastern Time Zone---------------------------------------------------------------------------------------------------Difference (could be +/-) -2.43611 deg (Minus is East of Meridian)Multiply by 4 deg into minutes -9.74444 minSubtract NOAA Equation of Time - -0.58 min June 15, 2013 12pm EDT---------------------------------------------------------------------------------------------------Time Correction -9.16 min Standard TimeAdd Daylight Saving Time 60.00 min---------------------------------------------------------------------------------------------------
Adjust -50.84 minClock Time + Adjust = Local Solar TimeClock Time = Local Solar Time – AdjustClock Time = 12 hr (noon) + 50.84 minClock Time = 12: 50: 50

14
Step 4C Find North at the Start Position - Plumb
• In our example, we’ve determined that the shadow of the plumb bob string will point due North:
Date: June 15, 2013Time: 12: 50: 50 EDT (clock time)
For Lat: 44 °°°° 20’ 22”Lon: 72 °°°° 45’ 14”
Start PositionNail
Tripod
North
TemporaryNoon Nail
At12:50:50
Plumb Bob Line

15
Step 5A Create N-S and E-W Lines
• Regardless of the method, you’ve now established either an E-W Line or N-S Line
• We use the 3-4-5 right triangle to construct a right angle and complete the additional necessary line.
• Here we show an existing EW line and need to construct a NS line.
• Make sure that existing lines are extended at least 4 foot past the start position Nail
• With 4 people– One holds the tape measure starting at the
Start Nail– One holds the tape measure starting at the 4-
foot Nail– One moves the tape at the 3-foot mark– One moves the other tape at the 5-foot mark
Start Nail 4’ Nail
3’ Tape 5’ Tape
4’
Where the two tapesCross (3’ and 5’)
Put a Nail at that point

16
Step 5B Create N-S and E-W Lines
• Now we should have EW and NS nails that go through the starting nail position
• Out next step is to establish critical points on the NS and EW lines measured from the Start Nail
Start PositionNail
EW Line
NS Line

17
Step 6A Enter Lat/Lon and Dial Parameters
• Use the Analemmatic Spreadsheet– Enter Latitude (decimal degrees)
– Enter Longitude (decimal degrees)
– Enter Dial Size (suggest 8 feet)– Note: Just enter the numbers, the
spreadsheet creates “N”, “W”, and “feet”
• Set the Dial Construction forTimeZone or Local Solar Time
– If you want to use “Zone Time” enter your time zone. Eastern Time Zone is at exactly 75.0000 degrees. This will move the Noon Mark. In the given example, the Noon Mark will be moved 9 minutes 45 sec to the east.
– If you want to use “Local Solar Time” enter your longitude as the Time Zone. This will make the Noon Mark exactly due North
Latitude 44.3395 N <=ENTERScale 8.0 feet <=ENTER
Longitude 72.7539 W <=ENTERTimeZone 72.7539 W <=ENTER
ENTER LOCATION PARAMETERS
Latitude 44.3395 N <=ENTERScale 8.0 feet <=ENTER
Longitude 72.7539 W <=ENTERTimeZone 75.0000 W <=ENTER
ENTER LOCATION PARAMETERS

18
Step 6B Local Time Dial vs Time Zone Dial
Local Time Dial
Time Zone Dial

19
Step 7A Mark East and West Focal Points
• Use the Analemmatic Spreadsheet– Read the focal East and focal West
distances
• Mark focal points on E-W line– From the start location nail, measure
East (+) along the E-W Line and mark the East focal point with a nail that has a ribbon or flag
– Our example is 5 foot 8½ inches– From the start location nail, measure
West (-) along the E-W Line and mark the West focal point with a nail that has a ribbon or flag
Ellipse feet inchesx a 8 --y b 5 7x focus East 5 8 1/2x focus West -5 8 1/2y North Mark 5 7
Ellipse Axes and Focal Points
Start PositionNail
EW Line
Focal (West)Nail
Focal (East)Nail

20
Step 7B Make North Mark
• Use the Analemmatic Spreadsheet– Read the North Mark distance
• Create North Mark on N-S Line– From the start location nail, measure
North and makr the North Mark with a nail that has a ribbon or flag
– Our example is 5 foot 7 inches
• Remove all other extraneous Nails– Remove all other nails from the E-W
Line EXCEPT the two focal nails and the start position nails
– Remove all other nails from the N-S Line EXCEPT the north mark nail and the start location nail
Start PositionNail
EW Line
Focal (West)Nail
Focal (East)Nail
North MarkNail
5ft 8½ in5ft 7 in
Ellipse feet inchesx a 8 --y b 5 7x focus East 5 8 1/2x focus West -5 8 1/2y North Mark 5 7
Ellipse Axes and Focal Points

21
Step 8A Mark Morning Hours
• Use the Analemmatic Spreadsheet– Use the Morning Hour Table
– Once you get going, you can do the 5, 6, 7, 8, and 9am hour marks very rapidly.
– Suggest that you use only the hour distances. Ignore the half-hour values (at least until you get the dial laid out and decide to add the additional markers)
– The next step requires 5 people … so prepare !!
feet inches feet inches7 10 1/4 10 5 1/47 11 1/2 10 1 1/28 -- 9 97 11 1/2 9 3 1/27 10 1/4 8 97 8 1/4 8 1 3/47 5 1/2 7 5 1/27 2 1/4 6 8 1/26 10 3/4 5 10 1/2
Distancefrom north mark
Distancefrom center (0,0)
Standard Time West North
Hour Minute x (feet) y (feet)5 0 -7.73 -1.455 30 -7.93 -0.736 0 -8.00 0.006 30 -7.93 0.737 0 -7.73 1.457 30 -7.39 2.148 0 -6.93 2.808 30 -6.35 3.409 0 -5.66 3.95

22
Step 8B Mark Morning Hours
Focal FocalCenter
7’ 10 ¼”
8’ 9”
• Measure from the Start Point and from the North Mark
– One person holds the tape measure on the start point (center) A second person runs the tape out to the West
– One person holds their tape measure on the north mark. A fourth person runs the tape out to the West
– Use the table distances and cross the tapes until they match at those distances. It helps to have a fifth person with clip board reminding the tape “runners” of the distance they need to use.
• Example: 7am Marker– From Center 7ft 10¼ in– From North Mark 8 ft 9 in

23
Step 8C Mark Afternoon Hours
• Now that you’ve done the 5am – 9am, flip to the afternoon hours and do 3pm – 7pm
– Use the Afternoon Hour Table
6 10 3/4 5 10 1/27 2 1/4 6 8 1/27 5 1/2 7 5 1/27 8 1/4 8 1 3/47 10 1/4 8 97 11 1/2 9 3 1/28 -- 9 97 11 1/2 10 1 1/27 10 1/4 10 5 1/4
feet inches feet inches
Distancefrom north mark
Distancefrom center (0,0)
Standard Time West North
Hour Minute x (feet) y (feet)
3 0 5.66 3.953 30 6.35 3.404 0 6.93 2.804 30 7.39 2.145 0 7.73 1.455 30 7.93 0.736 0 8.00 0.006 30 7.93 -0.737 0 7.73 -1.45

24
Step 8A Mark Mid-Day Hours
• For Mid-Day Hour Marks, we use the same technique, but the measuring references are the two focal poin ts.
– Use the Mid-Day Table
– Again this requires 5 people
9 0 -5.66 3.95 3 11 1/4 12 1/29 30 -4.87 4.44 4 6 11 5 3/4
10 0 -4.00 4.84 5 1 1/2 10 10 1/410 30 -3.06 5.17 5 9 1/2 10 2 1/411 0 -2.07 5.40 6 6 9 5 3/411 30 -1.04 5.54 7 3 8 8 3/412 0 0.00 5.59 8 -- 8 --12 30 1.04 5.54 8 8 3/4 7 31 0 2.07 5.40 9 5 3/4 6 61 30 3.06 5.17 10 2 1/4 5 9 1/22 0 4.00 4.84 10 10 1/4 5 1 1/22 30 4.87 4.44 11 5 3/4 4 63 0 5.66 3.95 12 1/2 3 11 1/4
Standard Time West North
Hour Minute x (feet) y (feet) feet inches feet inches
Distancefrom west focus (-)
Distancefrom east focus (+)
25
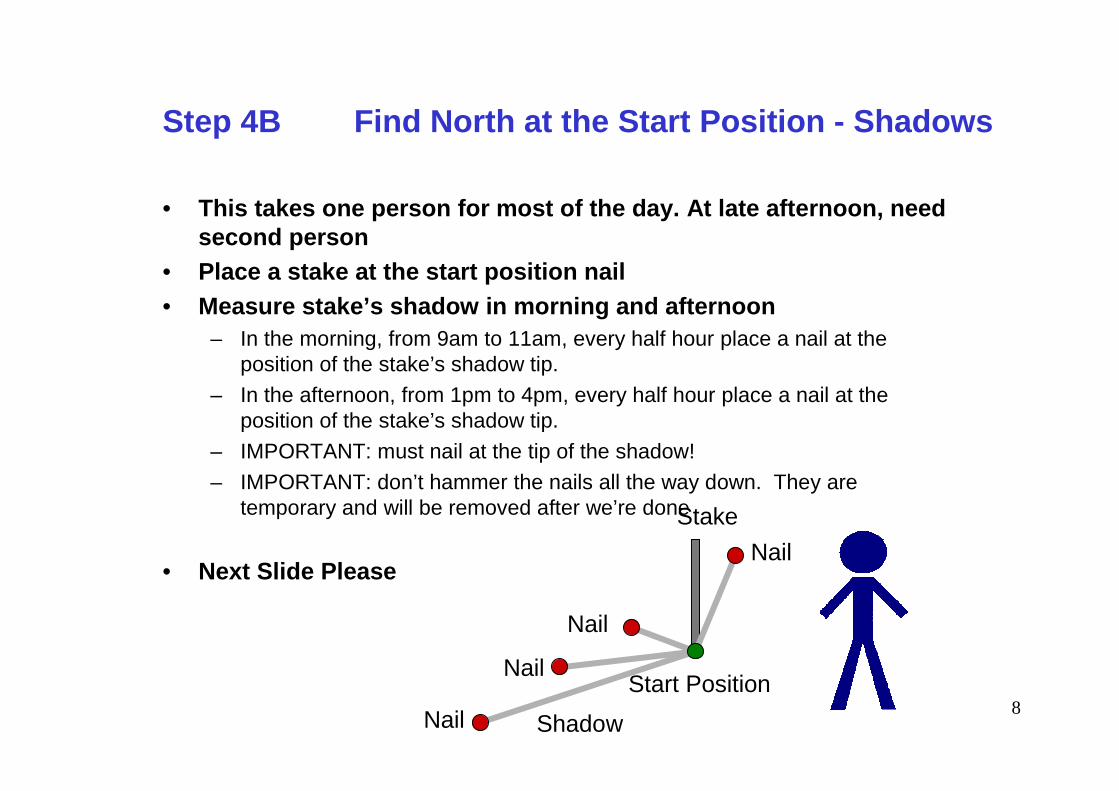
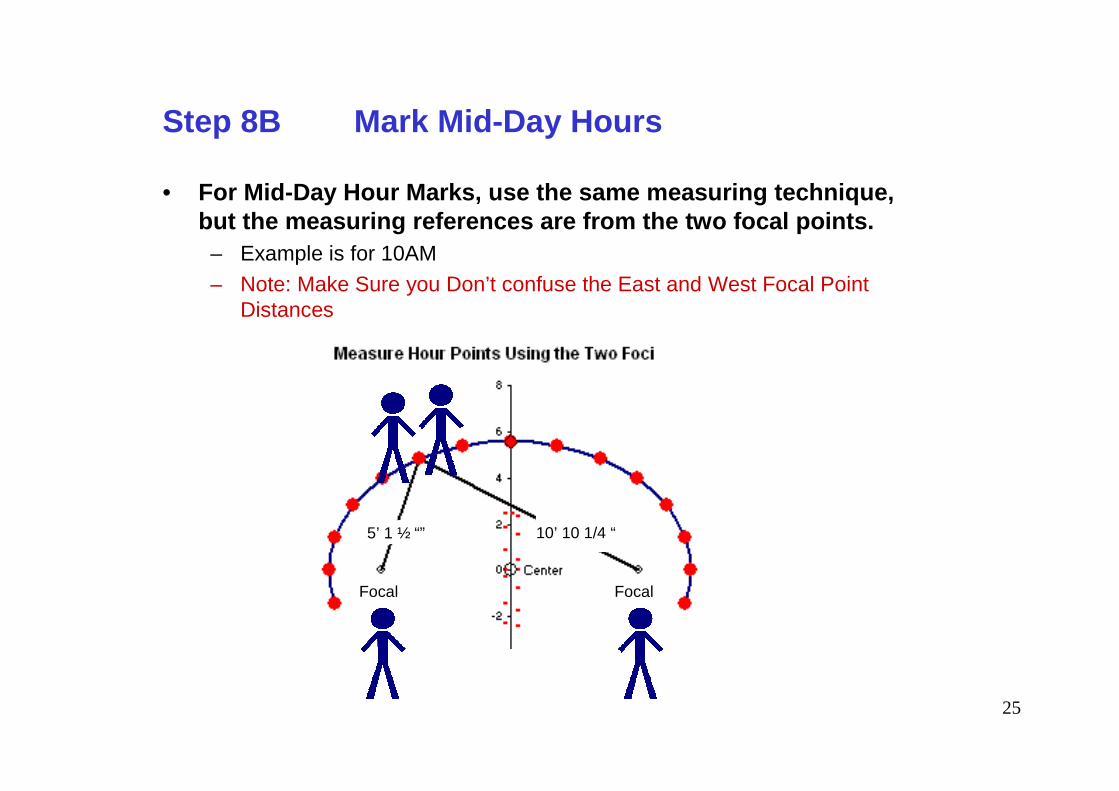
Step 8B Mark Mid-Day Hours
• For Mid-Day Hour Marks, use the same measuring tech nique, but the measuring references are from the two focal points.
– Example is for 10AM
– Note: Make Sure you Don’t confuse the East and West Focal Point Distances
Focal Focal
5’ 1 ½ “” 10’ 10 1/4 “

26
Step 9A Lay Out the Walkway
• All Measurements are made from the North Mark.
– If you’ve selected Local Solar Time, then the North Mark and the 12 noon Marker are the same
– If you’ve selected the Time Zone option, BE CAREFUL. The North Mark and the 12 noon Marker will be close to each other, but they are not the same. Only the North Mark lays on the N-S line running through the dial center start point
• Marks are made for the first of each month, plus special marks for the solstices and equinoxes
Sun Measure South From N-MarkMonth Day (deg) feet inches E/W mark
Solstice 356 -23.44 # 8 3/4 0Jan 1 1 -23.03 # 8 1/4 0.25Feb 1 32 -17.22 # 7 4 1/4 0.25Mar 1 60 -7.74 # 6 4 1/4 0.25
Equinox 80 0.00 # 5 7 0.25Apr 1 91 4.38 # 5 1 3/4 0.25May 1 121 14.96 # 4 1/2 0.25Jun 1 152 22.00 # 3 3 1/4 0.25
Solstice 173 23.44 # 3 1 1/4 0Jul 1 182 23.13 # 3 1 3/4 -0.25Aug 1 213 18.12 # 3 8 1/2 -0.25Sep 1 244 8.43 # 4 8 3/4 -0.25
Equinox 266 0.00 # 5 7 -0.25Oct 1 274 -3.02 # 5 10 1/2 -0.25Nov 1 305 -14.30 # 7 1/2 -0.25Dec 1 335 -21.74 # 7 10 1/4 -0.25
Solstice 356 -23.44 # 8 3/4 0
Walkway Place to Stand

27
Step 9B Lay Out the Walkway
8’ ¾”
Winter Solstice
Summer Solstice
3’ 1 ¾”
Example for Lat44° 20’ 22”
Month Marks

28
Step 9C Lay Out the Walkway
• Typical Layout– Notice the Central Line. You put one
foot on each side and stand on the date.
– Notice that June and December are very squashed, so you may have to use thin month separator lines.
– If this is a paver walkway, extend it north beyond the summer solstice mark and south beyond the winter solstice. mark so that you have a place to stand.

29
Step 10 Hour Marks
• You can make the hour marks of any design.
– Circular with standard time hours (that is, 12pm near or at the North Mark)
– If the dial is only used during summer weather, daylight savings time can be used. In that case the 1pm is near or at the North Mark
– Maybe you want to show both standard and daylight savings time. Use two different colors.
– Make the hour markers 6-8 inches in diameter

30
Some Analemmatic Dials

31
Big Plastic Template Done Inside First

32
More Analemmatic Dials

33
More Analemmatic Dials