report in respiratory suctioning
29
RESPIRATORY FUNCTIONING
-
Upload
dell-escalante -
Category
Documents
-
view
230 -
download
1
description
report in respiratory suctioning
Transcript of report in respiratory suctioning

RESPIRATORY FUNCTIONING
SUCTIONING
• ASPIRATING SECRETIONS THROUGH A CATHETER CONNECTED TO A SUCTION MACHINE OR WALL SUCTION OUTLET.
OROPHARYNGEAL, NASOPHARYNGEAL,
NASOTRACHEAL SUCTIONINGPURPOSES:• To remove secretions that obstruct the airway• To facilitate ventilation• To obtain secretions for diagnostic purposes• To prevent infection that may result from accumulated secretions.
ASSESSMENT:Assess for clinical signs indicating the need for suctioning:RestlessnessGurgling sounds during respirationAdventitious breath sounds when the chest is auscultatedChange in mental statusSkin colorRate and pattern of respirationsPulse rate and rhythmDecreased oxygen saturation
EQUIPMENTS:ORAL AND NASOPHARYNGEAL/NASOTRACHEAL SUCTIONINGTowel or moisture-resistant padPortable or wall suction machine with tubing, collection
receptacle, and suction pressure gaugeSterile disposable container for fluidsSterile normal saline or waterGoggles or face shield, if appropriateMoisture-resistant disposal bagSputum trap if specimen is to be collected
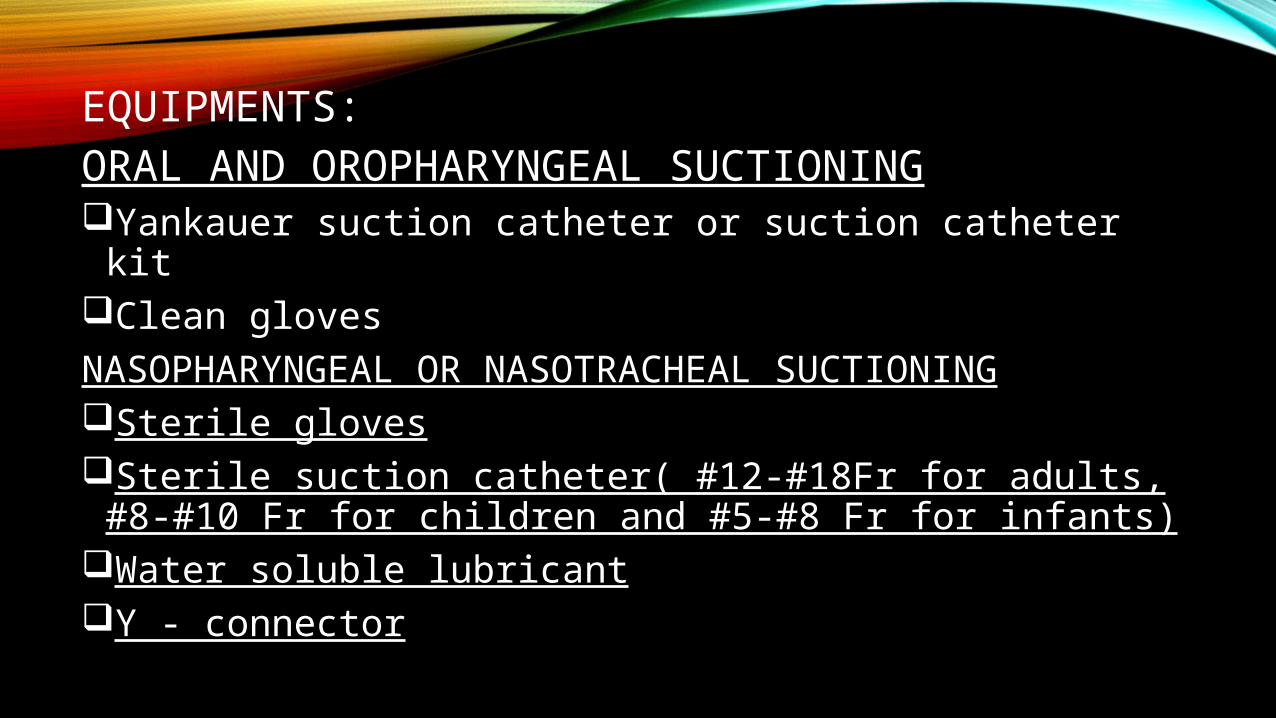
EQUIPMENTS:ORAL AND OROPHARYNGEAL SUCTIONINGYankauer suction catheter or suction catheter kitClean glovesNASOPHARYNGEAL OR NASOTRACHEAL SUCTIONINGSterile glovesSterile suction catheter( #12-#18Fr for adults, #8-#10 Fr
for children and #5-#8 Fr for infants)Water soluble lubricantY - connector
IMPLEMENTATION:PERFORMANCE1. Prior to performing the procedure, introduce self and verify
the client’s identity using agency protocol. Explain to the client what are you going to do.
2. Perform hand hygiene and observe other appropriate infection control procedures.
3. Provide for client privacy.4. Prepare the client.• Position a conscious person who has a functional gag reflex in
the semi- fowler’s position with the head turned to one side for oral suctioning or with the neck hyperextended for nasal suctioning.
• Position an unconscious client in the lateral position facing you.• Place the towel or moisture-resistant pad over the pillow
or under the chin.5. Prepare the equipment.• Set the pressure on the suction gauge, and turn on the
suction. Many suction devices are calibrated to three pressure ranges.• Wall unitADULT: 100-120 mmHgCHILD: 95-110 mmHgINFANT: 50-95 mmHg
• Portable unitADULT: 10-15 mmHgCHILD: 5-10 mmHgINFANT: 2-5 mmHgFOR ORAL AND OROPHARYNGEAL SUCTION• Moisten the tip of the yankauer or suction catheter with
sterile water or saline.• Pull the tongue forward if necessary, with gauze• Do not apply suction (that is, leave your finger off the
port) during insertion.• Advance the catheter about 10-15 cm. along 1 side of the
mouth into the oropharynx.

• It may be necessary during oropharyngeal suctioning to apply suction to secretions that collect in the vestibule of the mouth and beneath the tongue.
FOR NASOPHARYNGEAL AND NASOTRACHEAL SUCTION• Open the lubricant if performing nasopharyngeal/
nasotracheal suctioning.• Open the sterile suction package.a. Set up the cup or container, touching only the outside.b. Pour sterile water or saline into the container.c. Put on the sterile gloves, or put on a non sterile glove on
the dominant hand.
• With your sterile gloved hand, pick up the catheter and attach it to the suction unit.
6. Make an appropriate measure of the depth for the insertion of catheter and test the equipment.• Measure the distance between the tip of the client’s nose
and the earlobe, or about 13cm (5 in.) in adults.• Mark the position on the tube with the fingers of the
sterile gloved hand.• Test the pressure of the suction and the patency of the
catheter by applying your sterile gloved finger or thumb to the port or open branch of the Y- connector to create suction.• If needed, apply or increase supplemental oxygen.
7. Lubricate and introduce the catheter.• Lubricate the catheter tip with sterile water, saline, or
water-soluble lubricant.• Remove oxygen with the non dominant hand, if
appropriate.• Without applying suction, insert the catheter the
premeasured or recommended distance into either nares and advance it along the floor of the nasal cavity.• Never force the catheter against an obstruction. If one
nostril is obstructed, try the other.

8. Perform suctioning.• Apply your finger to the suction control port to start suction,
and gently rotate the catheter.• Apply suction for 5-10 seconds while slowly withdrawing the
catheter, then remove your finger from the control and remove the catheter.• A suction attempt should last only 10-15 seconds. During this
time, the catheter is inserted, the suction applied and discontinued and the catheter removed.
9. Rinse the catheter and repeat suctioning as above.10. Obtain a specimen if required.• Use a sputum trap• Attach the suction catheter to the tubing of the sputum trap.
• Attach the suction tubing to the sputum trap air vent.• Suction the client.• Remove the catheter from the client.• connect the tubing of the sputum trap to the airvent.• Connect the suction catheter to the tubing.• Flush the catheter to remove the secretions from the
tubing.11. Promote client comfort.12. Dispose the equipment and ensure the availability for the next suction.13. Assess effectiveness of suctioning.14. Document relevant data.
TRACHEOSTOMY
PURPOSES:• To maintain patent airway and prevent airway obstructions.• To promote respiratory function.• To prevent pneumonia that may result from accumulated
secretions.ASSESSMENT:Assess the client for the presence of congestion on auscultation of thorax. Note the client’s ability or inability to remove the secretions through.
EQUIPMENT:Resuscitation bag connected to 100% oxygen.Sterile towelEquipment for suctioningGoggles and maskGown Sterile glovesMoisture-resistant bag
IMPLEMENTATION:PERFORMANCE
1. Prior to performing the procedure, introduce self and verify the client’s identity using agency protocol. Explain to the client what are you going to do.
2. Perform hand hygiene and observe other appropriate infection control procedures.
3. Provide for client privacy.4. Prepare the client.• If not contraindicated because of health, place the client in a
semi-fowler’s position to promote deep breathing, maximum lung expansion, and productive coughing.

• If necessary, provide analgesia before suctioning. Endotracheal suctioning stimulates the cough reflex which can cause pain for client’s who have had thoracic or abdominal surgery or who have had thoracic or abdominal surgery or clients who have had traumatic injury.
5. Prepare the equipment.• Attach the resuscitation apparatus to the oxygen source. Adjust
the oxygen flow to 100%.• Open sterile supplies in readiness for use.• Place the sterile towel, if used, across the client’s chest below the
tracheostomy.• Turn on the suction and set the pressure in accordance with
agency policy. • WALL UNIT- ADULT: 100-120 mmHg CHILDREN AND INFANTS: 50-
95 mmHg.
• put on goggles, mask and gown if necessary.• Put on sterile gloves.• Holding the catheter in the dominant hand and the
connector in the non dominant hand, attach the suction catheter to the suction tubing.
6. Flush and lubricate the catheter.• Using the dominant hand, place the catheter tip in the
sterile saline solution.• Using the thumb of the nondominant hand, occlude the
thumb control and suction a small amount of the sterile solution through the catheter.
7. If the client does not have copious secretions, hyperventilate the lungs with a resuscitation bag before suctioning.• Summon an assistant if one is available for this step.• Using your non dominant hand, turn on the oxygen to 12-
15 L/min.• If the client is receiving oxygen, disconnect the oxygen
source from the tracheostomy tube using your non dominant hand.• Attach the resuscitator to the tracheostomy or
endotracheal tube.• Compress the Ambu bag 3-5x, as the client inhales.
• Observe the rise and fall of the client’s chest to assess the adequacy of each ventilation.• Remove the resuscitation device and place it on the bed
or the client’s chest with the connector facing up.8. If the client has copious secretions, do not hyperventilate with a resuscitator.• Keep the regular oxygen delivery device on and increase
the liter flow or adjust the FiO2 to 100% for several breaths before suctioning.
9.Quickly but gently insert the catheter without applying any suction.
• With your non dominant thumb off the suction port, quickly but gently insert the catheter into the trache through thw tracheostomy tube.• Insert the catheter about 12.5 cm for adults, less for children,
or until the client coughs or you feel resistance.10. Perform suctioning.• Apply suction for 5-10 secs.by placing the non dominant
thumb over the thumb port.• Rotate the catheter by rolling it between your thumb and
forefinger while slowly withdrawing it.• Withdraw the catheter completely and release the suction.• Hyperventilate the client.• Suction again, if necessary.
11. Reassess the client’s oxygenation satus and repeat suctioning. 12. Dispose equipment and ensure availability for the next suction.13. Provide client comfort and safety.14. Document relevant data.
THORACENTESIS
An invasive procedure that involves insertion of needle into the pleural space for the removal of pleural fluid or air.
The nurse assists the client to assume a position that allows easy access to the intercostal spaces. This is usually a sitting position with the arms above the head, which spreads the ribs and enlarges the intercostal space.
TWO POSITIONS COMMONLY USED:
• Arm is elevated and stretched forward
• Client leans forward over a pillow.
A site on the lower posterior chest is often used to remove fluid, and site on the upper anterior chest is used to remove air.
Before the procedure:Explain the procedure to the client. Normally, the client may
experience some discomfort and a feeling of pressure when the needle is inserted. The procedure may bring considerable relief if breathing has been difficult. The procedure takes only a few minutes, depending primarily on the time it takes for the fluid to drain from the pleural cavity.
To avoid puncturing the lungs, it is important for the client not to cough while the needle is inserted. Explain when and where the procedure will occur and who will be present.
Help position the client and cover the client as needed with a bath blanket.
During the procedure:Support the client verbally and describe the steps of the
procedure as needed.Observe client for signs of distress such as dyspnea,
pallor, and coughing
Collect drainage and laboratory specimens.Place a small sterile dressing over the site of the puncture. After the procedure:Assess PR and RR and skin color.Don’t remove more than 1000 ml of fluid from pleural cavity
within the first 30 minutes.Observe changes in the client’s cough, sputum, respiratory depth,
and breath sounds and note complaints if chest pain.Position the client appropriately. Some agency protocols
recommend that the client lie on the unaffected side with the head of the bed elevated 30 degrees for at least 30 mins.because this position facilitates expansion of the affected lung and eases respirations.
Document all relevant information.