Repainting Instruction for Cosmetic Plastic Cover a clean and well-ventilated location for the...
15
Description Date Page Repainting Instruction for Cosmetic Plastic Cover 2014-09-22 1 (14) Document no. Revision Responsible Approved 55026 R4 Simon Månsson Magnus Lundegård Repainting Instruction Repainting Instruction for Cosmetic Plastic Cover
Transcript of Repainting Instruction for Cosmetic Plastic Cover a clean and well-ventilated location for the...

Description Date Page
Repainting Instruction for Cosmetic Plastic Cover 2014-09-22 1 (14)
Document no. Revision Responsible Approved
55026 R4 Simon Månsson
Magnus
Lundegård
Repainting Instruction
Repainting Instruction for Cosmetic Plastic Cover

Description Date Page
Repainting Instruction for Cosmetic Plastic Cover 2014-09-22 2 (14)
Document no. Revision Responsible Approved
55026 R4 Simon Månsson
Magnus
Lundegård
1 CONTENTS
1 CONTENTS ........................................................................ 2
2 INTRODUCTION ................................................................ 3
3 TOOLS .............................................................................. 4
4 PREPAIRATIONS ................................................................ 5
5 REPAINTING INSTRUCTIONS ............................................ 10

Description Date Page
Repainting Instruction for Cosmetic Plastic Cover 2014-09-22 3 (14)
Document no. Revision Responsible Approved
55026 R4 Simon Månsson
Magnus
Lundegård
2 INTRODUCTION
This document describes general instructions when repainting cosmetic exchangeable covers on the Axis Fixed Dome series. Any attempt to colorize a cover should only be made after reading this document thoroughly. Please note that Axis does not take any responsibility for repainting or colorization of covers, nor the results of this action. For product warranty information please see: http://www.axis.com/warranty/nwvideo.htm Please note that in this document a number of symbols are used to indicate extra attention.
Indicates a higher than normal risk or consequence in the procedure.
Indicates that the procedure includes irritant chemicals and appropriate precautions should be taken.
Important! Read this section more carefully to keep it in mind under the procedure.

Description Date Page
Repainting Instruction for Cosmetic Plastic Cover 2014-09-22 4 (14)
Document no. Revision Responsible Approved
55026 R4 Simon Månsson
Magnus
Lundegård
3 TOOLS
All tools that are needed for the painting process can be seen in the table and picture below.
Table 1, Tools required list
Tools required list
Type of tool Number of tools Specification
Scissors 1 -
Masking tape 1 -
Paper 1 -
Pencil/pen 1 -
Wire cutter 1 -
Safety glasses 1 -
Protective gloves 1 -
Respirator mask 1 -
Cloth 1 -
Spray paint/primer 1 -
Figure 1, Tools for the painting process.

Description Date Page
Repainting Instruction for Cosmetic Plastic Cover 2014-09-22 5 (14)
Document no. Revision Responsible Approved
55026 R4 Simon Månsson
Magnus
Lundegård
4 PREPARATIONS
All coloration should be done with water resistant color suitable for plastic materials. Different products contain hazardous substances that may cause skin and respiratory irritation and is harmful when swallowed. Take precautions to avoid eye and skin contact. Wear suitable protective clothing, gloves and face protection.
Choose a clean and well-ventilated location for the painting procedure.
1. Remove the cover from the camera and place it on protective paper.
Figure 2, Fixed Dome cover. If the cable is to be installed from the side of the camera, cut the cable hole before painting.
Figure 3, Cut cable hole.
Description Date Page
Repainting Instruction for Cosmetic Plastic Cover 2014-09-22 6 (14)
Document no. Revision Responsible Approved
55026 R4 Simon Månsson
Magnus
Lundegård
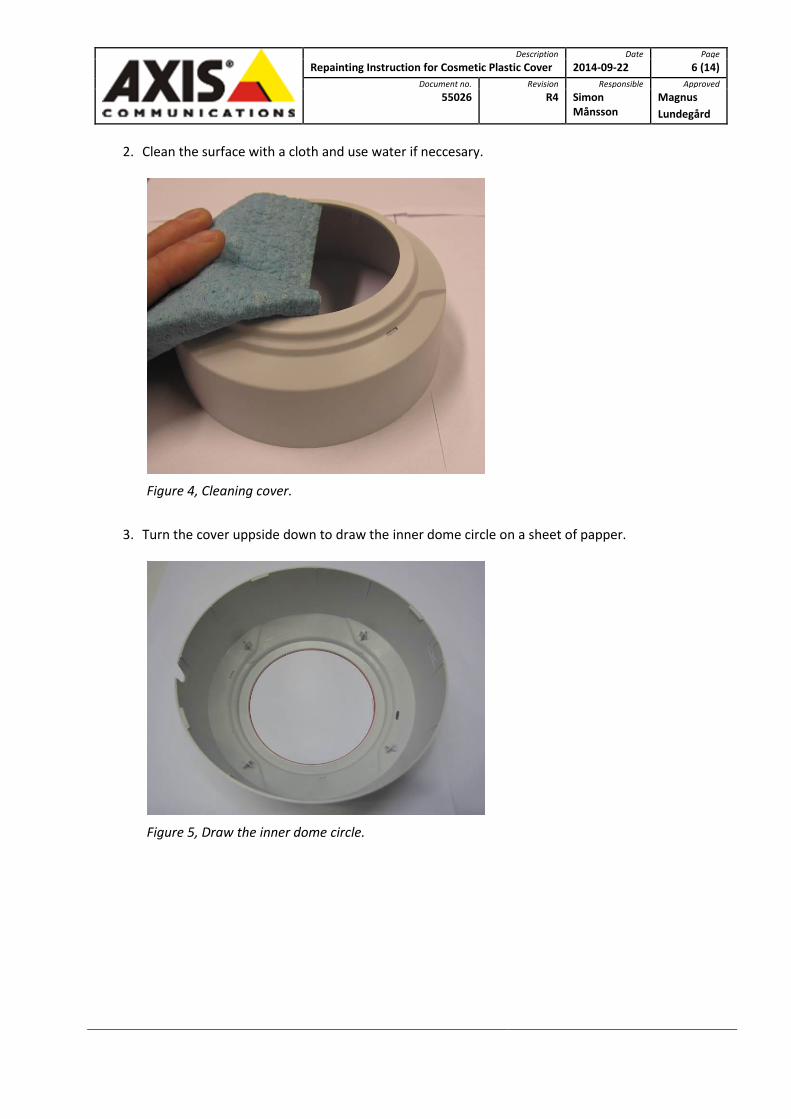
2. Clean the surface with a cloth and use water if neccesary.
Figure 4, Cleaning cover.
3. Turn the cover uppside down to draw the inner dome circle on a sheet of papper.
Figure 5, Draw the inner dome circle.

Description Date Page
Repainting Instruction for Cosmetic Plastic Cover 2014-09-22 7 (14)
Document no. Revision Responsible Approved
55026 R4 Simon Månsson
Magnus
Lundegård
4. Cut out a circle 5 - 10 mm larger than the drawn circle to make it possible to fasten the circle on the inside of the cover.
Figure 6, Cut out the inner dome circle.
5. Fasten the paper circle on the inside of the cover with tape.
Figure 7, Masking cover.

Description Date Page
Repainting Instruction for Cosmetic Plastic Cover 2014-09-22 8 (14)
Document no. Revision Responsible Approved
55026 R4 Simon Månsson
Magnus
Lundegård
If the cable is to be installed from the side of the camera, the cut out space for the cable should be masked with tape.
Figure 8, Masking cable hole.
6. If the cover has holes for LED, microphone or any other, they do not need to be masked.
Figure 9, LED hole.

Description Date Page
Repainting Instruction for Cosmetic Plastic Cover 2014-09-22 9 (14)
Document no. Revision Responsible Approved
55026 R4 Simon Månsson
Magnus
Lundegård
7. The cover is now ready to be painted.
Figure 10, Masked cover.
Description Date Page
Repainting Instruction for Cosmetic Plastic Cover 2014-09-22 10 (14)
Document no. Revision Responsible Approved
55026 R4 Simon Månsson
Magnus
Lundegård
5 REPAINTING INSTRUCTIONS
All coloration should be done with water resistant color suitable for plastic materials. Different products contain hazardous substances that may cause skin and respiratory irritation and is harmful when swallowed. Take precautions to avoid eye and skin contact. Wear suitable protective clothing, gloves and face protection.
Choose a clean and well-ventilated location for the painting procedure.
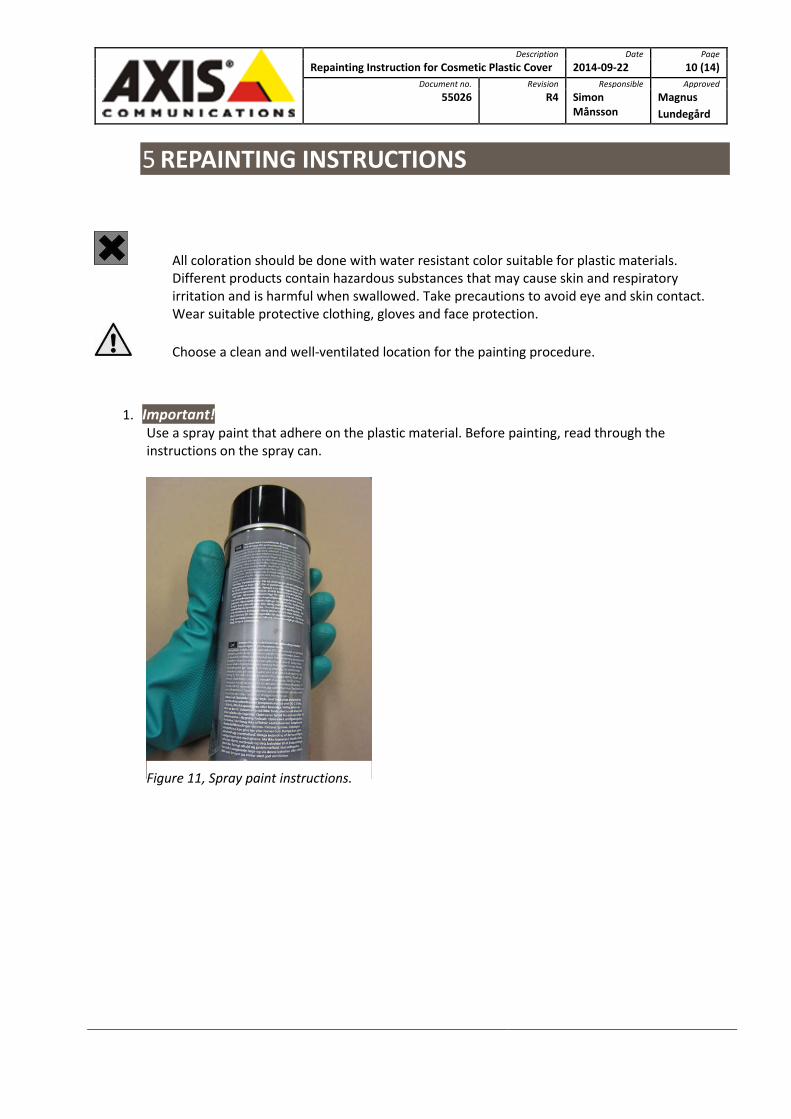
1. Important! Use a spray paint that adhere on the plastic material. Before painting, read through the instructions on the spray can.
Figure 11, Spray paint instructions.

Description Date Page
Repainting Instruction for Cosmetic Plastic Cover 2014-09-22 11 (14)
Document no. Revision Responsible Approved
55026 R4 Simon Månsson
Magnus
Lundegård
2. For best result, use a primer before spray painting. The primer will help the paint adhere better to the surface.
Figure 12, Base with primer.
3. Shake the spray can well before using. Apply an even layer of the primer on the entire cover.
Important! Wait for the primer to dry according to the instructions on the primer.
Figure 13, Wait for the primer to dry.
Description Date Page
Repainting Instruction for Cosmetic Plastic Cover 2014-09-22 12 (14)
Document no. Revision Responsible Approved
55026 R4 Simon Månsson
Magnus
Lundegård
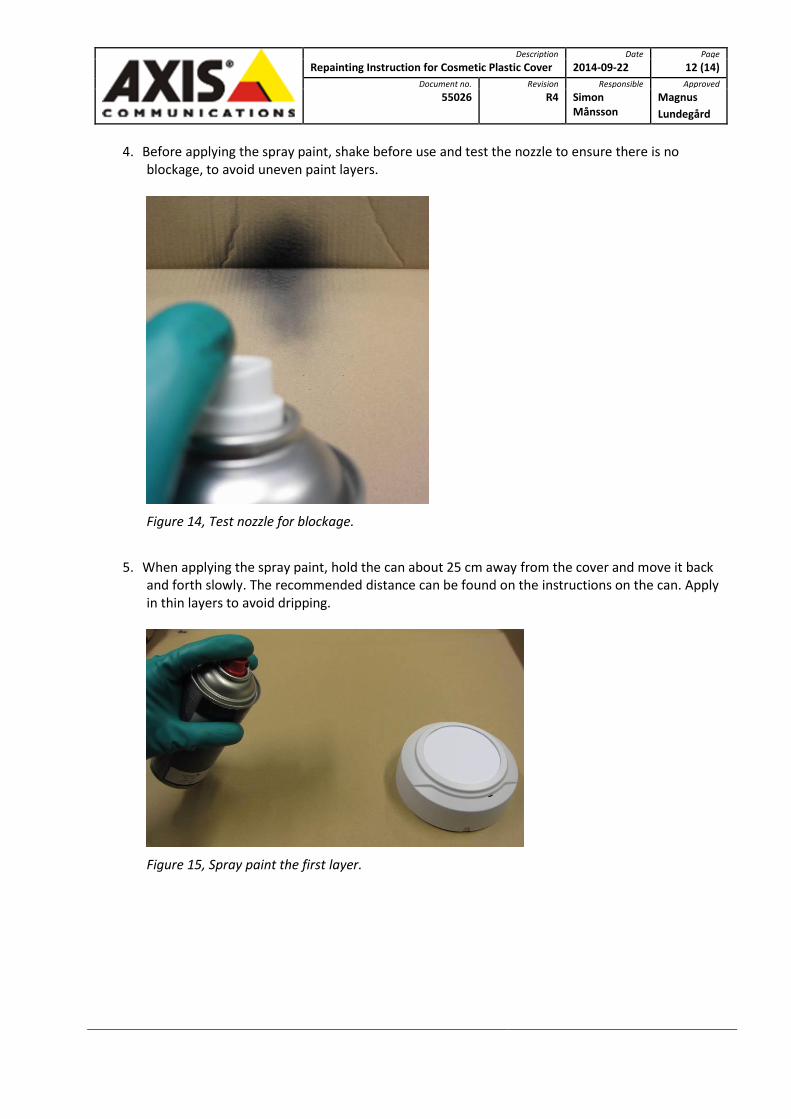
4. Before applying the spray paint, shake before use and test the nozzle to ensure there is no blockage, to avoid uneven paint layers.
5. When applying the spray paint, hold the can about 25 cm away from the cover and move it back and forth slowly. The recommended distance can be found on the instructions on the can. Apply in thin layers to avoid dripping.
Figure 15, Spray paint the first layer.
Figure 14, Test nozzle for blockage.

Description Date Page
Repainting Instruction for Cosmetic Plastic Cover 2014-09-22 13 (14)
Document no. Revision Responsible Approved
55026 R4 Simon Månsson
Magnus
Lundegård
6. Wait for the paint to dry according to the paint instructions.
Figure 16, Wait for the paint to dry.
7. Apply a second layer of paint if necessary. A second layer will result in better coverage and clearer
color.
Figure 17, Spray paint second layer.
8. Wait for the paint to dry. Remove the paper circle and tape from the cover.
Figure 18, Remove the masking.
Description Date Page
Repainting Instruction for Cosmetic Plastic Cover 2014-09-22 14 (14)
Document no. Revision Responsible Approved
55026 R4 Simon Månsson
Magnus
Lundegård
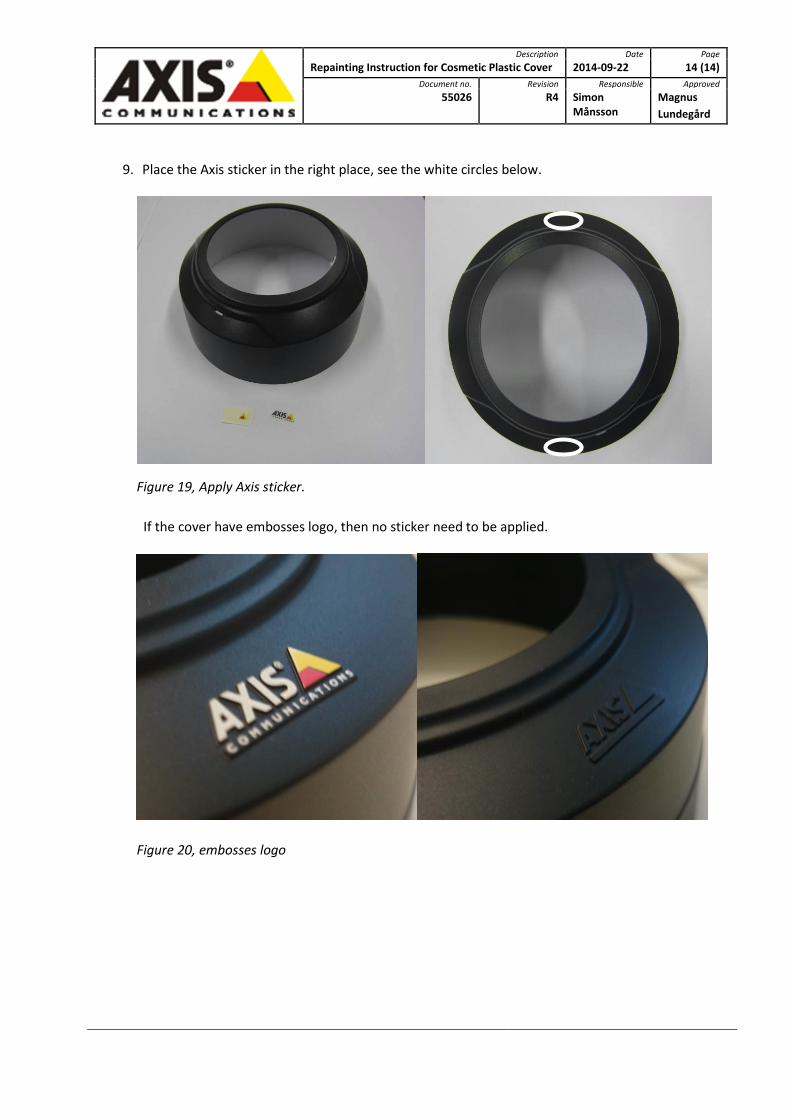
9. Place the Axis sticker in the right place, see the white circles below.
If the cover have embosses logo, then no sticker need to be applied.
Figure 19, Apply Axis sticker.
Figure 20, embosses logo

Description Date Page
Repainting Instruction for Cosmetic Plastic Cover 2014-09-22 15 (14)
Document no. Revision Responsible Approved
55026 R4 Simon Månsson
Magnus
Lundegård
10. Attach the cover to the camera unit.
End of Document
Figure 21, The cover is ready to be placed on a camera again.