Primary eye care Doctor of Optometry Care Of Ophthalmic Instruments
35
Care Of Ophthalmic Instruments
-
Upload
sahibzada-anjum-nadeem -
Category
Healthcare
-
view
380 -
download
5
Transcript of Primary eye care Doctor of Optometry Care Of Ophthalmic Instruments
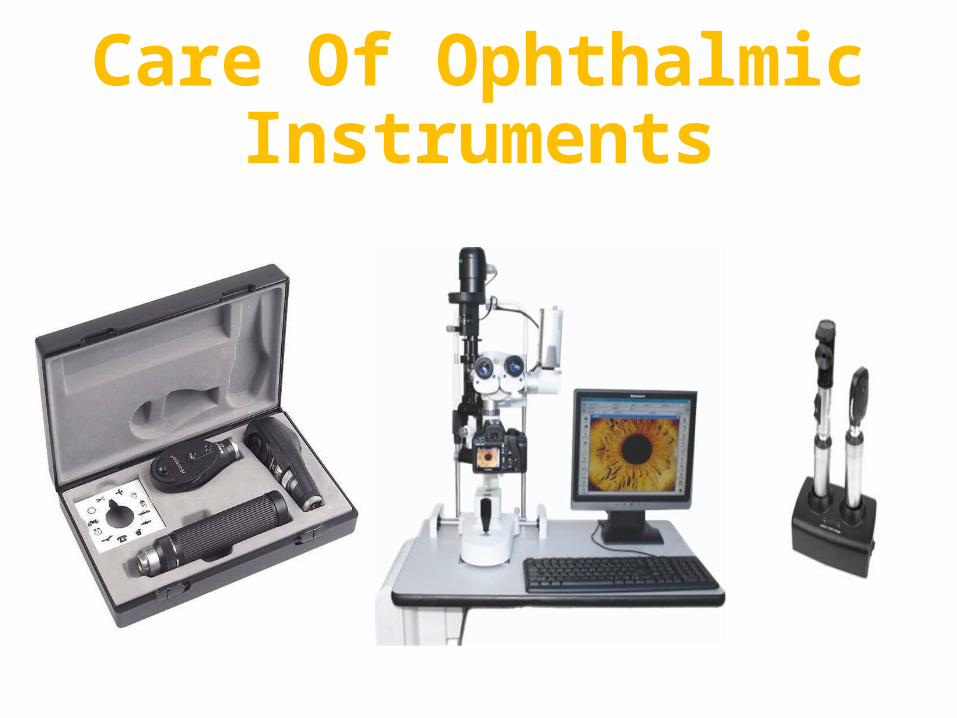
Care Of Ophthalmic Instruments
Primary Eye CareOD-104
Sahibzada Hakim Anjum NadeemDepartmental Coordinator,Department of Optometry and Vision Sciences CEO Anjum Eye Care & Optical CompanyOptometrist, Al-Khair Eye Hospital LahoreCo-Incharge OTTC, Optician, Refractionist, COAVSPhone:03344496480, Email: [email protected]
Direct Ophthalmoscope
A diagnostic instrument to look at the fundus in the
eye
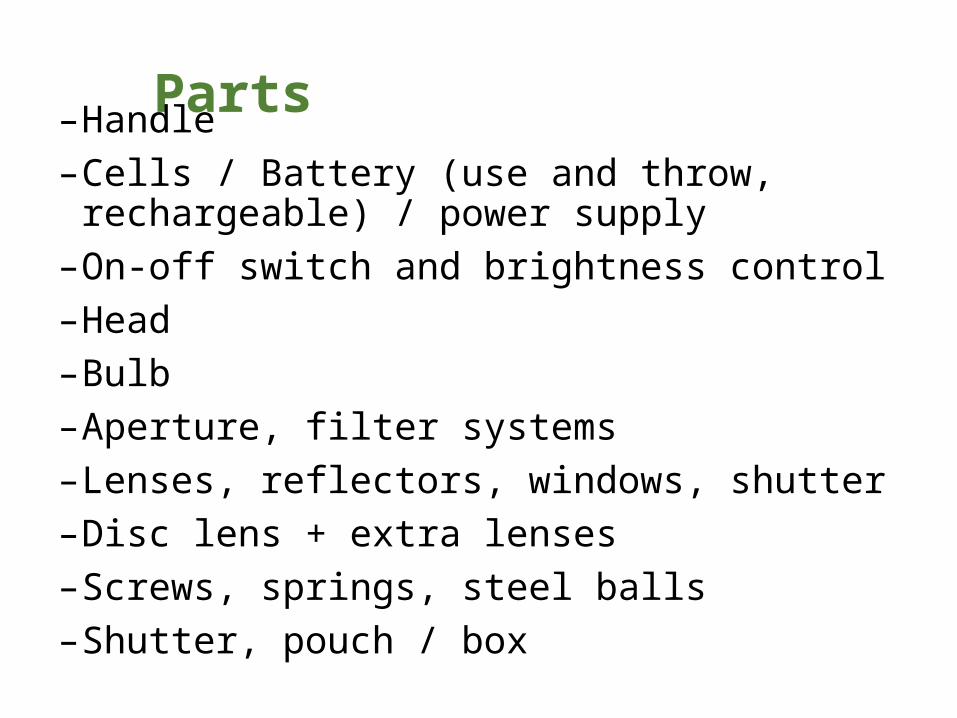
Parts–Handle–Cells / Battery (use and throw, rechargeable) / power
supply–On-off switch and brightness control–Head –Bulb–Aperture, filter systems–Lenses, reflectors, windows, shutter–Disc lens + extra lenses–Screws, springs, steel balls–Shutter, pouch / box
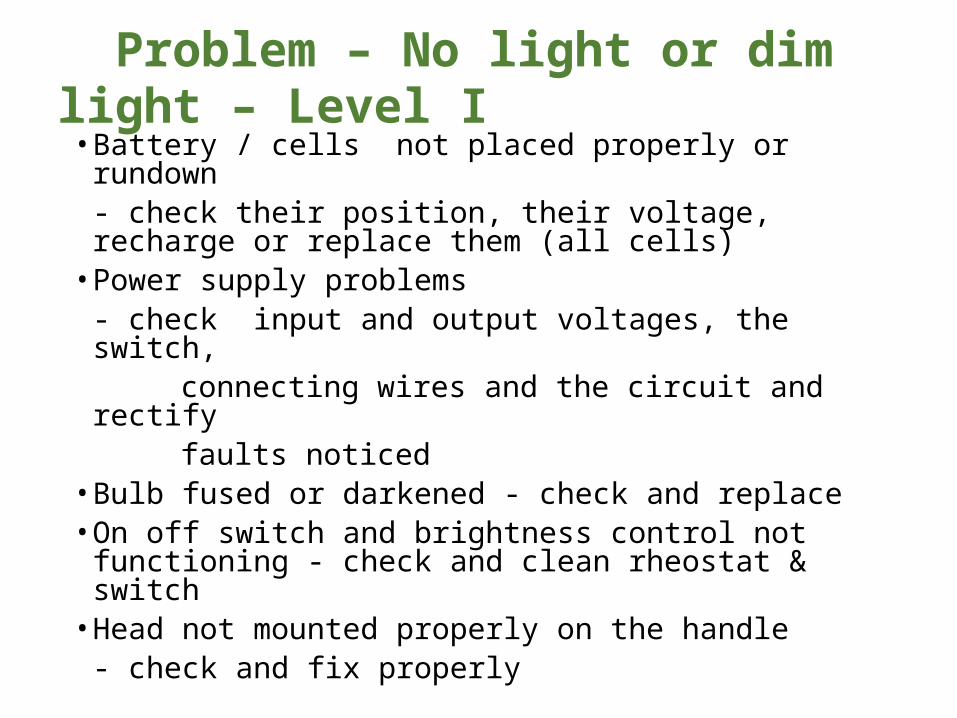
Problem – No light or dim light – Level I • Battery / cells not placed properly or rundown
- check their position, their voltage, recharge or replace them (all cells)
• Power supply problems- check input and output voltages, the switch,
connecting wires and the circuit and rectify faults noticed• Bulb fused or darkened - check and replace• On off switch and brightness control not functioning
- check and clean rheostat & switch• Head not mounted properly on the handle
- check and fix properly
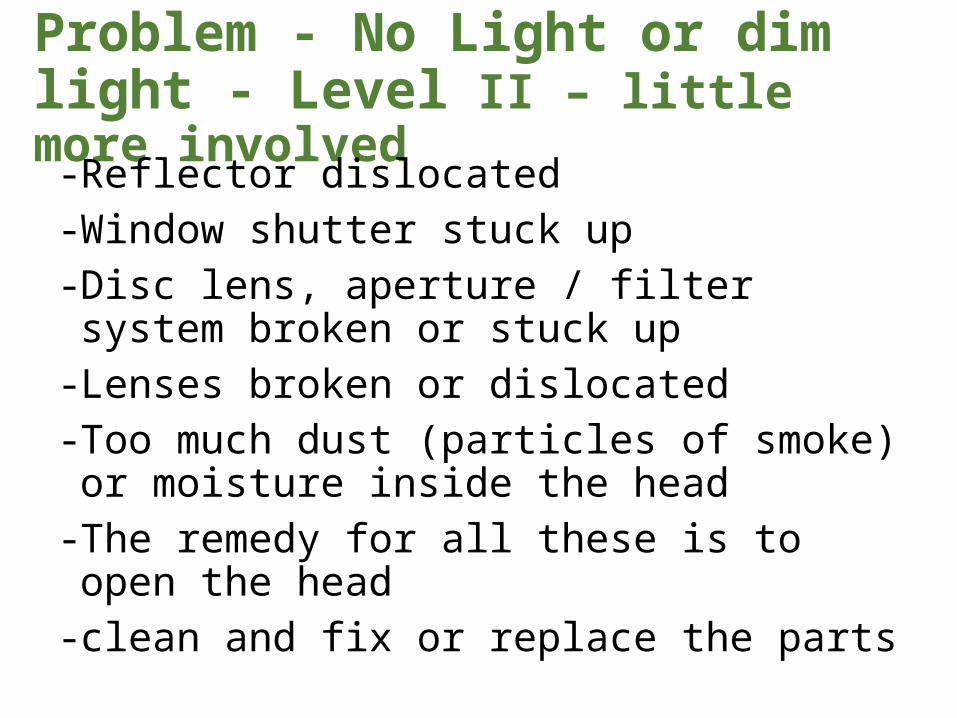
Problem - No Light or dim light - Level II – little more involved‐ Reflector dislocated ‐ Window shutter stuck up‐ Disc lens, aperture / filter system broken or
stuck up‐ Lenses broken or dislocated‐ Too much dust (particles of smoke) or
moisture inside the head‐ The remedy for all these is to open the head ‐ clean and fix or replace the parts
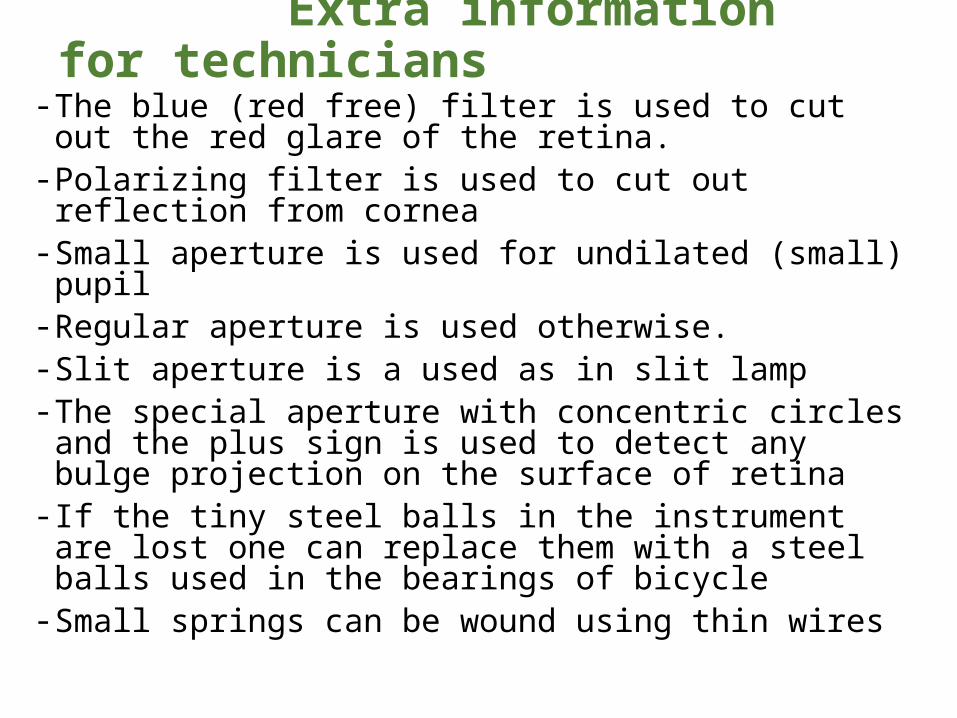
Extra information for technicians‐ The blue (red free) filter is used to cut out the red glare
of the retina.‐ Polarizing filter is used to cut out reflection from cornea‐ Small aperture is used for undilated (small) pupil ‐ Regular aperture is used otherwise.‐ Slit aperture is a used as in slit lamp‐ The special aperture with concentric circles and the plus
sign is used to detect any bulge projection on the surface of retina
‐ If the tiny steel balls in the instrument are lost one can replace them with a steel balls used in the bearings of bicycle
‐ Small springs can be wound using thin wires
Maintenance Tasks
‐ Keep the instrument in the box / pouch when not in use to avoid collection of dust on the instrument
‐ Make sure the on-off switch is fully turned off ( a click sound will be heard) before placing the instrument in the box / pouch.
‐ Recharge rechargeable cells at the end of each day after work
‐ When the instruments is not likely to be used for a few days remove the battery / cells keep them out of the handle to avoid leakage
‐ Avoid smoking. Smoker’s breath carries fine smoke particles into the instrument that reduce illumination
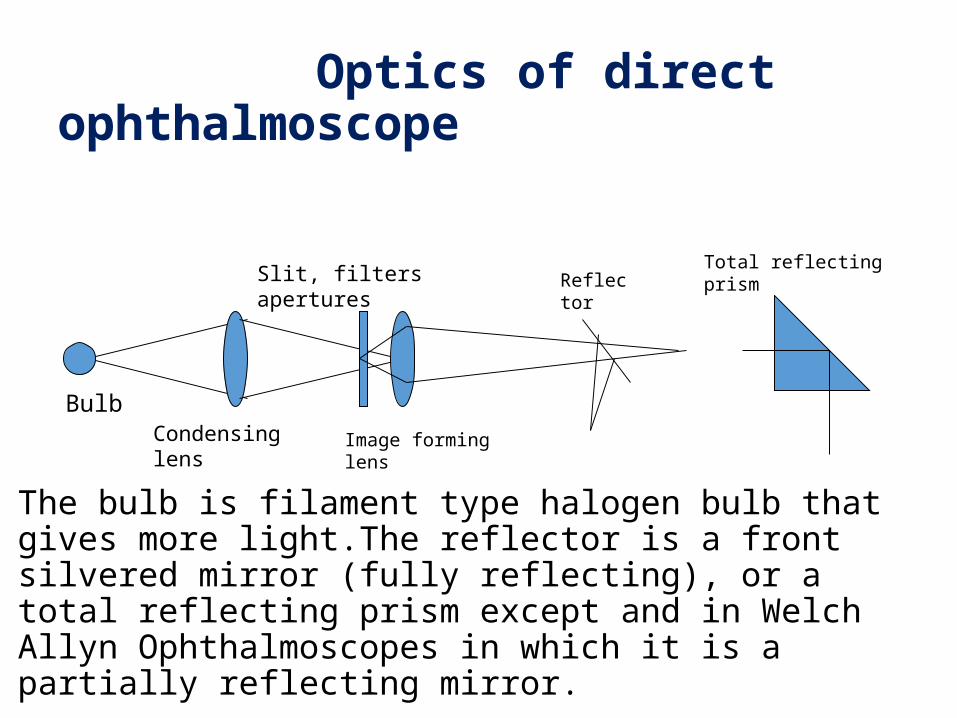
BulbCondensing
lensImage forming lens
Slit, filters apertures Reflector
Optics of direct ophthalmoscope
The bulb is filament type halogen bulb that gives more light.The reflector is a front silvered mirror (fully reflecting), or a total reflecting prism except and in Welch Allyn Ophthalmoscopes in which it is a partially reflecting mirror.
Total reflecting prism
Indirect Ophthalmoscope
A diagnostic instrument used to look at the retina in the eye
Also used as therapeutic instrument to deliver laser pulses at required spots in the
retina
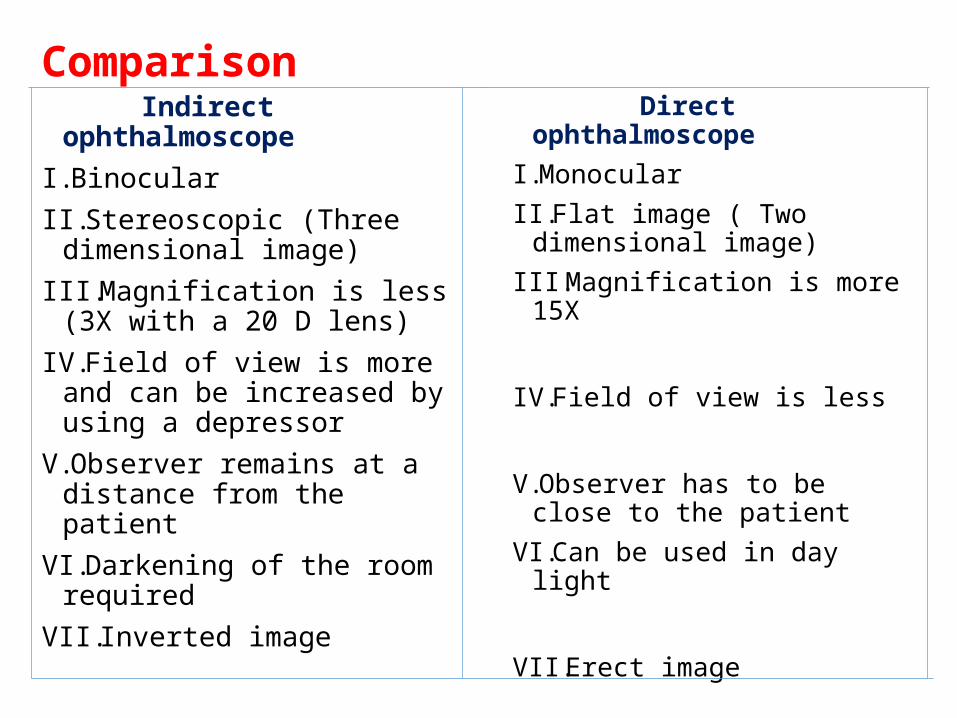
Comparison Indirect ophthalmoscopeI. BinocularII.Stereoscopic (Three
dimensional image)III.Magnification is less (3X with
a 20 D lens)IV.Field of view is more and can
be increased by using a depressor
V.Observer remains at a distance from the patient
VI.Darkening of the room required
VII.Inverted image
Direct ophthalmoscopeI. MonocularII.Flat image ( Two
dimensional image)III.Magnification is more 15X
IV.Field of view is less
V.Observer has to be close to the patient
VI.Can be used in day light
VII.Erect image
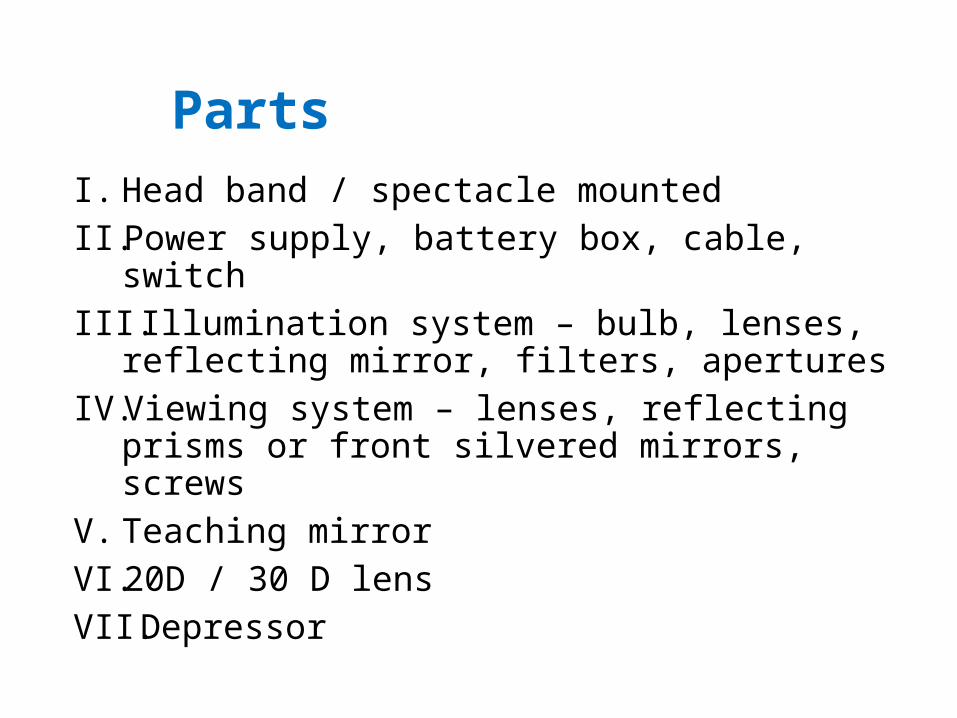
Parts
I. Head band / spectacle mountedII. Power supply, battery box, cable, switchIII. Illumination system – bulb, lenses,
reflecting mirror, filters, aperturesIV. Viewing system – lenses, reflecting prisms
or front silvered mirrors, screws V. Teaching mirrorVI. 20D / 30 D lensVII.Depressor
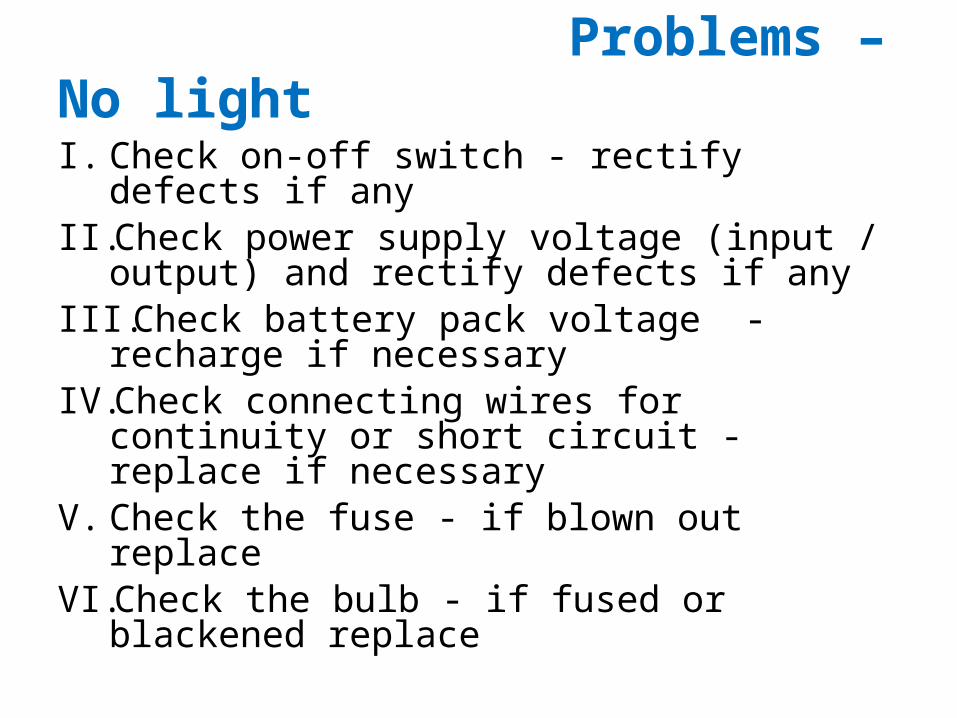
Problems – No light I. Check on-off switch - rectify defects if anyII. Check power supply voltage (input / output)
and rectify defects if anyIII. Check battery pack voltage - recharge if
necessaryIV. Check connecting wires for continuity or
short circuit - replace if necessaryV. Check the fuse - if blown out replaceVI. Check the bulb - if fused or blackened
replace
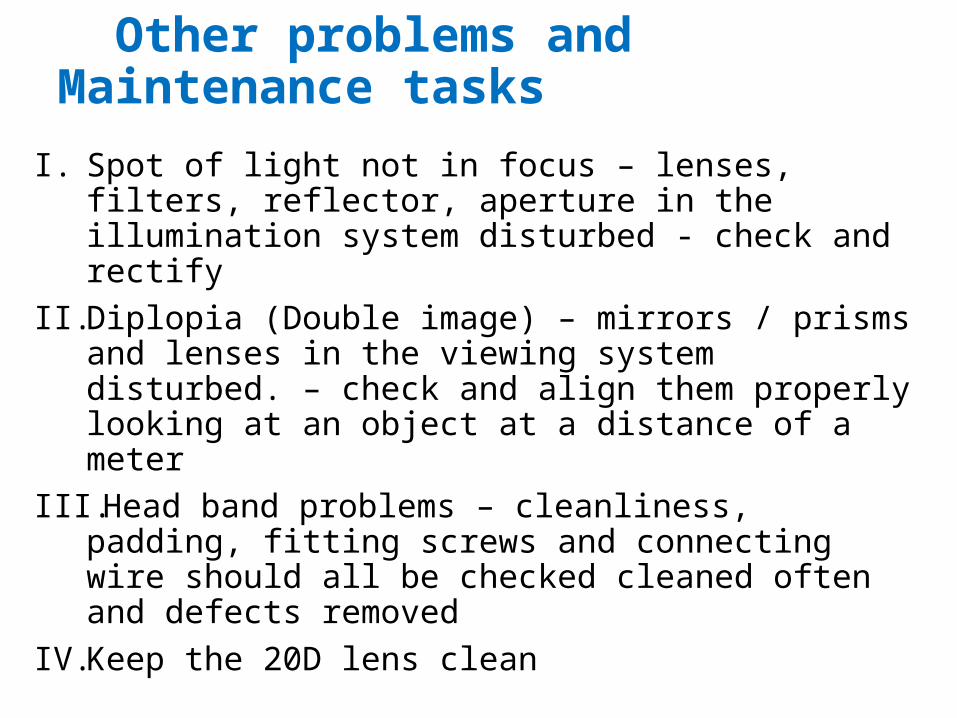
Other problems and Maintenance tasks
I. Spot of light not in focus – lenses, filters, reflector, aperture in the illumination system disturbed - check and rectify
II. Diplopia (Double image) – mirrors / prisms and lenses in the viewing system disturbed. – check and align them properly looking at an object at a distance of a meter
III. Head band problems – cleanliness, padding, fitting screws and connecting wire should all be checked cleaned often and defects removed
IV. Keep the 20D lens clean

Optics of Indirect Ophthalmoscope
IPD
20D lens
Streak Retinoscope
Along with the lenses in a trial set it is used in objective
refraction for the measurement of spectacle power and for fixing
the axis of astigmatism if present.
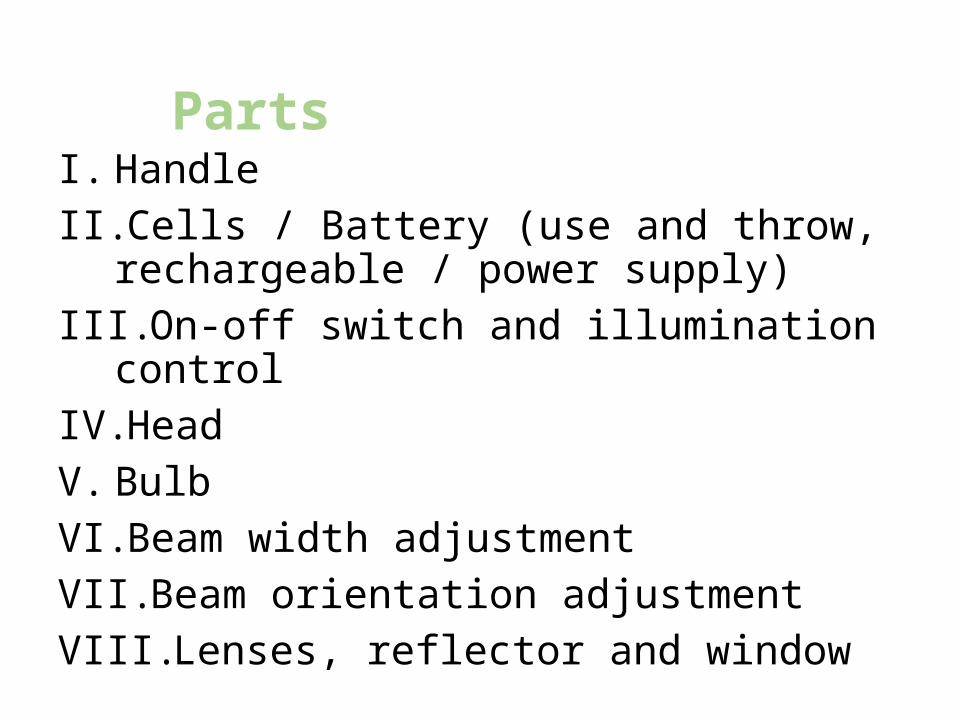
PartsI. HandleII. Cells / Battery (use and throw, rechargeable /
power supply)III. On-off switch and illumination controlIV. HeadV. BulbVI. Beam width adjustmentVII.Beam orientation adjustmentVIII.Lenses, reflector and window
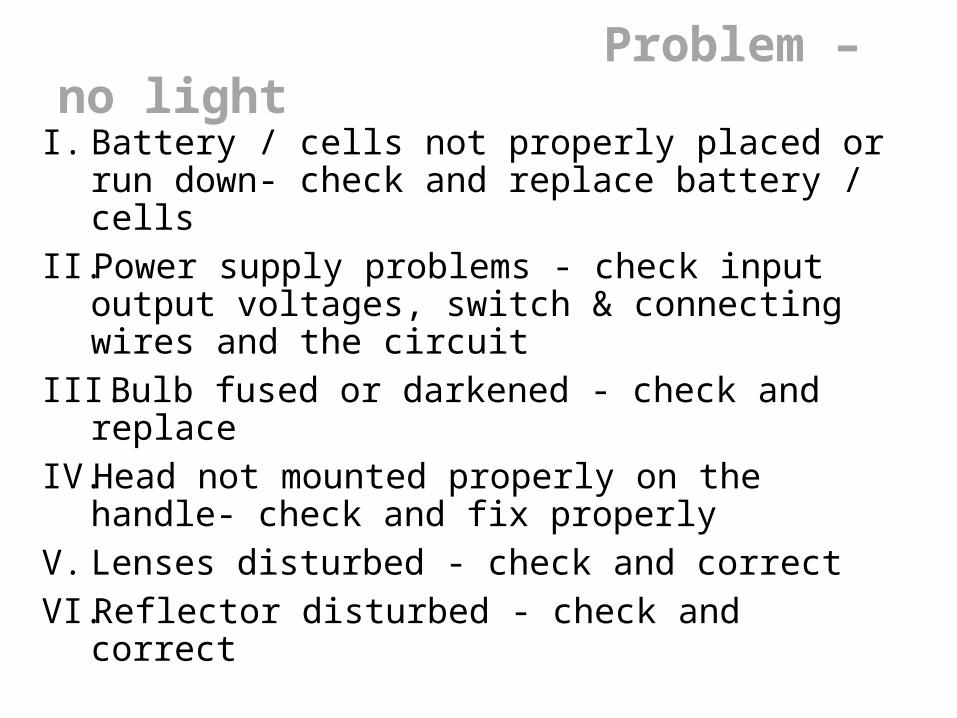
Problem – no lightI. Battery / cells not properly placed or run
down- check and replace battery / cellsII. Power supply problems - check input output
voltages, switch & connecting wires and the circuit
III. Bulb fused or darkened - check and replaceIV. Head not mounted properly on the handle-
check and fix properlyV. Lenses disturbed - check and correctVI. Reflector disturbed - check and correct
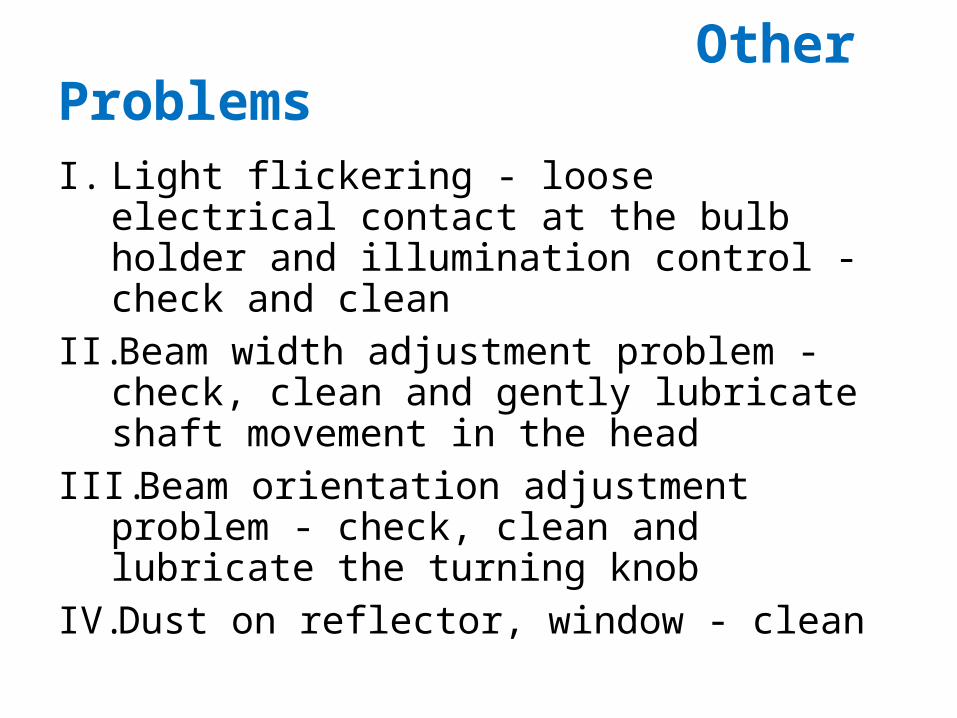
Other Problems
I. Light flickering - loose electrical contact at the bulb holder and illumination control - check and clean
II. Beam width adjustment problem - check, clean and gently lubricate shaft movement in the head
III. Beam orientation adjustment problem - check, clean and lubricate the turning knob
IV. Dust on reflector, window - clean
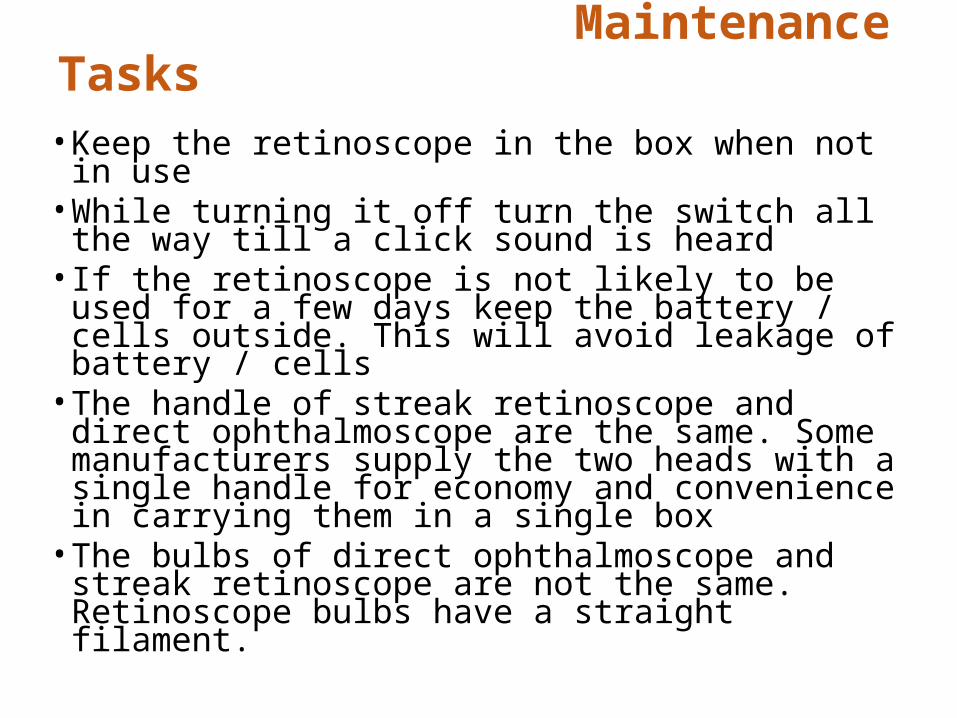
Maintenance Tasks
• Keep the retinoscope in the box when not in use• While turning it off turn the switch all the way till a
click sound is heard• If the retinoscope is not likely to be used for a few
days keep the battery / cells outside. This will avoid leakage of battery / cells
• The handle of streak retinoscope and direct ophthalmoscope are the same. Some manufacturers supply the two heads with a single handle for economy and convenience in carrying them in a single box
• The bulbs of direct ophthalmoscope and streak retinoscope are not the same. Retinoscope bulbs have a straight filament.
Keratometer
Used in measurement of the corneal power required in the calculation of IOL
power in cataract surgery&
Used in contact lens fitting
Parts-Optical
I. Bulb , bulb holderII. Switch and connecting cableIII. ReflectorIV. The mireV. Telescope (objective and eye piece)VI. The prisms VII.Model cornea
Parts - MechanicalI. BaseII. Up - down movement screwIII. Left - right rotation with a lock for fixingIV. Forward - backward movement (focusing)
screw V. Power reading drums - horizontal / verticalVI. Circular scale to measure the axes for
astigmatism VII.The chin and head rest
Maintenance tasks
I.Keeping the instrument covered when not in use.II.Cleaning the body & the optics (removal of dust).III.Periodic lubrication of all moving parts.IV.Replacement of bulb when required.V.Checking the on-off switch and the power cable replacing them when necessary.
Calibration check
• Check the calibration every day before using the instrument using the model cornea. If the calibration is disturbed correct it immediately.
• Correct power of IOL to be used in a cataract surgery depends on the power of the cornea. Correct Keratometer readings are very important.
What NOT to do???
While cleaning do not disturb the optics especially the two prisms inside used to get the extra images.
Slit LampAn instrument used to examine all parts of
the eyeAlso used to deliver laser pulses into the
eye for treatmentConvenient instrument for photographing
different parts of the eye
Types
I.Bulb located at the top – tilting type
• Uses a front silvered mirror to reflect light in the direction of the patient
II.Bulb located at the bottom – fixed type
• Uses a total reflecting prism to reflect light in the direction of the patient
III.Inclined optics • consists of two
objectives looking at an angle. Magnification change achieved by changing the objective
IV.Parallel optics• Single objective lets
two beams of light into the instrument at an angle. Has 3 or 5 step magnification using Galilean set-up
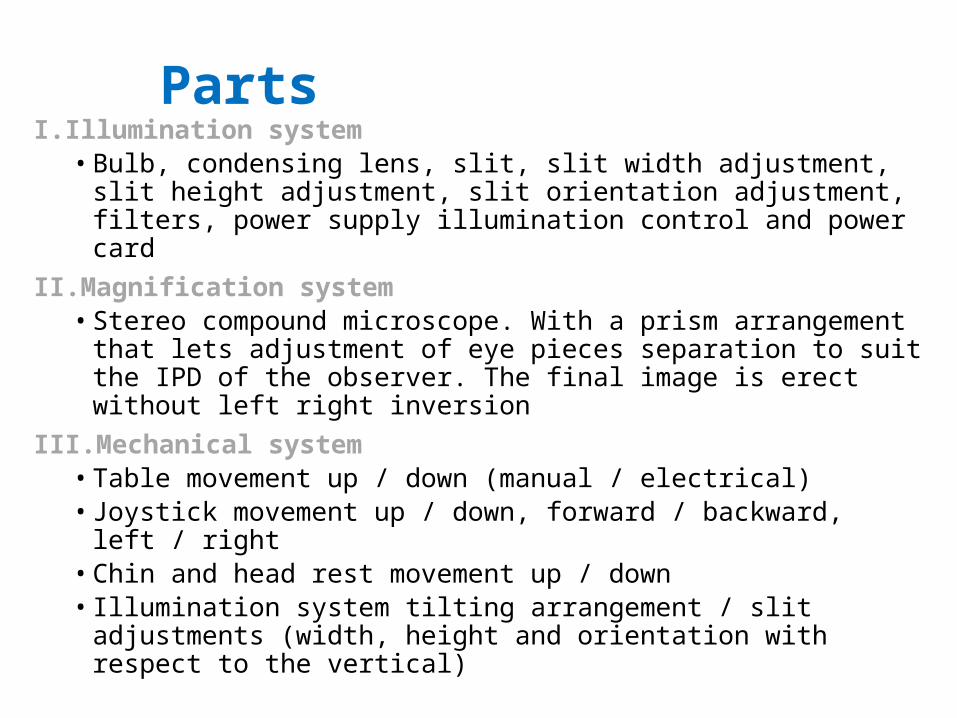
PartsI.Illumination system
• Bulb, condensing lens, slit, slit width adjustment, slit height adjustment, slit orientation adjustment, filters, power supply illumination control and power card
II.Magnification system• Stereo compound microscope. With a prism arrangement that
lets adjustment of eye pieces separation to suit the IPD of the observer. The final image is erect without left right inversion
III.Mechanical system• Table movement up / down (manual / electrical) • Joystick movement up / down, forward / backward, left / right • Chin and head rest movement up / down• Illumination system tilting arrangement / slit adjustments
(width, height and orientation with respect to the vertical)
Maintenance tasks
• Keep the instrument covered when not in use• Replace bulb when necessary• Remove of dust and stain• Lubricate and check all mechanical movements
periodically• Check electrical parts
Other instruments used with Slit Lamp
• 78D / 90D lens to look at the fundus• Gonio lens to look at the angle of the eye • Applanation tonometer to measure the
IOP• Micromanipulator to used to deliver the
laser beam at required spots• Camera
Optics Cleaning
‐Clean optics is needed for good vision. ‐Optics get dirty due to dust and stain
Removal of dust
I. By blowing airII. Using soft brushIII. Using cotton swab and mild soap
solution
Removal of stain
I. Using cotton swab and distilled waterII. Using cotton swab and mild soap
solutionIII. For hard stain use cotton swab and
acetone. IV. Don't use acetone on plastic optics.
You may use alcohol