
Precision EMT Bending Overview - BackgroundPrecision EMT Bending Overview - Background: At some...
28
1 Copyright Woodinville Wonderland 2016 Precision EMT Bending Overview - Background: At some point doing a Christmas display, there becomes a need to have some rigid arcs or circles. These have various uses, from Light Fans, to Mega/RGB Tree Bases, Leaping Light Arches, Mounting Bars for Floods, etc… The potential is unlimited. EMT has specific advantages over PVC based conduit, because it is more rigid, can be welded (very carefully), tapped, screwed, clamped down, it holds up to wind & weather. Plus, like PVC conduit, when prepped properly, it can be painted. Over the years, I have used the method of drawing my radius in chalk on the ground, grabbing my Bender and ad-hoc going to town. Now, this method worked OK, but for me it was frustrating and time consuming. I had no “plan” nor understanding of tech- nique. So I ended up with ovals, helix effects etc… that required a lot of fudging. The results were OK, but IMHO, could have been better. Walter Monkhouse planted the seed for creating this document in talking to him about his ColorMotion Tree, the base he made, and how he made it. I got to thinking that there had to be a better way to approach this. With the help of a good buddy, fellow light crazy, certified electrician and teacher, Pete Peters, he got me bending in the proper way. I felt it was something others would need, and appreciate. My suggestion is to read this entire How-To a few times, review the pictures, then orient yourself to the tools and materials, then start your first project. It takes a project or 2 to really get the feel for how this all works. Before Starting: You first need to figure out the size of bend, arc or circle you require. Then you need to calculate the cir- cumference of that element to determine the “straight length”. This is where the Circumference Calculator on the first page comes in handy. Plug in the diameter of your element, and it provides the other information. For this How- To: we will be using a 5ft. diameter circle as our example. The calculator gives us a circumference of approximately 15.7 feet. Which means that we will need 2 10ft sticks of EMT to create our circle. We will build this in 2 180 degree halves and join them with our EMT Couplers. Note:1
Transcript of Precision EMT Bending Overview - BackgroundPrecision EMT Bending Overview - Background: At some...

1 Copyright Woodinville Wonderland 2016
Precision EMT Bending Overview - Background: At some point doing a Christmas display, there becomes a need to have some rigid arcs or circles. These
have various uses, from Light Fans, to Mega/RGB Tree Bases, Leaping Light Arches, Mounting Bars for
Floods, etc… The potential is unlimited. EMT has specific advantages over PVC based conduit, because it is
more rigid, can be welded (very carefully), tapped, screwed, clamped down, it holds up to wind & weather.
Plus, like PVC conduit, when prepped properly, it can be painted. Over the years, I have used the method of
drawing my radius in chalk on the ground, grabbing my Bender and ad-hoc going to town. Now, this method
worked OK, but for me it was frustrating and time consuming. I had no “plan” nor understanding of tech-
nique. So I ended up with ovals, helix effects etc… that required a lot of fudging. The results were OK, but
IMHO, could have been better. Walter Monkhouse planted the seed for creating this document in talking
to him about his ColorMotion Tree, the base he made, and how he made it. I got to thinking that there had
to be a better way to approach this. With the help of a good buddy, fellow light crazy, certified electrician
and teacher, Pete Peters, he got me bending in the proper way. I felt it was something others would need,
and appreciate. My suggestion is to read this entire How-To a few times, review the pictures, then orient
yourself to the tools and materials, then start your first project. It takes a project or 2 to really get the
feel for how this all works.
Before Starting: You first need to figure out the size of bend, arc or circle you require. Then you need to calculate the cir-
cumference of that element to determine the “straight length”. This is where the Circumference Calculator
on the first page comes in handy. Plug in the diameter of your
element, and it provides the other information. For this How-
To: we will be using a 5ft. diameter circle as our example.
The calculator gives us a circumference of approximately
15.7 feet. Which means that we will need 2 10ft sticks of
EMT to create our circle. We will build this in 2 180 degree
halves and join them with our EMT Couplers. Note:1

2 Copyright Woodinville Wonderland 2016
Items Needed: EMT—Electrical Metallic Tubing (thin wall)
1/2” - 3/4” - 1” (Approx $2 - $7 per stick)
Determine size for your purpose
Matching EMT Couplers (Approx $.55 apeice)
Conduit Bender
2 sizes available 1/2” - 3/4” (Approx $40) 3/4” - 1” (Approx $80)
Magnetic Protractor (Approx $10)
Hack Saw
Screw Driver
Tape Measure / Steel Ruler
Metal File
Upright Bender Holder (Optional-see Picture 5)
Circumference Calculator: http://math.about.com/library/blcirclecalculator.htm
Picture 1 - Required Tools
Precision EMT Bending
3 Copyright Woodinville Wonderland 2016
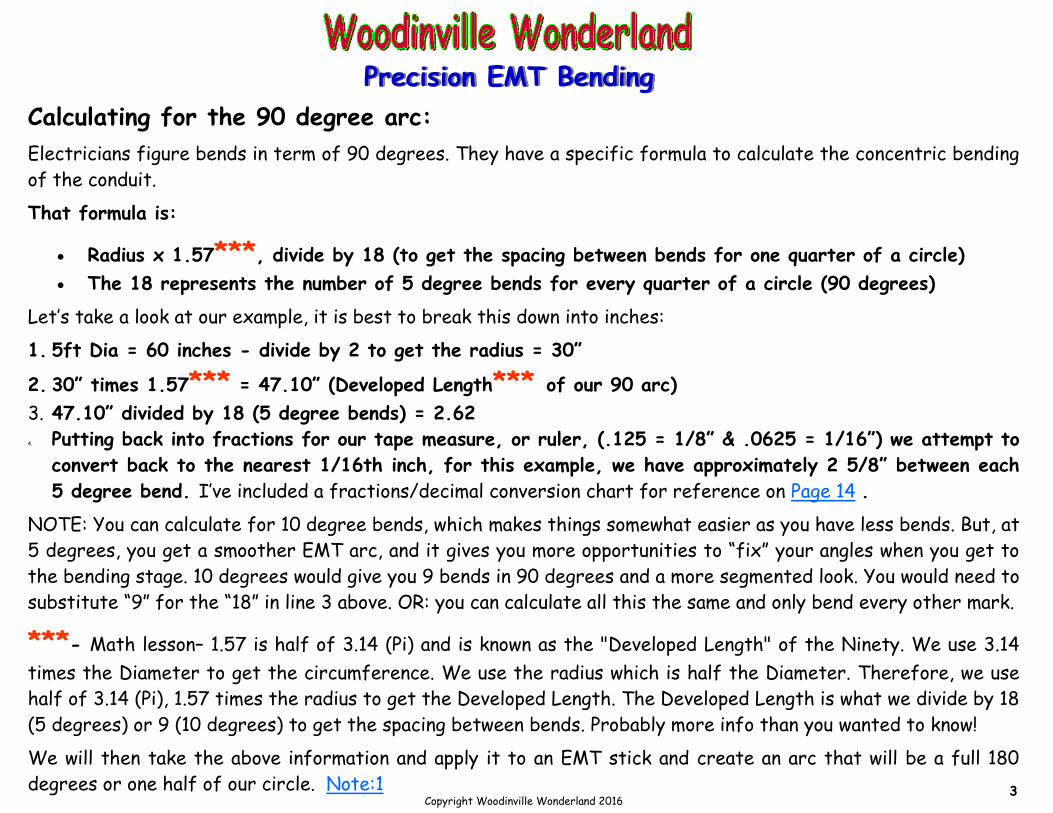
Calculating for the 90 degree arc:
Electricians figure bends in term of 90 degrees. They have a specific formula to calculate the concentric bending
of the conduit.
That formula is:
Radius x 1.57***, divide by 18 (to get the spacing between bends for one quarter of a circle)
The 18 represents the number of 5 degree bends for every quarter of a circle (90 degrees)
Let’s take a look at our example, it is best to break this down into inches:
1. 5ft Dia = 60 inches - divide by 2 to get the radius = 30”
2. 30” times 1.57*** = 47.10” (Developed Length*** of our 90 arc) 3. 47.10” divided by 18 (5 degree bends) = 2.62
4. Putting back into fractions for our tape measure, or ruler, (.125 = 1/8” & .0625 = 1/16”) we attempt to
convert back to the nearest 1/16th inch, for this example, we have approximately 2 5/8” between each
5 degree bend. I’ve included a fractions/decimal conversion chart for reference on Page 14 .
NOTE: You can calculate for 10 degree bends, which makes things somewhat easier as you have less bends. But, at
5 degrees, you get a smoother EMT arc, and it gives you more opportunities to “fix” your angles when you get to
the bending stage. 10 degrees would give you 9 bends in 90 degrees and a more segmented look. You would need to
substitute “9” for the “18” in line 3 above. OR: you can calculate all this the same and only bend every other mark.
***- Math lesson– 1.57 is half of 3.14 (Pi) and is known as the "Developed Length" of the Ninety. We use 3.14
times the Diameter to get the circumference. We use the radius which is half the Diameter. Therefore, we use
half of 3.14 (Pi), 1.57 times the radius to get the Developed Length. The Developed Length is what we divide by 18
(5 degrees) or 9 (10 degrees) to get the spacing between bends. Probably more info than you wanted to know!
We will then take the above information and apply it to an EMT stick and create an arc that will be a full 180
degrees or one half of our circle. Note:1
Precision EMT Bending

4 Copyright Woodinville Wonderland 2016
Set up: 1. First you will need to put a mark on your bender head for our 5 degree bends. This will only need to be
done once. The benders come pre-marked with set degrees (10,22,30,45,60). You always bend your
EMT so that the bottom of the EMT aligns with the desired degree mark (See Picture 11). We need
to make a 5 degree reference on our bender head. This requires a bit of fudging. To do this, grab a
spare stick of EMT, use a pencil to mark the bender head, bend a sample and check the bend with your
protractor. Once you have identified where 5 degrees is, mark it with a permanent marker. NOTE:
MAKE SURE YOU ARE MARKING AND WORKING WITH THE CORRECT SIDE OF THE BENDER.
The bender will have numbers on both sides of the head. One for each size EMT the bender was made
for. See Picture 3.
Picture 3 - Bender Holder w/ 5 Degree Bender
Head Mark
Precision EMT Bending

5 Copyright Woodinville Wonderland 2016
Set up: 2. Looking at our 15.70’ circumference, we will be making 2 half circles that will be just under 8’ each (7.85’).
Next we go to our EMT and place our bending marks every 2-5/8”. NOTE: Each stick of EMT will have
several alignment lines marked horizontally down the stick. These are used for alignment later. Make your
bend marks perpendicular to one of those lines. See Picture 4 for EMT marking & Picture 7 & 8 EMT
alignment lines.
Something to consider : You may want to make the very first bend mark on your EMT stick, half your initial
bend angle increment. The reason is to create a smoother arc where the couplers join the sticks. Picture 4 be-
low reflects this technique.
Picture 4 - Marking EMT at 2 5/8” Increments
Precision EMT Bending

6 Copyright Woodinville Wonderland 2016
Set up:
3. Bending can be done on the ground, however Walter
Monkhouse stated he was doing this “above his head”.
So I devised my Upright Bender Holder using 1-1/4”
black pipe. I use a lot of this stuff in my display, so I
have all kinds of pieces of various lengths lying around.
I found that having the bender stationary and upside
down, allows more stability, control & makes it easy to
align everything to eliminate the “helix” effect. I found
it was way easier to work by pulling downward on the
EMT with 2 hands. You will need to have the riser, taller
than the diameter of your circle. See Picture 5. The ex-
ample here is approx. 6’ tall.
NOTE 1: 1-1/4” pipe will accommodate the handles for
both sizes of EMT benders. PVC may not be rigid enough,
should you try to use it as a riser. The weak point would be
the PVC threads in the floor flange with the downward
pressure applied during the bending process.
NOTE 2: This works well for smaller circles, and as you
get beyond 6’ in diameter, going to the ground may be the
best approach, rather than going up/down a ladder con-
stantly.
Alternate Base: I use a 5 way cross shown here, but you
could mount a 1-1/4” floor flange on a piece of plywood as a
base as well.
Picture 5 - Upright Bender Holder
Precision EMT Bending

7 Copyright Woodinville Wonderland 2016
Set up:
4. Lastly, before you insert the EMT into the Bender,
starting with your second 5 degree measurement mark,
I label these 1—18 to represent the 10 degree
designations (10-20...90 etc…). You will be pulling the
EMT out several times to check the angle with your
protractor, this helps you keep track of where you are
at on your EMT bends, and the angle it corresponds to.
In Picture 6 you see the 80-90-100 degree marks on
this EMT.
5. Insert the bender into the Upright Holder, then insert
your EMT into the bender. See Pictures 7 & 8.
Picture 6 - 10 Degree Marks on EMT
Precision EMT Bending

8 Copyright Woodinville Wonderland 2016
Picture 7 - Bender Holder w/ Bender Picture 8 - EMT Inserted Into Bender
Precision EMT Bending

9 Copyright Woodinville Wonderland 2016
EMT Bending:
1. With the EMT in the bender, there are 2 alignments required before you can start your bend. First is
your 5 degree mark. This is aligned with an arrow on the side of the bender head. You can really align
these marks with anything, but you just have to be consistent in this alignment through the entire
bending process. Then you need to align the horizontal mark on the EMT with the bender head align-
ment mark. See Picture 9 & 10 for the alignment set up.
Picture 10 - Alignment Marks EMT & Bender Picture 9 - 5 Degree to Bender Arrowhead Alignment.
Precision EMT Bending
10 Copyright Woodinville Wonderland 2016
EMT Bending:
2. Slowly and smoothly pull the EMT down, a very small amount. You want to pull till the bottom of the EMT is
aligned with your 5 degree mark, see Picture 11. After each bend, and as you move to the next mark, be
sure to re-align both the horizontal and vertical degree marks, as you get further into arc formation, the
horizontal alignment becomes important to alleviate creating a helix.
3. Every other bend, where we marked the degree numbers in Set Up, Step - 4, pull the EMT out of the bend-
er and check it with your protractor. Put the EMT on level ground, set the protractor on the very end of the
EMT and ensure you have the correct corresponding angle. If it is not enough, put the EMT back in the
bender and slightly adjust the last 2 bends, then re-check. If it is too much, make your NEXT 2 bends a bit
shallower with less angle. You can see how you did after the next check. Picture 12 below shows the results
of our arc at the 130 degree bend.
Picture 11 - 5 degree & EMT Relationship After Pull Picture 12 - Protractor Angle Check
Precision EMT Bending

11 Copyright Woodinville Wonderland 2016
Precision EMT Bending EMT Bending: 4. Once you get beyond the first 6-8 bends, you can also use your Upright Holder to ensure your horizon-
tal alignment, preventing the helix effect, this could save you a trip up a step ladder. Stand behind the
set up and make sure the EMT is fully aligned with the vertical upright. See Picture 13.
5. Once you get close to 120 degrees, you will need to move the EMT past the vertical pole on the
Upright Holder. Make sure with each bend after this point, the EMT is in contact with the post as
shown in Picture 14.
Picture 13 - Horizontal Alignment Check
Picture 14 - EMT Past Vertical Upright

12 Copyright Woodinville Wonderland 2016
Precision EMT Bending EMT Bending: 6. Note: On the larger diameter elements, where you will be using most of, if not all of the EMT stick,
the last few bends will be very tough. I suggest inserting a secondary pipe into the end of the EMT as
a “cheater bar” to assist you with these last few bends. See Note 2 on Page 14
7. Once you complete your 180 degree arc, pull it out of the bender, lay it on the ground and check the
dimension using a tape measure. Some very slight adjustments may be needed, but at this point you
should be very close to your radius size. Once satisfied, cut the excess EMT off the arc using your
hacksaw. Attach the EMT couplers to the arc ends, you may need to use your metal file to remove
burrs caused from the hacksaw, then tighten them down with a screwdriver. See Pictures 15 & 16.
Picture 15 & 16 - Arc Sizing Check

13 Copyright Woodinville Wonderland 2016
Precision EMT Bending EMT Bending: 7. Once you have completed the first arc, go through the outlined steps to complete the 2nd half of your
circle. Slip the EMT Couplers in place. You may need to use your metal file to take off any burrs if you
cut the EMT at all. Re-measure. There may be some slight tweaking to be done to reduce the “egg ef-
fect” and VIOA-LA!, you have precision bent display element.
Picture 17 - Completed Element

14 Copyright Woodinville Wonderland 2016
Notes:
1. It will be obvious quickly that any circle over 6.5’ will
need to be broken up into 3 EMT sticks. You would bend
each EMT segment at 120 degrees. Anything 10’ or over,
will be looking at 4 EMT sticks to complete a full circle
creating 90 segments.
2. Cheater Bar. Depending on your diameter EMT, I sug-
gest you use a 2’ length of pipe, (galvanized or black is
best) that is the next standard size down from your
conduit. In this case I used 3/4” EMT. If you get a 2’
section of 1/2” pipe, grind a very slight amount off one
end that you will use to insert into the EMT. After
grinding down slightly, sand it to smooth it out. Then use
WD-40 to aid in inserting the lever into the EMT. You
want something that will give you leverage to pull down,
without stretching the EMT opening. This is especially
critical if you are using the full length of your EMT
for your element.
Precision EMT Bending

15 Copyright Woodinville Wonderland 2016
Precision EMT Bending
Again, many thanks and credit go to Walter Monkhouse and Pete Peters for their
contribution to this How-To.
If you have any questions, below is all my contact information:
Mark “Zman” Zembruski
Woodinville Wonderland
www.woodinvillewonderland.com
Email: [email protected]
“Zman” on all the Christmas Forums

16 Copyright Woodinville Wonderland 2016
Precision EMT Bending
The document on the following pages was initially found by me many years ago. Links
to it have since been removed from the internet as best I can tell. I am including it
here just as a supplemental reference on the subject of conduit bending. It is not my
material I just include it to augment this subject matter.

17 Copyright Woodinville Wonderland 2016

18 Copyright Woodinville Wonderland 2016

19 Copyright Woodinville Wonderland 2016

20 Copyright Woodinville Wonderland 2016

21 Copyright Woodinville Wonderland 2016

22 Copyright Woodinville Wonderland 2016

23 Copyright Woodinville Wonderland 2016

24 Copyright Woodinville Wonderland 2016

25 Copyright Woodinville Wonderland 2016

26 Copyright Woodinville Wonderland 2016

27 Copyright Woodinville Wonderland 2016

28 Copyright Woodinville Wonderland 2016


