Power Point Template for use with Connect Midpoint or Final Review: Department Name Student Name...
8
Power Point Template for use with Connect Midpoint or Final Review: Department Name Student Name Student ID Number Date of Presentation Presentation Title
-
date post
20-Dec-2015 -
Category
Documents
-
view
215 -
download
0
Transcript of Power Point Template for use with Connect Midpoint or Final Review: Department Name Student Name...
Power Point Template for use with Connect
Midpoint or Final Review: Department Name
Student NameStudent ID NumberDate of Presentation
Presentation Title

You may use this template as the basis for your presentation or start from scratch.
If you use this template, be sure to edit all of the slides.
Be sure to include the department name, the presentation title, your name and the date of the presentation on the title slide.
Getting Started
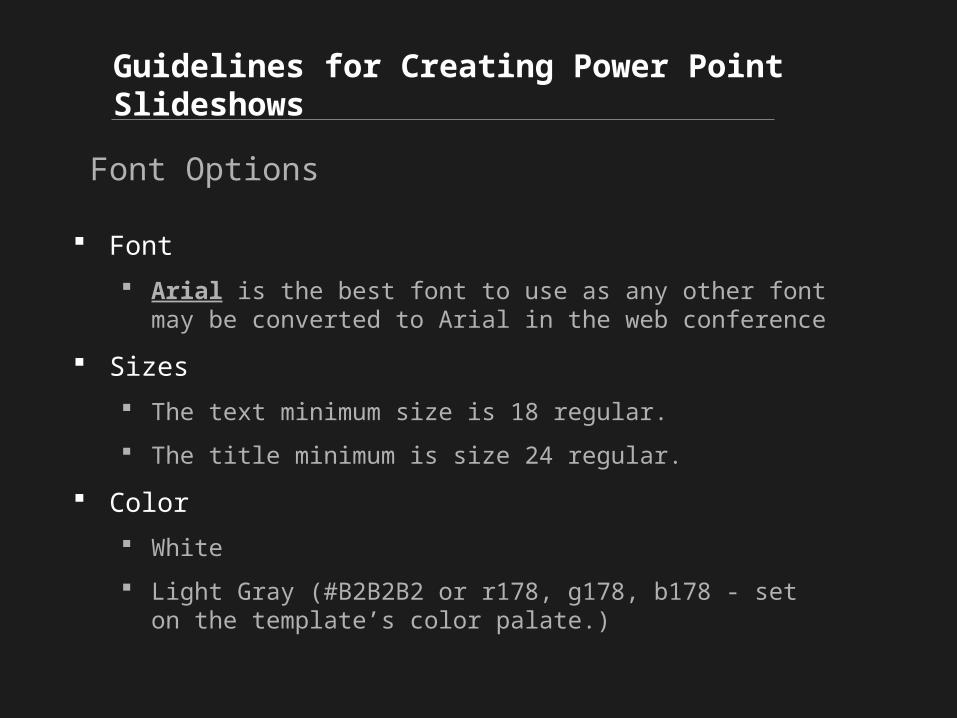
Guidelines for Creating Power Point Slideshows
Guidelines for Creating Power Point Slideshows
Font
Arial is the best font to use as any other font may be converted to Arial in the web conference
Sizes
The text minimum size is 18 regular.
The title minimum is size 24 regular.
Color
White
Light Gray (#B2B2B2 or r178, g178, b178 - set on the template’s color palate.)
Font Options
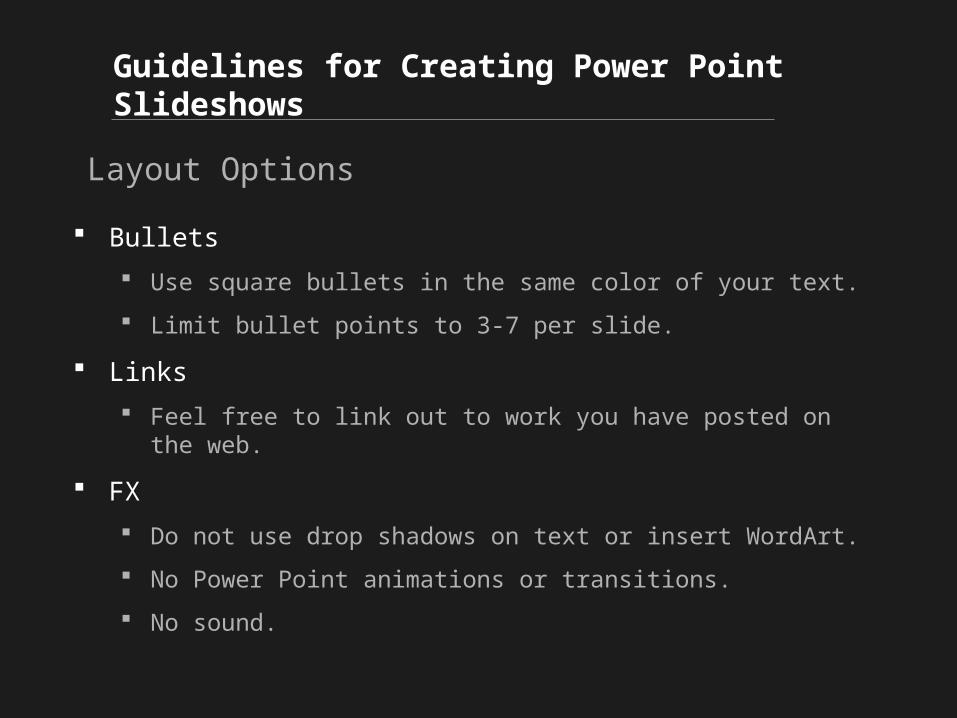
Guidelines for Creating Power Point Slideshows
Bullets
Use square bullets in the same color of your text.
Limit bullet points to 3-7 per slide.
Links
Feel free to link out to work you have posted on the web.
FX
Do not use drop shadows on text or insert WordArt.
No Power Point animations or transitions.
No sound.
Layout Options

Stretch your images as large as you can on the slide.
Keep images in proportion. (drag + shift)
Do not over optimize your images so the quality will remain high when resizing in Power Point.
The images will automatically compress when the slideshow is “converted”.
Stretch your images as large as you can on the slide.
Keep images in proportion. (drag + shift)
Vertical Images
Place images to the left.
Title & bullets to the right.

Stretch your images as large as you can on the slide.
Keep images in proportion. (drag + shift)
Do not over optimize your images so the quality will remain high when resizing in Power Point.
The images will automatically compress when the slideshow is “converted”.
Do not over optimize your images so the quality will remain high when resizing in Power Point.
The images will automatically compress when the slideshow is “converted”.
Vertical Images

Horizontal Image Guidelines
Stretch your images as large as you can on the slide while retaining their quality. Horizontal images should be on placed the upper section of the slide.
Finishing the Presentation
The Final Page
Make sure there is an appropriate last page that signals the end to the
presentation.
Any necessary credits, copyright notifications or technical notes may be
included on the last page.
Water colors by William Blake, 1757 - 1827