I-tube induction tube (portable free energy cell phone charger)
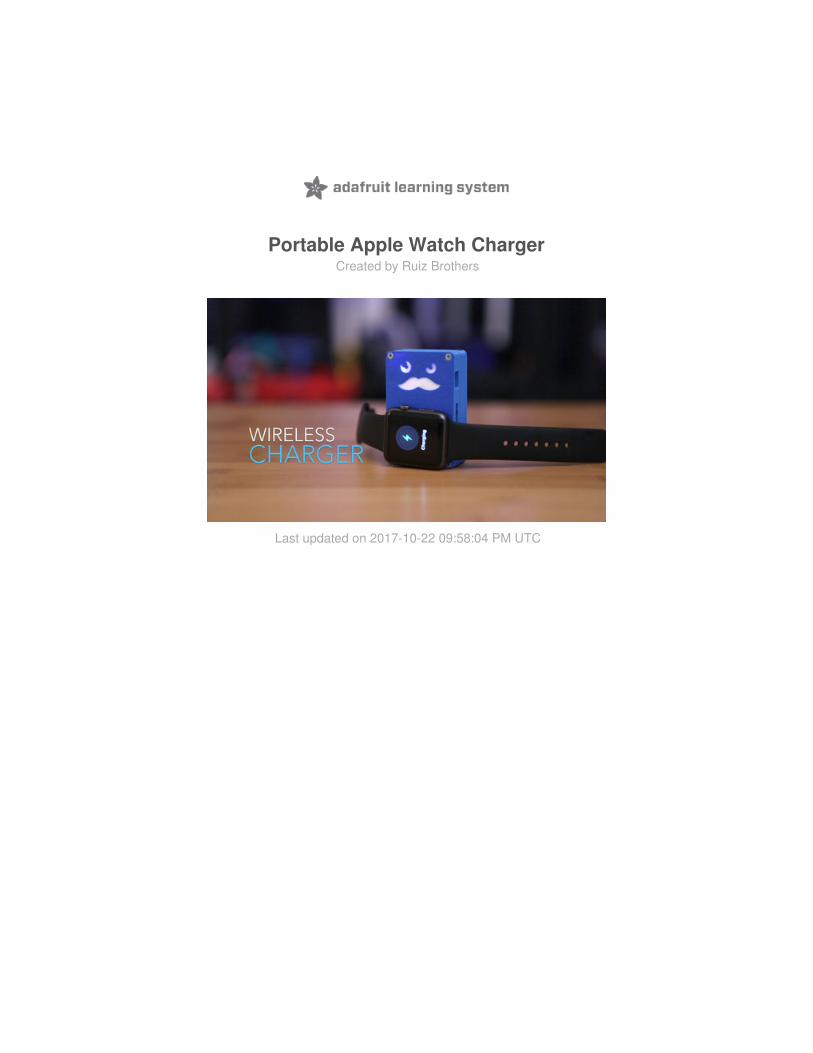
Portable Apple Watch ChargerCreated by Ruiz Brothers
Last updated on 2017-10-22 09:58:04 PM UTC

23344
688899
101010111213131414151516161717181819
Guide Contents
Guide ContentsOverview
Smart ChargingPrerequisite GuidesParts, Tool & Supplies
Circuit Diagram3D Printing
3D Printed PartsSlicer SettingsModify DesignMaterials
AssemblySnap Fit FrameMeasure cable lengthsCut and StripPrep ground connectionTin wiresHeat shrinkSlide switchSolder Slide SwitchWire managementBattery installBattery cableCover screwsClip OptionSecure ClipConnect batteryTest circuitMount face cover
© Adafruit Industries https://learn.adafruit.com/portable-apple-watch-charger Page 2 of 20

Overview
Here’s how to build a wireless charger for Qi compatible devices like the Apple Watch.
Forget waiting on a kickstarter, you can hack your existing charger and build your own portable charger withcomponents from Adafruit.
Smart Charging
The Adafruit Powerboost 1000C features smart charging. Combined with a 2000mAh lipo battery and a slide switch,you can build your own wireless charger that has lots of power.
© Adafruit Industries https://learn.adafruit.com/portable-apple-watch-charger Page 3 of 20

Our 3D printed enclosure is compact and houses all of the components. You can choose from two case designs ifyou'd like to charge devices using a USB cable.
Prerequisite Guides
Check out the following guides below to get a better understanding of the Powerboost 1000C pin outs.
PowerBoost 1000C
Parts, Tool & Supplies
If you don't have access to a 3D printer, you can send the files to a service or check with your localhackerspace/library.
Powerboost 1000CApple Watch Qi Charger3D Printer
© Adafruit Industries https://learn.adafruit.com/portable-apple-watch-charger Page 4 of 20

FilamentFlush cutters#2-56 machine screws
© Adafruit Industries https://learn.adafruit.com/portable-apple-watch-charger Page 5 of 20

Circuit Diagram
Take a moment to review the components in the circuit diagram. This illustration is meant for referencing wiredconnections - The length of wire, position and size of components are not exact.
Qi charger has four wires, the threaded metal shield will act as our Ground, Green is USB Data -, white is USB Data
+ and Red is Power
The slide switch will need to connect to Ground and Enable.
Battery connects to the JST port next to the USB port on the Powerboost.
© Adafruit Industries https://learn.adafruit.com/portable-apple-watch-charger Page 6 of 20

© Adafruit Industries https://learn.adafruit.com/portable-apple-watch-charger Page 7 of 20

3D Printing
3D Printed Parts
All you need is these 4 parts:
Face cover, case, frame and back cover.
Download STLs
https://adafru.it/f9S
Slicer Settings
You can use the settings below as a reference. The parts are oriented in the center of the bed and ready to print "asis". They do not require any support material.
ChargeCase.stl
ChargeFrame.stl
ChargeFace.stl
ChargeCover.stl
230c
2 shells
3 top/bottom shells
50mms print speed
10% infill
about an hour and a half to print all four parts.
© Adafruit Industries https://learn.adafruit.com/portable-apple-watch-charger Page 8 of 20

Modify Design
The parts were modeled in Autodesk 123D Design and available to modify. The file includes the original solids andsketches.
Materials
These parts have been printed in PLA but should print without any problems in ABS or other materials like bambooand metal filaments.
© Adafruit Industries https://learn.adafruit.com/portable-apple-watch-charger Page 9 of 20

Assembly
Snap Fit Frame
The frame and the main case snap fit together. Align the pins on the frame to the holes on the case to press fittogether. The tolerences should be tight enough to securely hold the two pieces.
Measure cable lengths
Mount the Powerboost and a compatible Qi charger. Measure the length of cable needed in order to reach all of thepins out on the board. Make sure to have a little bit of slack. Use the screws help manage the cables while measuring.
© Adafruit Industries https://learn.adafruit.com/portable-apple-watch-charger Page 10 of 20

Cut and Strip
Use scissors to cut the Qi cable after taking measurments.
Use a 16 gauge wire stripper to remove about 2cm of sheathing from the cable.
© Adafruit Industries https://learn.adafruit.com/portable-apple-watch-charger Page 11 of 20

Prep ground connection
Twist the metal shield as shown in the picture above. Make sure there are no loose threads around other wires.
Be careful not to remove the metal shield, this will be our ground connection.
© Adafruit Industries https://learn.adafruit.com/portable-apple-watch-charger Page 12 of 20

Tin wires
Prepare the four wires by stripping and tinning each. Remove enough sheathing so that the wire has enough length toreach the bottom side of the through hole.
Heat shrink
We'll need to insulated the ground connection so it doesn't short any connections. Measure and cut a small piece ofheat shrink so its long enough to cover the top portion of where the ground is exposed.
© Adafruit Industries https://learn.adafruit.com/portable-apple-watch-charger Page 13 of 20

Slide switch
Mount the slide switch to the case to get measurements of how long we'll need to cut the silicone stranded wires.Take note of how the slide switch is mounted in relation to the pins outs on the Powerboost board.
Solder Slide Switch
Use a third helping hand or panavise jr. to help solder the connections as shown in the circuit diagram page.
© Adafruit Industries https://learn.adafruit.com/portable-apple-watch-charger Page 14 of 20

Wire management
Reference the picture above to arrange wires for the charger and slide switch. Use the mounted screws to helpneatly arrange the cables.
Battery install
Insert the battery JST connection through the bottom opening on the case. You'll only need to pass through enoughwire to connect to the JST port on the Powerboost.
© Adafruit Industries https://learn.adafruit.com/portable-apple-watch-charger Page 15 of 20

Battery cable
Arrange the battery cable along the walls of the case. This will aviod having to cut the cable. We'll want to neatly tuckthe wires before mouting the cover.
Cover screws
Use #2-56 machine screws to secure the bottom cover to the frame. It helps to pretap the holes with a screwdriverbefore mounting.
© Adafruit Industries https://learn.adafruit.com/portable-apple-watch-charger Page 16 of 20

Clip Option
You can choose a version of the design that has slot opening to add the wearable clip. You'll also need to print theframe part that is adjusted for the clip.
Align the clip to the slot on the enclosure. Press the protrusion on the clip into the slot until the screw mount pushesup against the back of the enclosure
Secure Clip
Use a #2-56 screw to attach the clip to the cover part.
© Adafruit Industries https://learn.adafruit.com/portable-apple-watch-charger Page 17 of 20

Connect battery
Slightly arrange the JST wire to fit through the tight space. You can use flat pliers to help plug the battery into thePowerboost.
Test circuit
Flip on the slide switch and test the circuit before mouting the face cover.
© Adafruit Industries https://learn.adafruit.com/portable-apple-watch-charger Page 18 of 20

Mount face cover
Use four more #2-56 screws to mount the face cover. Rememer you can customize the face by editing the source files.
The slim enclosure makes it great traveling and even fits nicely in your pocket.
© Adafruit Industries https://learn.adafruit.com/portable-apple-watch-charger Page 19 of 20

© Adafruit Industries Last Updated: 2017-10-22 09:58:03 PM UTC Page 20 of 20