Photoshop Masking & Compositing: Advanced Blending ... · powers and avoiding their limitations...
11
Photoshop Masking & Compositing: Fundamentals Advanced Blending Hair The Pen Tool Photoshop Masking & Compositing Course Roadmap
Transcript of Photoshop Masking & Compositing: Advanced Blending ... · powers and avoiding their limitations...

Photoshop Masking & Compositing:
Fundamentals
Advanced Blending
Hair
The Pen Tool
Photoshop Masking & Compositing Course Roadmap
a companion guide to the lynda.com course
COURSE CONTENTS
Chapter 1. It All Starts with the Channel
Chapter 2. The Magic of Masking
Chapter 3. The Science of Compositing
Chapter 4. The Essentials of Selecting
Chapter 5. The Versatility of Combining & Transforming
Chapter 6. The Unmatched Power of Color Range
Chapter 7. The Unearthly Joy of Refinement
Chapter 8. The Rewards of Everyday Masking
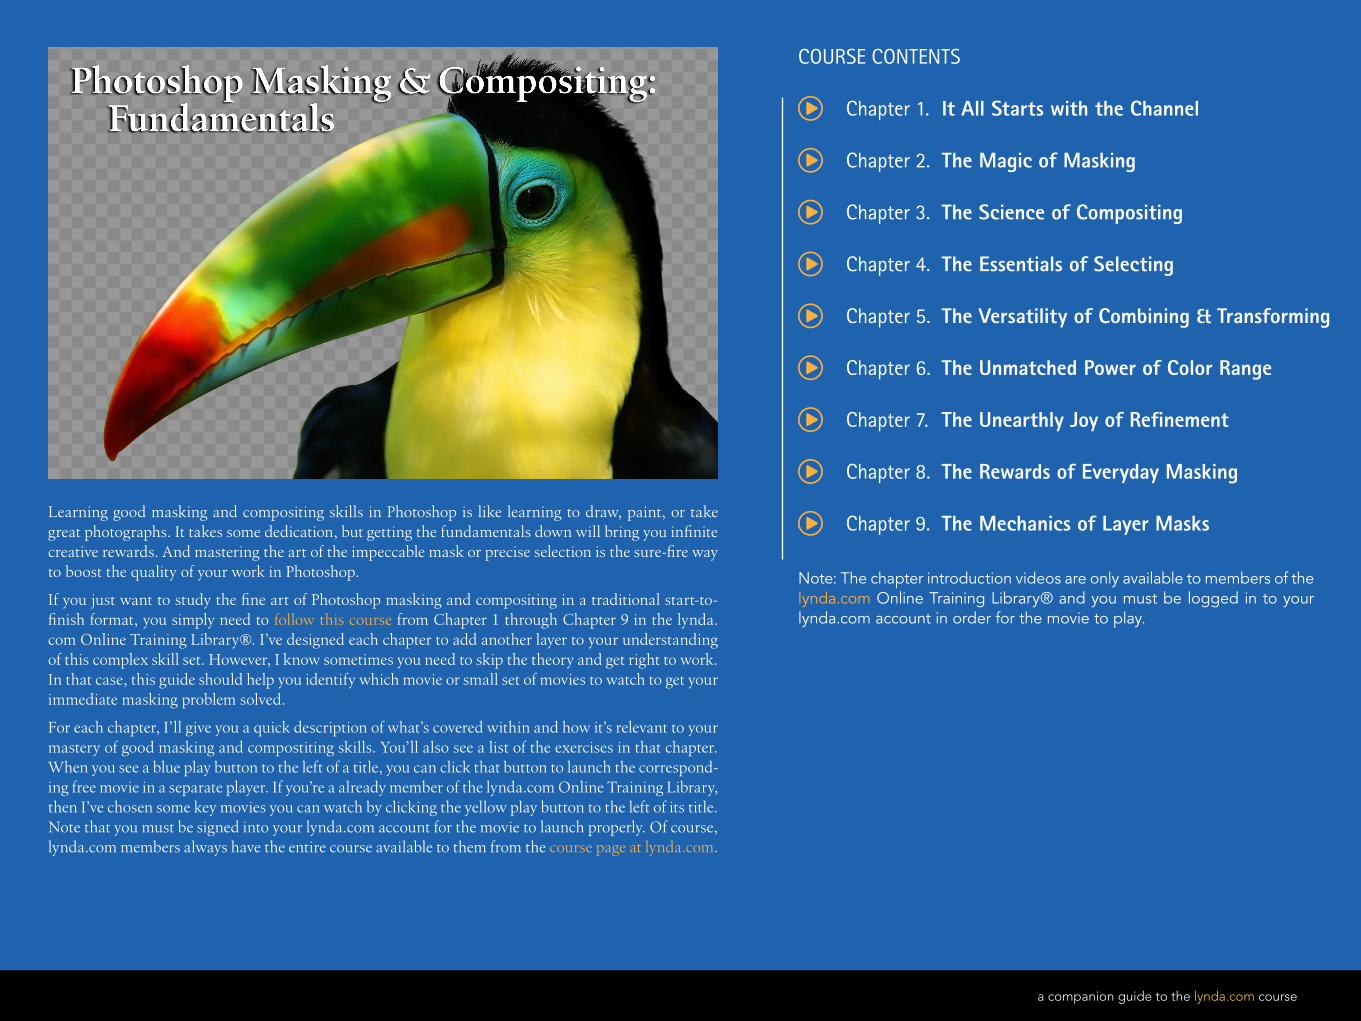
Chapter 9. The Mechanics of Layer MasksLearning good masking and compositing skills in Photoshop is like learning to draw, paint, or take great photographs. It takes some dedication, but getting the fundamentals down will bring you infinite creative rewards. And mastering the art of the impeccable mask or precise selection is the sure-fire way to boost the quality of your work in Photoshop.
If you just want to study the fine art of Photoshop masking and compositing in a traditional start-to-finish format, you simply need to follow this course from Chapter 1 through Chapter 9 in the lynda.com Online Training Library®. I’ve designed each chapter to add another layer to your understanding of this complex skill set. However, I know sometimes you need to skip the theory and get right to work. In that case, this guide should help you identify which movie or small set of movies to watch to get your immediate masking problem solved.
For each chapter, I’ll give you a quick description of what’s covered within and how it’s relevant to your mastery of good masking and compostiting skills. You’ll also see a list of the exercises in that chapter. When you see a blue play button to the left of a title, you can click that button to launch the correspond-ing free movie in a separate player. If you’re a already member of the lynda.com Online Training Library, then I’ve chosen some key movies you can watch by clicking the yellow play button to the left of its title. Note that you must be signed into your lynda.com account for the movie to launch properly. Of course, lynda.com members always have the entire course available to them from the course page at lynda.com.
Note: The chapter introduction videos are only available to members of the lynda.com Online Training Library® and you must be logged in to your lynda.com account in order for the movie to play.
http://www.lynda.com/Photoshop-CS5-tutorials/Photoshop-Masking-Compositing-Fundamentals/86002-2.html
a companion guide to the lynda.com course
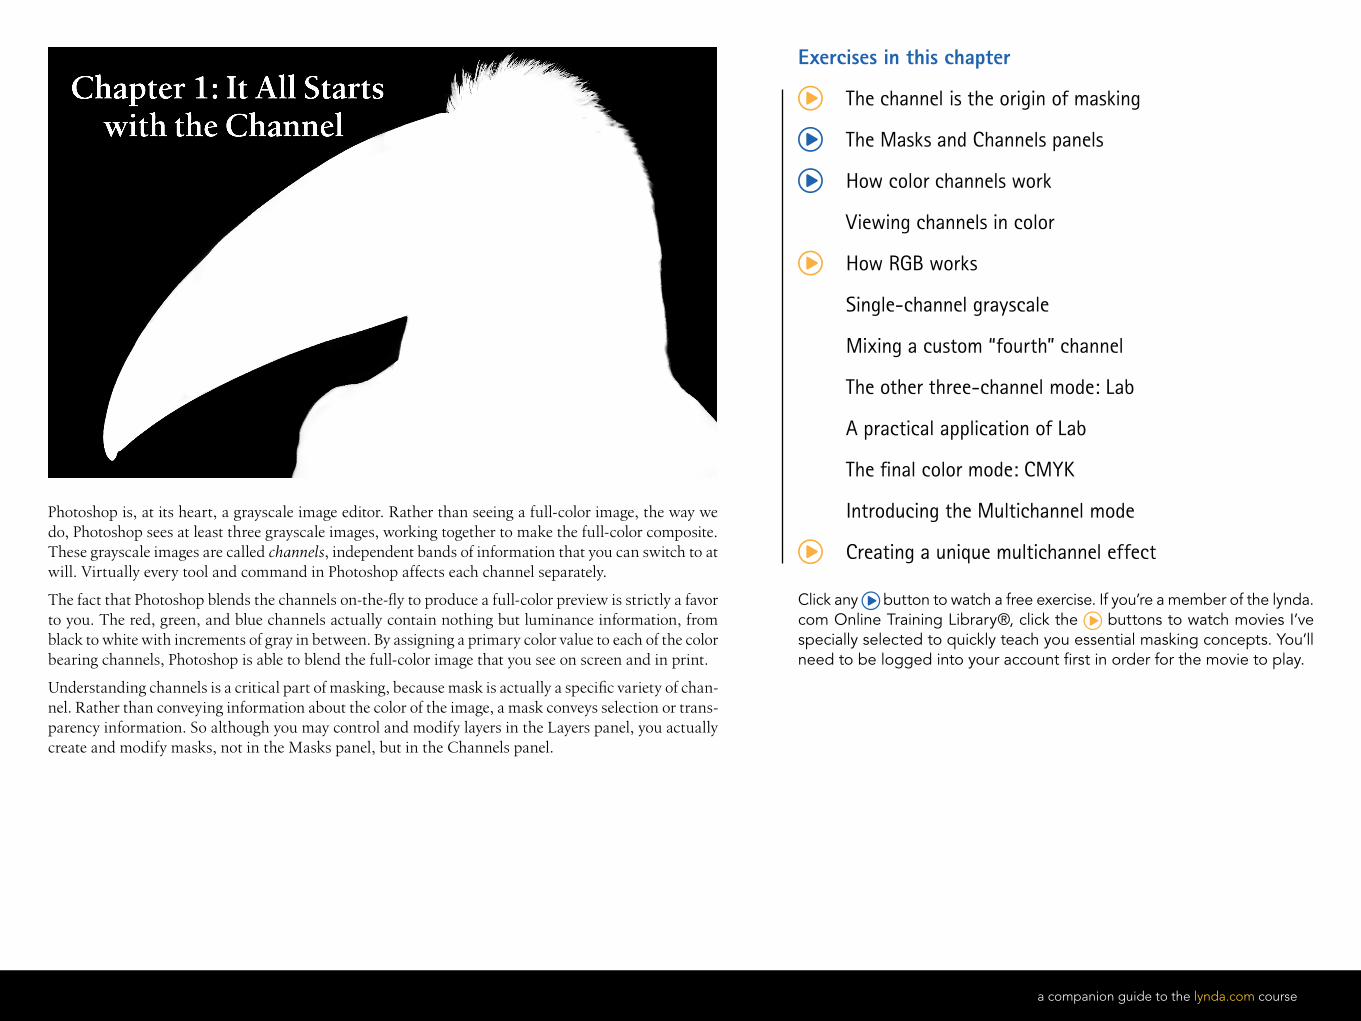
Chapter 1. It All Starts with the Channel
Photoshop is, at its heart, a grayscale image editor. Rather than seeing a full-color image, the way we do, Photoshop sees at least three grayscale images, working together to make the full-color composite. These grayscale images are called channels, independent bands of information that you can switch to at will. Virtually every tool and command in Photoshop affects each channel separately.
The fact that Photoshop blends the channels on-the-fly to produce a full-color preview is strictly a favor to you. The red, green, and blue channels actually contain nothing but luminance information, from black to white with increments of gray in between. By assigning a primary color value to each of the color bearing channels, Photoshop is able to blend the full-color image that you see on screen and in print.
Understanding channels is a critical part of masking, because mask is actually a specific variety of chan-nel. Rather than conveying information about the color of the image, a mask conveys selection or trans-parency information. So although you may control and modify layers in the Layers panel, you actually create and modify masks, not in the Masks panel, but in the Channels panel.
Exercises in this chapter
The channel is the origin of masking
The Masks and Channels panels
How color channels work
Viewing channels in color
How RGB works
Single-channel grayscale
Mixing a custom “fourth” channel
The other three-channel mode: Lab
A practical application of Lab
The final color mode: CMYK
Introducing the Multichannel mode
Creating a unique multichannel effect
Click any button to watch a free exercise. If you’re a member of the lynda.com Online Training Library®, click the buttons to watch movies I’ve specially selected to quickly teach you essential masking concepts. You’ll need to be logged into your account first in order for the movie to play.
a companion guide to the lynda.com course
Chapter 2. The Magic of Masking
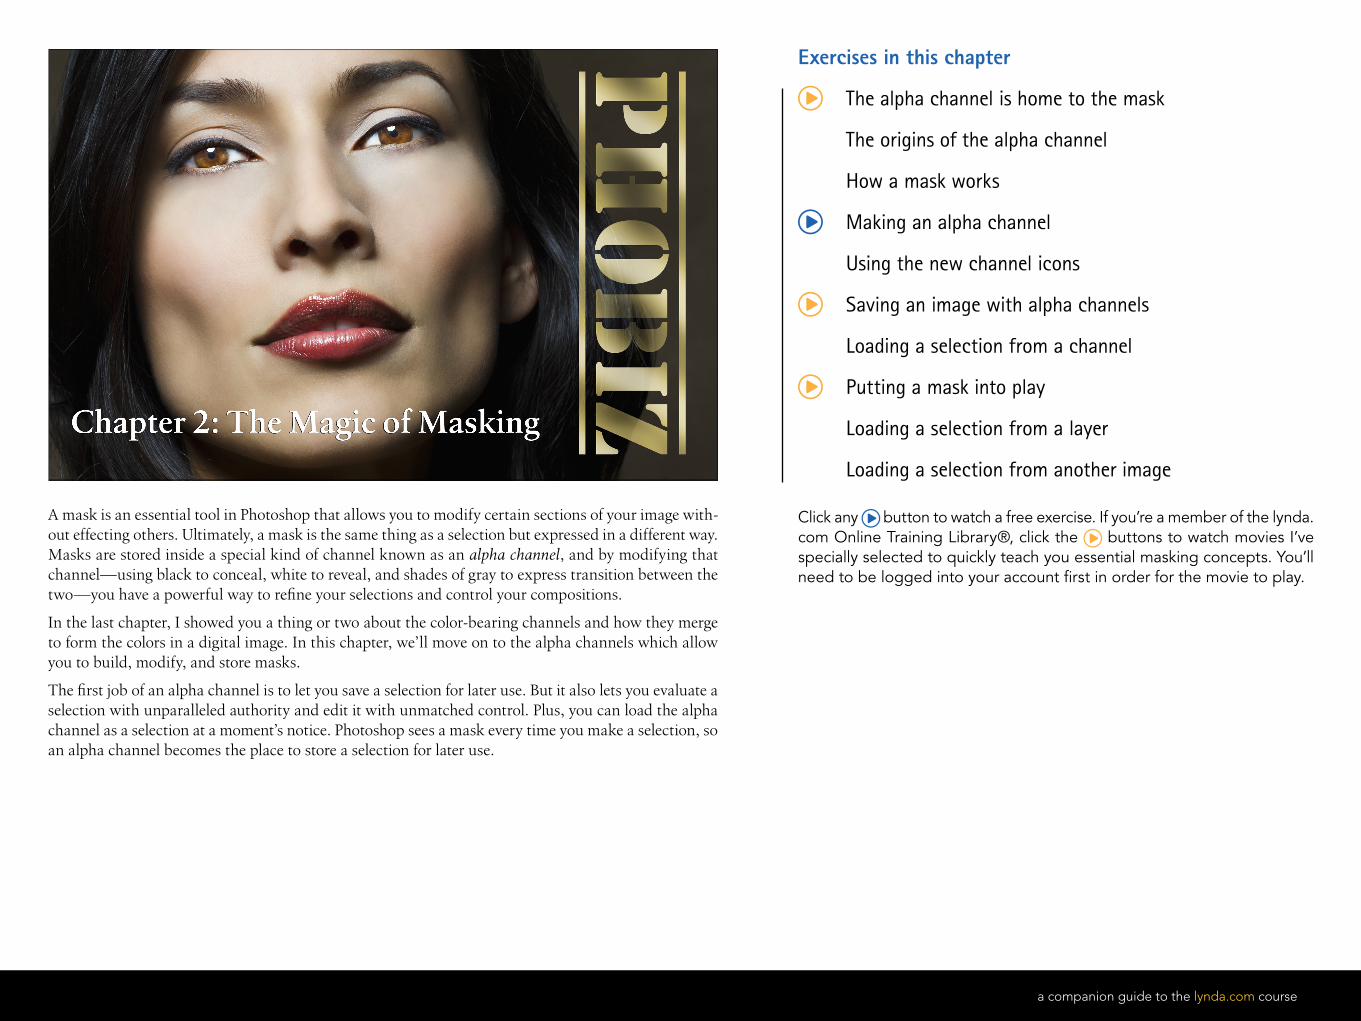
A mask is an essential tool in Photoshop that allows you to modify certain sections of your image with-out effecting others. Ultimately, a mask is the same thing as a selection but expressed in a different way. Masks are stored inside a special kind of channel known as an alpha channel, and by modifying that channel—using black to conceal, white to reveal, and shades of gray to express transition between the two—you have a powerful way to refine your selections and control your compositions.
In the last chapter, I showed you a thing or two about the color-bearing channels and how they merge to form the colors in a digital image. In this chapter, we’ll move on to the alpha channels which allow you to build, modify, and store masks.
The first job of an alpha channel is to let you save a selection for later use. But it also lets you evaluate a selection with unparalleled authority and edit it with unmatched control. Plus, you can load the alpha channel as a selection at a moment’s notice. Photoshop sees a mask every time you make a selection, so an alpha channel becomes the place to store a selection for later use.
Exercises in this chapter
The alpha channel is home to the mask
The origins of the alpha channel
How a mask works
Making an alpha channel
Using the new channel icons
Saving an image with alpha channels
Loading a selection from a channel
Putting a mask into play
Loading a selection from a layer
Loading a selection from another image
Click any button to watch a free exercise. If you’re a member of the lynda.com Online Training Library®, click the buttons to watch movies I’ve specially selected to quickly teach you essential masking concepts. You’ll need to be logged into your account first in order for the movie to play.
a companion guide to the lynda.com course
Chapter 3. The Science of Compositing
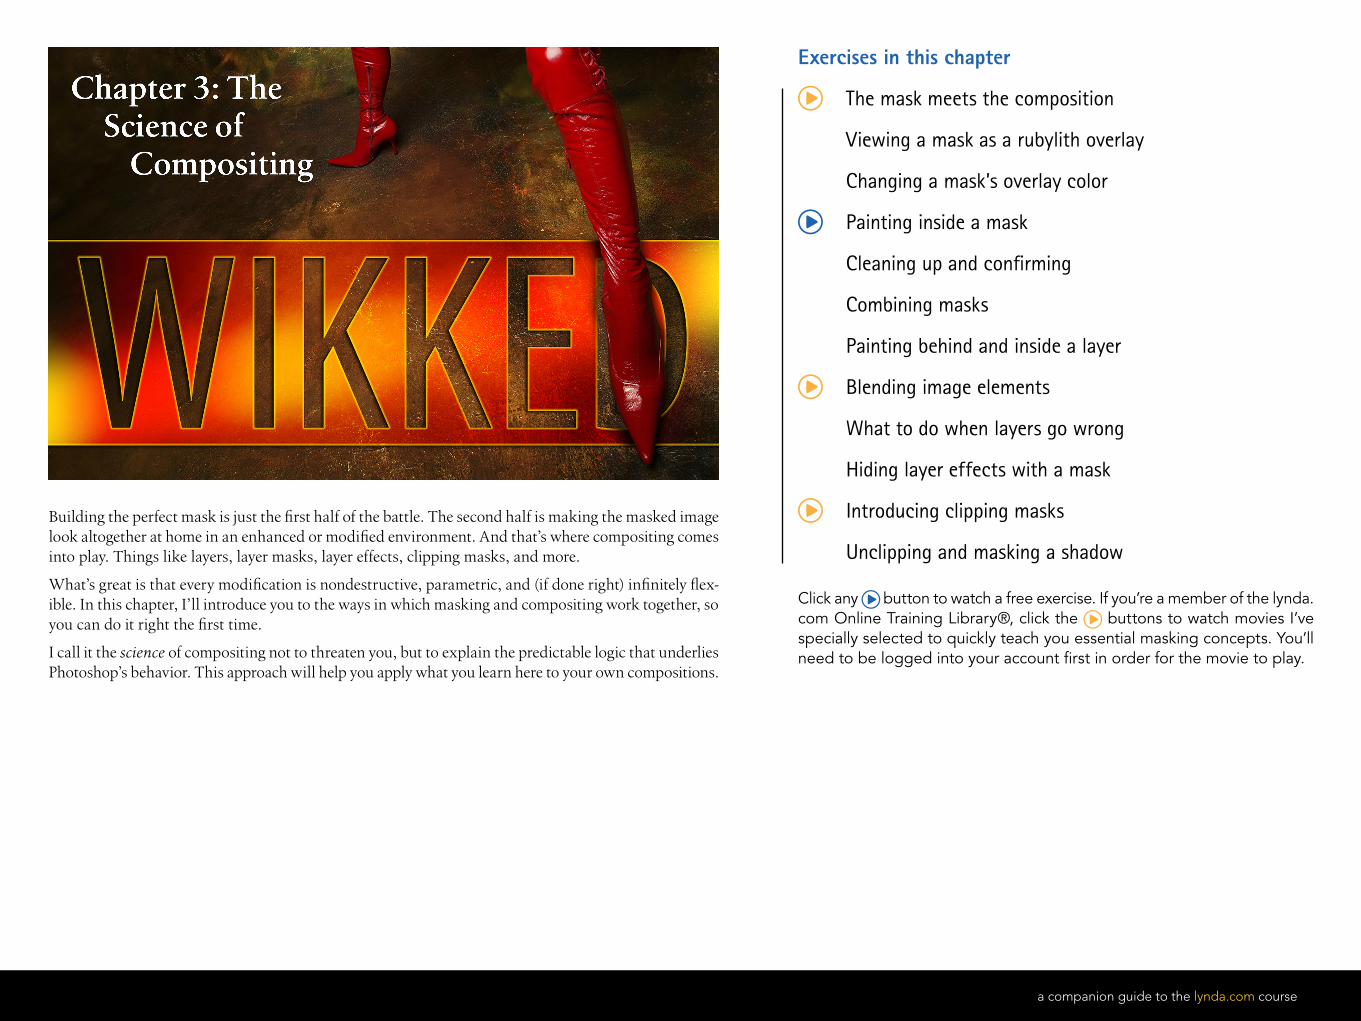
Building the perfect mask is just the first half of the battle. The second half is making the masked image look altogether at home in an enhanced or modified environment. And that’s where compositing comes into play. Things like layers, layer masks, layer effects, clipping masks, and more.
What’s great is that every modification is nondestructive, parametric, and (if done right) infinitely flex-ible. In this chapter, I’ll introduce you to the ways in which masking and compositing work together, so you can do it right the first time.
I call it the science of compositing not to threaten you, but to explain the predictable logic that underlies Photoshop’s behavior. This approach will help you apply what you learn here to your own compositions.
Exercises in this chapter
The mask meets the composition
Viewing a mask as a rubylith overlay
Changing a mask’s overlay color
Painting inside a mask
Cleaning up and confirming
Combining masks
Painting behind and inside a layer
Blending image elements
What to do when layers go wrong
Hiding layer effects with a mask
Introducing clipping masks
Unclipping and masking a shadow
Click any button to watch a free exercise. If you’re a member of the lynda.com Online Training Library®, click the buttons to watch movies I’ve specially selected to quickly teach you essential masking concepts. You’ll need to be logged into your account first in order for the movie to play.

a companion guide to the lynda.com course
Chapter 4. The Essentials of Selecting
Because Photoshop “sees” in pixels, it can’t easily understand the boundaries of objects we can easily perceive with own eyes. In order to explain to Photoshop that “this area is something I want to identify in order to work on” you need to define it by making it a selection.
Photoshop provides seven selection tools. These include the Marquee tools, the Lassos, the Magic Wand, and the Quick Selection tool. Many folks regard these tools as primitive. Which is true when they’re employed incorrectly, but it takes sophistication to properly understand and use them correctly. In other words, the selection tools are very good at doing what they were designed to do. Understanding their powers and avoiding their limitations permits you to turn the ordinary into the extraordinary—like turning an ordinary green frog into a magical golden creature.
Exercises in this chapter
The seven selection soldiers
The marquee tools
The single-pixel tools (plus tool tricks)
Turning a destructive edit into a layer
Making shapes of specific sizes
The lasso tools
Working with the Magnetic Lasso tool
The Quick Selection tool
Combining Quick Selection and Smudge
The Magic Wand and the Tolerance value
Contiguous and Anti-aliased selections
Making a good selection with the Magic Wand
Selecting and replacing a background
Resolving edges with layer effects
Adding lines of brilliant gold type
Click any button to watch a free exercise. If you’re a member of the lynda.com Online Training Library®, click the buttons to watch movies I’ve specially selected to quickly teach you essential masking concepts. You’ll need to be logged into your account first in order for the movie to play.
a companion guide to the lynda.com course
Chapter 5. The Versatility of Combining & Transforming
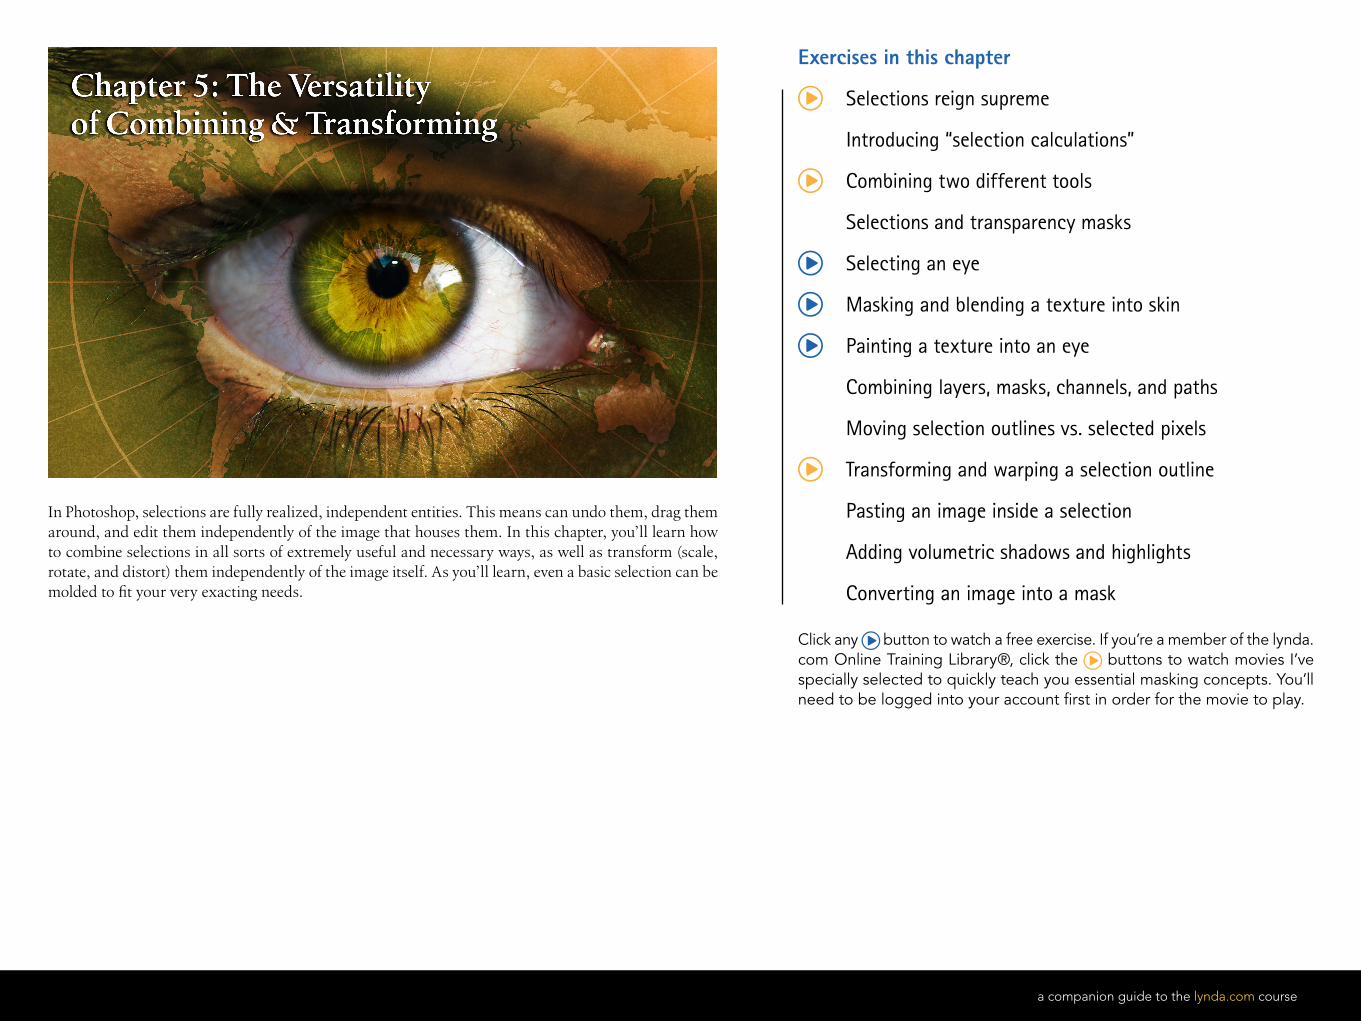
In Photoshop, selections are fully realized, independent entities. This means can undo them, drag them around, and edit them independently of the image that houses them. In this chapter, you’ll learn how to combine selections in all sorts of extremely useful and necessary ways, as well as transform (scale, rotate, and distort) them independently of the image itself. As you’ll learn, even a basic selection can be molded to fit your very exacting needs.
Exercises in this chapter
Selections reign supreme
Introducing “selection calculations”
Combining two different tools
Selections and transparency masks
Selecting an eye
Masking and blending a texture into skin
Painting a texture into an eye
Combining layers, masks, channels, and paths
Moving selection outlines vs. selected pixels
Transforming and warping a selection outline
Pasting an image inside a selection
Adding volumetric shadows and highlights
Converting an image into a mask
Click any button to watch a free exercise. If you’re a member of the lynda.com Online Training Library®, click the buttons to watch movies I’ve specially selected to quickly teach you essential masking concepts. You’ll need to be logged into your account first in order for the movie to play.
a companion guide to the lynda.com course
Chapter 6. The Unmatched Power of Color Range
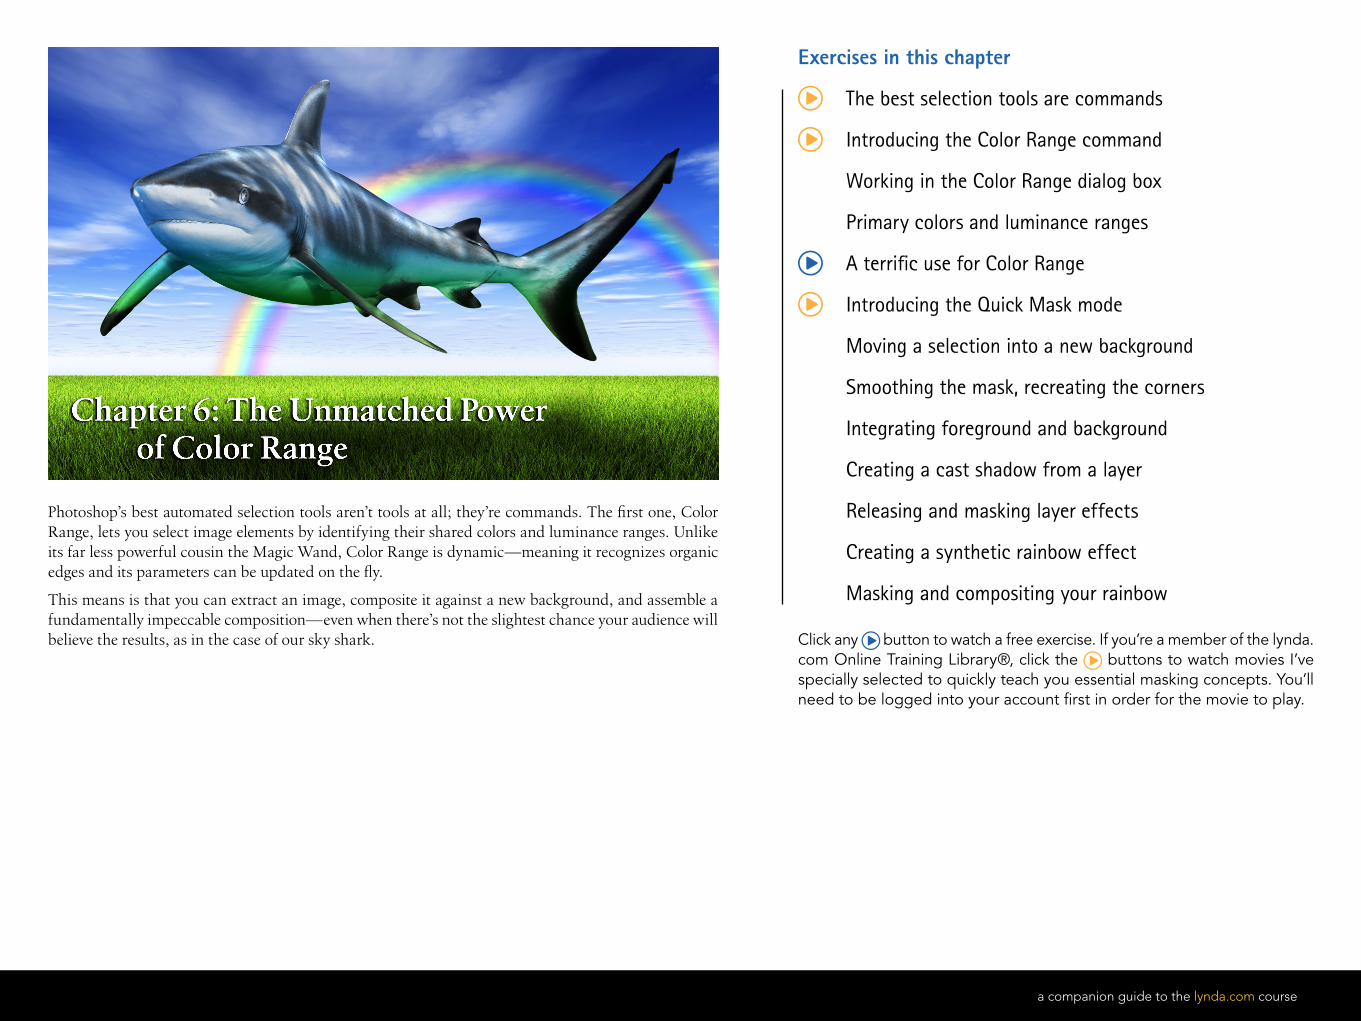
Photoshop’s best automated selection tools aren’t tools at all; they’re commands. The first one, Color Range, lets you select image elements by identifying their shared colors and luminance ranges. Unlike its far less powerful cousin the Magic Wand, Color Range is dynamic —meaning it recognizes organic edges and its parameters can be updated on the fly.
This means is that you can extract an image, composite it against a new background, and assemble a fundamentally impeccable composition—even when there’s not the slightest chance your audience will believe the results, as in the case of our sky shark.
Exercises in this chapter
The best selection tools are commands
Introducing the Color Range command
Working in the Color Range dialog box
Primary colors and luminance ranges
A terrific use for Color Range
Introducing the Quick Mask mode
Moving a selection into a new background
Smoothing the mask, recreating the corners
Integrating foreground and background
Creating a cast shadow from a layer
Releasing and masking layer effects
Creating a synthetic rainbow effect
Masking and compositing your rainbow
Click any button to watch a free exercise. If you’re a member of the lynda.com Online Training Library®, click the buttons to watch movies I’ve specially selected to quickly teach you essential masking concepts. You’ll need to be logged into your account first in order for the movie to play.
a companion guide to the lynda.com course
Chapter 7. The Unearthly Joy of Refinement
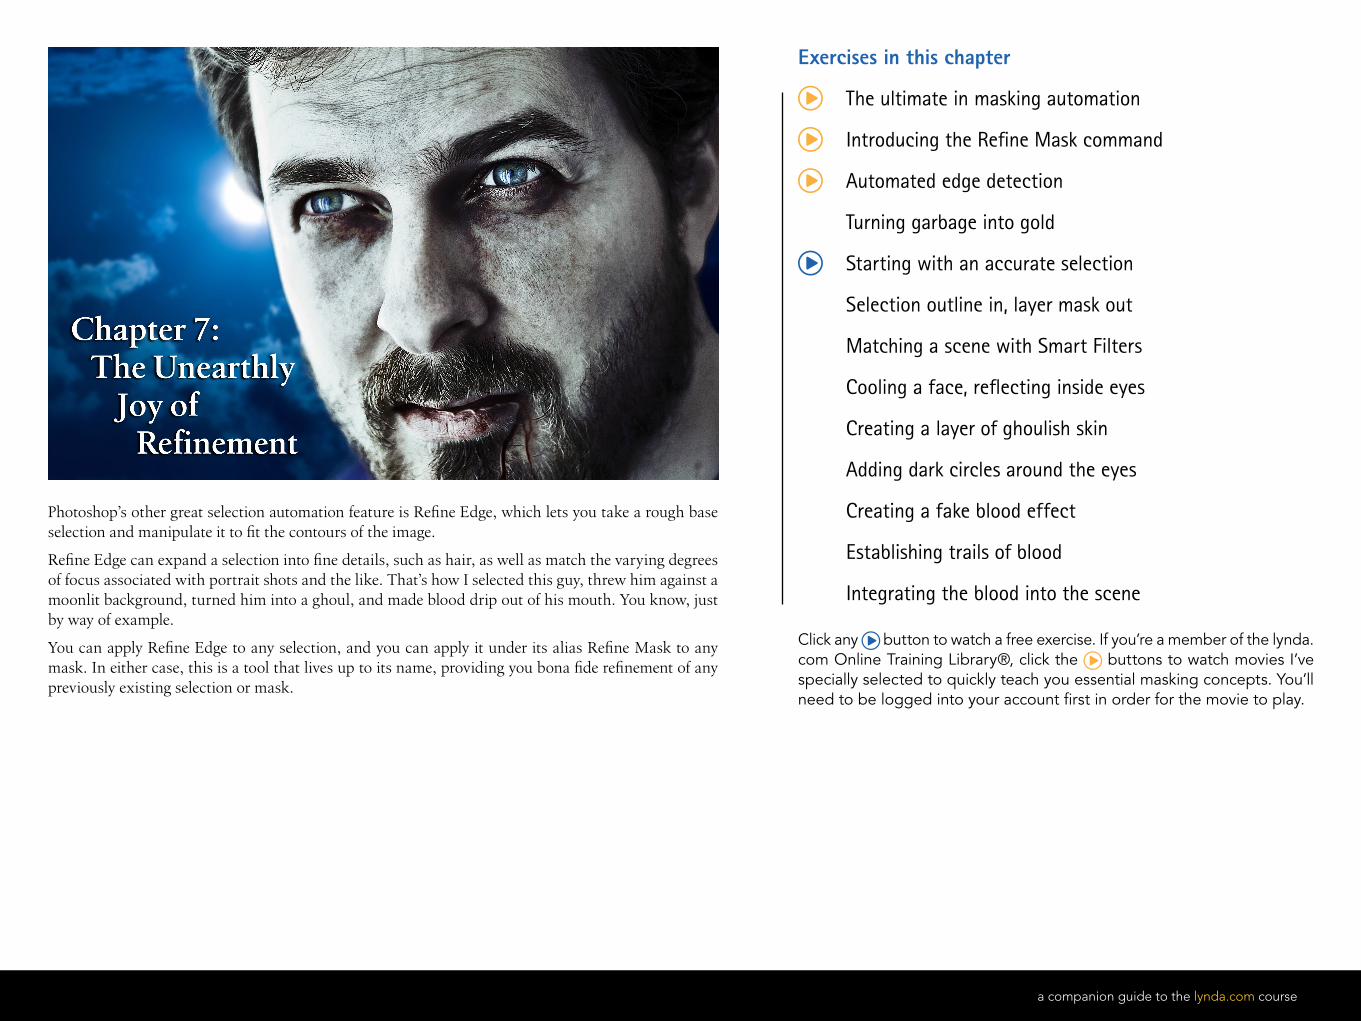
Photoshop’s other great selection automation feature is Refine Edge, which lets you take a rough base selection and manipulate it to fit the contours of the image.
Refine Edge can expand a selection into fine details, such as hair, as well as match the varying degrees of focus associated with portrait shots and the like. That’s how I selected this guy, threw him against a moonlit background, turned him into a ghoul, and made blood drip out of his mouth. You know, just by way of example.
You can apply Refine Edge to any selection, and you can apply it under its alias Refine Mask to any mask. In either case, this is a tool that lives up to its name, providing you bona fide refinement of any previously existing selection or mask.
Exercises in this chapter
The ultimate in masking automation
Introducing the Refine Mask command
Automated edge detection
Turning garbage into gold
Starting with an accurate selection
Selection outline in, layer mask out
Matching a scene with Smart Filters
Cooling a face, reflecting inside eyes
Creating a layer of ghoulish skin
Adding dark circles around the eyes
Creating a fake blood effect
Establishing trails of blood
Integrating the blood into the scene
Click any button to watch a free exercise. If you’re a member of the lynda.com Online Training Library®, click the buttons to watch movies I’ve specially selected to quickly teach you essential masking concepts. You’ll need to be logged into your account first in order for the movie to play.
a companion guide to the lynda.com course
Chapter 8. The Rewards of Everyday Masking
Exercises in this chapter
Using the image to select itself
Choosing the ideal base channel
Converting a channel into a mask
Painting with the Overlay mode
Painting with the Soft Light mode
Mask, composite, refine, and blend
Creating a more aggressive mask
Blending differently masked layers
Creating a hair-only mask
Using history to regain a lost mask
Separating flesh tones from hair
Adjusting a model’s color temperature
Introducing the Calculations command
Extracting a mask from a Smart Object
Integrating a bird into a new sky
Creating synthetic rays of light
Masking and compositing light
Introducing a brilliant light source
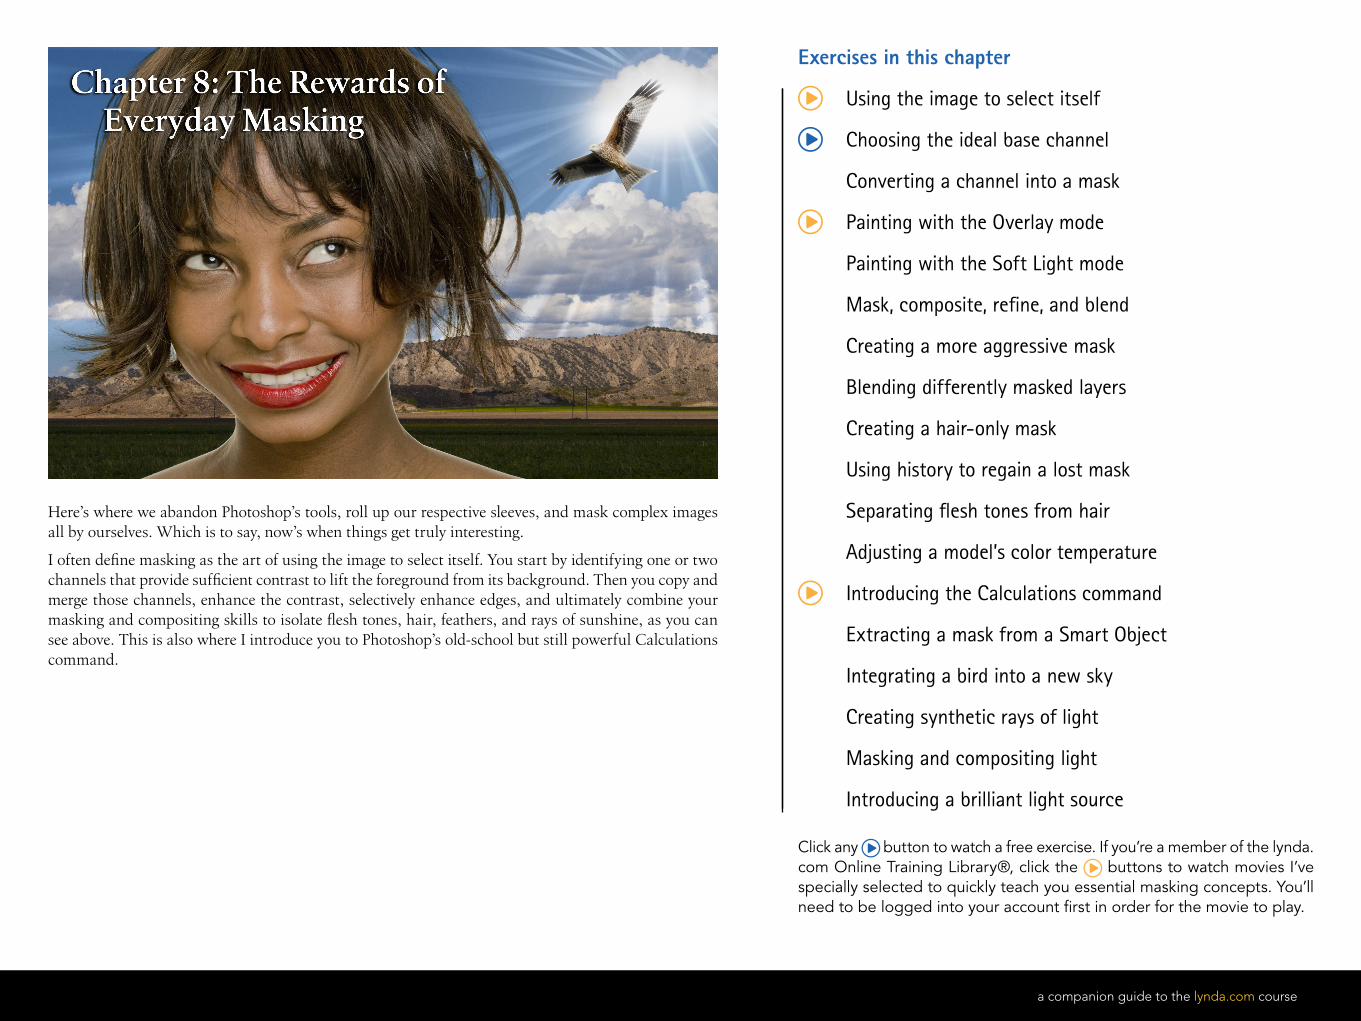
Here’s where we abandon Photoshop’s tools, roll up our respective sleeves, and mask complex images all by ourselves. Which is to say, now’s when things get truly interesting.
I often define masking as the art of using the image to select itself. You start by identifying one or two channels that provide sufficient contrast to lift the foreground from its background. Then you copy and merge those channels, enhance the contrast, selectively enhance edges, and ultimately combine your masking and compositing skills to isolate flesh tones, hair, feathers, and rays of sunshine, as you can see above. This is also where I introduce you to Photoshop’s old-school but still powerful Calculations command.
Click any button to watch a free exercise. If you’re a member of the lynda.com Online Training Library®, click the buttons to watch movies I’ve specially selected to quickly teach you essential masking concepts. You’ll need to be logged into your account first in order for the movie to play.
a companion guide to the lynda.com course
Chapter 9. The Mechanics of Layer Masks
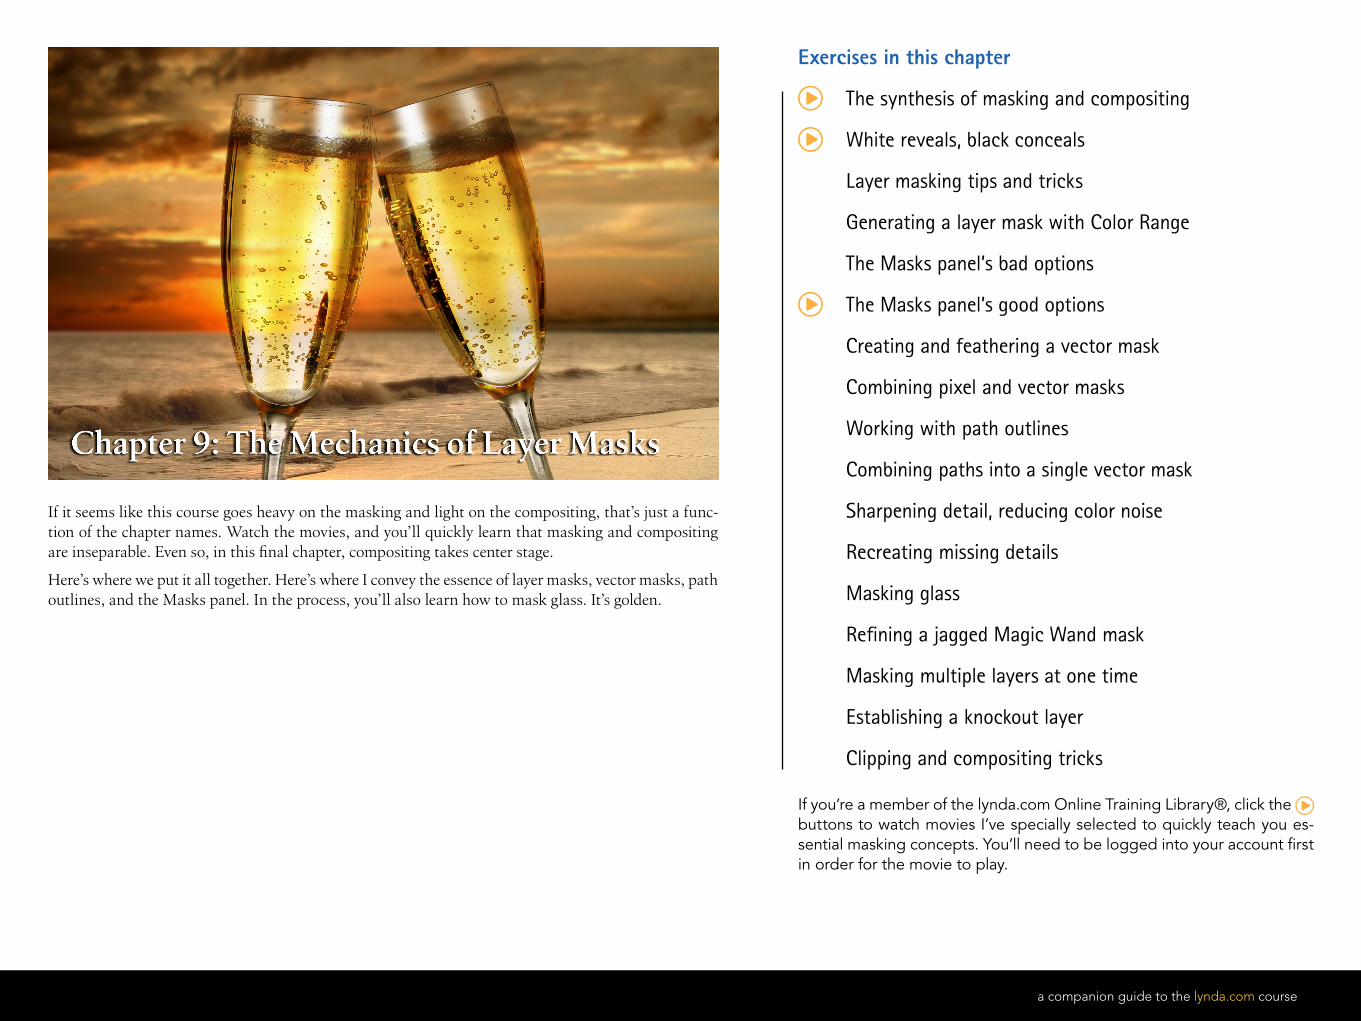
If it seems like this course goes heavy on the masking and light on the compositing, that’s just a func-tion of the chapter names. Watch the movies, and you’ll quickly learn that masking and compositing are inseparable. Even so, in this final chapter, compositing takes center stage.
Here’s where we put it all together. Here’s where I convey the essence of layer masks, vector masks, path outlines, and the Masks panel. In the process, you’ll also learn how to mask glass. It’s golden.
Exercises in this chapter
The synthesis of masking and compositing
White reveals, black conceals
Layer masking tips and tricks
Generating a layer mask with Color Range
The Masks panel’s bad options
The Masks panel’s good options
Creating and feathering a vector mask
Combining pixel and vector masks
Working with path outlines
Combining paths into a single vector mask
Sharpening detail, reducing color noise
Recreating missing details
Masking glass
Refining a jagged Magic Wand mask
Masking multiple layers at one time
Establishing a knockout layer
Clipping and compositing tricks
If you’re a member of the lynda.com Online Training Library®, click the buttons to watch movies I’ve specially selected to quickly teach you es-sential masking concepts. You’ll need to be logged into your account first in order for the movie to play.