Personal Narrative Unit 2 (Lesson 1)Introduction to Small Moments · I can’t wait to listen to...
34
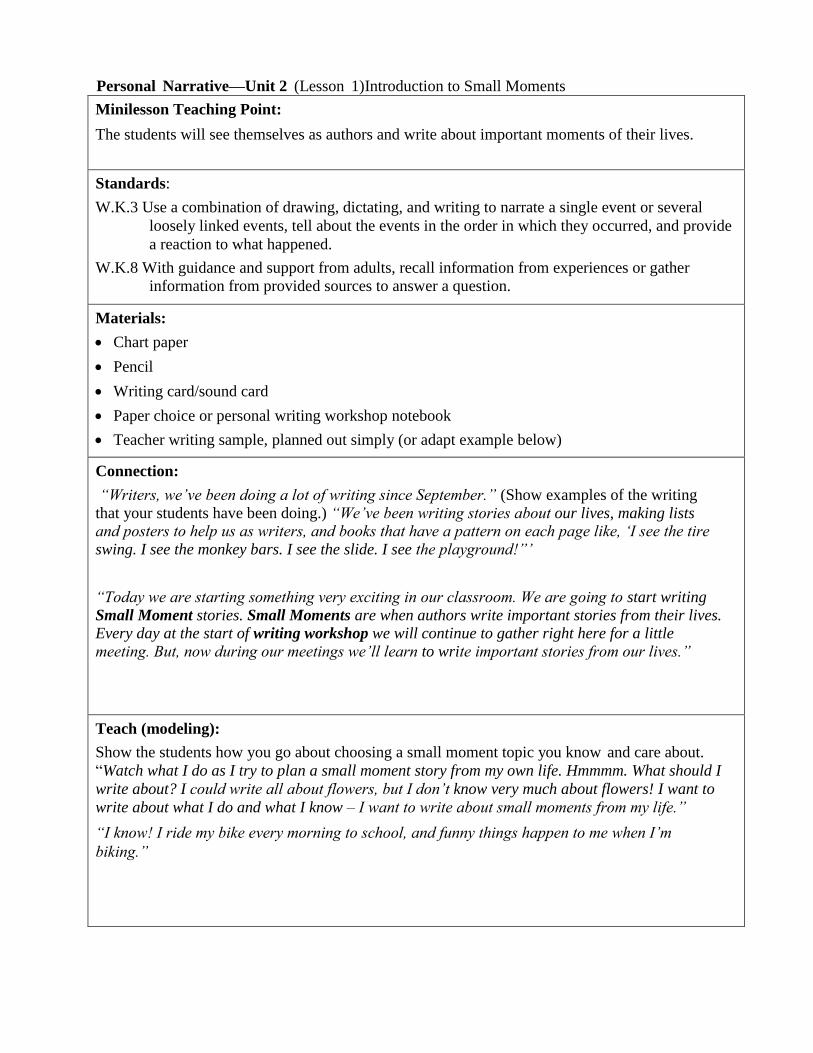
Personal Narrative—Unit 2 (Lesson 1)Introduction to Small Moments Minilesson Teaching Point: The students will see themselves as authors and write about important moments of their lives. Standards: W.K.3 Use a combination of drawing, dictating, and writing to narrate a single event or several loosely linked events, tell about the events in the order in which they occurred, and provide a reaction to what happened. W.K.8 With guidance and support from adults, recall information from experiences or gather information from provided sources to answer a question. Materials: Chart paper Pencil Writing card/sound card Paper choice or personal writing workshop notebook Teacher writing sample, planned out simply (or adapt example below) Connection: “Writers, we’ve been doing a lot of writing since September.” (Show examples of the writing that your students have been doing.) “We’ve been writing stories about our lives, making lists and posters to help us as writers, and books that have a pattern on each page like, ‘I see the tire swing. I see the monkey bars. I see the slide. I see the playground!”’ “Today we are starting something very exciting in our classroom. We are going to start writing Small Moment stories. Small Moments are when authors write important stories from their lives. Every day at the start of writing workshop we will continue to gather right here for a little meeting. But, now during our meetings we’ll learn to write important stories from our lives.” Teach (modeling): Show the students how you go about choosing a small moment topic you know and care about. “Watch what I do as I try to plan a small moment story from my own life. Hmmmm. What should I write about? I could write all about flowers, but I don’t know very much about flowers! I want to write about what I do and what I know – I want to write about small moments from my life.” “I know! I ride my bike every morning to school, and funny things happen to me when I’m biking.”
Transcript of Personal Narrative Unit 2 (Lesson 1)Introduction to Small Moments · I can’t wait to listen to...
Personal Narrative—Unit 2 (Lesson 1) Introduction to Small Moments
Minilesson Teaching Point:
The students will see themselves as authors and write about important moments of their lives.
Standards:
W.K.3 Use a combination of drawing, dictating, and writing to narrate a single event or several
loosely linked events, tell about the events in the order in which they occurred, and provide
a reaction to what happened.
W.K.8 With guidance and support from adults, recall information from experiences or gather
information from provided sources to answer a question.
Materials:
Chart paper
Pencil
Writing card/sound card
Paper choice or personal writing workshop notebook
Teacher writing sample, planned out simply (or adapt example below)
Connection:
“Writers, we’ve been doing a lot of writing since September.” (Show examples of the writing
that your students have been doing.) “We’ve been writing stories about our lives, making lists and posters to help us as writers, and books that have a pattern on each page like, ‘I see the tire
swing. I see the monkey bars. I see the slide. I see the playground!”’
“Today we are starting something very exciting in our classroom. We are going to start writing
Small Moment stories. Small Moments are when authors write important stories from their lives. Every day at the start of writing workshop we will continue to gather right here for a little
meeting. But, now during our meetings we’ll learn to write important stories from our lives.”
Teach (modeling):
Show the students how you go about choosing a small moment topic you know and care about.
“Watch what I do as I try to plan a small moment story from my own life. Hmmmm. What should I
write about? I could write all about flowers, but I don’t know very much about flowers! I want to
write about what I do and what I know – I want to write about small moments from my life.”
“I know! I ride my bike every morning to school, and funny things happen to me when I’m
biking.”
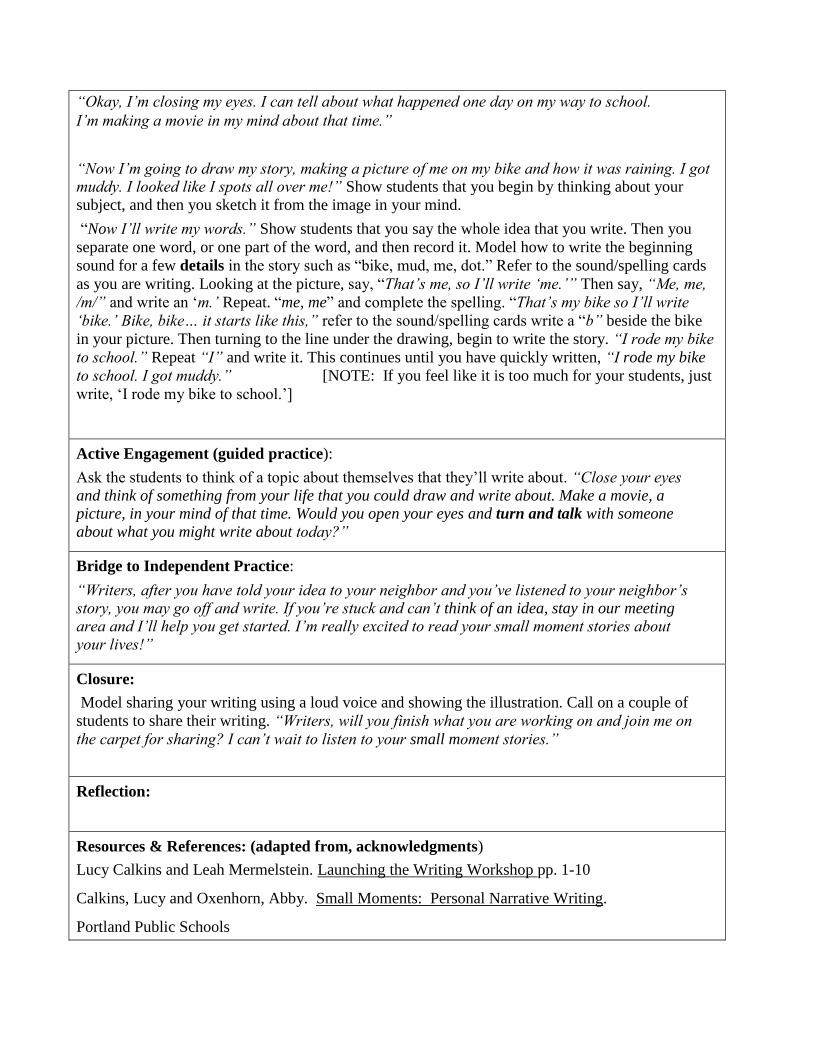
“Okay, I’m closing my eyes. I can tell about what happened one day on my way to school.
I’m making a movie in my mind about that time.”
“Now I’m going to draw my story, making a picture of me on my bike and how it was raining. I got muddy. I looked like I spots all over me!” Show students that you begin by thinking about your
subject, and then you sketch it from the image in your mind.
“Now I’ll write my words.” Show students that you say the whole idea that you write. Then you
separate one word, or one part of the word, and then record it. Model how to write the beginning
sound for a few details in the story such as “bike, mud, me, dot.” Refer to the sound/spelling cards
as you are writing. Looking at the picture, say, “That’s me, so I’ll write ‘me.’” Then say, “Me, me,
/m/” and write an ‘m.’ Repeat. “me, me” and complete the spelling. “That’s my bike so I’ll write
‘bike.’ Bike, bike… it starts like this,” refer to the sound/spelling cards write a “b” beside the bike
in your picture. Then turning to the line under the drawing, begin to write the story. “I rode my bike
to school.” Repeat “I” and write it. This continues until you have quickly written, “I rode my bike
to school. I got muddy.” [NOTE: If you feel like it is too much for your students, just
write, ‘I rode my bike to school.’]
Active Engagement (guided practice):
Ask the students to think of a topic about themselves that they’ll write about. “Close your eyes
and think of something from your life that you could draw and write about. Make a movie, a picture, in your mind of that time. Would you open your eyes and turn and talk with someone
about what you might write about today?”
Bridge to Independent Practice:
“Writers, after you have told your idea to your neighbor and you’ve listened to your neighbor’s story, you may go off and write. If you’re stuck and can’t think of an idea, stay in our meeting area and I’ll help you get started. I’m really excited to read your small moment stories about
your lives!”
Closure:
Model sharing your writing using a loud voice and showing the illustration. Call on a couple of
students to share their writing. “Writers, will you finish what you are working on and join me on
the carpet for sharing? I can’t wait to listen to your small moment stories.”
Reflection:
Resources & References: (adapted from, acknowledgments)
Lucy Calkins and Leah Mermelstein. Launching the Writing Workshop pp. 1-10
Calkins, Lucy and Oxenhorn, Abby. Small Moments: Personal Narrative Writing.
Portland Public Schools

Personal Narrative—Unit 2 (Lesson 2) Telling Stories in Illustrations
Minilesson Teaching Point:
Writers will learn that they can decide on a topic, envision it and then record that meaning on
the page with drawings that are representational.
Note: You will add on to this story in Lesson 4
Standard(s)
W.K.3 Use a combination of drawing, dictating, and writing to narrate a single event or several
loosely linked events, tell about the events in the order in which they occurred, and provide
a reaction to what happened.
W.K.8 With guidance and support from adults, recall information from experiences or gather
information from provided sources to answer a question.
Materials:
Chart paper
Pencil
Whole-class small moment experience
Writing/Sound card
Personal writing workshop notebook
Going on a Bear Hunt (or another title chosen by teacher)
Connection:
Remind students that they already learned to visualize and put those details into their illustrations
(Launching Lessons ). “Writers, a while ago we learned the strategy of visualizing and this is
something I have seen a lot of you doing. Remember, visualizing is when we make a movie or a
picture in our minds of something that happened to us. Then, we use our movies (our pictures) to
write and draw our small moment stories. After we make a movie in our mind, we draw all of those
details, all of the tiny pieces of our story, in our illustrations. The more details we add to our story,
the better our readers will understand what we are trying to say. You even saw me do this yesterday
as I planned out my small moment story about riding my bike to school and getting mud all over
myself.”
Teach (modeling):
“Writers, watch me as I think of another story idea for writing and put that idea on paper. I’m
going to close my eyes.” Close your eyes and dramatically show that you are deep in thought.
“Okay, I’ve got it. I’m making a movie, a picture, in my mind of that time. I’m going to write the
story about the time a bee flew into our classroom during math and everyone started screaming
and huddling around me.” (Create your own whole-class small moment experience.) “Here’s my
story:”
It was math time. We saw a bee flying in the class. Everyone
screamed and huddled around me. Then the bee flew out the window.
We were glad.
“Okay, now I want to get the whole story in my illustrations. First, I’ll draw Kevin because I
remember the worried look he had on his face. Now I’ll draw the bee…Do you see how I’m putting the whole story into my picture?”
TIP: For an alternate or additional lesson, reread the story, Going on a Bear Hunt. Use this story as
an example of writing a story that includes enough details in an illustration to tell a story in itself.
Help focus students by saying, “You can look at the picture and see …….. That’s what writers do.
We put our story into our pictures and our words.”
You could compare this story to one of your own stories that does not include very many details.
Active Engagement (guided practice):
“Writers, turn and talk to the person next to you and think about what other parts of the story I
could put into my illustration?”
Bridge to Independent Practice:
“Writers, today and every day as you write, make sure that you make a picture in your mind of what happened in your small moment story and then put the details of your story in your
illustrations. Let’s get ready to write. Close your eyes. Once you make a movie in your mind,
open your eyes and signal with a thumbs up that you’re ready to write.”
Closure:
“Thumbs up if you added details into your illustrations. Good! Let me show you Max’s story.
Notice the beautiful details Max put into his story. The details in his illustrations really help. I bet you can’t wait to begin writing again to work on more details”.
Reflection:
Resources & References: (adapted from, acknowledgments)
Lucy Calkins and Leah Mermelstein. Launching the Writing Workshop pp. 27-32
Portland Public Schools

Personal Narrative—Unit 2 (Lesson 3) Drawing Even Hard to Make Ideas
Minilesson Teaching Point:
Writers will learn what to do when drawing even hard to make ideas.
Standard(s)
W.K.3 Use a combination of drawing, dictating, and writing to narrate a single event or several
loosely linked events, tell about the events in the order in which they occurred, and provide
a reaction to what happened.
W.K.8 With guidance and support from adults, recall information from experiences or gather
information from provided sources to answer a question.
Materials:
Whole-class experience
Chart paper
Pencil
Writing/sound card
Personal writing workshop notebook
Connection:
“Writers, I have been so excited about the kinds of things that you have been talking and writing
about but sometimes I see you excited about a great idea, and then you go back to your seat and
you’re not sure how to draw the picture. And some of you actually decide not to write about your
great idea because you’re not sure how to draw it! That is so sad because the world misses out on
your wonderful idea. Today, I want to show you what I do when I have that uh-oh feeling.”
“Today, as writers, we will be learning that writers have a saying, “I’ll do the best I can and
keep going.”’
Teach (modeling):
“Think of all the times that you have been afraid to try something, or you have given up because
you thought something was too hard to try. This happens sometimes when you are writing, but if
you learn to try your best and keep on going, you will feel much better about your writing.”
“I am going to do a piece of writing and part way through it you’ll see me get that ‘Uh- oh, I
don’t know how to draw it feeling!’ I want to tell the story of us being locked out on the
playground yesterday. Remember how I forgot my key so we were locked out?
But, then we got another teacher to open the door, didn’t we? Watch what I do. Notice what
happens when I get to the tricky parts of my picture. Okay, for my story about the locked door, I am
remembering what happened first. I’m making a movie in my mind. First, I tried to open the door,
but it was locked. I pulled and pulled. Let me start making my drawing. I can make a window,
that’s easy.” Draw a door on the chart paper and then pause with your hand frozen over the picture
as if paralyzed. “Uh-oh,
I don’t know how to show me pulling and pulling the door. Forget it, I’ll just draw a sunny day and
flowers.” Then pausing dramatically, shake your head no. “No wait a second. I am just going to do
the best I can!” Pick up the marker and begin to draw yourself pulling on the door. “You can’t
really tell that from the picture, but oh, well.
I’ll just draw the best I can and keep going. I want to show what happened next with the door.
Remember how a teacher came and opened the door? I’ll draw that. Draws the door and mutter
to yourself, “That was easy.” Then freeze again in a dramatic fashion. “Oh no! I can’t draw! I
can’t possibly draw a teacher opening the door. Maybe I can draw some flowers. I can draw
flowers.”
Active Engagement (guided practice): Solicit advice from the class. Have them
turn and talk with a partner and then tell you what to do next. Follow their advice.
“Writers, turn and talk about what I should do next. Should I give up and draw flowers? What
do writers do when they get that ‘uh-oh feeling?’ Have students share out: “Writers do the best
they can and keep going.” Then quickly return to the story and finish writing.
Bridge to Independent Practice:
“Writers, today and everyday when you are writing and get that ‘uh-oh’ feeling, I want you to
remember that writers do the best they can and keep going.”
Closure:
“Writers, Leah is going to show you what she did today when she got to a tricky part in her
writing.”
Prep one student during conferring to share with the class what they did when they got to a
tricky part of their drawing.
“Remember, if you get to a tricky part of your picture and you want to give up, do what Leah did
and just do the best you can and keep going!”
Reflection:
Resources & References: (adapted from, acknowledgments)
Lucy Calkins and Leah Mermelstein. Launching the Writing Workshop pp. 35-40
Portland Public Schools

Personal Narrative—Unit 2 (Lesson 4)- Carrying On Independently As Writers
Minilesson Teaching Point:
Writers will learn how to keep working by adding more details to their picture or words or by
starting a new piece of writing.
Standard(s):
W.K.3 Use a combination of drawing, dictating, and writing to narrate a single event or several
loosely linked events, tell about the events in the order in which they occurred, and provide
a reaction to what happened.
W.K.5 With guidance and support from adults, respond to questions and suggestions from peers
and add details to strengthen writing as needed.
Materials:
Teacher-created story from Lesson 2 (make sure you have space to add words and details to
your writing)
Chart paper
Pencil
Writing/sound cards
3-4 types of paper choice
“When I’m Done Chart” from Launching Unit
Personal writing workshop folder
Connection:
“Writers, I’ve been noticing a lot of you coming up to me and telling me, ‘I’m done. Now what do
I do?’ or you’ve been saying, ‘I’m done. I’m going to get a book.’”
“I want to remind you what writers do when they are done with a story. ‘When you are done, you
have just begun.’”
Teach (modeling):
“Just like when you think you are done with your dinner, you don’t just say, ‘I’m done!’ and go
watch TV. Many of you have learned to be independent at home by cleaning up your dishes or
clearing the table so that your parents can do the chores they need to do. They don’t need to clear
the table for you. Knowing what to do when you are done with a story is important so that you can
learn to be independent as a writer. When you are an independent writer, you help yourself, but
you also help your teacher have time to help other students with their writing.”
“Today I am going to remind you what we do when we think we are done. Remember my story
about getting muddy on the way to school? Pretend I am just now finishing my biking story.
Watch what I do when I am done with my writing.”
Refer to the class chart. “It says, ‘Reread my writing.’ Okay, I’m going to do that. Let’s see… I
had spots on me. I should write that. Quickly add that. “The next thing is, ‘Add to my picture.’ I
should add the mud dots on my face and clothes. Notice how I am adding details to my picture?
When you are finished adding more details to your picture or to your words, you are done. Then,
you can start a new piece.” Read the last item on the chart. Model getting a new piece of paper and
getting started with your writing.
TIP: Add illustrations to the chart prior to the lesson to help with student
comprehension.
Active Engagement (guided practice):
“Writers, I want you to close your eyes and imagine that you are just finishing your writing. You
pull back and think, ‘There I am done. Whew! Done!’ But then you remember this mini-lesson and you imagine yourself looking closely at your story and thinking can I add more to my words?
Can I add more to my picture? Or, should I start a new story?”
Bridge to Independent Practice:
“As you are writing today and you think you are done, look at our chart and ask yourself, ‘Can I
add to my words? Can I add to my pictures? Am I ready to start a new piece?’ Remember, ‘a writer is never done, they have just begun!’”
Closure:
“Writers, I am very impressed. I saw Lily reread her writing and label her illustration. I saw
Devonte add more details to his illustration. And, I saw a lot of you finish one piece and go get
another piece of paper without telling me, ‘I’m done! I’m done!’ Nice work! Remember, ‘When
you are done, you have just begun.’”
Reflection:
Resources & References: (adapted from, acknowledgments)
Lucy Calkins and Leah Mermelstein. Launching the Writing Workshop, pp. 11-14
Portland Public Schools
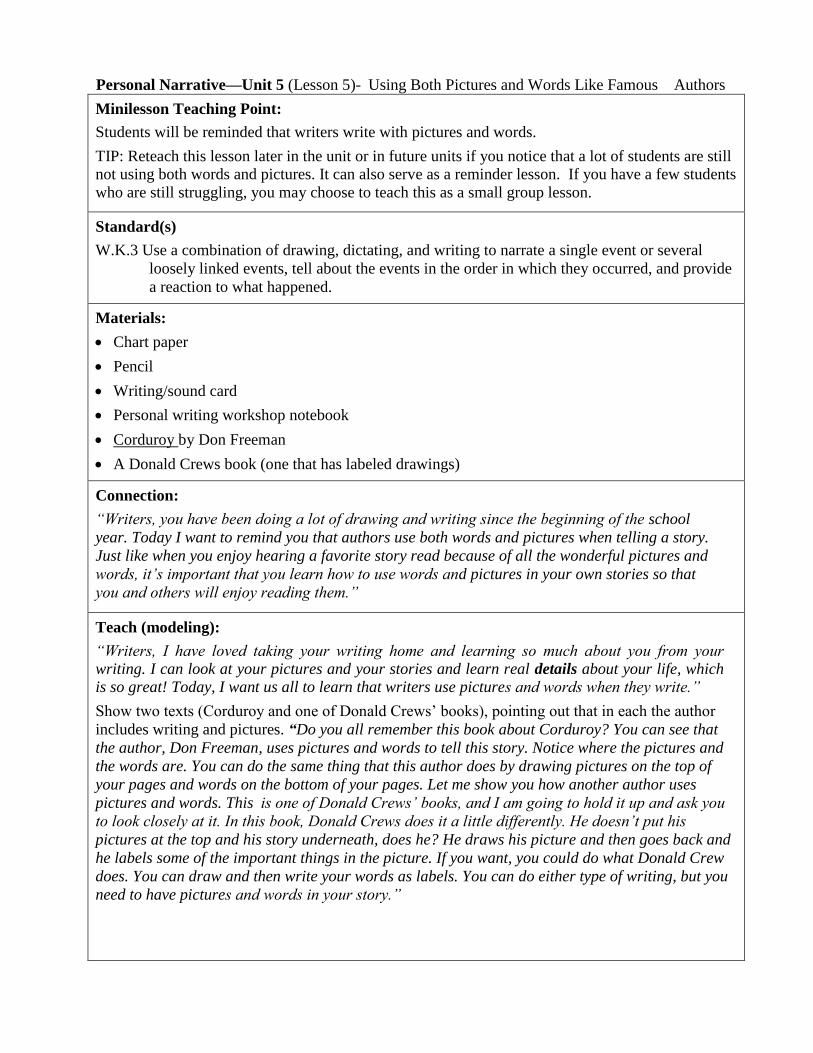
Personal Narrative—Unit 5 (Lesson 5)- Using Both Pictures and Words Like Famous Authors
Minilesson Teaching Point:
Students will be reminded that writers write with pictures and words.
TIP: Reteach this lesson later in the unit or in future units if you notice that a lot of students are still not using both words and pictures. It can also serve as a reminder lesson. If you have a few students
who are still struggling, you may choose to teach this as a small group lesson.
Standard(s)
W.K.3 Use a combination of drawing, dictating, and writing to narrate a single event or several
loosely linked events, tell about the events in the order in which they occurred, and provide
a reaction to what happened.
W.K.5 With guidance and support from adults, respond to questions and suggestions from peers and
add details to strengthen writing as needed. Materials:
Chart paper
Pencil
Writing/sound card
Personal writing workshop notebook
Corduroy by Don Freeman
A Donald Crews book (one that has labeled drawings)
Connection:
“Writers, you have been doing a lot of drawing and writing since the beginning of the school
year. Today I want to remind you that authors use both words and pictures when telling a story.
Just like when you enjoy hearing a favorite story read because of all the wonderful pictures and
words, it’s important that you learn how to use words and pictures in your own stories so that
you and others will enjoy reading them.”
Teach (modeling):
“Writers, I have loved taking your writing home and learning so much about you from your writing. I can look at your pictures and your stories and learn real details about your life, which is so great! Today, I want us all to learn that writers use pictures and words when they write.”
Show two texts (Corduroy and one of Donald Crews’ books), pointing out that in each the author
includes writing and pictures. “Do you all remember this book about Corduroy? You can see that
the author, Don Freeman, uses pictures and words to tell this story. Notice where the pictures and
the words are. You can do the same thing that this author does by drawing pictures on the top of
your pages and words on the bottom of your pages. Let me show you how another author uses
pictures and words. This is one of Donald Crews’ books, and I am going to hold it up and ask you
to look closely at it. In this book, Donald Crews does it a little differently. He doesn’t put his
pictures at the top and his story underneath, does he? He draws his picture and then goes back and
he labels some of the important things in the picture. If you want, you could do what Donald Crew
does. You can draw and then write your words as labels. You can do either type of writing, but you
need to have pictures and words in your story.”

Active Engagement (guided practice):
Students need to have their writing folders and paper choice at the carpet or their journals. Or,
you could pass out paper choice at this point. Ask students to point to the place on their pages
where they will draw and to the place where they will write. “Writers, point to where you will
draw your picture. Writers, point to where you are going to put your words.”
Bridge to Independent Practice:
“Writers, today I am hoping that each of you will use both pictures and words to tell your story. I can’t wait to see how you have used both pictures and words to tell your story in your
writing!”
Closure:
“Writers, I am so impressed! I saw everyone using both pictures and words in their writing
pieces. Kiah is a writer like Donald Crews. Look at how he made a detailed drawing and then added labels in his picture.”
“Blake is a writer like Don Freeman. He drew his picture and wrote two full lines of words! I
saw him do a beautiful return sweep when he got to the end of his first line. He filled up the first
line and then went all the way back to the left side so he could continue writing.
“Great work today, writers!”
Reflection:
Resources & References: (adapted from, acknowledgments)
Lucy Calkins and Leah Mermelstein. Launching the Writing Workshop pp. 43-47
Portland Public Schools
Personal Narrative—Unit 2 (Lesson 6) Stretching and Writing Words: Initial Sounds
Minilesson Teaching Point:
Writers will learn to use initial sounds to help them become independent writers.
Standard(s):
L.K.2.c. Write a letter or letters for most consonant and short-vowel sounds
(phonemes).
L.K.2.d. Spell simple words phonetically, drawing on knowledge of sound-letter
relationships.
Materials:
Teacher-created story from Lesson 1 (or adapt the example below)
Chart paper
Pencil
Writing/sound card
Personal writing workshop notebook
Connection:
“Writers, you have been writing really interesting small moment stories from your lives. You have
been writing stories about getting a new doll, about cleaning the yard with your mom, about being
sad because you didn’t get to watch your favorite TV show. Lots of different stories!”
“You have also been working on getting all of your words down on paper the best you can. You
have been stretching out words so that you can hear the sounds in them.
Today I want to show you how to get the main sounds, the most important sounds, you hear down
on paper.”
Teach (modeling):
“Think about when you are asked to set the table. Your parents probably ask you to set out the plates and silverware, what you will mainly need for your meal. They don’t expect you to put
everything out on the table, just the main things. Listening to the main sounds in words will give you what you need for now to help you be an independent writer.”
ELD: Provide a visual of a table, plates and silverware.
As you model stretching out words, refer to the alphabet sound cards to “help” you.
“Writers, today I want to work on my writing about me riding my bike to school and getting mud
all over myself. I remember that I asked the sky not to rain too hard because I knew I was going
to get really muddy. So I think I’ll write, ‘Please don’t rain too hard!’, in a speech bubble above
myself. Watch me say my words and write down the sounds I hear. Later, I am going to ask you
to help me. ‘Plleeesss.’ Let me say the

word and write down what I hear in the beginning, /pl/. I hear /p/ so I’ll write the letter ‘p.’
‘Plleeess.’ Let me say it again and listen to what else I hear. ‘Plleeess.’ What else do I hear? I
hear the /l/ sound. ‘L’ is how you spell that sound. Let me write that down. Reread, pointing to the
letters and saying please. “I hear an “s” too.” Now I am going on to the next word, ‘dooon’t.’
What do I hear from the beginning? I hear a /d/ sound! I know ‘d’ makes the /d/ sound so I’ll write
that down. Dooon’t I hear ‘o’ so
I’ll write that next to the ‘d.’ Dooon’t. I hear the /t/ sound. ‘T’ makes the /t/ sound.
I’ll write that next. Reread, pointing to each letter. “I don’t hear any more sounds in that word
so I’m done with that word.”
“Writers, did you notice that I said the word and wrote down what I heard at the beginning of it?
And then I said the word again and wrote down what I heard next. I am telling you this because you can do the same thing. Writing down the sounds you hear in words, especially the beginning
sounds of words, will help you become a more independent writer.”
Active Engagement (guided practice):
“Writers, lets try it together with the word ‘rain.’ Say the word ‘rain.’ What do you hear at the
beginning? Yes, I do hear an /r/ sound at the beginning of careful. Let’s write ‘r’. There are more
sounds in ‘rain’. Everyone say the word and listen for more sounds. Do you hear an /ai/ sound?
Let’s write an ‘a’. What you are doing is smart. Keep on rereading and saying, ‘are there more
sounds I can write?’ This is a good start to ‘rain’, but it sounds as if it has another letter. Turn and
talk and try to think about what comes next.” Continue the process with “too” and “hard.” You may
want to mention leaving spaces between words, but keep the focus on stretching out words and
writing sounds.
Bridge to Independent Practice:
“Writers, today when you are writing your words, could you make sure that you say the word once
and write down what you hear in the beginning, and then say the word again and write down the other sounds you hear?”
Closure:
“Writers, I want to share what happened to some of you today. When some of you listened and
wrote down the sounds you heard, you got a lot more down on your paper. That’s what happened
to Hunter today. He wrote his words and he kept writing and writing! Let me show you his work.”
Share with the class how a few students were able to get a lot of writing done because they wrote
down the sounds they heard and kept on writing.
“You all tried the best you could and kept on going.”
Reflection:
Resources & References: (adapted from, acknowledgments)
Lucy Calkins and Leah Mermelstein. Launching the Writing Workshop. 57-59.
Personal Narrative—Unit 2 (Lesson 7) Spelling the Best We Can and Moving On
Minilesson Teaching Point:
Writers will learn to accept their own approximate spelling in order to write stories.
Standard(s)
L.K.2.c. Write a letter or letters for most consonant and short-vowel sounds
(phonemes).
L.K.2.d. Spell simple words phonetically, drawing on knowledge of sound-letter relationships.
Materials:
Chart paper
Pencil
Writing/sound card
Dry erase boards and dry erase markers (or clipboards, pencils, and paper)
Previously written story from Lesson 3
Paper choice
Personal writing workshop folder/notebook
Connection:
“Writers, remember how we learned to draw the best we can and keep going? Remember how I
wrote the story about how we got locked outside? I had a hard time drawing me pulling and pulling
the door, but you all told me, ‘Try the best you can and keep going!’ Today I want to remind you
that when we write words, we need to say the same thing: ‘That might not be perfect yet, but I’ll
just spell the best I can and keep going so I can say more.’ You can get a lot of writing done when
you write your words the best you can and keep going.”
Teach (modeling):
“Imagine a friend hurt your feelings and then apologized, said ‘sorry’ to you. You might not have
felt better right after the apology, but you accepted the apology so that you and your friend could
stay friends. When you do the best you can with writing the sounds hear in words, and keep going,
you can accept your writing and keep trying to spell the best that you can. That way you can write
more in your story.”
“Writers, today I’ll show you how I do the best I can with my spelling and keep going. Today I
think I will write the words to go with my picture about the locked door in our classroom, and I
want you to watch what I do when I get to tricky words.” Dictate to yourself and write rather
quickly, every now and then hemming and hawing about how to spell a word, but shrugging it off
and saying, “Oh well. I’ll just leave it for now and keep going.” Quickly write the sentence and
appear to keep going with your writing. You might write, ‘We got locked out.’ If you and your
students use the ‘magic line,’ you may want to incorporate it into this lesson.
Active Engagement (guided practice):
Use whatever classroom routine you have for handing out materials (i.e., dry erase boards and
markers).
“Writers, did you see how I did the best I could and kept going? I am going to give you dry erase
boards so that you can join me in doing this. I think I’ll say, ‘A teacher helped me unlock the door.’
Let’s do this together. I’ll say the words and you, as writers, will write the words the best you can.
‘A’, ( pause), ‘teacher’, (pause), ‘helped’,( pause), ‘me’, (pause), ‘unlock’... Writers, stop for a
second. Hold up your boards so I can admire what you did! Look at how much you got down!
Let’s read what we have written and keep going!”
Bridge to Independent Practice:
“Writers, if you want to put something on paper and you aren’t sure how you draw it or write it, just remember authors have a saying, ‘Do the best you can and keep on going.”’
Closure:
“Writers, today I watched Margo write about art and she wanted to say she made an origami bird,
but she realized that origami was a hard word. Do you know what she did? She said, ‘Oh well. I’ll try it anyway!’ What a smart writer! Let me show you her work.” Share 2-3 students’ work who
attempted to write words that were challenging them.
Reflection:
Resources & References: (adapted from, acknowledgments)
Lucy Calkins and Leah Mermelstein. Launching the Writing Workshop pp. 57-64
Portland Public Schools
Do the best
you can and
keep going.
Personal Narrative—Unit 2 (Lesson 8) Using Writing Tools: The Alphabet Chart
Minilesson Teaching Point: Writers will learn how to write words by matching the sounds they
hear in words using the alphabet chart for help.
Standard(s):
L.K.2.c. Write a letter or letters for most consonant and short-vowel sounds
(phonemes).
L.K.2.d. Spell simple words phonetically, drawing on knowledge of sound-letter relationships.
Materials:
Chart paper
Pencil
Alphabet Chart and system for student access and storage (if your students’ writing folders have
three prongs, you may want to store them there)
Personal writing workshop notebook
Connection:
“Writers, we have been using our alphabet sound chart to help us with our reading and our writing. I have seen a lot of you using our big alphabet chart and your small individual ones to help
you spell words. I want to remind you that this chart is just one of the many resources we use in the room to help us become independent writers during writing workshop.”
Teach (modeling):
“Writers, watch me, and notice how I use this chart.” Quickly model closing your eyes, thinking
of an idea and making a movie/picture in your mind. “I thought of an idea. I want to write another
story about my dog, Sophie. I’m making a movie in my mind of the time I took her to the park, but I
forgot her leash. She ran up to other dogs and I had a hard time catching her. I want to write, ‘I
took my dog for a walk, but I forgot her leash. She ran up to other dogs.’” Write the first few
words and pause at “walk”. “Let’s read what I have written: ‘I took my dog for a… walk.’ Watch
me read through the pictures on this chart until I find the one that starts like /w/. Hey, ‘walk’
starts like ‘walrus.’” Write a “w” and continue to work quickly until you come to the word “but”.
Refer back to the alphabet chart for the letter that matches the sound /b/ in “but”, saying, “It’s not
like /c/in cactus, it’s not like/d/ in dolphin. Baby, baby /b/,
/b/. Hey the /b/ in baby is just like the beginning sound for ‘but.’’ Continue to write the rest of the story, stopping to use the alphabet chart for appropriate high usage sounds. If it is
appropriate, model using the word wall for simple high frequency words, but remember – the focus
of the lesson is using the alphabet sound chart.
Active Engagement (guided practice):
“Writers, turn and talk about how I used the alphabet chart today to help me. What did you see
me do?”
Bridge to Independent Practice:
“Writers, you can do the same thing I have done. You can use the alphabet chart to help you write
the sounds you hear in words. I have an alphabet chart for each of you to use when you go back to
your writing places.”
Closure:
Have students bring their individual alphabet charts to the meeting area.
“Writers, I saw many of you using the alphabet chart today to help you spell words as you wrote
your stories”
“Get out your alphabet sound charts. If you wanted to write about a garden, but you weren’t sure
what letter made the /g/ sound, which picture on your alphabet chart could help you? And if you
want to write about our jump ropes getting lost and you weren’t sure which letter to use at the
start of jump ropes, point to the place on the alphabet chart where you could get help.” You may
want to continue with two to three additional examples to provide more practice for your students.
Reflection:
Resources & References: (adapted from, acknowledgments)
Lucy Calkins and Leah Mermelstein. Launching the Writing Workshop pp. 73-77.
Portland Public Schools
Personal Narrative—Unit 2 (Lesson 9) Counting the Words in a Message
Minilesson Teaching Point: Writers count each word in their story to help them remember the
words they want to write.
Standard:
W.K.3 Use a combination of drawing, dictating, and writing to narrate a single event or several
loosely linked events, tell about the events in the order in which they occurred, and provide
a reaction to what happened.
Materials:
Planned out story idea, preferably based on a whole-class experience
Chart paper
Writing/sound card
Paper choice
Personal writing workshop folder/notebook
Connection:
“Today as writers we will learn how writers count the words in a sentence. Counting the words in
your sentence helps you remember the words you want to write. It’s just like counting children in
line after recess helps us remember how many children need to come back to class. When we count
the words in a sentence it helps us make sure we wrote the words we wanted to say.”
Teach (modeling):
As you write in front of your class, your think aloud might sound like: “I’m going to write about
the pizza I had today. It was yummy. I think I will make that my first sentence: ‘The pizza at lunch
was yummy.’ I am going to say the sentence again so I can count the words in the sentence.
Watch me hold up one finger for each word I say. Ready: ‘ The… pizza… at… lunch… was …
yummy.’ I am holding up six fingers because there are six words in my sentence. Let’s do it
together. Hold up one finger for each word. Watch, I am going to write six words and put a space
between each word.”
As you add each word, keep returning to the beginning of the sentence to count words and reread.
When you finish, have the students read the sentence with you twice, once to make sure it makes
sense, and then to count the words one last time.
Active Engagement (guided practice):
“Turn and talk about how I helped myself remember all the words.”
If time allows, add a second sentence and have the students practice with you.
“Writers, let’s add another sentence together. The pizza was so yummy I ate the whole piece. I
want to write, ‘I ate the whole thing.’ Use your fingers and count the words in my sentence with
me: ‘I…ate…the…whole…thing.’” Again, as you add each word, keep returning to the beginning
of the sentence to count words and reread.
Have the students do this with you. When you finish, the sentence together twice, once to
make sure it make sense, and then to count the words one last time.
Bridge to Independent Practice:
“Writers, close your eyes and think about what you would like to write today. Make a picture in
your mind. Tell yourself your story and now count the words in your story. Thumbs up when you
are ready to go off and write.”
Closure:
If you helped someone during conferring who had a difficult time writing the words they said and counted, show the class how that student problem-solved. Even if you helped the student with each
step, pretend they did most of the work. If you saw someone saying and counting successfully, share
this with the group.
“Remember, we can count the words in our sentences before we begin writing. This helps us remember the words we want to write. The number of words we say needs to match the number
of words we write. Nice work today, writers!”
TIP: Use this strategy when doing interactive writing (students using individual dry erase boards
while you model on your own board or on chart paper) or shared writing.
Reflection:
Resources & References: (adapted from, acknowledgments)
Linda Hoyt and Teresa Therriault. Mastering the Mechanics K-1 pgs. 42-43.
Portland Public Schools
Personal Narrative—Unit 2 (Lesson 10) Reread and Touch Each Word
Minilesson Teaching Point:
Writers get their ideas on the paper, and then they reread and check to make sure all the words are
on the paper.
TIP: Reinforce this concept during the morning message using the writing workshop lingo. You
could write a sentence and leave out a simple word (i.e., the, a, is) and have the students help you fix it.
Standard(s)
W.K.3 Use a combination of drawing, dictating, and writing to narrate a single event or several
loosely linked events, tell about the events in the order in which they occurred, and provide
a reaction to what happened.
Materials:
“When I’m Done” Chart from Lesson 24, Launching Unit
Pencil
Writing/sound card
Personal writing workshop notebook
Copies of teacher created sample
Connection:
“Today, writers, we will remind ourselves what we do when we are finished writing a small moment story.” Refer to the first item on the class chart. “Remember our chart? When we think we’re done,
first, we reread our writing. We will learn how to reread our stories and how to touch each word when we reread.”
Teach (modeling):
“You know when I read a story to you during Read Aloud? When I do that I am reading
the actual words that are written on each page.”
ELD: Quickly read a page from a story that has three to four words on it, and point to each word as
you read.
“Think of your favorite story. The written words tell the story, just like your writing during
writing workshop will tell a story.”
Pick a story that has been previously written, perhaps the story from Lesson 9. “I want the words
I write to match the words I say. Good writers get their ideas on paper and then they reread and
check to make sure all the words are on the paper. When I write, I put my ideas down. Then I
reread to make sure it says what I think it does.
Watch me. First, I will reread to make sure this makes sense. Then I will reread and touch each
word as I read. I want to make sure I didn’t leave out any of my words.”
I took my dog for a walk, but I forgot her leash. She ran up to other dogs.
NOTE: You may want to amend the chart from Lesson 24 to say, “Reread my story and Touch
Each Word.”
Active Engagement (guided practice):
“Writers, turn and talk about the way I reread my story. What did you see me doing? What did
you hear me doing and why did I do that?”
Listen in on student conversations and help them identify what you did. Give them the language
as needed. Then, as you share out with the whole group, give them the credit by pretending they
gave you the language.
ELD: I saw . I heard .
Bridge to Independent Practice:
“Writers, I added another sentence to our class story about when I forgot my keys at recess and we got locked out. Remember how we wrote, ‘A teacher helped me unlock the door?’ I added another
sentence: ‘We were very happy.’” Give each student an individual sentence to touch and read in a whole group setting.
“Remember, writers get their ideas on the paper first, then after writing, they reread and touch each word to make sure they didn’t leave out any words. Writers know that they want their
thinking and the words on the page to match.”
Closure:
Choose an example from a student you conferred with today such as the one described below:
“Writers, I want to share with you what I saw Lily do today. She finished her small moment story
about planting a flower with her mom. She went to the writing center to get another piece of paper
to start a new story. But, then she remembered our chart.
So, she did something really smart. She reread her story and touched each word. Then she realized
she left out a word. Look what she did! She added this little mark called a caret between ‘wif’ and
‘mom’ and then added the word ‘my’ because she really wanted it to say, ‘I planted a flower with
my mom.’ So, whenever you are rereading your writing and you leave out a word, you can add a
caret just like Lily did. If you forget how to do it, go ask our new classroom expert: Lily.”
Reflection:
Resources & References: (adapted from, acknowledgments)
Linda Hoyt and Teresa Therriault. Mastering the Mechanics Page 44
Portland Public Schools
Personal Narrative—Unit 2 (Lesson 11) Keeping Letters in a Word Close Together
Minilesson Teaching Point:
Use appropriate spacing between words and keeping letters in a word close together.
TIP: When reading the morning message, poem of the week, etc., practice as a group counting the number of letters in various words. Also, practice counting the number of words in a sentence.
Reinforce the difference between letters and words.
Standard(s):
W.K.1.3 Make an effort while writing to reread one’s own writing.
Materials:
Chart paper
Pencil
Writing/sound card
Paper choice available (should be changing as students are able to do more writing – you may
want to have booklets in the writing center)
Personal writing workshop folder/notebook
Copies of Teacher Writing Sample (i.e. small moment example based on a whole- class
experience or use the example below)
Dry erase boards and pens or paper and pencil
Connection:
“Last night I was thinking how important it is when we are walking in line to stay close to the
person in front of you. That way I can see you and know where you are. I realized that writing a
word is kind of like staying close together in a line. As writers, it’s important to keep the letters
close together when we write a word. This makes it easier for you to read your writing and for the
reader to read your writing. When you write the letters close together in a word, we know the
letters go together to make to that word. Today, I want to show you how I do this so you can do it in
your own writing.”
Teach (modeling):
“Words are made up of letters, so when I write, I need to think about the sounds in each word. As I
write, I’ll talk about what I’m thinking.” Quickly model thinking of your idea, making a
movie/picture in your mind. “I was thinking about my duck story I wrote yesterday. I realized I
wanted to add on to it. I’m going to reread what I wrote first: ‘I saw seven ducks at the pond. They
quacked a lot. I laughed and quacked too!’” Model saying your next sentence aloud: ‘Ducks are
cute!’ To reinforce previous strategies, count to yourself the number of words in your sentence.
“I need to help my readers see which letters go together to make a word. I’m writing the word ‘Ducks.’ Notice how the letters d-u-c-k-s are close together. That tells my reader that ‘ducks’ is a word. Do you see how I keep all the letters in a word close together?”
Finish writing the sentence, selecting another word to model aloud. “When I finish my message, I
will reread my sentence again to make sure that all the letters in a word are close together.”
“Writers, what did you see me doing when I wrote my words? Count how many words are in my
sentence. Remember, we keep letters in a word close together so the reader knows they belong together.”
TIP: Add “keeping letters in a word close together” to a class writing chart.
Active Engagement (guided practice): (Pass out
the dry erase boards and markers.)
“Writers, now it is your turn to write some words on your dry erase board and then see if your
partner can count how many words you wrote. Remember, we keep letters in a word close together so we know they form a word.” Students write and then turn and talk.
You may want to demonstrate writing some words so students can see some spellings or dictating some simple words most students will know how to spell. Allow some time for everyone to write
and share some words.
“Writers, talk about what you noticed about your classmate’s writing. Were the letters of each
word close together? Could you count the number of words correctly?”
Bridge to Independent Practice:
“When you write today, remember to keep the letters of each word close together.”
Closure:
Share with the group strong examples of words with the letters written close together. Tell them
what you noticed a particular student or two doing (embellish as needed!).
“So, writers, remember whenever you are writing, the letters in a word need to be right next to
each other so the reader can tell they belong together. Nice work, again, today!”
Reflection:
Resources & References: (adapted from, acknowledgments)
Linda Hoyt and Teresa Therriault. Mastering the Mechanics K-1 pp. 52-53
Portland Public Schools

Keep letters in a word
close
together.

Personal Narrative—Unit 2 (Lesson 12) Leaving Space Between Words
Minilesson Teaching Point:
Using appropriate spacing between words and keeping letters in a word close together.
TIP: When reading the morning message, poem of the week, etc., practice as a group counting the
number of letters in various words. Also, practice counting the number of words in a sentence.
Reinforce the difference between letters and words.
Standard(s):
W.K.1.3 Make an effort while writing to reread one’s own writing.
Materials:
Chart paper
Pencil
Writing/sound card
Personal writing workshop folder/notebook
Teacher writing sample with one sentence (preferably based on whole-class
experience)
Copies of Teacher Writing Sample with a second sentence (for student use)
Highlighters (optional)
Connection:
“Writers, yesterday we talked about how important it is to keep the letters of a word close
together so that word is easy to read. You all did a great job doing just that. Today, I want to
talk to you more about how important it is to leave spaces between words.”
Teach (modeling):
“When we leave spaces between words, we let the reader know where a word begins or ends. This makes it easier for the reader to read your writing. It also makes it easier for you to reread your writing!”
“Words are made up of letters, so when I write I have to think about spacing. As I write, I’ll talk to
you about what I’m thinking. I need to be sure that I have left spaces between words so that each
word is separated.” Continue briefly modeling thinking aloud (thinking of an idea, making a
movie/picture in your mind), saying the sentence and counting the words. Then write the first word
of a sentence (i.e. “It”). “Now watch me leave a space before I start the next word”. Finish writing
the sentence, demonstrating another space between two words. “When I finish my message, I will
reread my sentence again to make sure that there are spaces between my words.”
It rained hard at recess.
“Writers turn and talk about what you noticed about my spacing.” Model what you did, as
needed, as you listen in on partner conversations. Reiterate what you heard a couple of students
say.
“Now I am going to use this highlighter to show how I have spaces between my words. The last thing I am going to do is count the number of words in my sentence.” Model making a line
between each word of your words and then counting the number of words in the sentence.
TIP: Add “Leave spaces between words” to a class writing chart.
Active Engagement (guided practice):
“Guess what? You get to practice, again, highlighting the spaces between the words in the last sentence of my story and counting the number of words I wrote! I decided that I wanted to add, ‘We
had to stay inside for recess.’ Do what you just saw me do: highlight the spaces between the words
and then count the words.”
Hand out highlighters to individuals or pairs of students as well as a copy of the sentence: ‘We had to stay inside for recess.’ Have students do this activity in the meeting area. Help
them as needed.
Bridge to Independent Practice:
“When you are finished, go get started on your own writing. If you would like to practice
highlighting on your own writing today, please come up and get a highlighter.”
Closure:
Share with the group strong examples of spaces between words. Tell them what you noticed a particular student or two doing (embellish as needed!). If you allowed students to highlight
spaces between their words, share a student example with the group.
“Writers, remember, we need spaces between each word so that we can tell where one word
stops and another begins.”
Reflection:
Resources & References: (adapted from, acknowledgments)
Linda Hoyt and Teresa Therriault. Mastering the Mechanics K-1 pp. 52-53.
Portland Public Schools

Leave space
between words.
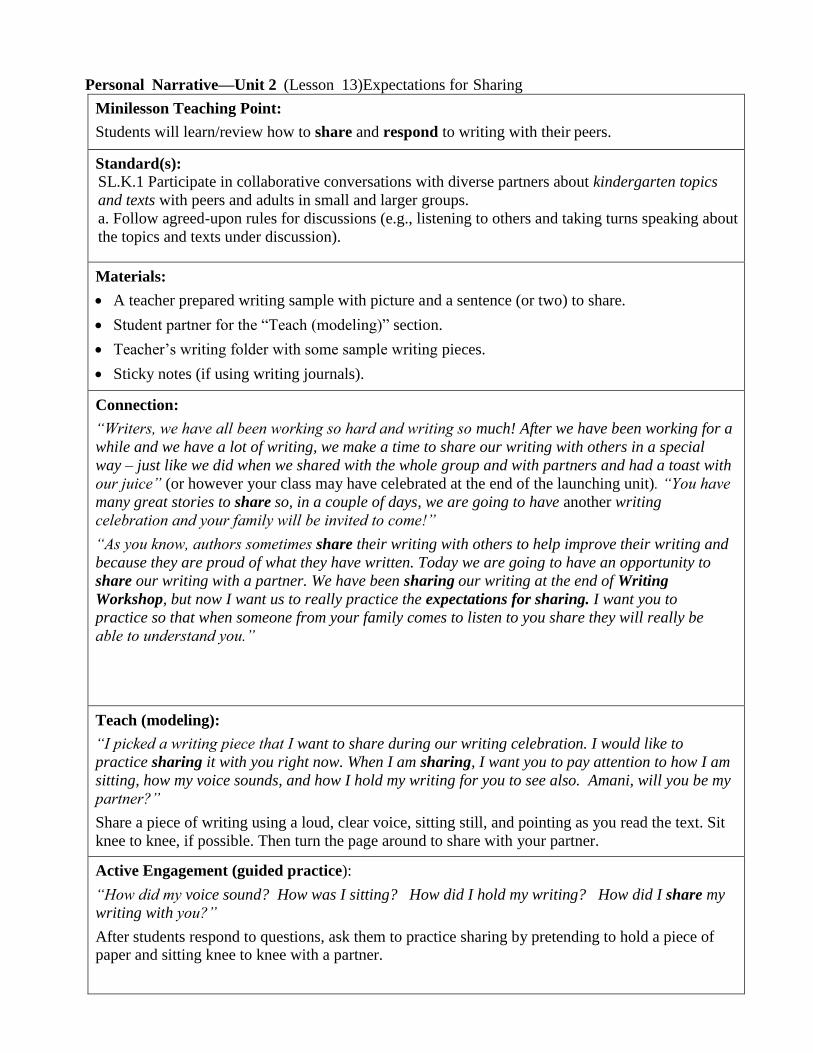
Personal Narrative—Unit 2 (Lesson 13) Expectations for Sharing
Minilesson Teaching Point:
Students will learn/review how to share and respond to writing with their peers.
Standard(s):
SL.K.1 Participate in collaborative conversations with diverse partners about kindergarten topics
and texts with peers and adults in small and larger groups.
a. Follow agreed-upon rules for discussions (e.g., listening to others and taking turns speaking about
the topics and texts under discussion).
Materials:
A teacher prepared writing sample with picture and a sentence (or two) to share.
Student partner for the “Teach (modeling)” section.
Teacher’s writing folder with some sample writing pieces.
Sticky notes (if using writing journals).
Connection:
“Writers, we have all been working so hard and writing so much! After we have been working for a
while and we have a lot of writing, we make a time to share our writing with others in a special
way – just like we did when we shared with the whole group and with partners and had a toast with
our juice” (or however your class may have celebrated at the end of the launching unit). “You have
many great stories to share so, in a couple of days, we are going to have another writing
celebration and your family will be invited to come!”
“As you know, authors sometimes share their writing with others to help improve their writing and
because they are proud of what they have written. Today we are going to have an opportunity to
share our writing with a partner. We have been sharing our writing at the end of Writing
Workshop, but now I want us to really practice the expectations for sharing. I want you to
practice so that when someone from your family comes to listen to you share they will really be
able to understand you.”
Teach (modeling):
“I picked a writing piece that I want to share during our writing celebration. I would like to
practice sharing it with you right now. When I am sharing, I want you to pay attention to how I am
sitting, how my voice sounds, and how I hold my writing for you to see also. Amani, will you be my
partner?”
Share a piece of writing using a loud, clear voice, sitting still, and pointing as you read the text. Sit
knee to knee, if possible. Then turn the page around to share with your partner.
Active Engagement (guided practice):
“How did my voice sound? How was I sitting? How did I hold my writing? How did I share my
writing with you?”
After students respond to questions, ask them to practice sharing by pretending to hold a piece of paper and sitting knee to knee with a partner.
Bridge to Independent Practice:
“During our writing time today, if you find that you are at a spot in your writing where you want
to share, you may ask a friend to listen to your writing. Remember what you saw me do as I
shared. Also, be thinking about a piece that you want to share with your family or another friend’s
family in two days. Not tomorrow, but the day after tomorrow.”
Closure:
Gather students on the carpet with their writing. Tell them to pick the piece they want to share with the whole group for the writing celebration. Model this with your own writing. If students
are using writing journals, give them sticky notes to mark the page they are going to share. Ask the children to share that piece writing with a partner sitting next to them. Then ask a student or
two to share their writing with the whole class.
Reflection:
Resources & References: (adapted from, acknowledgments)
Portland Public Schools
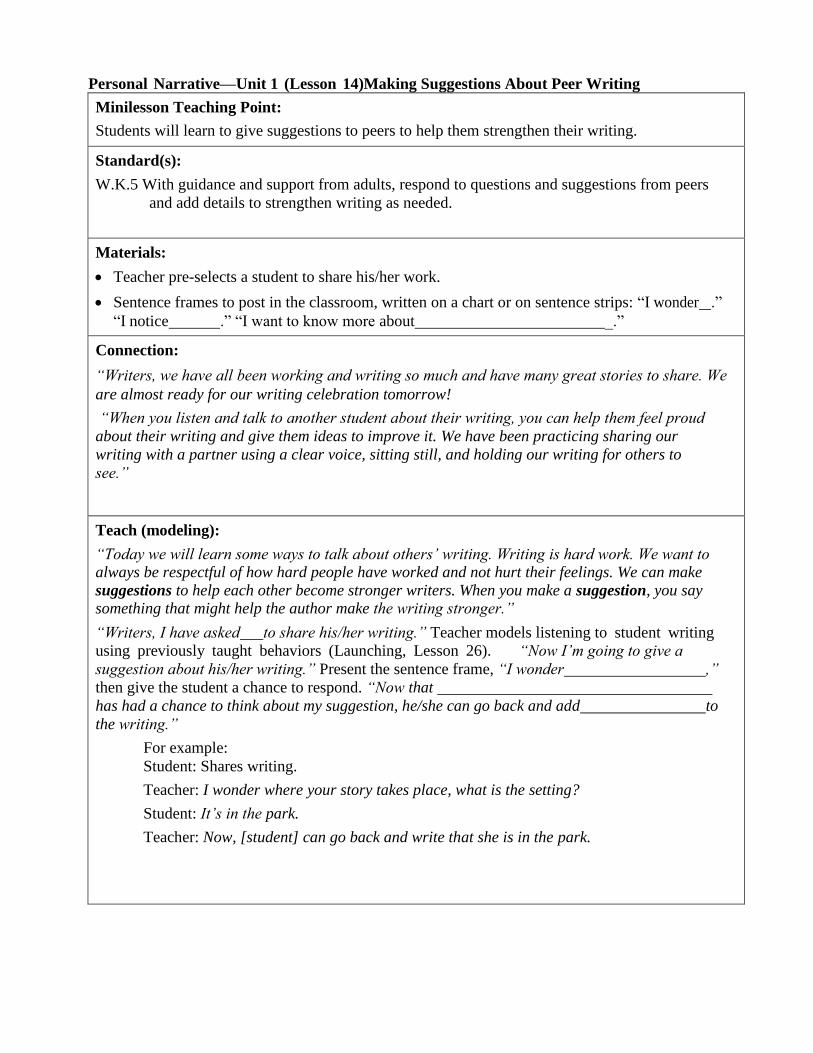
Personal Narrative—Unit 1 (Lesson 14) Making Suggestions About Peer Writing
Minilesson Teaching Point:
Students will learn to give suggestions to peers to help them strengthen their writing.
Standard(s):
W.K.5 With guidance and support from adults, respond to questions and suggestions from peers
and add details to strengthen writing as needed.
Materials:
Teacher pre-selects a student to share his/her work.
Sentence frames to post in the classroom, written on a chart or on sentence strips: “I wonder .”
“I notice .” “I want to know more about _.”
Connection:
“Writers, we have all been working and writing so much and have many great stories to share. We
are almost ready for our writing celebration tomorrow!
“When you listen and talk to another student about their writing, you can help them feel proud
about their writing and give them ideas to improve it. We have been practicing sharing our
writing with a partner using a clear voice, sitting still, and holding our writing for others to
see.”
Teach (modeling):
“Today we will learn some ways to talk about others’ writing. Writing is hard work. We want to always be respectful of how hard people have worked and not hurt their feelings. We can make
suggestions to help each other become stronger writers. When you make a suggestion, you say something that might help the author make the writing stronger.”
“Writers, I have asked to share his/her writing.” Teacher models listening to student writing
using previously taught behaviors (Launching, Lesson 26). “Now I’m going to give a
suggestion about his/her writing.” Present the sentence frame, “I wonder ,”
then give the student a chance to respond. “Now that
has had a chance to think about my suggestion, he/she can go back and add to
the writing.”
For example:
Student: Shares writing.
Teacher: I wonder where your story takes place, what is the setting?
Student: It’s in the park.
Teacher: Now, [student] can go back and write that she is in the park.
Active Engagement (guided practice):
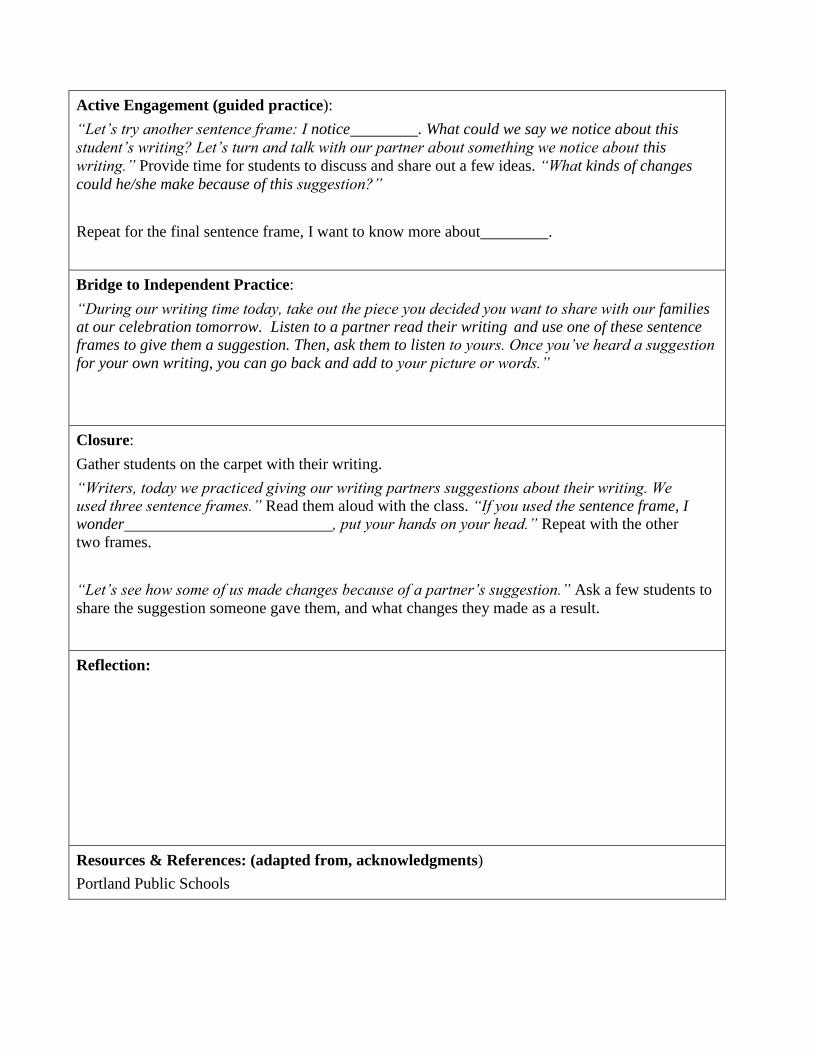
“Let’s try another sentence frame: I notice . What could we say we notice about this
student’s writing? Let’s turn and talk with our partner about something we notice about this
writing.” Provide time for students to discuss and share out a few ideas. “What kinds of changes
could he/she make because of this suggestion?”
Repeat for the final sentence frame, I want to know more about .
Bridge to Independent Practice:
“During our writing time today, take out the piece you decided you want to share with our families at our celebration tomorrow. Listen to a partner read their writing and use one of these sentence frames to give them a suggestion. Then, ask them to listen to yours. Once you’ve heard a suggestion
for your own writing, you can go back and add to your picture or words.”
Closure:
Gather students on the carpet with their writing.
“Writers, today we practiced giving our writing partners suggestions about their writing. We used three sentence frames.” Read them aloud with the class. “If you used the sentence frame, I wonder , put your hands on your head.” Repeat with the other
two frames.
“Let’s see how some of us made changes because of a partner’s suggestion.” Ask a few students to
share the suggestion someone gave them, and what changes they made as a result.
Reflection:
Resources & References: (adapted from, acknowledgments)
Portland Public Schools
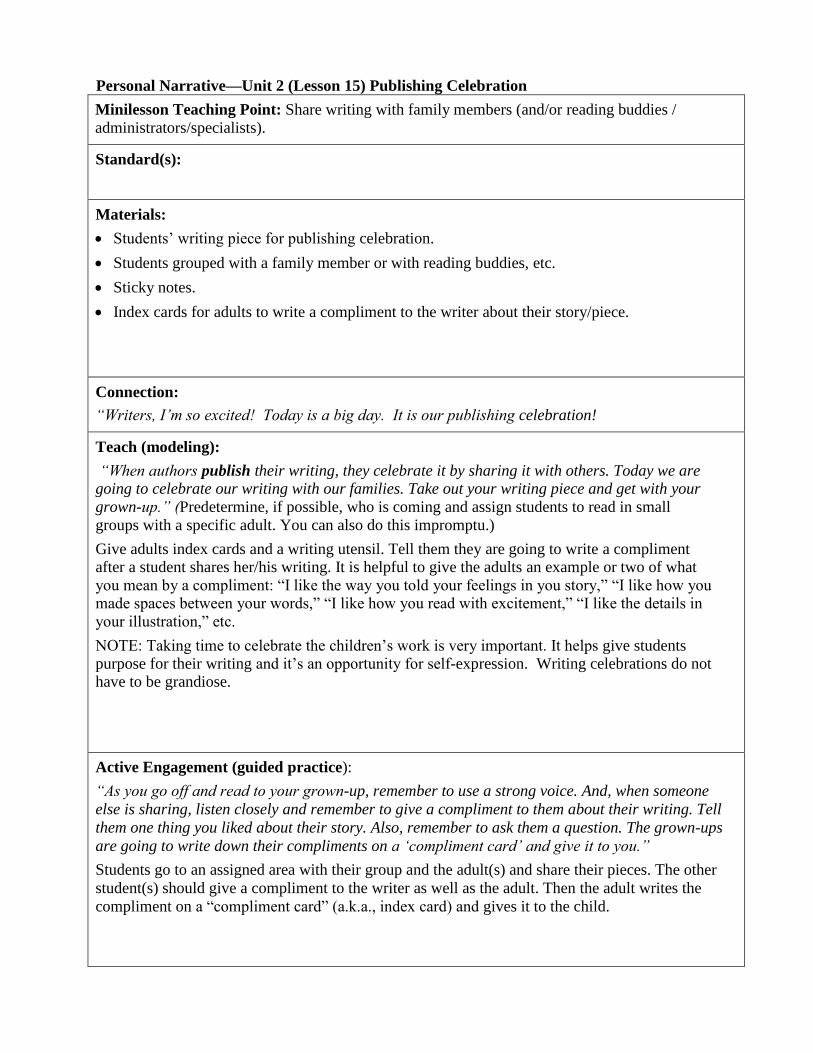
Personal Narrative—Unit 2 (Lesson 15) Publishing Celebration
Minilesson Teaching Point: Share writing with family members (and/or reading buddies /
administrators/specialists).
Standard(s):
Materials:
Students’ writing piece for publishing celebration.
Students grouped with a family member or with reading buddies, etc.
Sticky notes.
Index cards for adults to write a compliment to the writer about their story/piece.
Connection:
“Writers, I’m so excited! Today is a big day. It is our publishing celebration!
Teach (modeling):
“When authors publish their writing, they celebrate it by sharing it with others. Today we are going to celebrate our writing with our families. Take out your writing piece and get with your
grown-up.” (Predetermine, if possible, who is coming and assign students to read in small
groups with a specific adult. You can also do this impromptu.)
Give adults index cards and a writing utensil. Tell them they are going to write a compliment after a student shares her/his writing. It is helpful to give the adults an example or two of what
you mean by a compliment: “I like the way you told your feelings in you story,” “I like how you made spaces between your words,” “I like how you read with excitement,” “I like the details in
your illustration,” etc.
NOTE: Taking time to celebrate the children’s work is very important. It helps give students purpose for their writing and it’s an opportunity for self-expression. Writing celebrations do not have to be grandiose.
Active Engagement (guided practice):
“As you go off and read to your grown-up, remember to use a strong voice. And, when someone
else is sharing, listen closely and remember to give a compliment to them about their writing. Tell
them one thing you liked about their story. Also, remember to ask them a question. The grown-ups
are going to write down their compliments on a ‘compliment card’ and give it to you.”
Students go to an assigned area with their group and the adult(s) and share their pieces. The other
student(s) should give a compliment to the writer as well as the adult. Then the adult writes the
compliment on a “compliment card” (a.k.a., index card) and gives it to the child.
If some groups finish before others, have them share additional stories. The grown-up could also
read stories to their group.
Bridge to Independent Practice:
“Writers, you have a couple more minutes before we are going to have a toast.”
Closure:
Reflection:
Resources & References: (adapted from, acknowledgments)
Calkins, Lucy and Mermelstein, Leah. Launching the Writing Workshop. pp. 116- 120.
Portland Public Schools
30.
29.
28.
27.
26.
25.
24.
23.
22.
21.
20.
19.
18.
17.
16.
15.
14.
13.
12.
11.
10.
9.
8.
7.
6.
5.
4.
3.
2.
1.
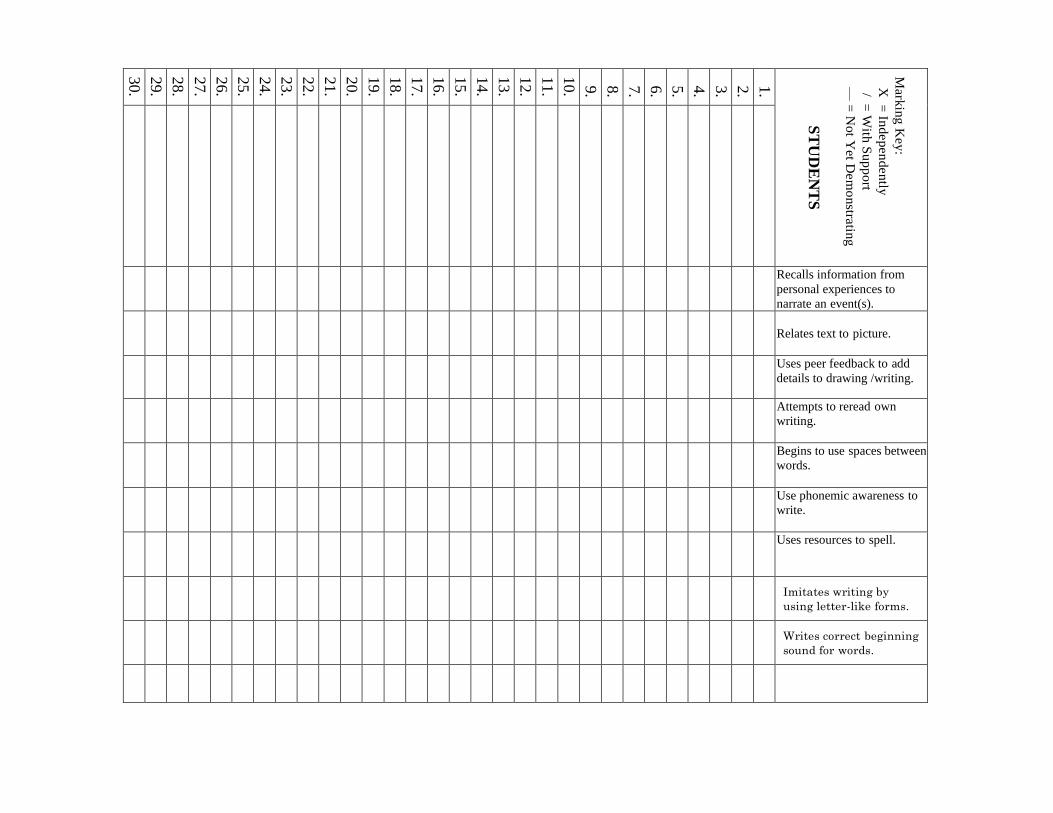
M
ark
ing
Key:
X =
Indepen
dently
/ = W
ith S
up
port
— =
Not Y
et D
em
onstra
ting
ST
UD
EN
TS
Recalls information from
personal experiences to
narrate an event(s).
Relates text to picture.
Uses peer feedback to add
details to drawing /writing.
Attempts to reread own
writing.
Begins to use spaces between
words.
Use phonemic awareness to
write.
Uses resources to spell.
Imitates writing by
using letter-like forms.
Writes correct beginning
sound for words.
En
d o
f Un
it Ch
eck
list: P
erso
na
l Na
rra
tive
Na
rrativ
e—
Fa
ll