OU NanoLab/NSF NUE/Bumm & Johnson Nanocrystalline Dye Sensitized Solar Cell.
28
OU NanoLab/NSF NUE/Bumm & Johnson Nanocrystalline Dye Sensitized Solar Cell
-
Upload
prudence-singleton -
Category
Documents
-
view
222 -
download
2
Transcript of OU NanoLab/NSF NUE/Bumm & Johnson Nanocrystalline Dye Sensitized Solar Cell.
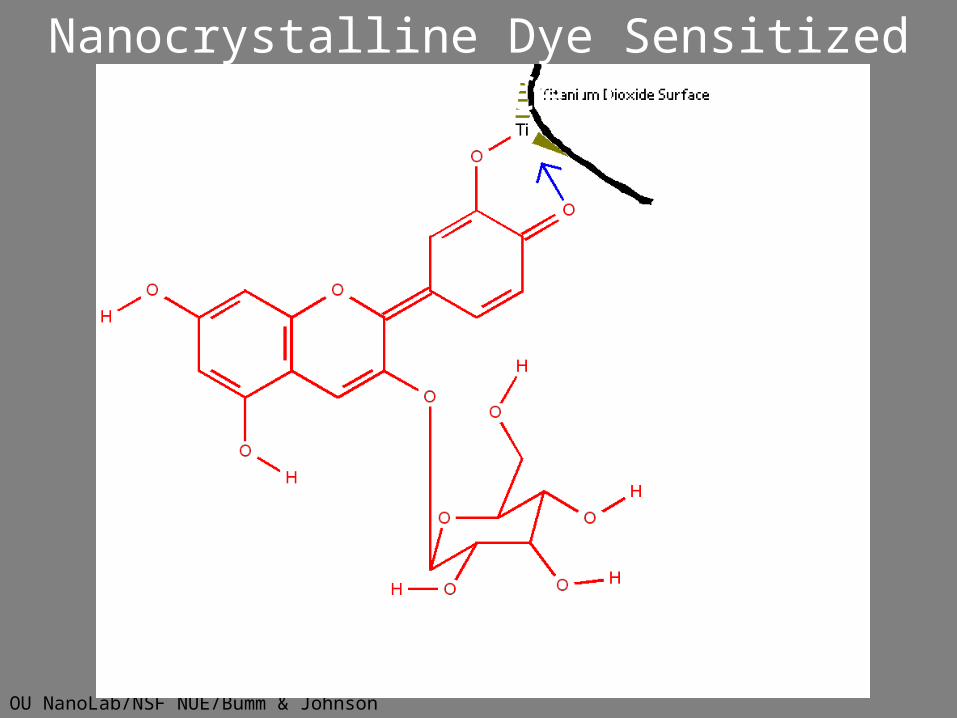
OU NanoLab/NSF NUE/Bumm & Johnson
Nanocrystalline Dye Sensitized Solar Cell
OU NanoLab/NSF NUE/Bumm & Johnson
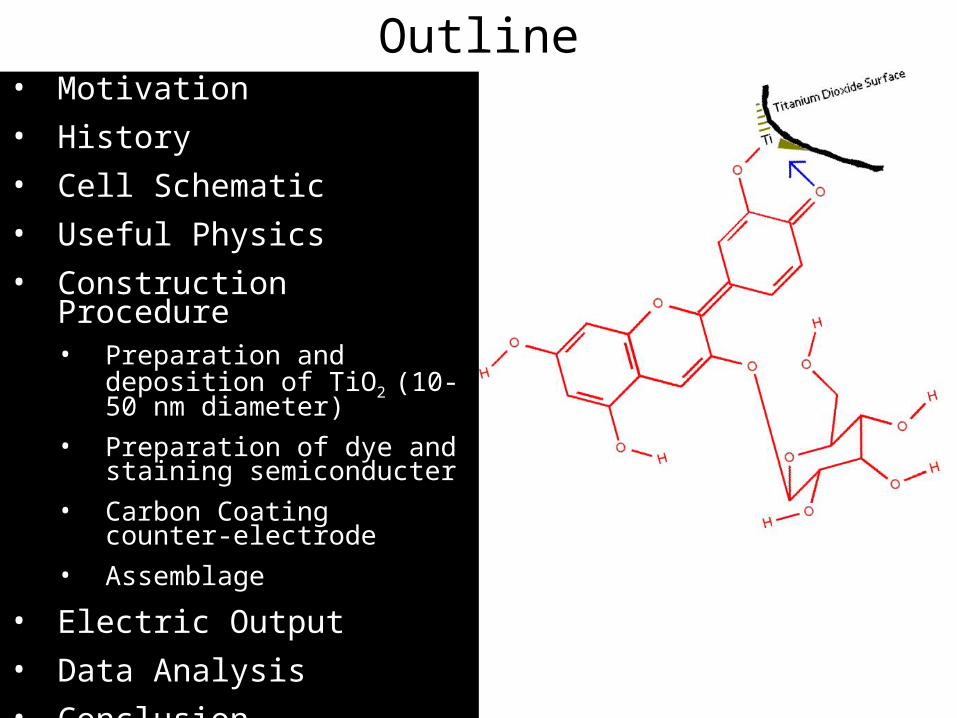
Outline• Motivation
• History
• Cell Schematic
• Useful Physics
• Construction Procedure• Preparation and deposition of
TiO2 (10-50 nm diameter)
• Preparation of dye and staining semiconducter
• Carbon Coating counter-electrode
• Assemblage
• Electric Output
• Data Analysis
• Conclusion
OU NanoLab/NSF NUE/Bumm & Johnson
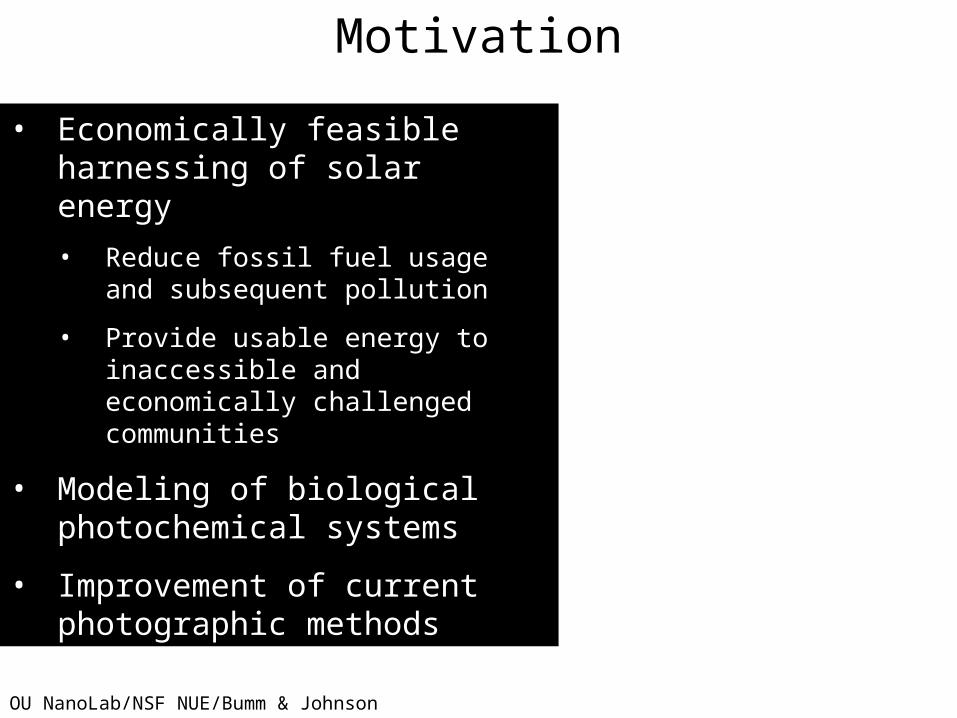
Motivation
• Economically feasible harnessing of solar energy
• Reduce fossil fuel usage and subsequent pollution
• Provide usable energy to inaccessible and economically challenged communities
• Modeling of biological photochemical systems
• Improvement of current photographic methods
OU NanoLab/NSF NUE/Bumm & Johnson
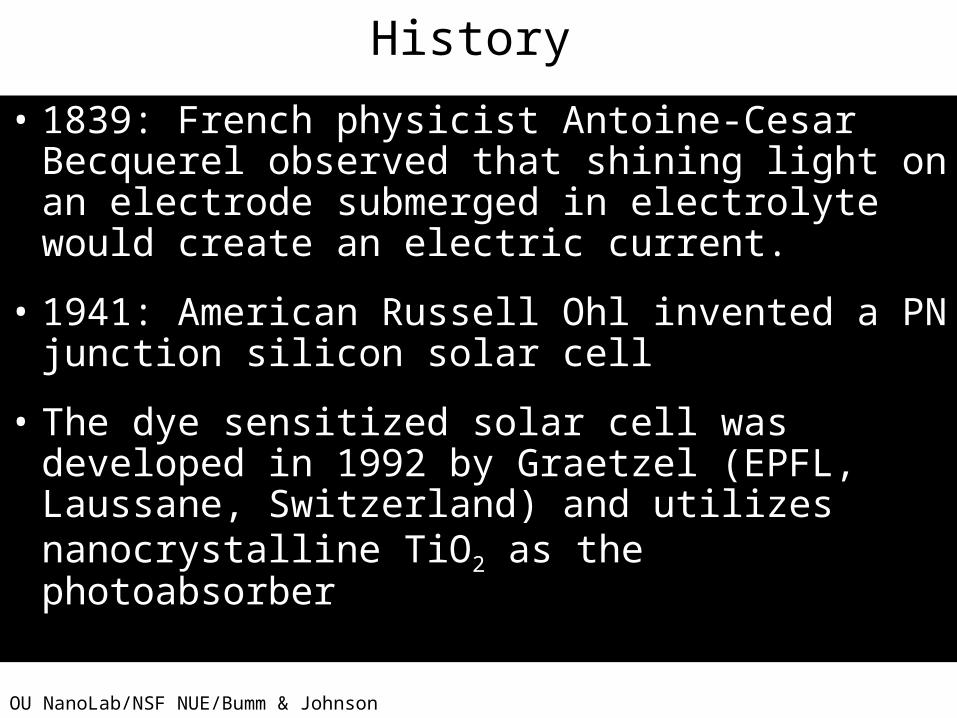
History
• 1839: French physicist Antoine-Cesar Becquerel observed that shining light on an electrode submerged in electrolyte would create an electric current.
• 1941: American Russell Ohl invented a PN junction silicon solar cell
• The dye sensitized solar cell was developed in 1992 by Graetzel (EPFL, Laussane, Switzerland) and utilizes nanocrystalline TiO2 as the photoabsorber
OU NanoLab/NSF NUE/Bumm & Johnson
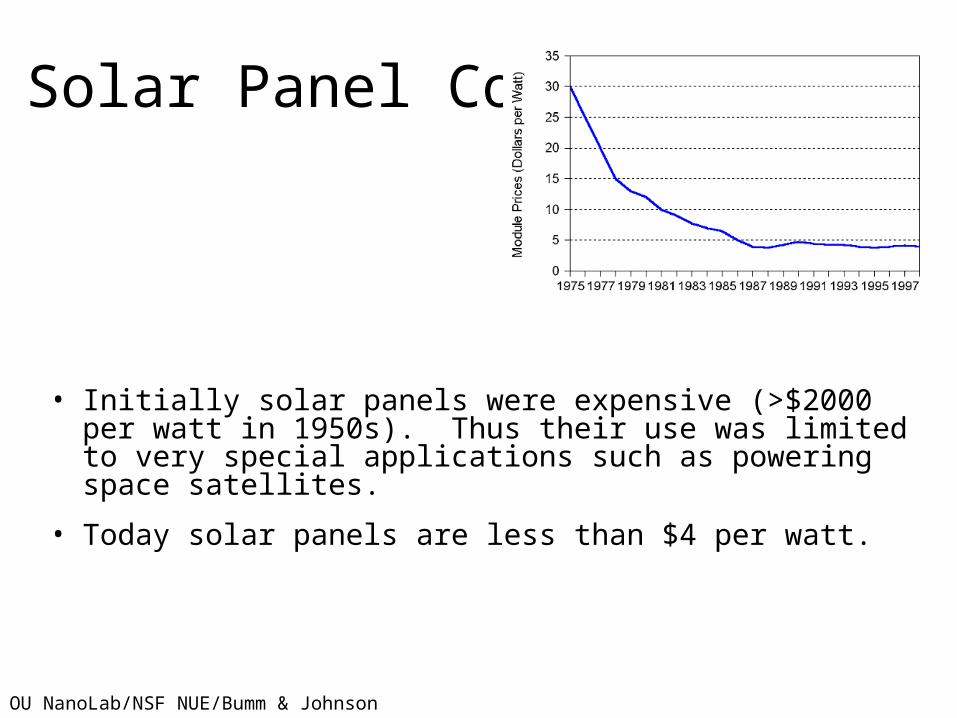
Solar Panel Cost
• Initially solar panels were expensive (>$2000 per watt in 1950s). Thus their use was limited to very special applications such as powering space satellites.
• Today solar panels are less than $4 per watt.
OU NanoLab/NSF NUE/Bumm & Johnson
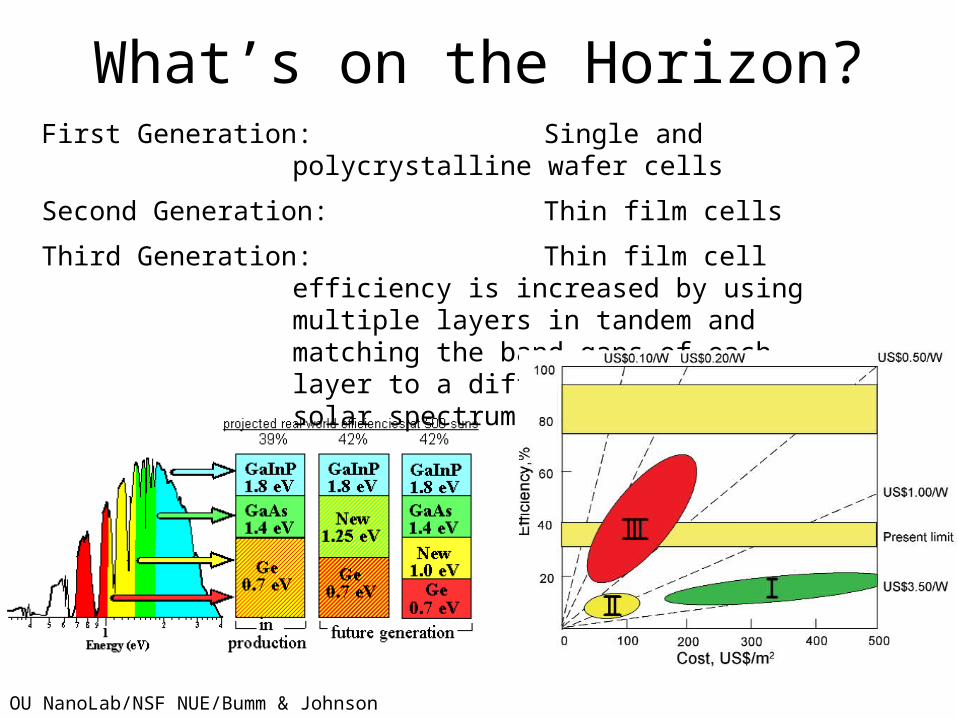
What’s on the Horizon?First Generation: Single and polycrystalline wafer cells
Second Generation: Thin film cells
Third Generation: Thin film cell efficiency is increased by using multiple layers in tandem and matching the band gaps of each layer to a different region of the solar spectrum.
OU NanoLab/NSF NUE/Bumm & Johnson
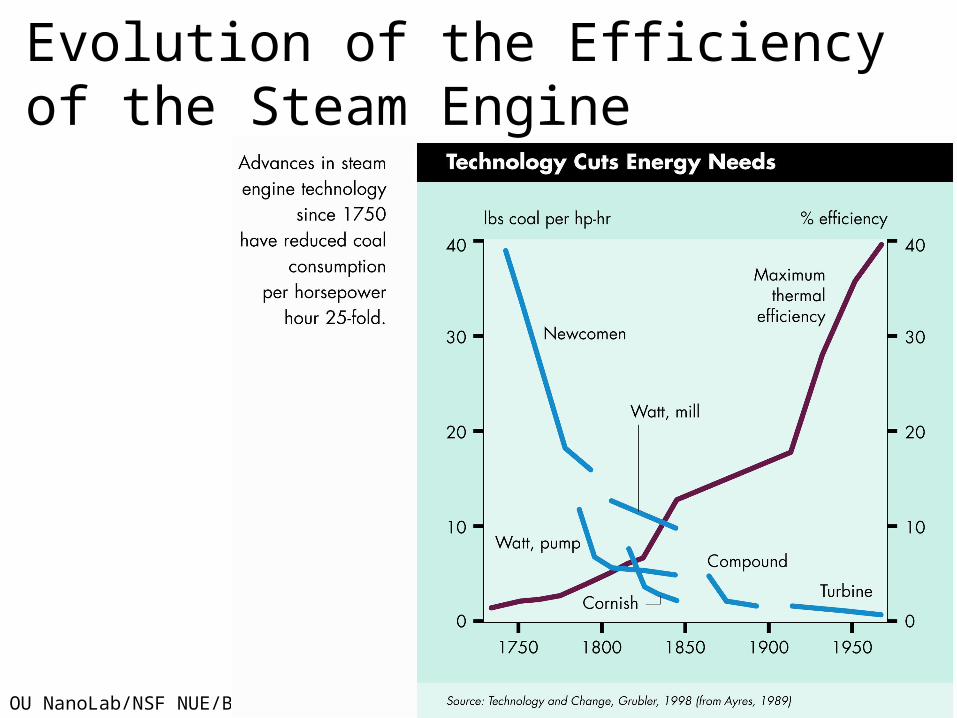
Evolution of the Efficiencyof the Steam Engine

OU NanoLab/NSF NUE/Bumm & Johnson
Schematic of the Graetzel Cell
OU NanoLab/NSF NUE/Bumm & Johnson
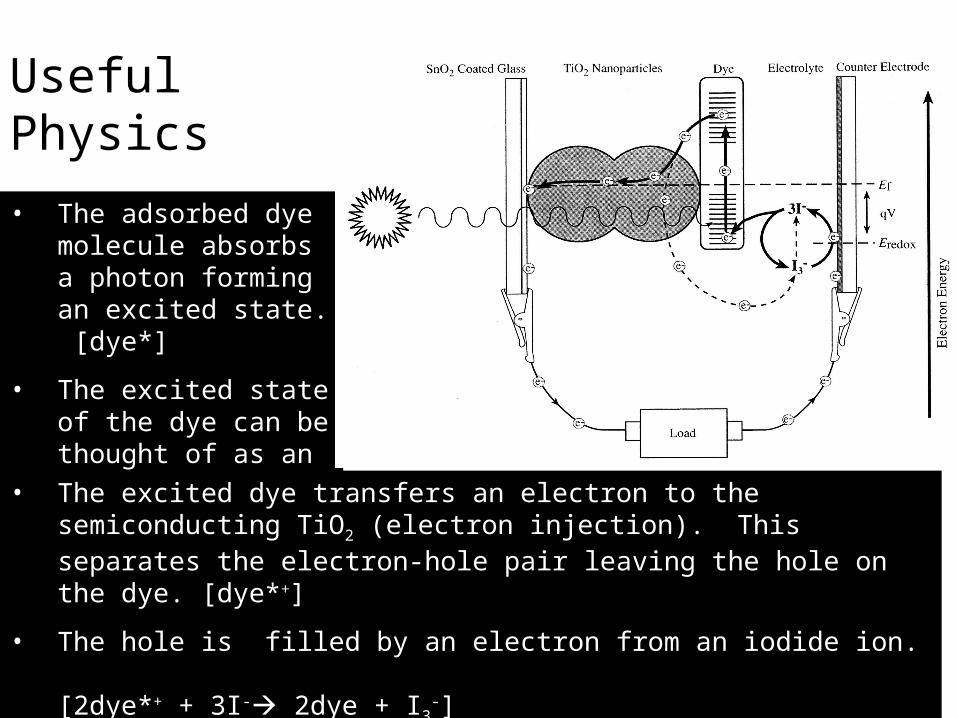
Useful Physics
• The adsorbed dye molecule absorbs a photon forming an excited state. [dye*]
• The excited state of the dye can be thought of as an electron-hole pair (exciton).
• The excited dye transfers an electron to the semiconducting TiO2 (electron injection). This separates the electron-hole pair leaving the hole on the dye. [dye*+]
• The hole is filled by an electron from an iodide ion. [2dye*+ + 3I- 2dye + I3
-]
OU NanoLab/NSF NUE/Bumm & Johnson
Useful Physics
• Electrons are collected from the TiO2 at the cathode.
• Anode is covered with carbon catalyst and injects electrons into the cell regenerating the iodide.
• Redox mediator is iodide/triiodide (I-/I3-)
• The dashed line shows that some electrons are transferred from the TiO2 to the triiodide and generate iodide. This reaction is an internal short circuit that decreases the efficiency of the cell.
OU NanoLab/NSF NUE/Bumm & Johnson
Key Step – Charge Separation
Charge must be rapidly separated to prevent back reaction.
Dye sensitized solar cell, the excited dye transfers an electron to the TiO2 and a hole to the electrolyte.
In the PN junction in Si solar cell has a built-in electric field that tears apart the electron-hole pair formed when a photon is absorbed in the junction.
OU NanoLab/NSF NUE/Bumm & Johnson
Chemical Note
Triiodide (I3-) is the brown ionic species that
forms when elemental iodine (I2) is dissolved in water containing iodide (I-).
32 I II
OU NanoLab/NSF NUE/Bumm & Johnson
Construction Procedure
• TiO2 Suspension Preparation
• TiO2 Film Deposition
• Anthrocyanin Dye Preparation and TiO2 Staining
• Counter Electrode Carbon Coating
• Solar Cell Assembly
OU NanoLab/NSF NUE/Bumm & Johnson
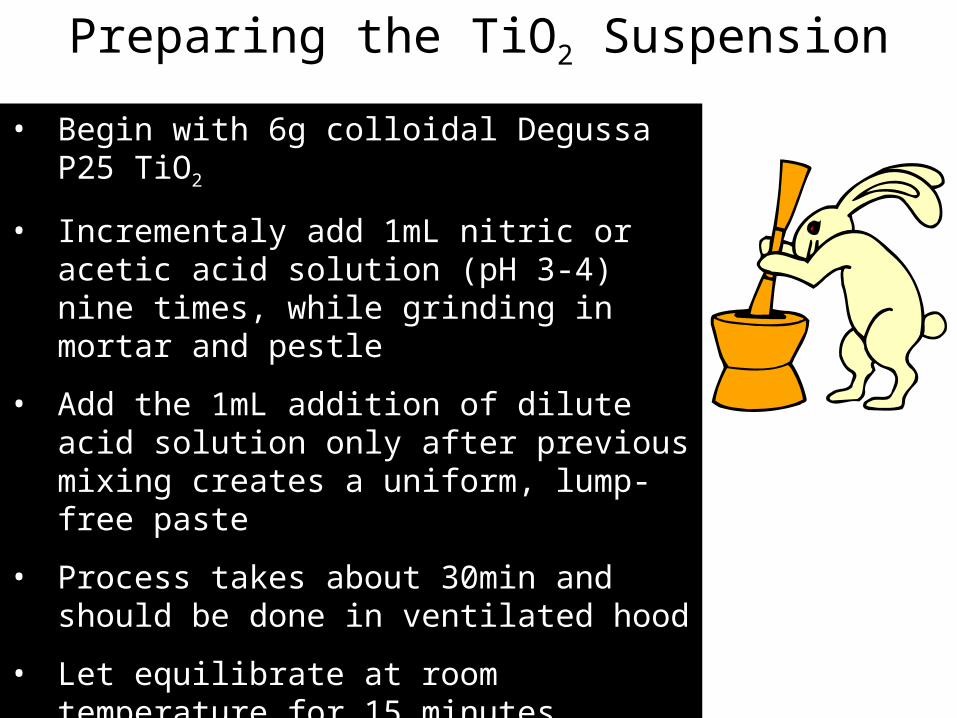
Preparing the TiO2 Suspension
• Begin with 6g colloidal Degussa P25 TiO2
• Incrementaly add 1mL nitric or acetic acid solution (pH 3-4) nine times, while grinding in mortar and pestle
• Add the 1mL addition of dilute acid solution only after previous mixing creates a uniform, lump-free paste
• Process takes about 30min and should be done in ventilated hood
• Let equilibrate at room temperature for 15 minutes
OU NanoLab/NSF NUE/Bumm & Johnson
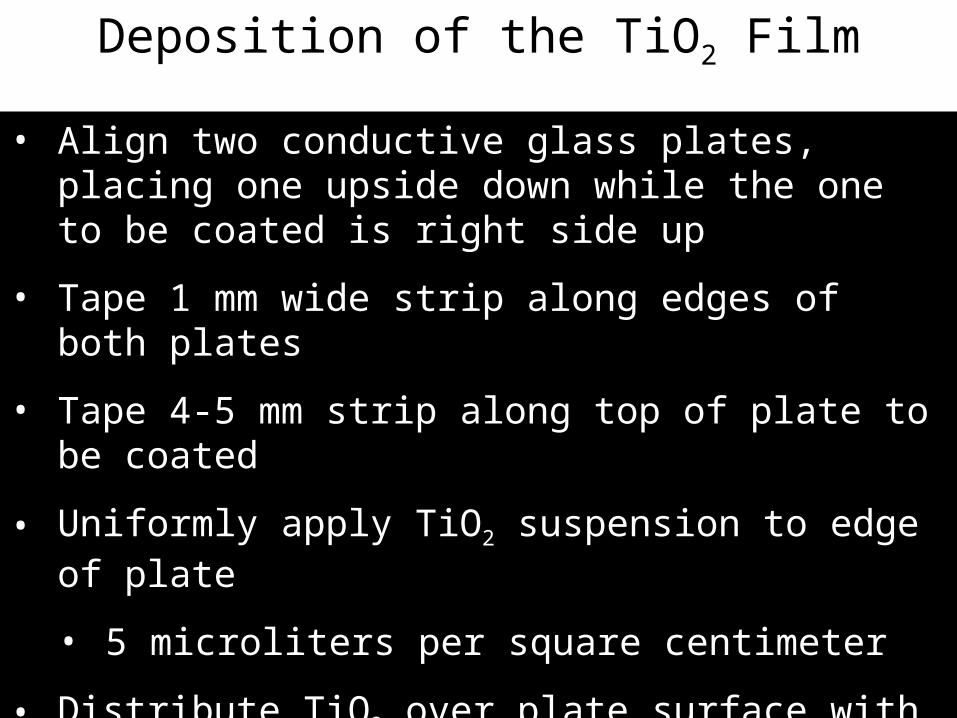
Deposition of the TiO2 Film
• Align two conductive glass plates, placing one upside down while the one to be coated is right side up
• Tape 1 mm wide strip along edges of both plates
• Tape 4-5 mm strip along top of plate to be coated
• Uniformly apply TiO2 suspension to edge of plate
• 5 microliters per square centimeter
• Distribute TiO2 over plate surface with stirring rod
• Dry covered plate for 1 minute in covered petri dish
OU NanoLab/NSF NUE/Bumm & Johnson
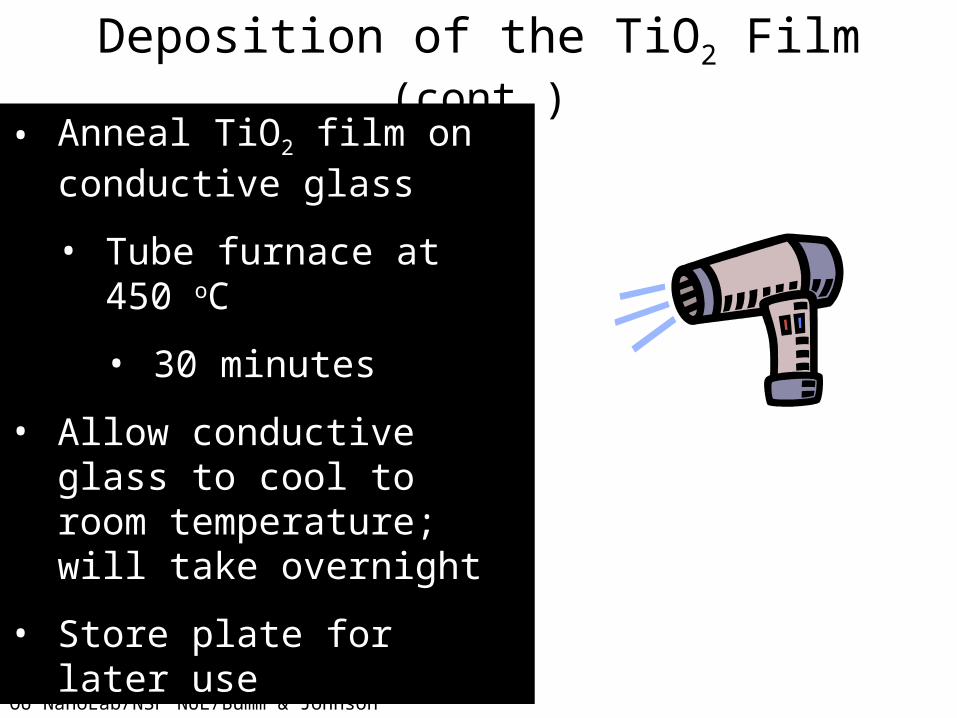
Deposition of the TiO2 Film (cont.)
• Anneal TiO2 film on conductive glass
• Tube furnace at 450 oC
• 30 minutes
• Allow conductive glass to cool to room temperature; will take overnight
• Store plate for later use
OU NanoLab/NSF NUE/Bumm & Johnson
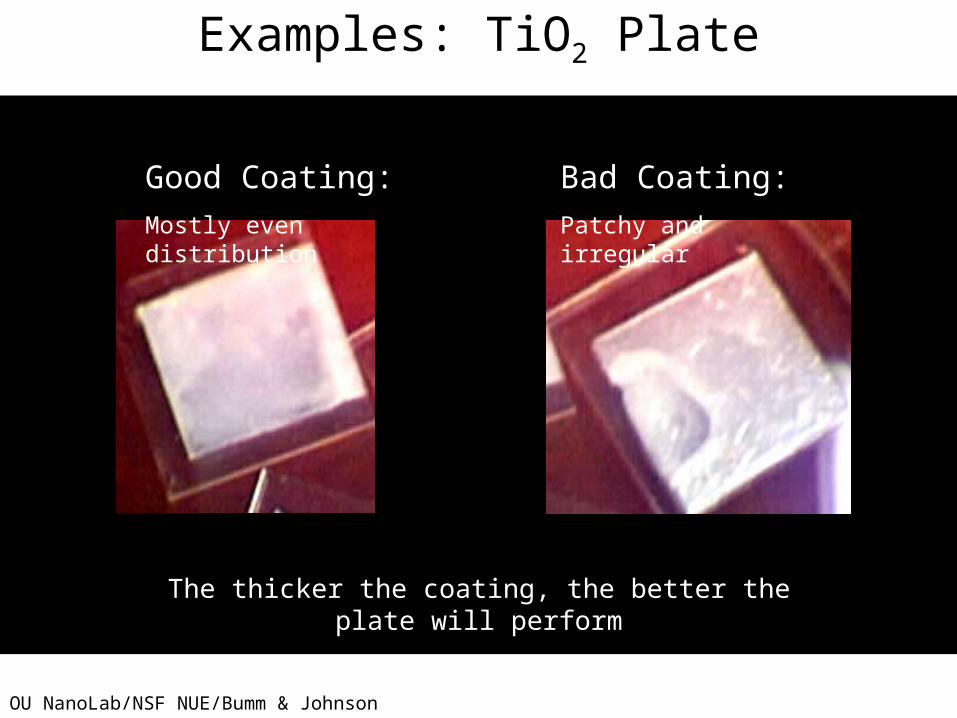
Examples: TiO2 Plate
Good Coating:
Mostly even distribution
Bad Coating:
Patchy and irregular
The thicker the coating, the better the plate will perform
OU NanoLab/NSF NUE/Bumm & Johnson
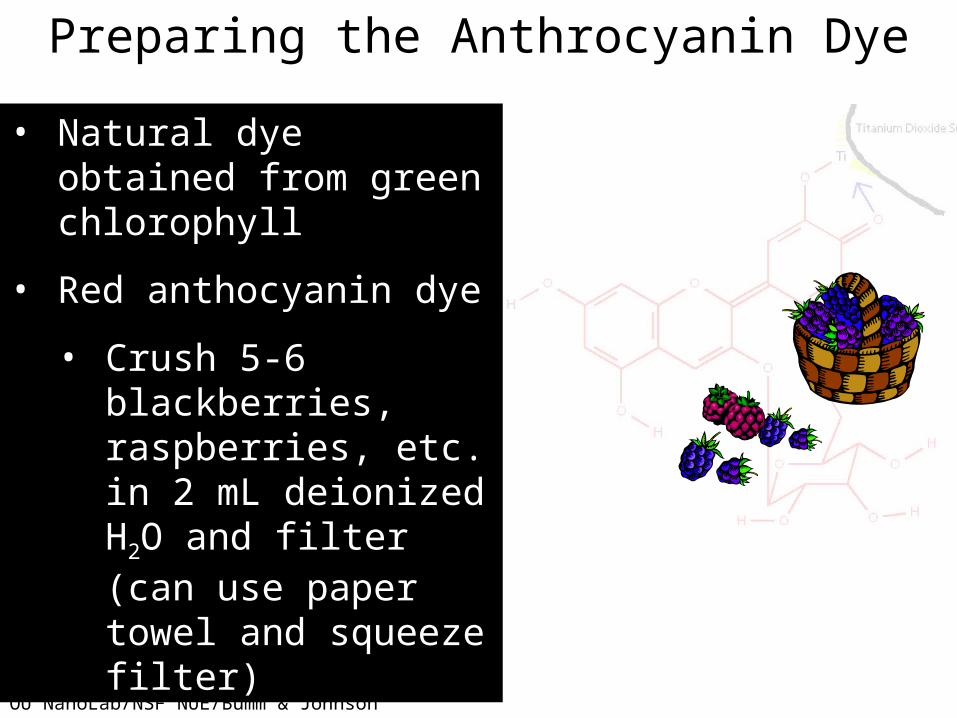
Preparing the Anthrocyanin Dye
• Natural dye obtained from green chlorophyll
• Red anthocyanin dye
• Crush 5-6 blackberries, raspberries, etc. in 2 mL deionized H2O and filter (can use paper towel and squeeze filter)
OU NanoLab/NSF NUE/Bumm & Johnson
Staining the TiO2 Film
• Soak TiO2 plate for 10 minutes in anthocyanin dye
• Insure no white TiO2 can be seen on either side of glass, if it is, soak in dye for five more min
• Wash film in H2O then ethanol or isopropanol
• Wipe away any residue with a kimwipe
• Dry and store in acidified (pH 3-4) deionized H2O in closed dark-colored bottle if not used immediately

OU NanoLab/NSF NUE/Bumm & Johnson
Carbon Coating the Counter Electrode
• Apply light carbon film to second SnO2 coated glass plate on conductive side
• Soft pencil lead, graphite rod, or exposure to candle flame
• Can be performed while TiO2 electrode is being stained
OU NanoLab/NSF NUE/Bumm & Johnson
Assembling the Solar Cell
• Remove, rinse, and dry TiO2 plate from storage or staining plate
• Place TiO2 electrode face up on flat surface
• Position carbon-coated counter electrode on top of TiO2 electrode
• Conductive side of counter electrode should face TiO2 film
• Offset plates so all TiO2 is covered by carbon-coated counter electrode
• Uncoated 4-5 mm strip of each plate left exposed
OU NanoLab/NSF NUE/Bumm & Johnson
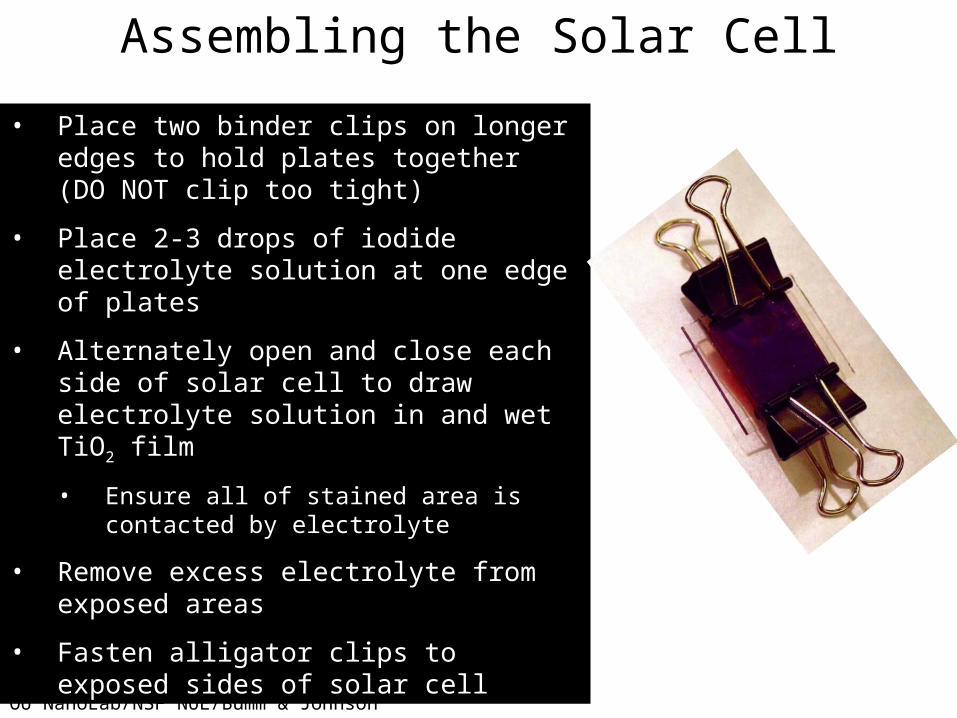
Assembling the Solar Cell
• Place two binder clips on longer edges to hold plates together (DO NOT clip too tight)
• Place 2-3 drops of iodide electrolyte solution at one edge of plates
• Alternately open and close each side of solar cell to draw electrolyte solution in and wet TiO2 film
• Ensure all of stained area is contacted by electrolyte
• Remove excess electrolyte from exposed areas
• Fasten alligator clips to exposed sides of solar cell
OU NanoLab/NSF NUE/Bumm & Johnson
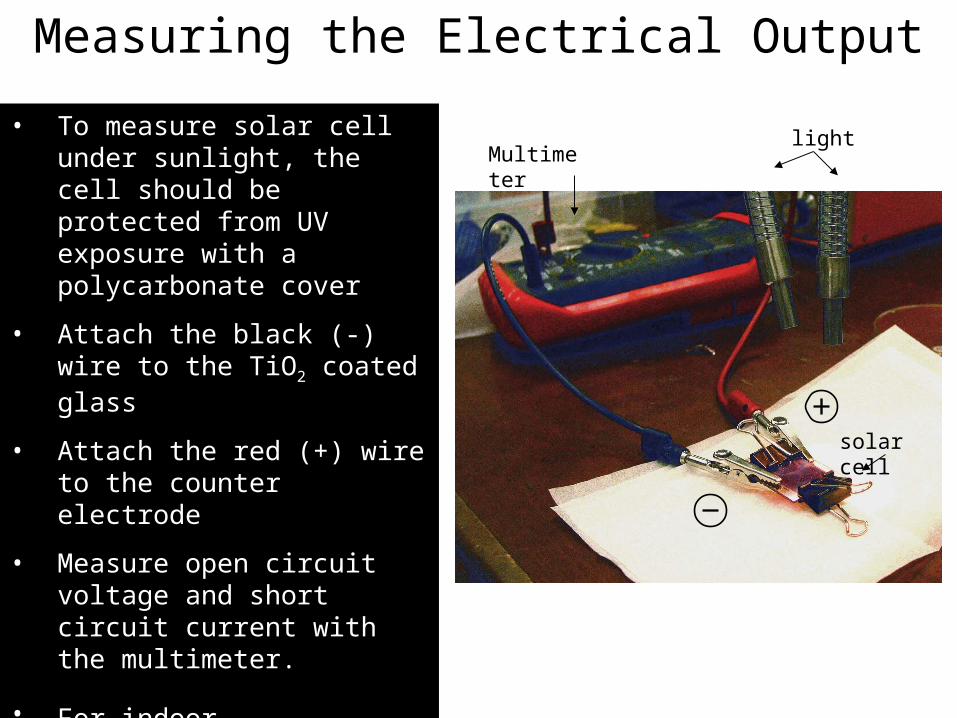
Measuring the Electrical Output
• To measure solar cell under sunlight, the cell should be protected from UV exposure with a polycarbonate cover
• Attach the black (-) wire to the TiO2 coated glass
• Attach the red (+) wire to the counter electrode
• Measure open circuit voltage and short circuit current with the multimeter.
• For indoor measurements, can use halogen lamp
• Make sure light enters from the TiO2 side
Multimeterlight
solar cell
OU NanoLab/NSF NUE/Bumm & Johnson
Measuring the Electrical Output
• Measure current-voltage using a 500 ohm potentiometer
• The center tap and one lead of the potentiometer are both connected to the positive side of the current
• Connect one multimeter across the solar cell, and one lead of another meter to the negative side and the other lead to the load
OU NanoLab/NSF NUE/Bumm & Johnson
Data Analysis
• Plot point-by-point current/voltage data pairs at incremental resistance values, decrease increments once line begins to curve
• Plot open circuit voltage and short circuit current values
• Divide each output current by the measured dimensions of stained area to obtain mA/cm2
• Determine power output and conversion efficiency values
OU NanoLab/NSF NUE/Bumm & Johnson
Results
• Current:– One solar cell: 0.11 - 0.19 mA– Two cells in parallel: 0.164 -
0.278 mA• Voltage:
– One solar cell: 0.30 – 0.40 V• Resistance:
– Very large. Fig. 1: “How many nano -physicists does it take to screw in a lightbulb?”
OU NanoLab/NSF NUE/Bumm & Johnson
Questions
• What have we learned about the relationship of solar cell to photosynthesis and solar energy?
• How can you improve the procedure or design?
• How does this ultimately relate to other things we've learned in NANOLAB?
OU NanoLab/NSF NUE/Bumm & Johnson
Further Reading
Konarka Technologies (Graetzel cells) http://www.konarkatech.com/
PV Power Resource Site http://www.pvpower.com/
US DOE Photovoltaics http://www.eere.energy.gov/pv/
Key Center for Photovoltaic Engineering http://www.pv.unsw.edu.au/
National Center for Photovoltaics http://www.nrel.gov/ncpv/
NRELs Photovoltaic Information Index http://www.nrel.gov/ncpv/masterindex.html