OSC Education Programs Overview - Ohio Supercomputer Center
80
Slide 1 Introduction to UNIX/Linux Abigail Hahn
Transcript of OSC Education Programs Overview - Ohio Supercomputer Center

Slide 1
Introduction to UNIX/Linux
Abigail Hahn

Slide 2
Research & Innovation Center will operate, when opened, as the
proving grounds for next-generation technology infrastructure
innovations and a catalyst for cutting-edge research and collaboration.
The OH-TECH Consortium
Ohio Supercomputer Center provides high performance
computing, software, storage and support services for Ohio’s scientists,
faculty, students, businesses and their research partners.
OARnet connects Ohio’s universities, colleges, K-12, health care and state
and local governments to its high-speed fiber optic network backbone.
OARnet services include co-location, support desk, federated identity and
virtualization.
OhioLINK serves nearly 600,000 higher education students and
faculty by providing a statewide system for sharing 50 million books
and library materials, while aggregating costs among its 90 member
institutions.
eStudent Services provides students increased access to higher
education through e-learning and technology-enhanced educational
opportunities, including virtual tutoring.

Slide 3
Contents
• Introduction
• Getting Out of Trouble
• Commands
• Files and Directories
• Linux Environment
• Scripting
• Selected Sources for Further Enlightenment

Slide 4
Introduction
• Learning outcomes of this course
• What is Linux?
• Why learn Linux?
• Software Uses
• Structure of Linux

Slide 5
Introduction – Learning outcomes of this course
• To learn how to navigate a Linux system
• To learn how to create/modify content in Linux
• Using Linux text editors to create documents
• Modifying file/directory permissions
• To learn how to write and run programs in Linux
• Provide hands-on practice
Slide 6
Introduction – What Is LINUX?
• Operating system and attendant application programs
• Available on virtually all machines in one form or another
• Derived from UNIX – Long history
• Adapted to new platforms
• Based on C programming language

Slide 7
Introduction – Why Learn Linux?
• Linux is FREE (open source)
• Linux is stable
• Linux systems are highly modifiable/customizable
• OSC clusters (along with many other HPC centers) use a Linux distribution
• To use Glenn and Oakley effectively you need to know some Linux
Slide 8
Introduction – Software Uses
• All Linux systems generally contain the following two types of software:
• Operating system
– For the computer
– Liaison between computer and user
• Applications
– Basic functions
• Electronic filing
• Word processing
• Database maintenance (not in this workshop)
• Electronic mail and networking access (not in this workshop)
– Additional functions
• Programming
• Specialized IDEs/GUIs

Slide 9
Introduction – Structure of Linux
• Linux operating system software can be divided into two categories:
• Kernel – CPU scheduling
– Memory management
– Process management – In a nutshell: the kernel software handles internal communications that are of no
concern to the user of the system
• Shell – Interacts between kernel and user, analogous to the “desktop” on other OS’s
– User invokes commands through shell – Choices
• BASH (default shell on OSC systems)
• Bourne
• Korn
• Cshell
• Tcshell

Slide 10
Introduction – Structure of Linux
• The Linux shell is, essentially, a programming language,
as we shall see later
• The Linux shell can be changed according to user
preference
– Shells differ slightly in syntax, language usage
– The kernel remains the same regardless of shell choice
• The default shell on OSC systems is BASH (“Bourne-
again” shell)
• All of the examples in this presentation will be written in
BASH

Slide 11
Getting Out of Trouble
• Monitoring your running processes
• Control characters
• Killing a process

Slide 12
Getting Out of Trouble – Monitoring your running
processes
• A few commands are useful for monitoring your current
activities:
• “jobs” command:
- Outputs a list of processes with “job id” numbers
- Not to be confused with “batch” jobs
• “ps” command:
- Outputs a list of processes with “process id” (PID) numbers
• “top –u [username]”
- Outputs a list of processes’ PID numbers and resource usage
(time, memory, cpu, etc.)

Slide 13
Getting Out of Trouble – Control Characters
• Control characters
• “^” is shorthand for the CTRL/control key in Linux shell documentation
• Usually expressed as “^” + some other character, to be pressed at the same time

Slide 14
Getting Out of Trouble – Control Characters
• Three basic types:
– Command-line editing
• ^U (deletes the current line)
• ^W (deletes a word one at a time)
– Interrupting
• ^Z (suspend)
• ^C (stop)
– Start/stop scrolling
• ^S (stop scrolling)
• ^Q (resume scrolling)

Slide 15
Getting Out of Trouble – Killing processes
• “kill” command – kill a job in the works
• Requires a PID (from the output of “ps”), or “%” + jobid (from the output of “jobs”) as an argument
• Examples:
- “kill %1”
- “kill 12345”
- “kill -9 12345” (force terminate)

Slide 16
Getting Out of Trouble – Killing processes
• Good reasons to kill or suspend a running job/process:
• Consuming too many resources (memory, time, disk space)
- Note: OSC has strict shell limits on login nodes, so jobs/processes exceeding these limits will be automatically killed either by the system or an administrator
• Infinite loop

Slide 17
17 EMPOWER. PARTNER. LEAD.
Commands
• Using the Online Manual
• Typical Command Structure
• Special Features
• First (and Last) Commands
• Exercise 1 – Log in
• Easy Commands
• Exercise 2 – Execute some simple commands

Slide 18
Commands – Using the Online Manual
• The “man” command:
– Stands for “manual”
– Takes the names of other commands as arguments and
displays the documentation and usage information for the
command
– Examples:
• man cd
• man ls
– We will practice using this command in a few slides

Slide 19
Commands – Typical Command Structure
command –option argument
• command
– The name of an executable file – Usually lower case – What you want to do
• -option
– Sometimes not required – Enhances/tailors the output of the command – Often can be combined with one or more other options
• argument
– What command will act upon – Often a command will have more than one argument – Sometimes not required (implied)
• Commands are launched by pressing the <Return> key after typing them

Slide 20
Commands – Special Features
• Can combine several commands on one line—separate with semicolons
• Example:
- cd $HOME; mkdir newDir; cd newDir; emacs newfile&
- Can you guess what the result of executing this line of commands will be?

Slide 21
Commands – Special Features
• Can create complex commands with redirection signs
- | (“pipe”)
- use the output of one command as the input to another
- Example:
- ls | grep my_dir
- cat myfile | grep neededinfo
Slide 22
Commands – Special Features
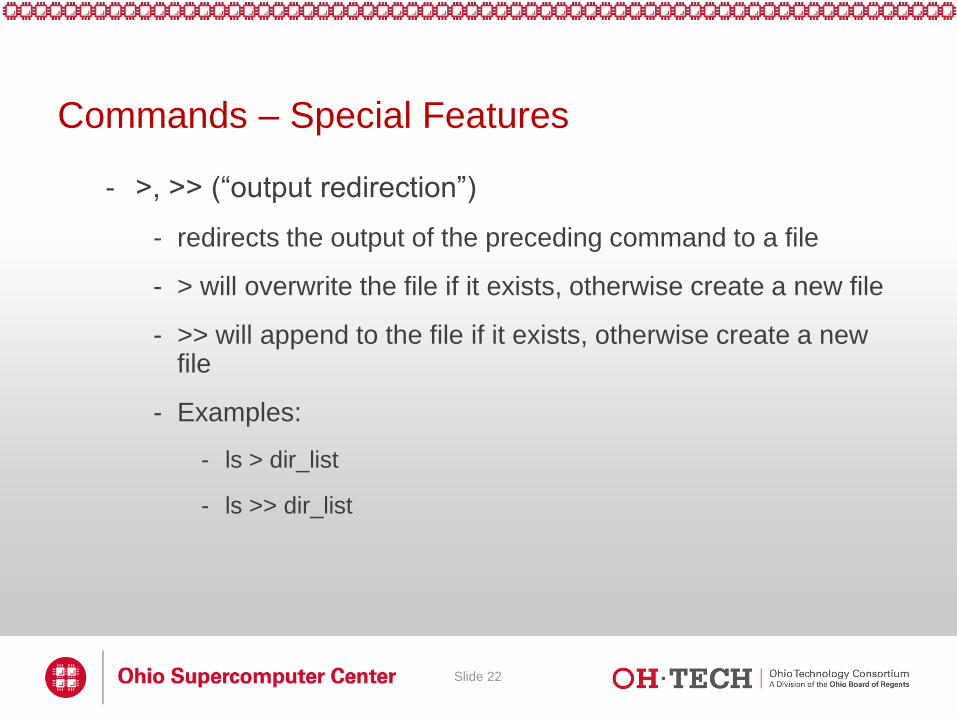
- >, >> (“output redirection”)
- redirects the output of the preceding command to a file
- > will overwrite the file if it exists, otherwise create a new file
- >> will append to the file if it exists, otherwise create a new file
- Examples:
- ls > dir_list
- ls >> dir_list

Slide 23
Commands – Special Features
- <, << (“input redirection”)
- redirects input from a file to the preceding command
- < will simply redirect the input to be used as an argument
- << will redirect the input to be used in place of responses in an interactive program
- Note: each “response” should be on a separate line
- Examples:
- mkdir < dirsList
- myInteractiveProgram << interactiveResponses

Slide 24
Commands – Special Features
• Can combine frequently used sequence of commands in a file and run that file like a command (i.e., write a script)
– Syntax: ./executable_file
– We will discuss scripting in detail later on in this presentation
• To send a process to the background:
– At execution time: add ‘&’ to the end of the command
– At runtime: bg %jobid
• To bring a backgrounded process to the foreground:
– fg %jobid

Slide 25
Commands – First (and Last) Commands
• First command: Connecting to an OSC machine remotely – Use Secure Shell protocol: at prompt, enter
– Enter password
• Last command: Logging off – At prompt, enter
exit
– May differ from system to system, but usually works

Slide 26
Connecting via OnDemand
• OSC has a zero-install method of connecting to the
supercomputers.
• ondemand.osc.edu
• Can access a terminal by using the “Clusters” menu

Slide 27
Commands – Exercise 1
• Use your OSC userid/password or a workshop userid/password to log on to OSC systems
• Option 1: Bring up an ssh client window
• Option 2: Navigate to ondemand.osc.edu
• Log on to Glenn and Oakley – Option 1: Use “glenn.osc.edu” and “oakley.osc.edu”
– Option 2 : Select from “Clusters” menu, “Glenn Shell”
• Note: No equivalent “Oakley Shell”!

Slide 28
Commands – Easy Commands
• date
• cal [year]
• cal [month] [year]
• finger [username]
• who
• whoami
• echo
• env

Slide 29
Commands – Exercise 2
• Type the easy commands on the previous page, one at a time, and look at the output.
• At the prompt type: man man
• Practice scrolling the man page, and exit
• Scroll slowly using down, up arrows
• Scroll down a page at a time using space bar (down), “b” (up)
• Return to the beginning by hitting the “g” key, exit using the “q” key
• Type man [command] for some of the commands on the previous slide to view their documentation

Slide 30
Commands – Exercise 2
• Type some of the commands with the options from the online manual pages. Can you combine some of the options under one hyphen? (The options can’t be combined if they contradict each other.)
• To answer a question you may have: you can use the command echo and one of the commands, such as date, in your shell programs so that you have an automatic dating system for the resulting output. This procedure is convenient for multiple runs of a shell script. Check the command echo in the online manual pages.

Slide 31
Files and Directories
• Concepts
• Typical Linux Directory Structure
• Where am I?
• Getting Around the System
• Exercise 3
• Naming Files and Directories
• Manipulating Files and Directories
• Permissions
• Exercise 4
• Searching and Information Processing
• Exercise 5

Slide 32
Files and Directories – Concepts
• pathname
– Path through directory system to file
• Example: /usr/Workshop1/Subdirectory/file.name
– Absolute (full) pathname
• Shown when you type “pwd”
• / (forward slash)—two meanings
– Very first / in absolute pathname = root or top of file system
– Every other / in absolute or relative pathname = end of directory or file name

Slide 33
Files and Directories – Concepts
• File Descriptors
• Integer values assigned to open files by the kernel
• Standard Linux File Descriptors
• The following integers are reserved:
• 0 – “stdin”, or standard input stream
• 1 – “stdout”, or the standard output stream
• 2 – “stderr”, or the standard error stream
• Because stdin, stdout and stderr are recognized as files, you can do many things with them that you can do with ordinary files, as we will see later.

Slide 34
Files and Directories – Typical Linux Directory
Structure

Slide 35
Files and Directories – Where Am I?
• One of the most important things to know at all times
while operating on a Linux system
• Easier to know intuitively on a desktop OS
• Linux users must “visualize” the directory hierarchy for
themselves
• To find out your current “location” in Linux, use the “pwd”
command
• Practice: type “pwd” at the prompt

Slide 36
Files and Directories – Getting Around the System
• Abbreviations for nearby directories
• . (dot)
– Current working directory
– Note: dot in LINUX overall has several uses
• .. (two dots)
– Directory above the one in which you are working (parent directory)
• ~ (tilde)
– Home directory

Slide 37
Files and Directories – Getting Around the System
• Use the “cd” command to move from one directory to
another
• Options for using “cd”:
– cd
– cd $HOME
– cd ~
– cd /absolute/path
– cd path/relative/to/current/location
– cd ..
Slide 38
Files and Directories – Getting Around the System
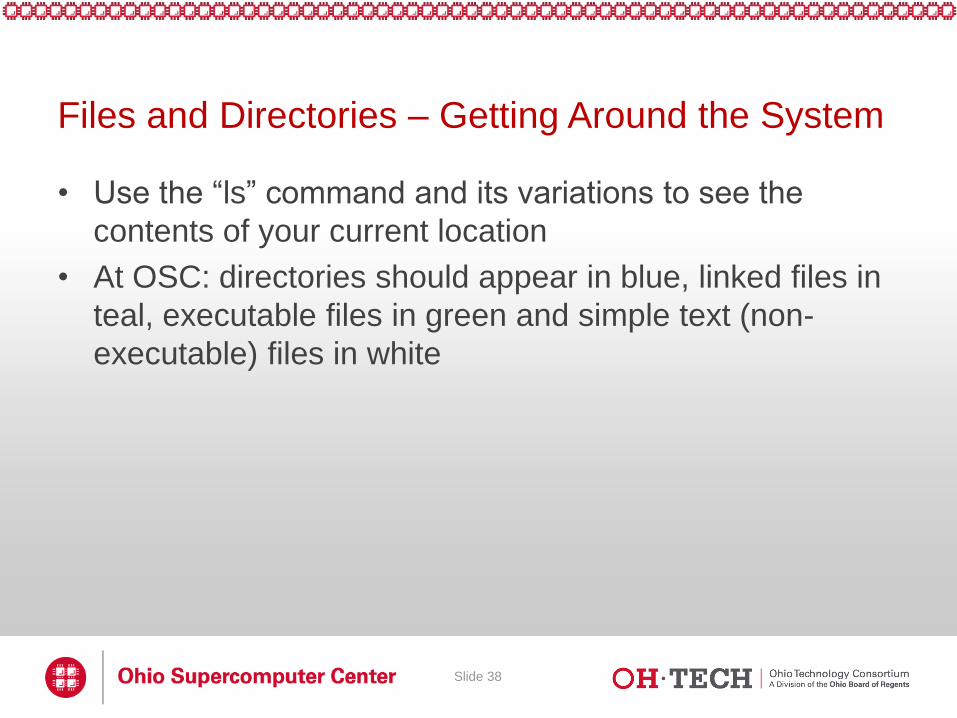
• Use the “ls” command and its variations to see the
contents of your current location
• At OSC: directories should appear in blue, linked files in
teal, executable files in green and simple text (non-
executable) files in white

Slide 39
Files and Directories – Exercise 3
• Use the “cd” command to move around the system
– Try “cd ..” from the top level of your home directory
– Then type “ls”. You should see the all of the home
directories of users on your fileserver.
– Try “cd /”
– Then type “ls”. You should see all of the directories that
exist at the top-level of the entire system.
– Type “cd” to return to your home directory.

Slide 40
Files and Directories – Naming Files and
Directories
• Avoid spaces; separate words with dots or underscores – my.file
• Avoid using special characters – / \ ‘ “ ; - ? [ ] ( ) ~ ! $ { } < >
• Make names descriptive

Slide 41
Files and Directories – Manipulating Files and
Directories
• Create new directories using “mkdir” command
• Example: mkdir new_dir
• Example: mkdir –p parent_dir/child_dir
• Create new files using text editors, output redirection, or the “touch” command
• Example: emacs new_file
• Example: ls -al > pwd_contents
• Example: touch filename
• Creates an empty file
Slide 42
Files and Directories – Manipulating Files and
Directories
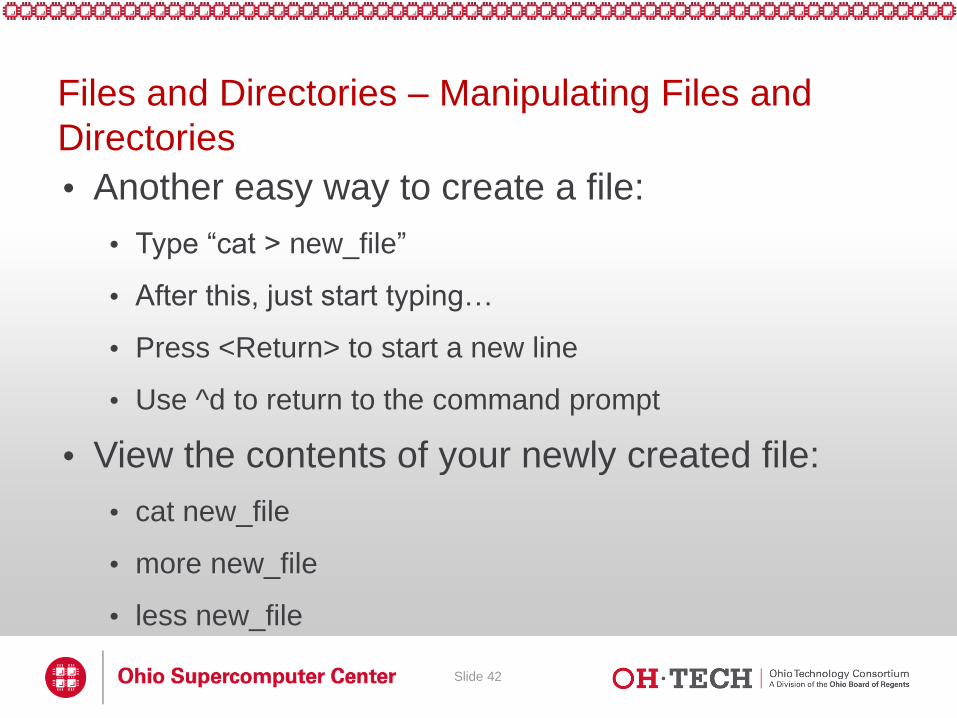
• Another easy way to create a file:
• Type “cat > new_file”
• After this, just start typing…
• Press <Return> to start a new line
• Use ^d to return to the command prompt
• View the contents of your newly created file:
• cat new_file
• more new_file
• less new_file

Slide 43
Files and Directories – Manipulating Files and
Directories
• To move or rename a file or directory, use the “mv” command
• Move a file to another directory:
• mv filename dirname
• Move a directory to another directory:
• mv src_dir target_dir

Slide 44
Files and Directories – Manipulating Files and
Directories
• Rename files/directories using the “mv” command
• Rename a file:
• mv filename newfilename
• Rename a directory:
• mv src_dir target_dir
• Question: How is this command different from the example on the previous slide?
• Answer: In the previous case, target_dir already exists. In this case, target_dir doesn’t exist yet.
Slide 45
Files and Directories – Manipulating Files and
Directories
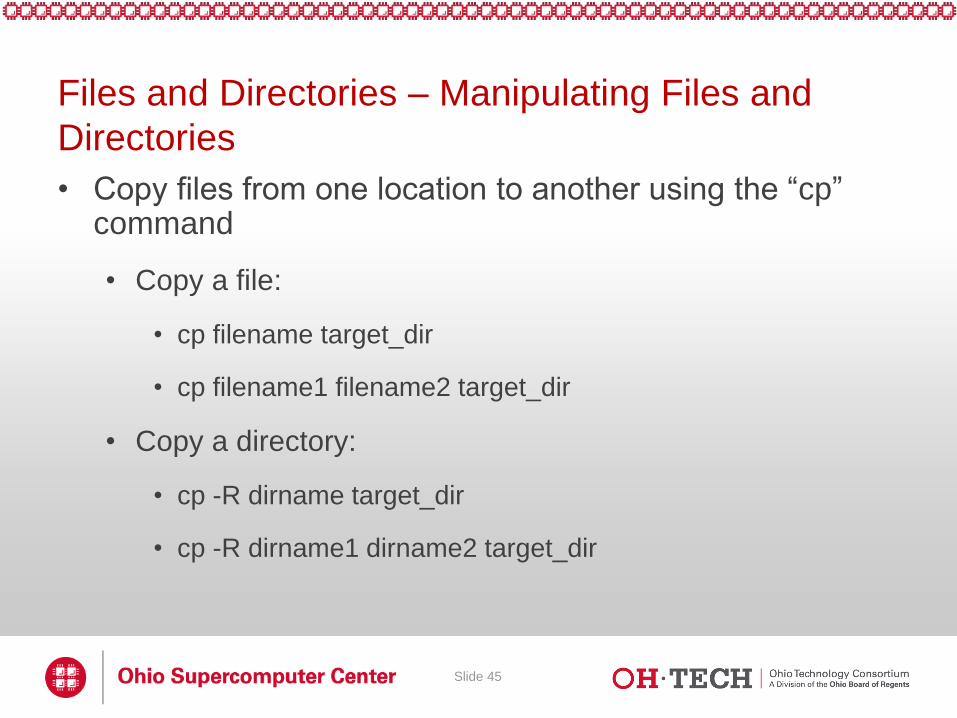
• Copy files from one location to another using the “cp” command
• Copy a file:
• cp filename target_dir
• cp filename1 filename2 target_dir
• Copy a directory:
• cp -R dirname target_dir
• cp -R dirname1 dirname2 target_dir

Slide 46
Files and Directories – Manipulating Files and
Directories
• Delete files/directories using the “rm” command
• Delete a file:
• rm filename
• Delete multiple files at once:
• rm filename1 filename2
• Delete a directory:
• rm –r dirname
• Delete multiple directories at once:
• rm –r dirname1 dirname2

Slide 47
Files and Directories – Permissions
• Issue the following command to copy some test files to
your home directory:
– cp -R ~support/unix_training $HOME
• Navigate to unix_training
• Practice: What happens when you try to view the file
“read_me”? (cat read_me)
• Practice: What happens when you try to remove the file
“delete_me”? (rm delete_me)
• Use the “-l” (lowercase “L”) option on the “ls” command
to see permission string for files and directories

Slide 48
Files and Directories – Permissions
• Permission string format:
– 10 characters of information
– First character: tells you whether the listing is a file (-) or a
directory (d)
– Subsequent characters: either r (read), w (write), x
(execute), or - (no permission)
• Characters 2-4: tells you the read (r), write (w), and execute
(x) permissions for the user
• Characters 5-7: tells you the read (r), write (w), and execute
(x) permissions for the group
• Characters 8-10: tells you the read (r), write (w), and
execute (x) permissions for other

Slide 49
Files and Directories – “chmod” and “chown”
• Modify file permissions using the “chmod” command
– Syntax: chmod [u | g | o | a] [+ | -] [r | w| x] arg
• u = user, g = group, o = other, a = all
• + will add the permission, - will remove it
• r = read, w = write, x = execute
• arg is a filename, a directory name, or a list of either or both
• For more details, type “man chmod”
• Example: chmod u+x file
– Adds execute permission for the current user on the file named
“file”

Slide 50
Files and Directories – “chmod” and “chown”
• Change file or directory ownership using “chown”
– Syntax: chown new_owner file_or_directory
• new_owner = the new owner’s username
• file_or_directory = the file or directory you’d like to change
the ownership of
• Probably won’t use as much as “chmod”, but still good to
know
• May not have permission to use this command on OSC
systems
• “chmod” will likely be all you need

Slide 51
Files and Directories – Exercise 4
• Set or modify permissions using the “chmod” command:
– Try the following commands:
• chmod u+r read_me
• chmod u+w delete_me
– Check the permission string to see what changed
– Now retry the commands from a previous slide:
• cat read_me
• rm delete_me

Slide 52
Files and Directories – Manipulating Files and
Directories
• Creating “links” between files using the “ln” command
• “hard link”
• Link points to the file’s metadata
• If you rename the original, the linked file will still point to the same file. If you delete the original, the link goes away.
• Can only create hard links between files on the same filesystem
• “soft link”
• Link points to the actual file
• If you rename or delete the original file, the link remains but doesn’t point to anything.

Slide 53
Files and Directories – Manipulating Files and
Directories
• Create a “hard link”:
• ln target link_name
• Create a “soft link”:
• ln -s target link_name
• Creating links between files can be useful for sharing files with colleagues

Slide 54
Files and Directories – Exercise 5
• Issue the following commands to create hard and soft links to a file in unix_training:
– ln unix_training/link_me hard_link
– ln -s unix_training/link_me soft_link
– Run “ls” to see the new links
– Run “readlink hard_link” and “readlink soft_link” to see where the links point to

Slide 55
Files and Directories – Exercise 5
• Go into the unix_training directory, and run the executable “link_me” to see its output
– cd unix_training; ./link_me
• Go back to the directory where your linked files are, and run them as executables.
• Now, rename the file unix_training/link_me using the “mv” command, and then try to run the linked files as executables again:
– mv unix_training/link_me unix_training/moved_link
– ./soft_link; ./hard_link

Slide 56
Files and Directories – Searching and Information
Processing
• Regular expressions
– Used for pattern matching with strings of text
– Useful for searching for a particular pattern or string in
large files or large amounts of output
• Regular expressions, in general, have the following
components:
– An alphabet, or, a set of characters which define what you
are searching for
– The regular operations: repetition, union, and
concatenation

Slide 57
Files and Directories – Searching and Information
Processing
• The alphabet
– Usually represented as single characters or character sets
• The regular operations
– Repetition
• Usually denoted using the * (asterisk)
• Means, “repeat whatever directly preceded zero or more
times”
• Example:
– 0*1* (i.e., any number of 0s followed by any number of 1s)

Slide 58
Files and Directories – Searching and Information
Processing
– Union
• Set members in union surrounded by square brackets (“[ ]”)
• Means “or”
– Concatenation
• Usually implied (no symbol)
• Just put characters next to each other to imply concatenation
• Other commonly used symbols and “wildcards”: – ? can be used to match a single character

Slide 59
Files and Directories – Searching and Information
Processing
• Regular expressions can be used with “ls” and “grep” to
search files with a particular pattern in their name
• ls uses all of the symbols mentioned on previous slides
– ls *.pdf
– ls [Hh]ello[Ww]orld

Slide 60
Files and Directories – Searching and Information
Processing
• Regular expressions can be used with the “grep”
command to search for a pattern in a text file or output
• “grep” recognizes most of the symbols on previous
slides, with a few minor differences/additions:
– Repetition operators:
• . (dot) – matches a single character
• * (asterisk) – matches zero or more of the preceding expression
• + (plus) – matches one or more of the preceding expression
• {n} – matches exactly n of the preceding expression
• {n,} – matches n or more of the preceding expression
• {n,m} – matches no less than n and no more than m of the
preceding expression

Slide 61
Files and Directories – Searching and Information
Processing
– Union operators:
• Set members in union surrounded by square brackets (“[ ]”)
• Negation symbol: ^ symbol used INSIDE square brackets
– Means, “match anything but the following characters”
• “OR” symbol: | (“pipe”) symbol used inside brackets or
parentheses to represent the union of expressions or
characters
– Concatenation operators:
• Default: no operator
• Parentheses can be used to group expressions
– Special symbol: implies concatenation

Slide 62
Files and Directories – Searching and Information
Processing
– Line anchors:
• ^expression – the ^ symbol used at the beginning of an
expression means, “match strings that begin with this
expression”
– Note the difference in meaning when the ^ symbol is used
outside square brackets
• expression$ – the $ symbol used at the end of an expression
means, “match strings that end with this expression”
– Escape character:
• \ - used to escape the meaning of special characters
(metacharacters and some whitespace characters)
• Note: Need to enclose the entire regular expression in
quotes to use with grep

Slide 63
Files and Directories – Searching and Information
Processing
• Grep syntax:
– grep expression file
– grep expression file1 file2
– expression contains grep regular expression operators, but the
filenames contain Linux regular expression operators
• Grep examples:
– grep hello unix_training/link_me
• Don’t need quotes around the pattern here, because it is a single
string with no whitespace
– ls unix_training | grep “_me$”
– grep “Found me at line [0-9]\{3\}” unix_training/grep
• In the above example, the curly braces must be escaped

Slide 64
Linux Environment
• Variables
• The “export” command
• Capturing Output
• Startup Files
• The “alias” command
• Exercise 6
• The Module System at OSC
• Exercise 7

Slide 65
Linux Environment – Variables
• Similar to variables in other programming language
• Associate a descriptive variable name with a value
• Useful for storing information that is used often, but may be too unwieldy to type manually every time it is used
• Make shell scripts more readable by eliminating the need to type long pathnames
• Make it easy to run an executable file from anywhere on the system

Slide 66
Linux Environment – Variables
• To use the value of a variable, precede its name with a $
• Example: echo $PATH
• Some variables are special – $PATH is one such example.
• The system uses $PATH to determine which directory paths contain executables that are visible anywhere on the system
• Contains a “:” delimited list of absolute pathnames

Slide 67
Linux Environment – Variables
• Global variables
• named in all capital letters
• Set using the “export” command
• Visible from the shell where created, as well as any “child” shells
• Local variables
• Named in all lowercase letters
• Set using the following syntax: variable_name=variable_value
• Visible only from the shell where created
Slide 68
Linux Environment – The “export” and “unset”
commands • Use the “export” command to:
• Set the value of a new global variable
• export MYVAR=2
• export MYVAR=“Hello World”
• Modify the value of an existing global variable
• export PATH=$PATH:/nfs/16/support/bin
• export PATH=$PATH:$HOME/bin
• Use the “unset” command to remove a variable
• unset MYVAR
Slide 69
Linux Environment – Capturing Output
• You can also capture the output of a command, and store it in a variable
• Syntax for capturing output:
• `command arg`
• $(command arg)
• To store in a variable:
• export OUTPUT=`command arg`
• export OUTPUT=$(command arg)

Slide 70
Linux Environment – Startup Files
• Startup files are executable files that launch other scripts and/or modify the environment at startup/login
• At OSC, there are system-level startup files that execute automatically
• Users are able to create their own startup files
• .bash_profile – read first, contains environment variables by convention
• .bashrc – not read automatically (invoke in .bash_profile), contains command aliases, ordinary shell variables by convention
• To invoke in .bash_profile: if [ -f ~/.bashrc ]; then . ~/.bashrc; fi
• A brief word of warning: NEVER put the ‘exit’ command in a startup file! It will log you out of the system as soon as you login.

Slide 71
Linux Environment – The “alias” command
• Use the “alias” command to create command aliases
• A command alias is similar to a variable, and is used for similar reasons
• Associate a descriptive, custom command name for a command you run often, but is too long to type every time
• Command aliases can be added to your startup files in order for them to be automatically added to your environment
• Examples:
• Print a list of aliases: alias –p
• Create a new alias: alias new_ls=‘ls –al’
• Remove an alias: unalias new_ls

Slide 72
Linux Environment – Exercise 6
• First, redirect the output of the “env” command to a file
• Use your favorite method for creating a new file, and create a .bash_profile and test it out
• In your .bash_profile, set a few new variables and command aliases
• Once you’re finished, log out and log back in for the results to take effect
• Compare the results
• Hint: use “diff env_file `env`”

Slide 73
Linux Environment – The Module System at OSC
• Standardizes changes to the user’s environment per software application
• All major software packages installed at OSC have an associated module
• To see a list of all currently installed modules:
• On Oakley: module spider
• On Glenn: module avail
• To load a module: module load modulename
• To unload a module: module unload modulename
• modulename must be spelled exactly as it is spelled in the output of module spider or module avail

Slide 74
Putting it all together: Scripting
• What Is a Script?
• Why Is Scripting Useful?
• Simple Shell Scripts
• Linux Text Editors
• Exercise 8
• PBS Batch Scripts
• The “qsub” command
• Exercise 9

Slide 75
Scripting – What Is A Script?
• A script is simply a sequence of commands written in a file
• Each command is written exactly as you would type them at the command prompt
• In other words, all of the syntax rules that apply when running commands interactively apply to the syntax of the commands you type into a script.
Slide 76
Scripting – Why Is Scripting Useful?
• Scripts serve much the same purpose that variables do
• They automate tasks you need to accomplish frequently, but eliminate the need to type the entire sequence manually every time
• Which is good, because some shell programs can be quite large!
• Script writing is an essential skill for using OSC resources effectively
Slide 77
Scripting – Linux Text Editors
• Various text editors exist for Linux
• At OSC, some of the more commonly used text editors:
• emacs
• vi
• gedit
• nano
• emacs has a GUI that is fairly straightforward to use
• To create a new file using the emacs GUI:
• emacs newfile&

Slide 78
Scripting – Exercise 8
• Create a simple shell script using emacs
• Set variables, run commands, be creative!
• Once the script is complete, run your program
• Note: you may need to set execute permissions for yourself first.

Slide 79
Selected Sources for Further Enlightenment
• Internet (of course)
• Arthur, Lowell Jay, et al. UNIX Shell Programming, ISBN 0-471-16894-7
• Cameron, Debra. Learning GNU Emacs, ISBN 0-596-0064-9
• Dougherty, Dale. sed & awk, ISBN 1=56592-225-5
• Dyson, et al. UNIX Complete, ISBN 0-7821-2528-X
• Kernighan, Brian W., et al. The UNIX Programming Environment, ISBN 0-13-937681-X
• Kochan, Stephen G., et al. UNIX Shell Programming, ISBN 0-672-48448-X
• Lamb, Linda, et al. Learning the vi Editor, ISBN1-56592-426-6
• Lasser, John. Think UNIX, ISBN0-7897-2376-X

Slide 80
Selected Sources for Further Enlightenment
• Martin, Don, et al. UNIX Primer Plus, ISBN 1-57169-165-0
• Michael, Randall K. Mastering UNIX Shell Scripting, ISBN 0-471-21821-9
• Muster, John. UNIX Made Easy, ISBN 0-07-219314-X (my favorite)
• Ray, Deborah S., et al. Visual Quickstart Guide: UNIX, ISBN 0-201-35395-4
• Raymond, Eric S. The Art of UNIX Programming, ISBN 0-13-142901-9
• Reichard, Kevin, et al. UNIX in Plain English, ISBN 0-7645-7011-0
• Robbins, Arnold, et al. Classic Shell Scripting, ISBN 0-596-00595-4
• Robbins, Arnold. UNIX in a Nutshell, ISBN1-56592-427-4
• Robbins, Arnold. vi Editor, Pocket Reference, ISBN 1-56592-497-5
• Rosen, Kenneth, et al. The Complete Reference: UNIX, ISBN-13: 978-0-07-226336-7; ISBN-10: 0-07-226336-9
• Taylor, Dave. SAMS Teach Yourself UNIX, ISBN 0-672-32127-0