My Presentations Create new presentations and find the ones you’ve worked on before. Your progress...
46
-
Upload
jordan-collins -
Category
Documents
-
view
215 -
download
1
Transcript of My Presentations Create new presentations and find the ones you’ve worked on before. Your progress...


My Presentations Create new presentations and find the ones you’ve worked on before. Your progress is saved automatically as you work.
UndoAnything you do can be undone with just one tap. Touch and hold to redo.
Part 1: Get to Know KeynoteExplore the toolbar.
Toolbar buttons
Info: Change object or text properties.
Insert: Add a photo, table, chart, or shape.
Animation: Animate slides.
Tools: Search, check spelling, and more.
Play: Play your presentation.

NavigatorThe Navigator is where you’ll find every slide in your presentation. From here you can add, delete, duplicate, and group slides. And arrange them any way you like.
Add SlideTap the Add (+) button to add slides to your presentation.
Part 1: Get to Know KeynoteNavigate, manage, and add slides.

Part 1: Get to Know KeynoteRearrange and duplicate slides.
Duplicate slides Select a slide, then tap it again to see the menu. Choose Copy. Tap and choose Paste.
Arrange slides To reposition a slide, touch and hold it, then drag it up or down to a new location. To select multiple slides, touch and hold one, then tap more slides with another finger.

Part 2: Working with ObjectsCustomize your presentation with text and images.
Copy and pasteSelect an object, then tap it again to see the Copy button. Choose Copy. Tap anywhere on the background, and choose Paste. Then move the new object wherever you like. Guides appear when the object is aligned with other objects.
Edit textDouble-tap to select the text. Then begin typing.
HiHi
HelloHello

Manipulate objects on the slide.
Try it yourselfTouch and hold the butterfly. Move it around. Change the angle. And make it bigger or smaller.
Move, scale, and rotateTouch and hold the object, then drag it to a new position. To resize it, drag the selection handles. To rotate, touch and hold the object with two fingers, then turn.
Part 2: Working with Objects

Part 2: Working with ObjectsAdd text or objects.
Add objects to this slideTap the Insert button. Choose shapes, text, charts, tables, or your own photos.


Part 2: Working with ObjectsVisualize data with charts.
Edit the chartDouble-tap the chart to reveal the Chart Data Editor. From here, you can edit your data using the onscreen keyboard.

Enter animation viewTap the Animation button.
Add an animated slide transitionTap the transitions flag next to the slide in the Navigator. In the Transitions window, scroll to browse all transitions. Tap to apply the one you like to the slide. Tap Done to exit animation view.
Part 3: Adding AnimationsIt’s easy to make your work more entertaining.

Play your presentationTap the Play button in the toolbar. The presentation will play in full screen.
Navigate the presentation as it playsTap once or swipe left to advance to the next slide. Swipe right to return to the previous slide. Try it now to see some of the dramatic transitions in Keynote.
Part 4: Presenting Your SlidesTime to play your new presentation!

Exit play modeWhen you’re finished presenting, simply double-tap anywhere on the slide.
Part 5: Wrapping UpThe perfect finish for your presentation.
x 2

Part 6: Sharing Your Work on the Web
Share with others, or just yourselfWith iWork.com public beta, anyone on a Mac or PC can view your presentation and post comments, or download a version in Keynote, PDF or PowerPoint format.
Tap the My Presentations button in the toolbar to view all your presentations. Select “Share via iWork.com” from the Share menu. Sign in, invite friends or co-workers, then tap the Share button to upload to the web.
iWork.com makes it easy to share your presentation.


Part 1: Get to Know PagesStart with the toolbar.
The toolbar
When you open a document in landscape or portrait view,
the tools you’ll use most are in the toolbar at the top of the screen.
My Documents
Here’s where you’ll create new documents and open the
ones you’ve saved. Pages saves your work while you work,
automatically.
Undo
With a tap, you can undo anything you’ve done. Touch and hold to redo.
Toolbar buttons
Info: Change object or text properties.
Insert: Add an object to the page.
Tools: Check spelling, and more.
Full Screen: View in full screen.

Part 2: Working with Styles Add style to your document.
Apply styles to text quicklyDouble-tap any text, and you’ll see the Style ruler. On the ruler, tap the Paragraph Styles button to choose a style.
Or tap a Character Styles button on the ruler to make the selected text bold, italic, or underlined.
Apply custom fonts and colors
Triple-tap the paragraph to select it. Then tap the Info button on the toolbar and choose Style. Scroll to the bottom of the window to see Text Options. Tap an option to apply it to the selection.
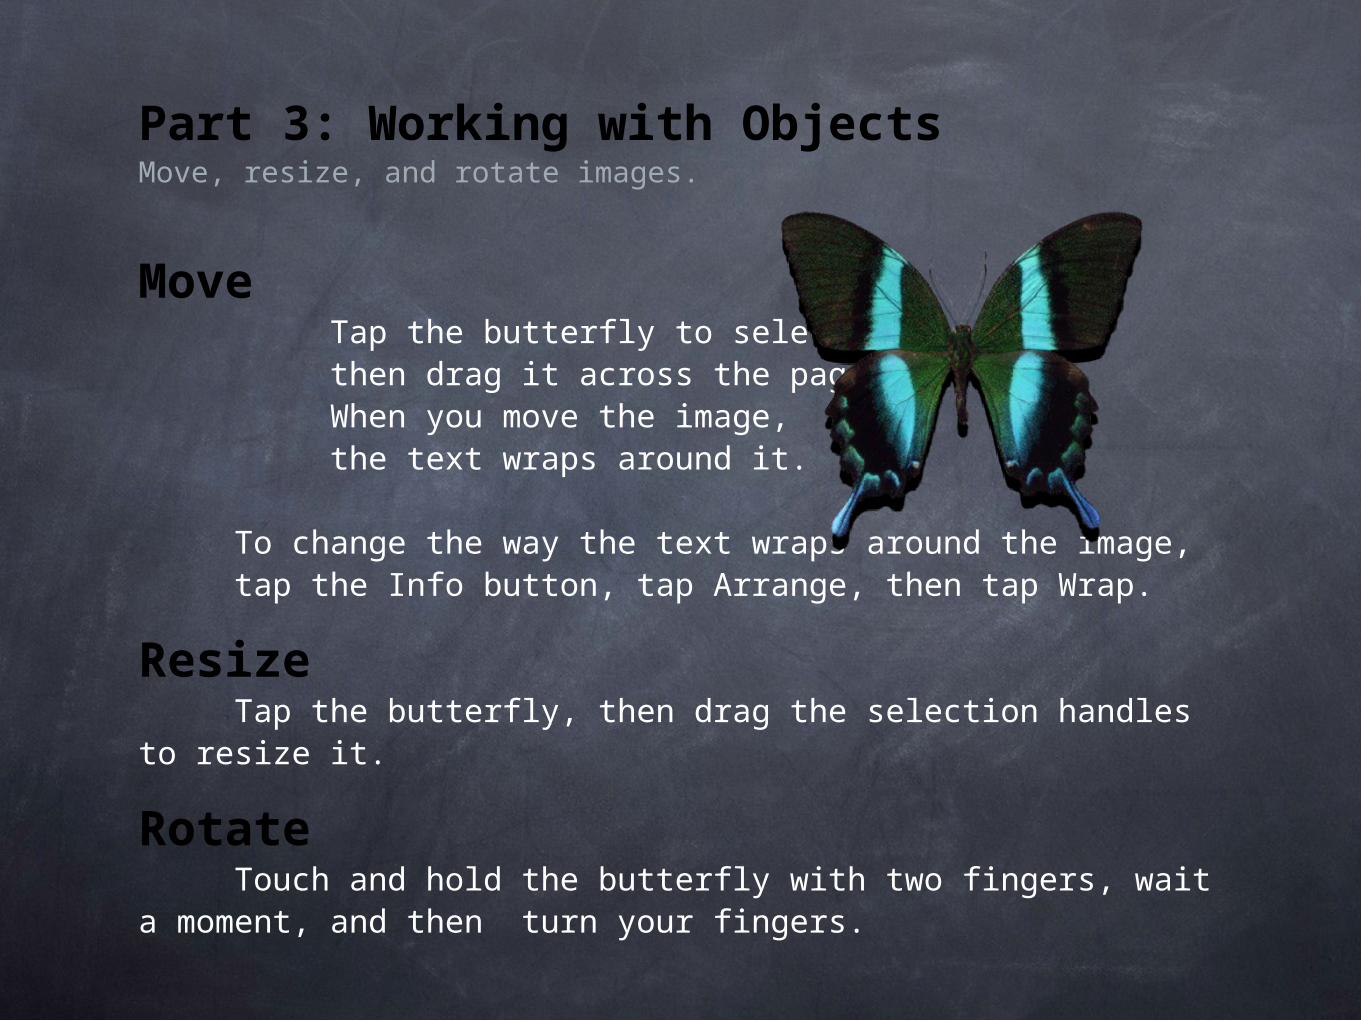
Part 3: Working with ObjectsMove, resize, and rotate images.
MoveTap the butterfly to select it, then drag it across the page. When you move the image, the text wraps around it.
To change the way the text wraps around the image, tap the Info button, tap Arrange, then tap Wrap.
ResizeTap the butterfly, then drag the selection handles to resize it.
RotateTouch and hold the butterfly with two fingers, wait a moment, and then turn your fingers.

Part 3: Working with ObjectsAdd photos, shapes, tables, and charts.
Add an object to this pageTap the Insert button. Choose a shape, chart, table, or one of your own photos.
Delete the objectTap the object to select it. Tap it again to see the Delete button. Choose Delete.


Part 5: Sharing Your Work on the WebiWork.com makes it easy to share your document.
Share with others, or just yourselfWith iWork.com public beta, anyone on a Mac or PC can view your document and post comments, or download a version in Pages, PDF, or Word format.
Tap the My Documents button in the toolbar to view all your documents. Select “Share via iWork.com” from the Share menu. Sign in, invite friends or co-workers, then tap the Share button to upload to the web.


Part 1: Getting Oriented
Rotate iPadYou can use Numbers in portrait or landscape.
Portrait is best for this guide.
ZoomingZoom in or out by pinching the screen.
Panning When you’re zoomed in, pan the sheet by
dragging.

Part 2: Get to Know NumbersStart with sheet tabs
You can scroll the sheet tabs to explore each topic. Drag the sheet tabs
sideways to see more tabs. And tap any tab to view a sheet.
My Spreadsheets
This is where you’ll create new spreadsheets and find the
ones you’ve worked on before. Your progress is
automatically saved as you work.
Undo
Anything you do can be undone with just one tap. Touch and hold to redo.
Toolbar buttons
Info: Change object or text properties.
Insert: Add an object to the sheet.
Tools: Search, check spelling, and more.
Full Screen: View in full screen.

Part 3: Table BasicsDisplay table controls
Tap anywhere on the table to get started adjusting columns and rows.
Move a tableTap the table. Use the table handle in the upper left to drag the table to its new location.
The table handle selects the table.
The table handle selects the table.
Table tabs along the top and left sides select
columns or rows.
Table tabs along the top and left sides select
columns or rows.
The column handle adds and removes
columns.
The column handle adds and removes
columns.
A B C D E123
The row handle adds and removes rows.
The row handle adds and removes rows.

Select and move a columnTap the table below. Select column C by tapping the tab above it. Touch and hold the selected tab, then drag the column to a new position. You can move a row the same way.
Add rows or columns
Tap the table below. Then tap the column handle to add a column, or tap the row handle to add a row. Drag the column handle to the right to add multiple columns. To add rows, drag the row handle down.
A B C D E123
A B D C E123

Part 4: Adding Cell Content
Add numbers, dates, text, or formulas
Double-tap any cell and an intelligent keyboard will help you edit the data. To apply a different content type, tap buttons on the top left of the keyboard.
Double-tap a cell in the table below, then tap each red cell to view the corresponding keyboard.
NumberDate and
timeText Formula
Value 55 04/30/2010 Welcome 2
Cell valueCell value
Formulas and functionsFormulas and functionsDate and timeDate and time
TextTextNumber, currency, percentage, star rating, and checkbox
Number, currency, percentage, star rating, and checkbox
Part 5: Cut, Copy, and Paste
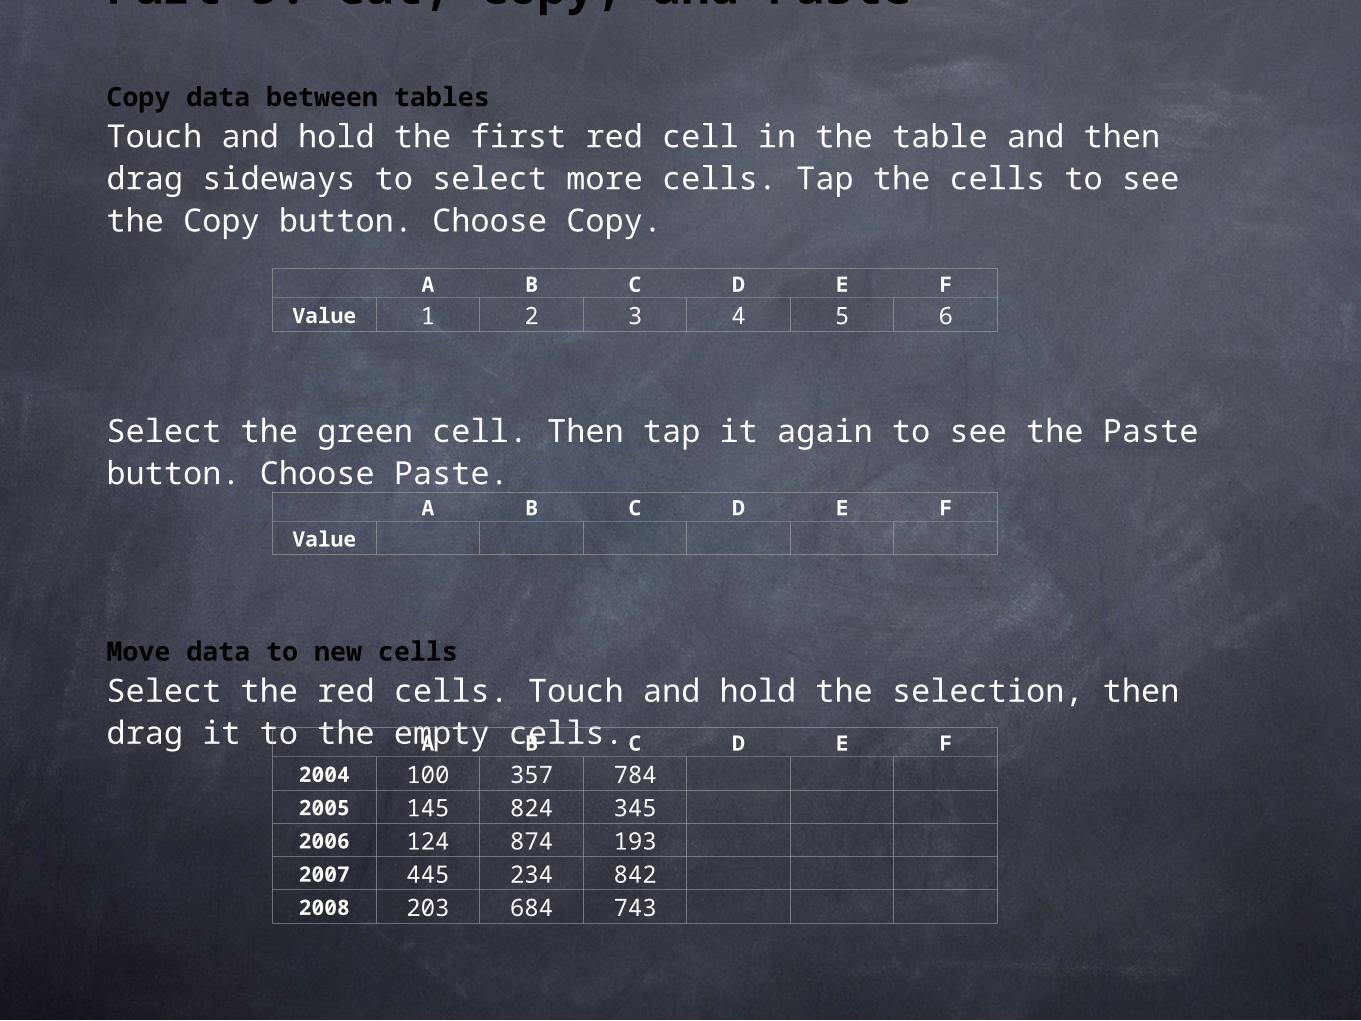
Copy data between tables
Touch and hold the first red cell in the table and then drag sideways to select more cells. Tap the cells to see the Copy button. Choose Copy.
Select the green cell. Then tap it again to see the Paste button. Choose Paste.
Move data to new cells
Select the red cells. Touch and hold the selection, then drag it to the empty cells.
A B C D E F
Value 1 2 3 4 5 6
A B C D E F
Value
A B C D E F
2004 100 357 7842005 145 824 3452006 124 874 1932007 445 234 8422008 203 684 743

Part 6: Working with Charts
Burbank Cambrian Park West San Jose Winchester
2004 1,525 684 533 246
2005 1,448 572 502 238
2006 1,248 443 415 190
2007 1,178 427 395 172
2008 1,082 386 362 155
2009 1,006 326 322 144
Your new chart will appear to the left.
Your new chart will appear to the left.
Link the chart to table cellsDouble-tap the chart. Touch and hold the first red cell in the table, then drag across the other red cells. Tap Done at the top of the screen.
Edit the linked table cells to see the chart update dynamically.
Apply styles to objects
Select the table or chart above. Tap the Info button. Then choose an available style.
Apply styles to objects
Select the table or chart above. Tap the Info button.
Then choose an available style.
Add a chart
Tap the Insert button. Then tap the Charts button to choose a chart type.

Part 7: Adding Formulas
Find sums quickly
Double-tap a red cell. Then tap the Formulas button to see the formulas keyboard. Select SUM on the keyboard. When you’re done, tap the green checkmark or tap anywhere outside the keyboard.
Formulas buttonFormulas button
Date Miles Since Last Fill-up Cost Gallons
8/2/10 311 $31 12
8/11/10 307 $39 13
8/21/10 320 $38 13
8/29/10 240 $30 10
Totals:
Create a formula
Formulas can be as simple or sophisticated as you need them to be. You can create your own formula from more than 250 functions. To browse functions, double-tap a cell, tap the Formulas button, and then tap the Functions button on the formulas keyboard.

Part 8: Full-Screen View
Review your spreadsheet
Tap the Full Screen button to see more of your spreadsheet. Touch and hold a cell, then drag across a range of cells to see a data summary. Swipe the summary window to see a chart of the data selected. Double-tap to exit full-screen view.
Mortgage RatesYearly Averages
Year 5-year ARM 15-year FRM 30-year FRM
1990 8.29% 10.19% 9.91%
1991 7.07% 9.35% 9.02%
1992 5.62% 8.51% 8.07%
1993 4.54% 7.40% 6.94%
1994 5.40% 8.49% 8.01%
1995 6.11% 8.19% 7.77%
1996 5.84% 8.03% 7.58%
1997 5.82% 7.39% 7.77%
1998 5.75% 6.72% 7.06%
1999 6.09% 7.16% 7.55%
2000 7.12% 7.89% 8.21%
2001 6.01% 6.68% 7.16%
2002 4.89% 6.11% 6.65%
2003 4.00% 5.34% 5.97%
2004 4.01% 5.35% 5.97%
2005 4.77% 5.55% 6.00%
2006 5.85% 6.18% 6.53%
2007 6.04% 6.25% 6.58%
2008 5.92% 6.16% 6.62%
2009 5.01% 5.14% 5.62%

Part 9: Using Input Forms
A better way to enter data
Using forms makes it easy to enter and edit data in a table.
Tap the Practice Form sheet tab above, then tap form entries to edit the table.
Player Position Goals Saves Scoring % Goaltending Accuracy
John Midfield 5 3 42% TRUE 4
Tim Fullback 2 9 17% FALSE 4
Andrew Fullback 5 3 42% FALSE 2
0% FALSE 0
0% FALSE 0
0% FALSE 0
0% FALSE 0
0% FALSE 0
0% FALSE 0
0% FALSE 0
12 15
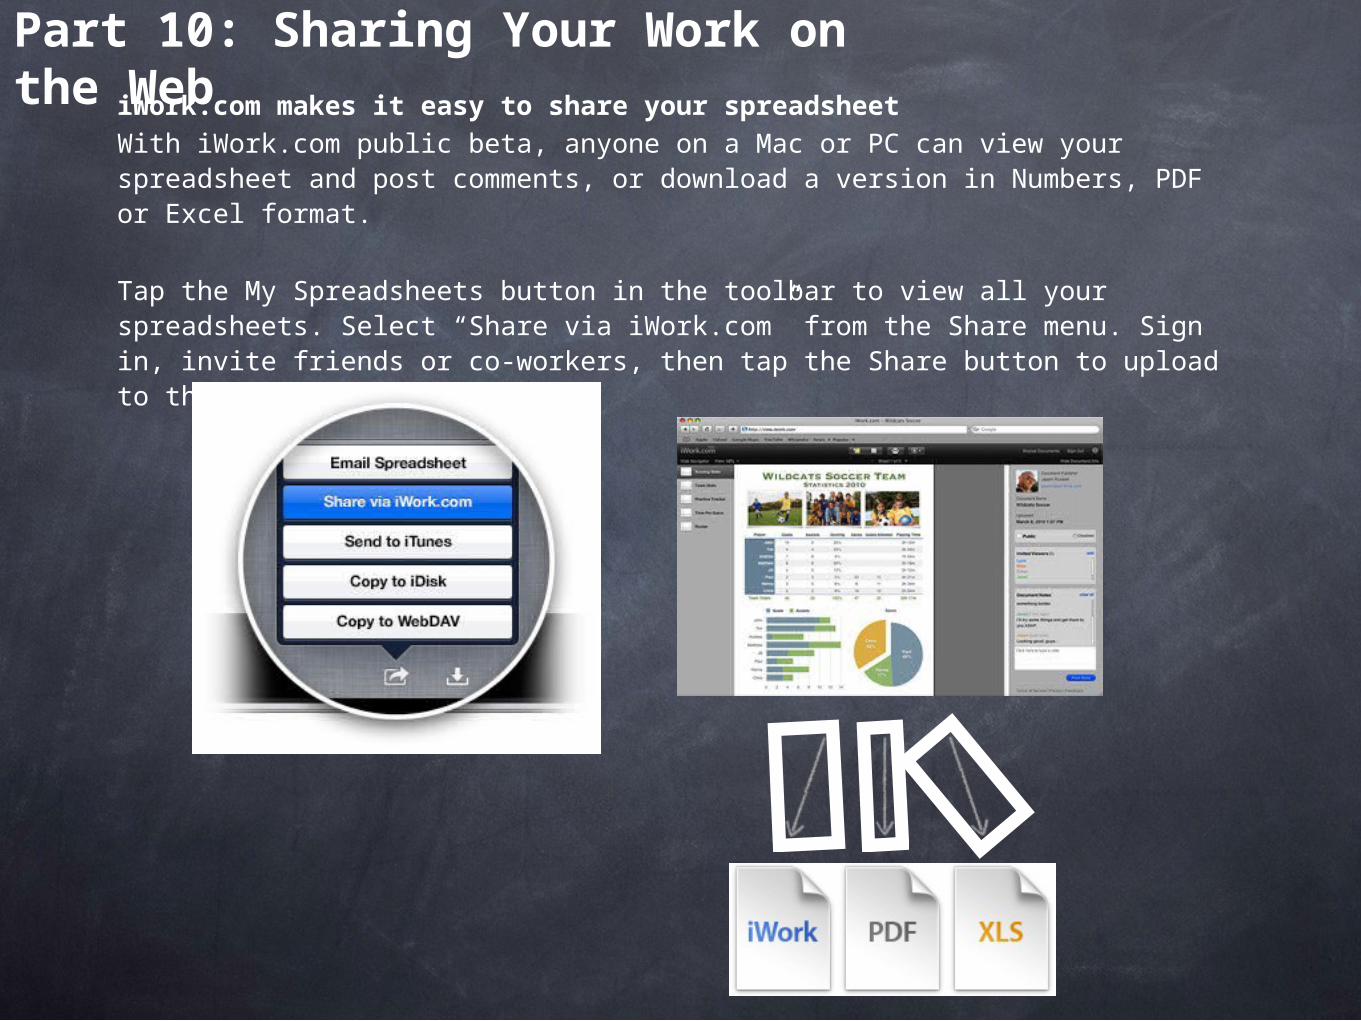
Part 10: Sharing Your Work on the Web
iWork.com makes it easy to share your spreadsheet
With iWork.com public beta, anyone on a Mac or PC can view your spreadsheet and post comments, or download a version in Numbers, PDF or Excel format.
Tap the My Spreadsheets button in the toolbar to view all your spreadsheets. Select “Share via iWork.com” from the Share menu. Sign in, invite friends or co-workers, then tap the Share button to upload to the web.