Musical Gloves
25
Musical Gloves Work group: Razan Qraini, Dalal Mughrabi Supervisors: Dr.Raed Alqadi, Inst.Haya Sammanah
-
Upload
matthew-weiss -
Category
Documents
-
view
38 -
download
1
description
Musical Gloves. Work group: Razan Qraini, Dalal Mughrabi Supervisors: Dr.Raed Alqadi , Inst.Haya Sammanah. What is Musical Gloves?. - PowerPoint PPT Presentation
Transcript of Musical Gloves
Musical GlovesWork group: Razan Qraini, Dalal MughrabiSupervisors: Dr.Raed Alqadi, Inst.Haya Sammanah
What is Musical Gloves?
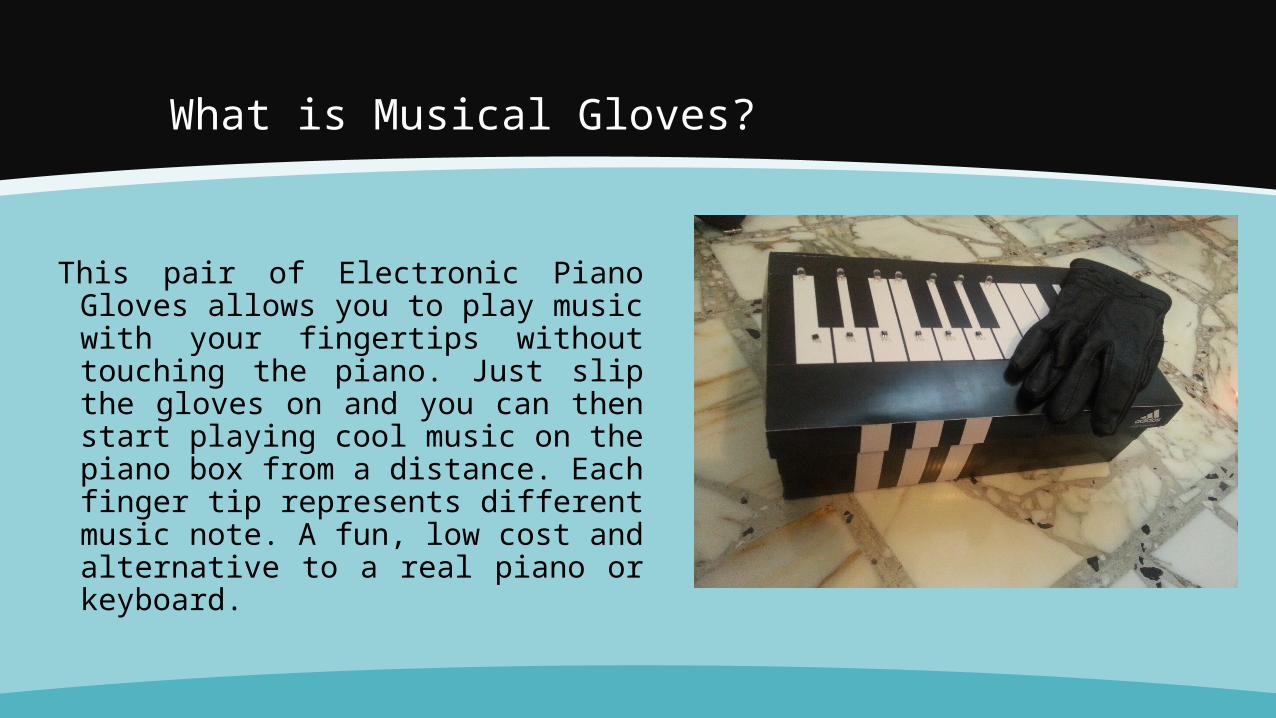
This pair of Electronic Piano Gloves allows you to play music with your fingertips without touching the piano. Just slip the gloves on and you can then start playing cool music on the piano box from a distance. Each finger tip represents different music note. A fun, low cost and alternative to a real piano or keyboard.
Motivation
▪ Make playing piano easier, funnier and cooler.
▪ Build a cheap and portable piano box.
▪ Build a modern piano box that allows you to play music in one room and hear it from the other room by using bluetooth.
Problem Faced
▪ Hall Effect sensors were our number one challenge because they arrived too late.
▪ The size of the piano box is small, so components are very close together and it was difficult to keep a distance between wires.
▪ We need a fixed 5v voltage source, it can be provided by batteries but the problem is it drain so fast.
▪ We bought an analog hall effect sensors. But after testing them and measuring the output voltage, we found out that they work as a digital sensors (The output is either logic 0 or logic 1).
▪ Other problems appear with boot loader software program.
▪ The PIC sending data with noise to the Bluetooth module so the application keep stop working.
Features
▪ 1. Playing Piano without touching
▪ 2. Playing Piano from android mobile.
▪ 3. Increase/decrease the volume
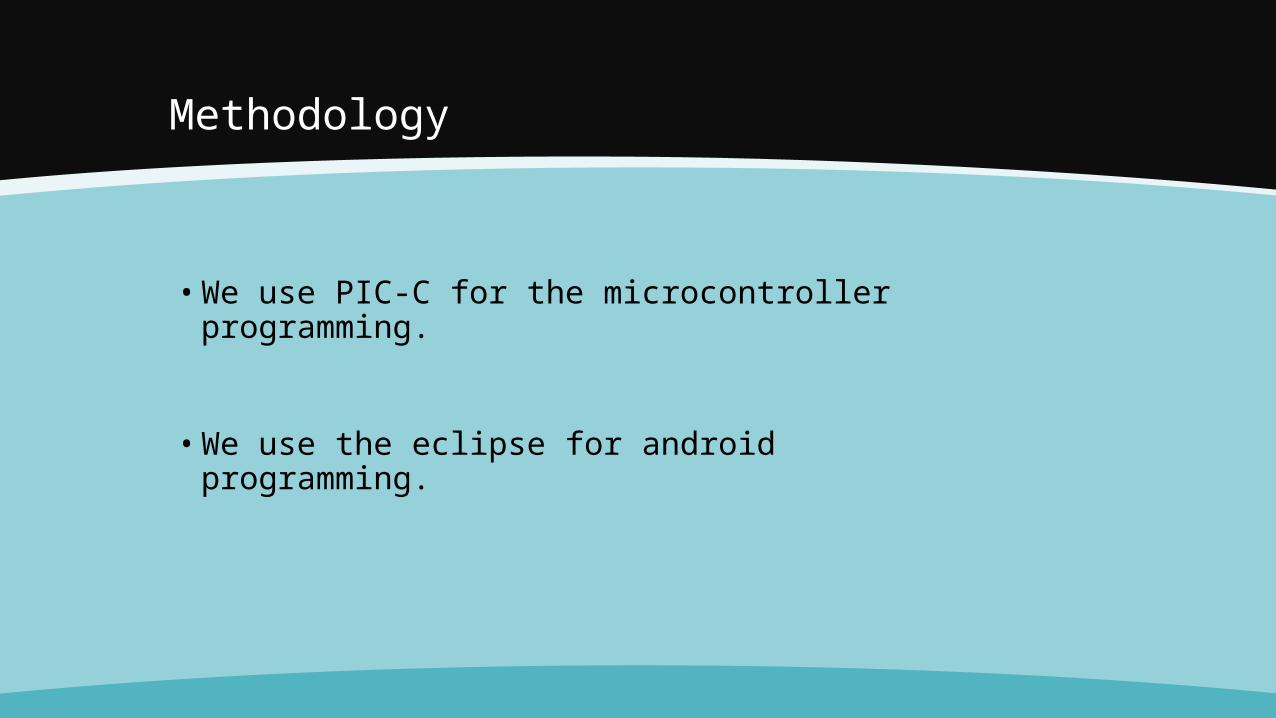
Methodology
• We use PIC-C for the microcontroller programming.
• We use the eclipse for android programming.
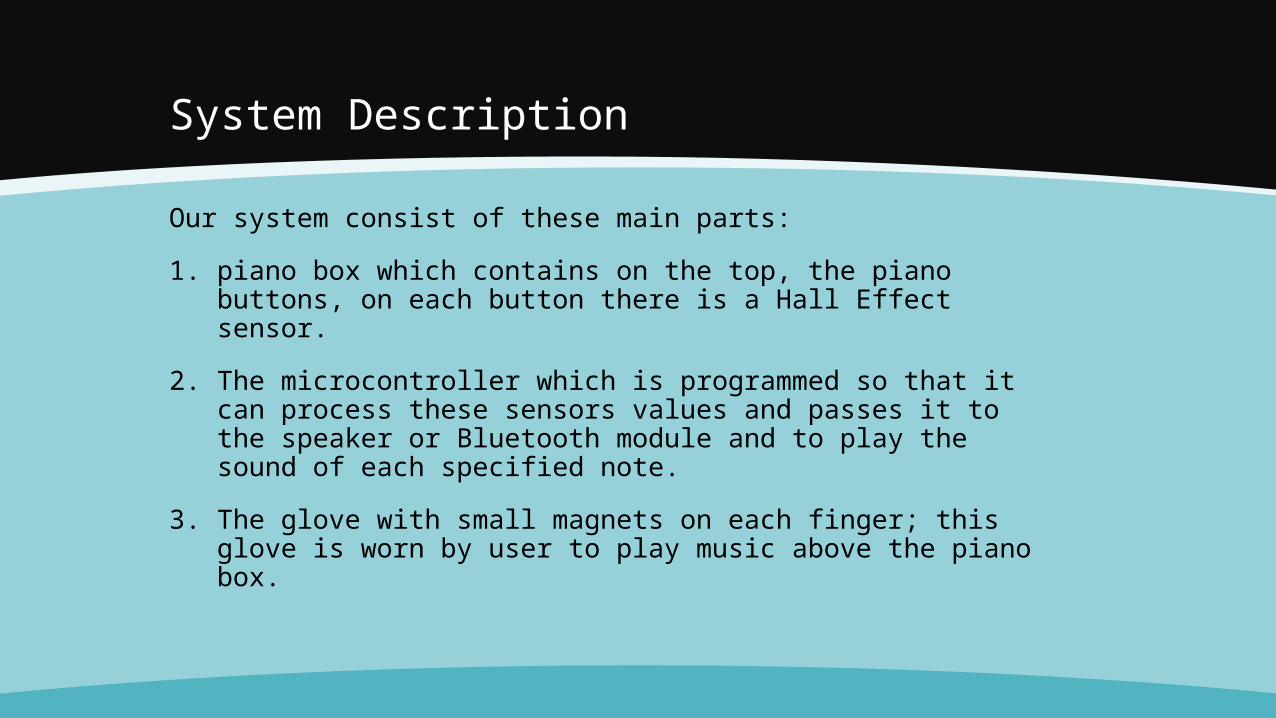
System Description
Our system consist of these main parts:
1. piano box which contains on the top, the piano buttons, on each button there is a Hall Effect sensor.
2. The microcontroller which is programmed so that it can process these sensors values and passes it to the speaker or Bluetooth module and to play the sound of each specified note.
3. The glove with small magnets on each finger; this glove is worn by user to play music above the piano box.
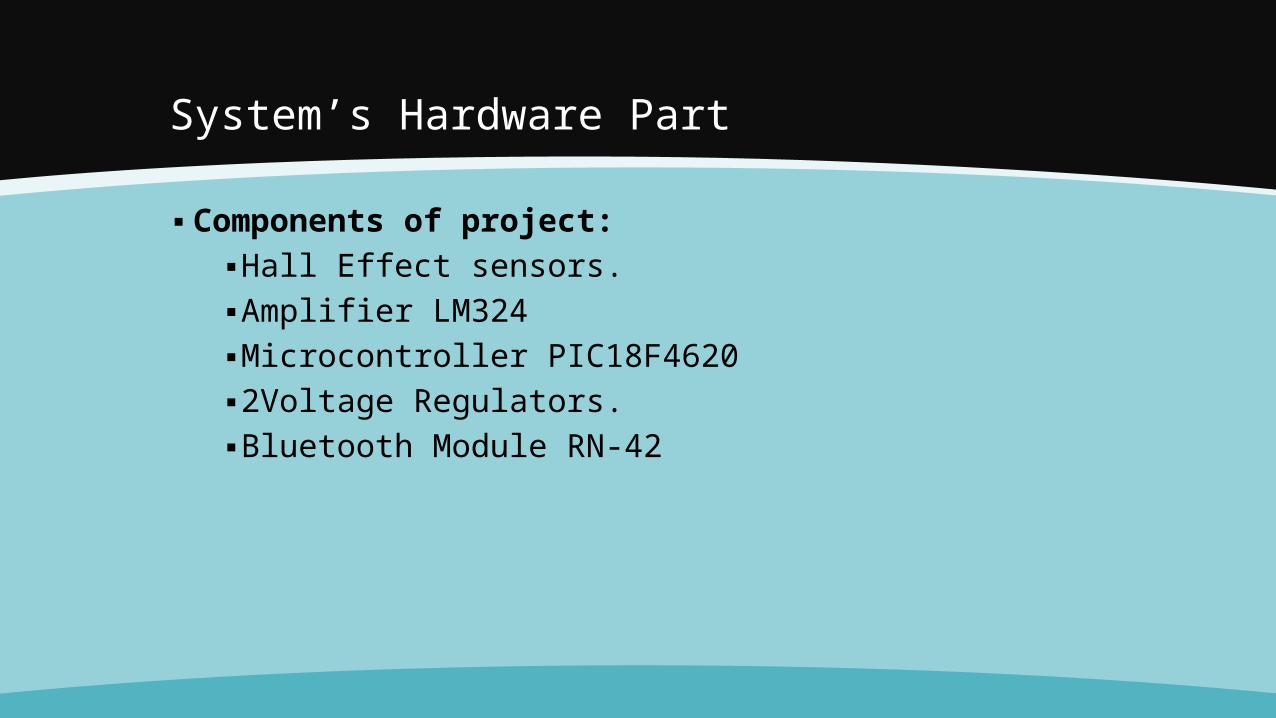
System’s Hardware Part
▪ Components of project:▪ Hall Effect sensors.▪ Amplifier LM324 ▪Microcontroller PIC18F4620▪ 2Voltage Regulators.▪ Bluetooth Module RN-42
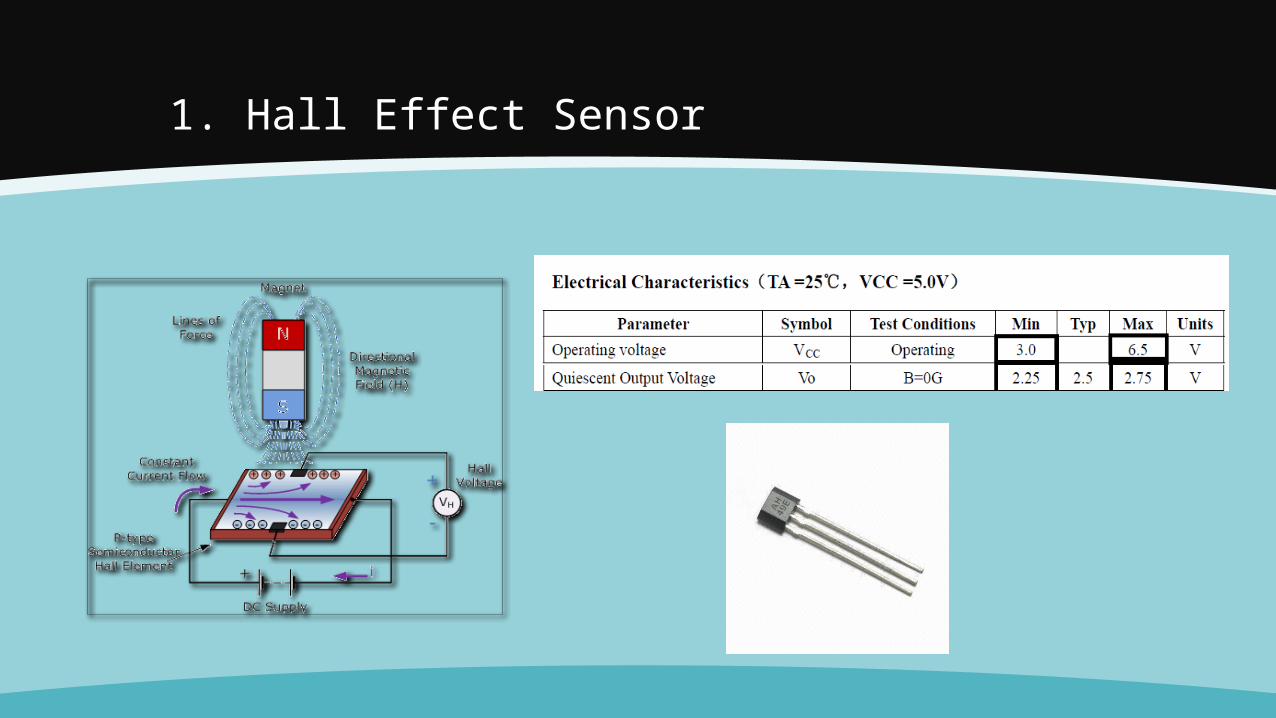
1. Hall Effect Sensor
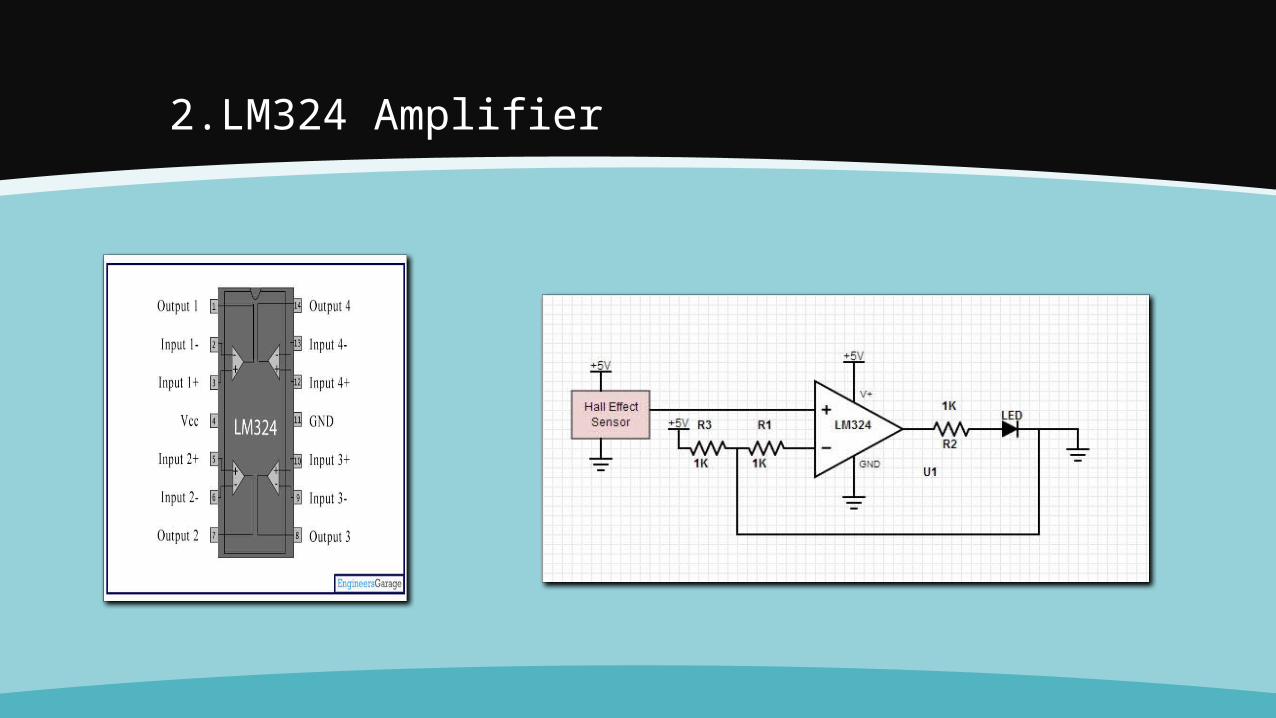
2.LM324 Amplifier

3.Microcontroller PIC18F4620
4.Voltage Regulator
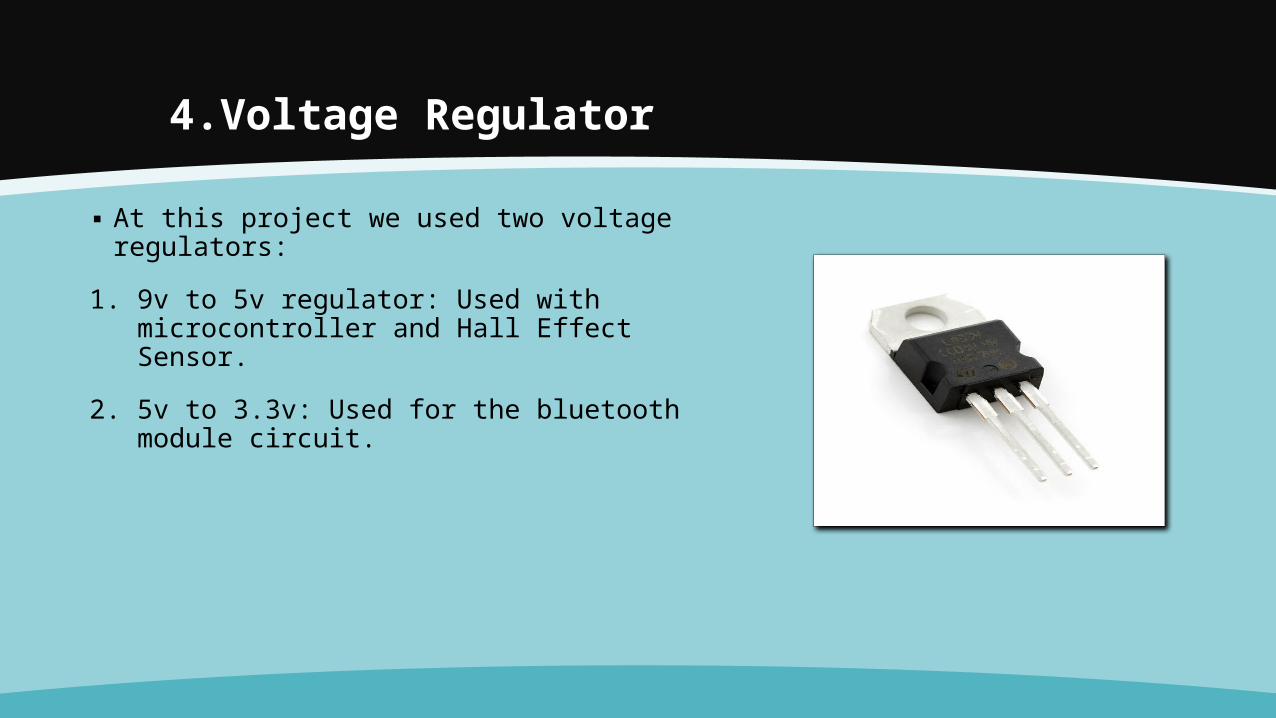
▪ At this project we used two voltage regulators:
1. 9v to 5v regulator: Used with microcontroller and Hall Effect Sensor.
2. 5v to 3.3v: Used for the bluetooth module circuit.
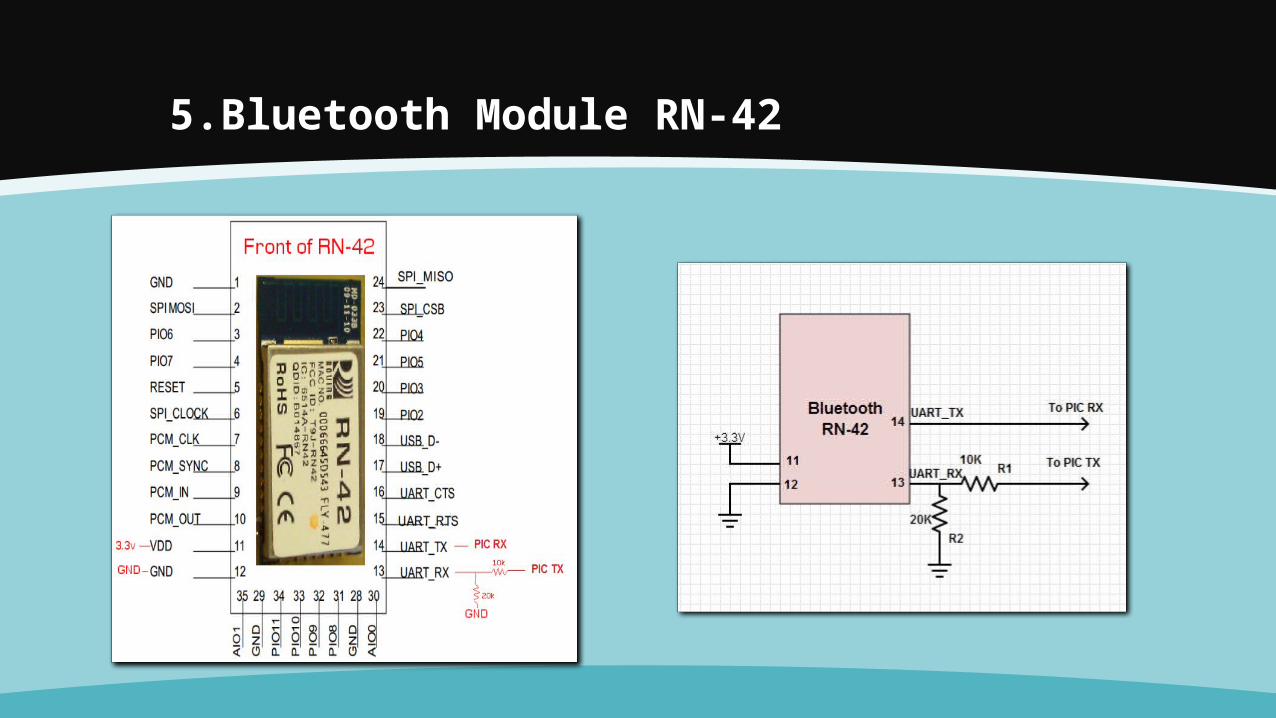
5.Bluetooth Module RN-42
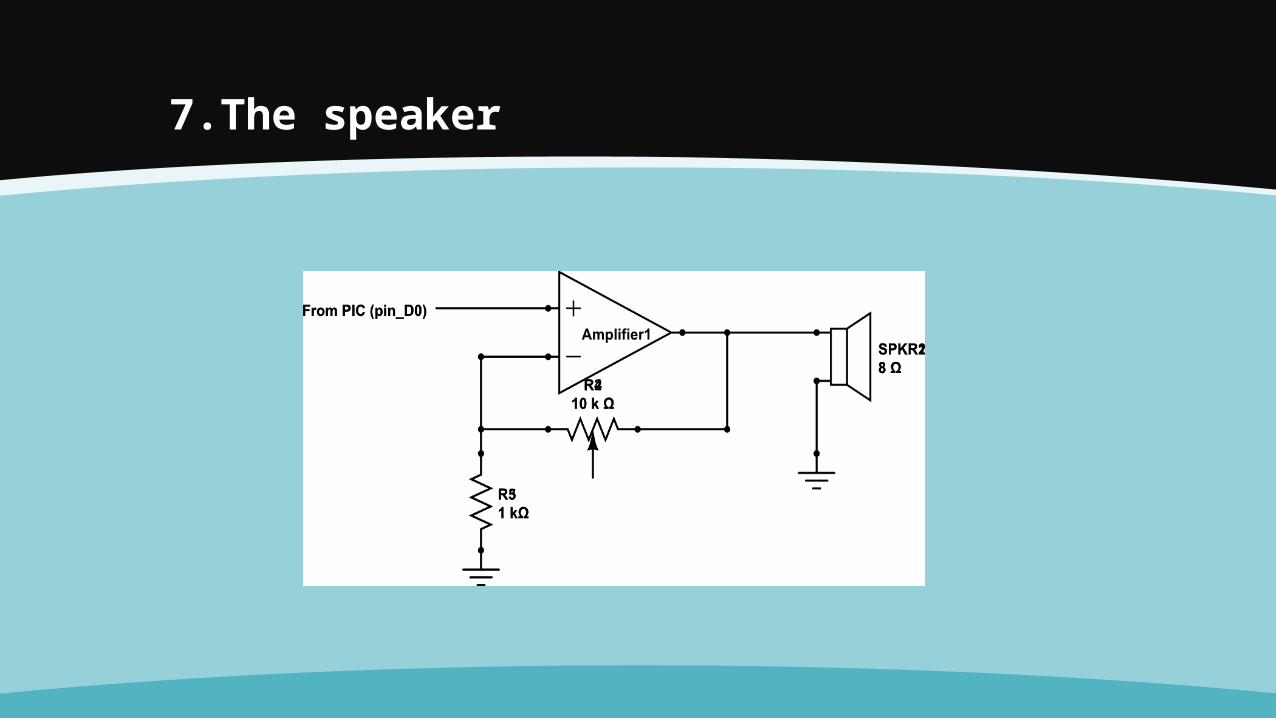
7.The speaker
Microcontroller Programming
Notes and Octaves
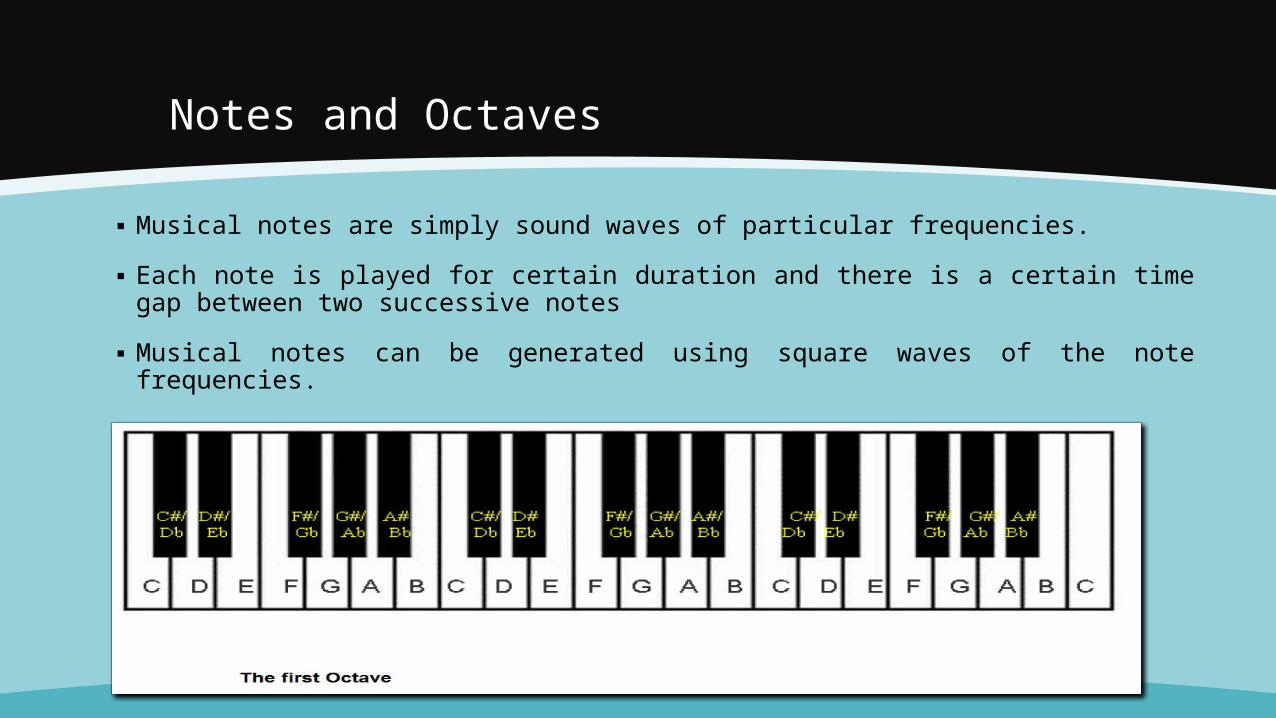
▪ Musical notes are simply sound waves of particular frequencies.
▪ Each note is played for certain duration and there is a certain time gap between two successive notes
▪ Musical notes can be generated using square waves of the note frequencies.

Notes and Octaves
Generating audio tones in PICC
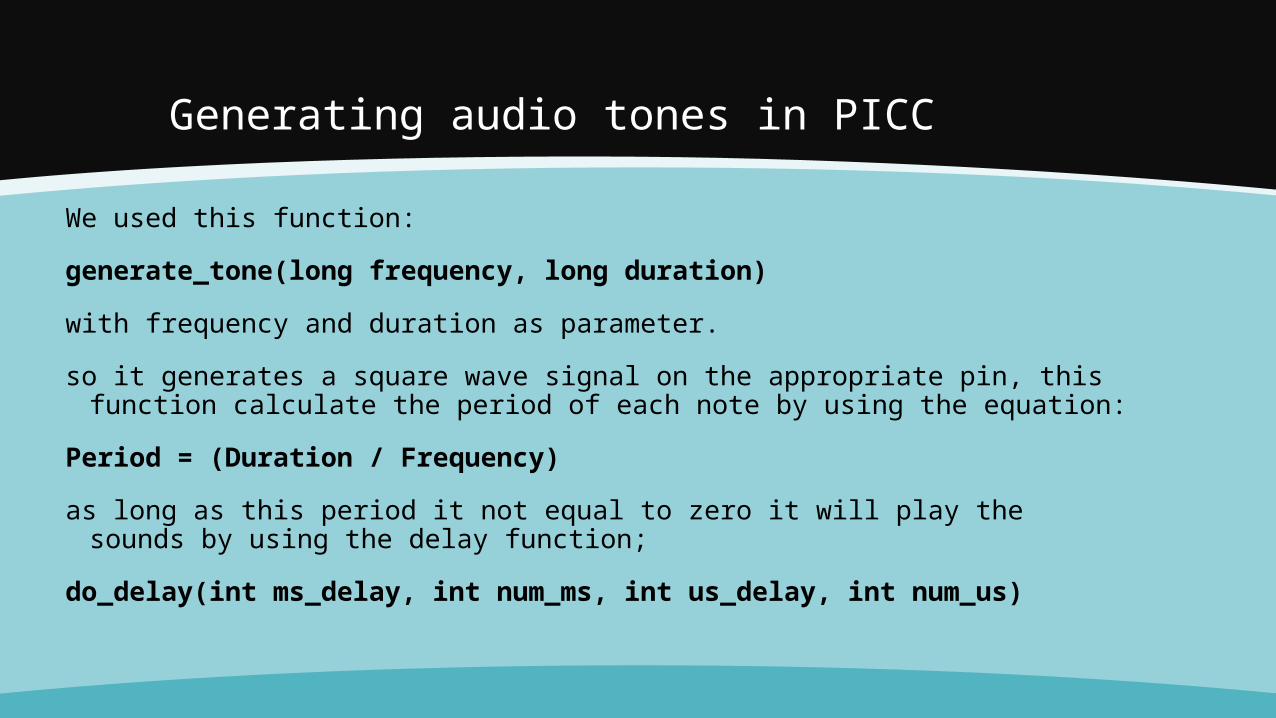
We used this function:
generate_tone(long frequency, long duration)
with frequency and duration as parameter.
so it generates a square wave signal on the appropriate pin, this function calculate the period of each note by using the equation:
Period = (Duration / Frequency)
as long as this period it not equal to zero it will play the sounds by using the delay function;
do_delay(int ms_delay, int num_ms, int us_delay, int num_us)
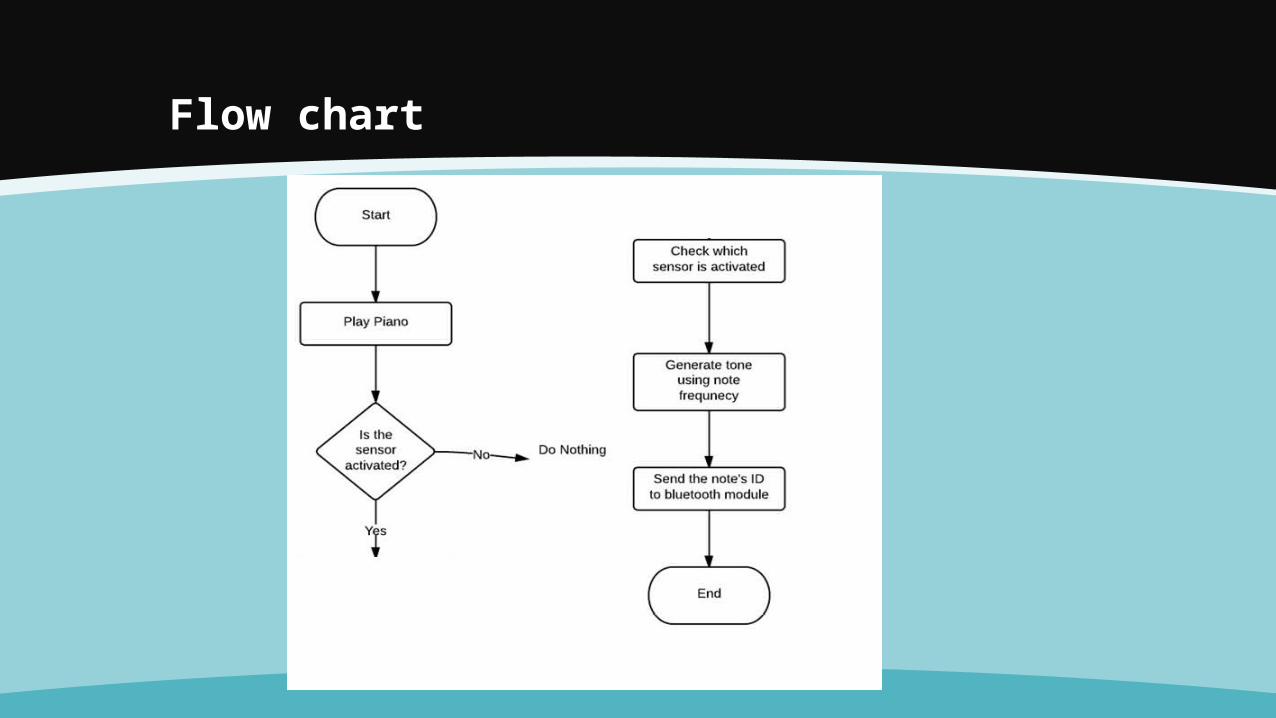
Flow chart

Bluetooth Interface with PIC:
The microcontroller is required to interface with Bluetooth via UART interface. We use the printf(), this function is a library routines , it calls a routine which places characters of the printf statement in the UART buffer to get it transmitted from there to another Bluetooth device (in our case the mobile Bluetooth).

Android Programming
Android Programming
▪ Now at this project we use the four major tasks necessary to communicate using Bluetooth: setting up Bluetooth, finding devices that are either paired or available in the local area, connecting devices, and transferring data between devices.
Android Programming
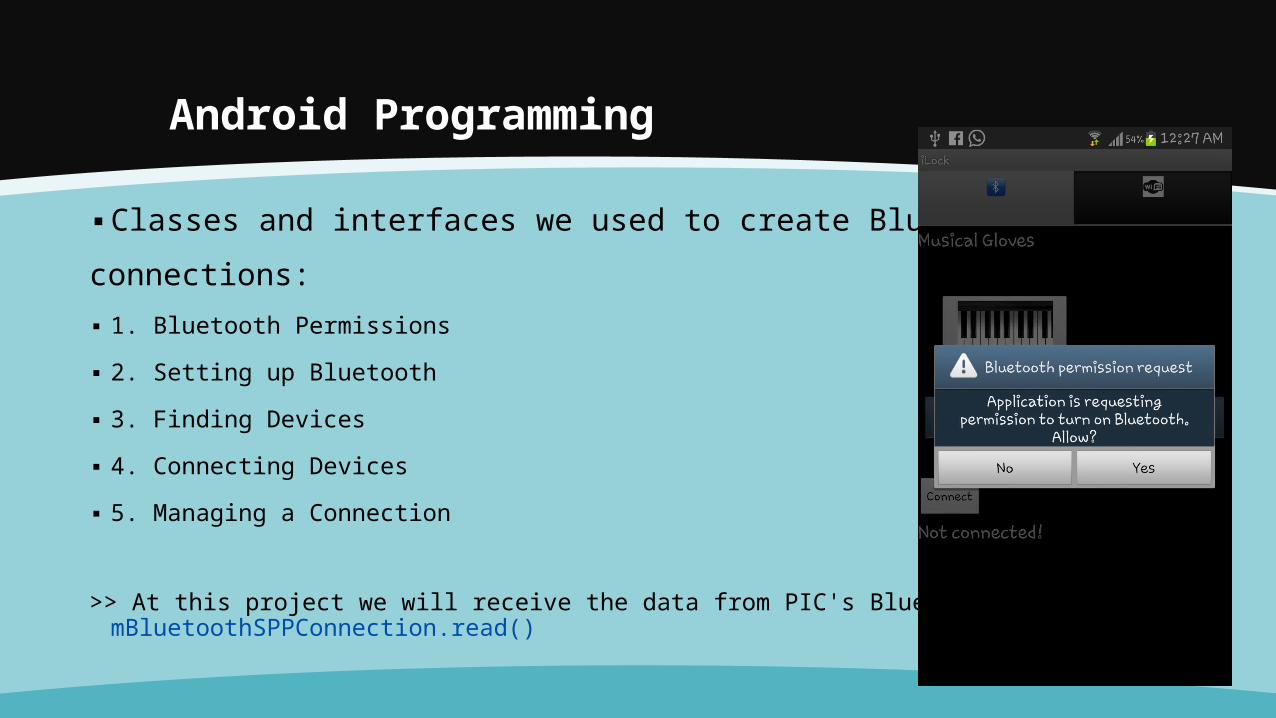
▪ Classes and interfaces we used to create Bluetooth
connections:
▪ 1. Bluetooth Permissions
▪ 2. Setting up Bluetooth
▪ 3. Finding Devices
▪ 4. Connecting Devices
▪ 5. Managing a Connection
>> At this project we will receive the data from PIC's Bluetooth using mBluetoothSPPConnection.read()
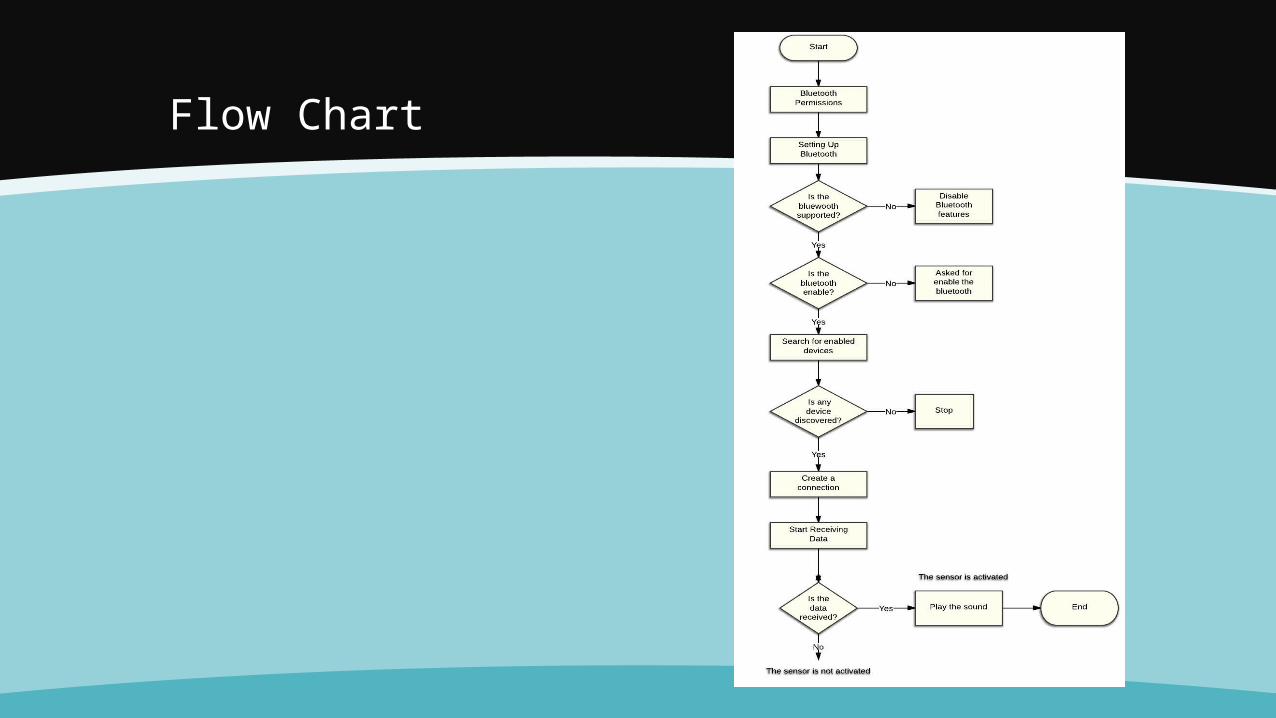
Flow Chart

To the Demo ….