Mechatronic Clinometer
14
Mechatronic Clinometer Subject Area(s) Measurement, physical science, problem solving Associated Unit measurement Lesson Title Mechatronic Clinometer Header Image 1 ADA Description: Legos have been used to support an accelerometer on a pivot. There is an ultrasonic sensor attached to the base that supports the pivot. The sensors are attached to an Arduino microcontroller. Angle, distance, and height variables are displayed on a LCD display. Caption: Arduino based mechatronic clinometer Image file: mechaclin.jpg Source/Rights: Copyright © Ryan Cain 2011
Transcript of Mechatronic Clinometer

Mechatronic Clinometer Subject Area(s) Measurement, physical science, problem solving
Associated Unit measurement
Lesson Title Mechatronic Clinometer
Header
Image 1 ADA Description: Legos have been used to support an accelerometer on a pivot. There is an ultrasonic sensor attached to the base that supports the
pivot. The sensors are attached to an Arduino microcontroller. Angle, distance, and height variables are displayed on a LCD display.
Caption: Arduino based mechatronic clinometer Image file: mechaclin.jpg
Source/Rights: Copyright © Ryan Cain 2011
Grade Level 6 (2-8)
Lesson #
Lesson Dependency
Time Required 90 mins (2 45 min classes)
Summary Sensors enable humans to interact with machines. A computer takes input from a human through buttons on the keyboard and the light sensor on the mouse. This lesson will introduce children to sensors called accelerometers. The accelerometer measures orientation from the direction of gravity and acceleration. The students will use an accelerometer to measure an angle. This angle will help them to solve a trigonometric problem
Engineering Connection Engineers use sensors to collect data in order to be able to solve design problems. They use stress and strain guages to measure how much force a steel beam can carry.
Engineering Category = #1 1. Relating science and/or math concept(s) to engineering
Keywords
Educational Standards NYS Intermediate Science Core Curriculum, 1996 Standard 1 M1.1 Extend mathematical notation and symbolism to include variables and algebraic expressions in order to describe and compare quantities and express mathematical relationships. M1.1c apply mathematical equations to describe relationships among variables in the natural world Standard 1 S2.1 Use conventional techniques and those of their own design to make further observations and refine their explanations, guided by a need for more information. S2.1d use appropriate tools and conventional techniques to solve problems about the natural world, including: • measuring • observing • describing Standard 2 1.4 Collect data from probes to measure events and phenomena. 1.4a collect the data, using the appropriate, available tool 1.4b organize the data 1.4c use the collected data to communicate a scientific concept Standard 4 Performance Indicator 5.2 Observe, describe, and compare effects of forces (gravity, electric current, and magnetism) on the motion of objects Pre-Requisite Knowledge: Students should have experience with measurement with a ruler, a protractor, and have the ability to create a scale drawing.
Learning Objectives

After this lesson, students should be able to: -measure the height of an object with a mechanical and mechatronic clinometer -explain how a smart phone knows when to rotate the screen image -explain some ways engineers use sensors to improve human lives
Introduction / Motivation Ask the students if they are familiar with the iPhone. Show them a picture on an iPhone, iPad, or any smart phone that will rotate a picture when you turn it. Rotate the phone so that the picture rotates. Ask the class to explain how the phone knows to rotate the image. Collect a few of their ideas to revisit at the end of the lesson. Engineers use sensors all the time to help them make measurements. Civil engineers send surveyors to make 3D maps of a piece of land before they begin making a cite plan for a new building. We are going to look at one of those sensors today, the accelerometer.
Lesson Background & Concepts for Teachers This lesson requires the teacher to have a strong understanding of trigonometry and map making skills. A review of sin, cos, and tan would be helpful. Wikipedia has a very nice page on surveying: http://en.wikipedia.org/wiki/Surveying. A helpful pre-activity might be to have the student make a scale map of the classroom on graph paper. This lesson can be used without the mechatronic clinometer, just do Part I of the lesson. If you have some time on your hands to explore microcontrollers, take a look at the materials available at parallax.com. You can find the program and explanation in the following .pdf file: http://www.parallax.com/Portals/0/Downloads/docs/prod/sic/3rdPrintSmartSensors-v1.0.pdf. This lesson came from Activity 1 in Chapter 6: Accelerometer Projects. We chose to move the project off the Basic Stamp 2 in order to have floating point variables when calculating height. The Basic Stamp does a great job of measuring and displaying the tilt angle.
Image
Figure 1
Vocabulary / Definitions Word Definition
sensor A device that detects or measures a physical property and records, indicates, or otherwise responds to it.
accelerometer An instrument for measuring acceleration, typically that of an automobile, ship, aircraft, or spacecraft.
ultrasonic sensor A sensor which detects objects by emitting an ultrasonic pulse and measuring the time for its echo to return
clinometer An instrument used for measuring the angle or elevation of slopes. surveyor An engineer who determines the boundaries and elevations of land or
Figure 1 ADA Description: A woman is entering information on a data collector that
is connected to surveying transit mounted on tripod. Image file: surveyinstrument.png
Source/Rights: Copyright © Microsoft Office Clip Art
structures. scale A ratio of size in a map, model, drawing, or plan
tangent The tangent of an angle is the ratio of the length of the opposite side to the length of the adjacent side
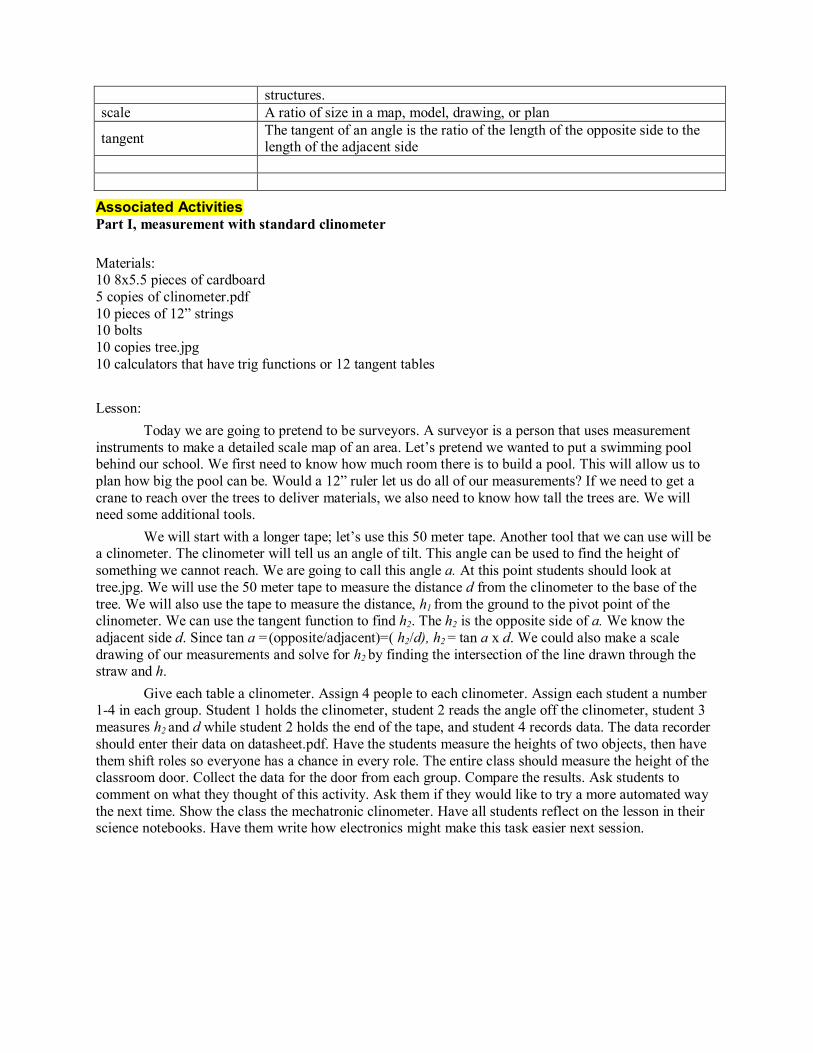
Associated Activities Part I, measurement with standard clinometer Materials: 10 8x5.5 pieces of cardboard 5 copies of clinometer.pdf 10 pieces of 12” strings 10 bolts 10 copies tree.jpg 10 calculators that have trig functions or 12 tangent tables Lesson: Today we are going to pretend to be surveyors. A surveyor is a person that uses measurement instruments to make a detailed scale map of an area. Let’s pretend we wanted to put a swimming pool behind our school. We first need to know how much room there is to build a pool. This will allow us to plan how big the pool can be. Would a 12” ruler let us do all of our measurements? If we need to get a crane to reach over the trees to deliver materials, we also need to know how tall the trees are. We will need some additional tools. We will start with a longer tape; let’s use this 50 meter tape. Another tool that we can use will be a clinometer. The clinometer will tell us an angle of tilt. This angle can be used to find the height of something we cannot reach. We are going to call this angle a. At this point students should look at tree.jpg. We will use the 50 meter tape to measure the distance d from the clinometer to the base of the tree. We will also use the tape to measure the distance, h1 from the ground to the pivot point of the clinometer. We can use the tangent function to find h2. The h2 is the opposite side of a. We know the adjacent side d. Since tan a =(opposite/adjacent)=( h2/d), h2 = tan a x d. We could also make a scale drawing of our measurements and solve for h2 by finding the intersection of the line drawn through the straw and h. Give each table a clinometer. Assign 4 people to each clinometer. Assign each student a number 1-4 in each group. Student 1 holds the clinometer, student 2 reads the angle off the clinometer, student 3 measures h2 and d while student 2 holds the end of the tape, and student 4 records data. The data recorder should enter their data on datasheet.pdf. Have the students measure the heights of two objects, then have them shift roles so everyone has a chance in every role. The entire class should measure the height of the classroom door. Collect the data for the door from each group. Compare the results. Ask students to comment on what they thought of this activity. Ask them if they would like to try a more automated way the next time. Show the class the mechatronic clinometer. Have all students reflect on the lesson in their science notebooks. Have them write how electronics might make this task easier next session.

Part II, measurement using mechatronic clinometer Materials: 10 copies of accelerometer.jpg 10 copies datasheet.pdf ClinometerFinal.pde Arduino Uno Parallax Ping))) ultrasonic sensor #28015 Parallax Serial LCD #27976 Memsic 2125 Dual-Axis Accelerometer #28017 2 Breadboards Solid wires Lego Education Kit 9648 Ask children to review their comments from last class. Ask each group to share one comment of how they think the electronics could help with measurement. Hopefully someone mentions the iphone and/or accelerometer that we mentioned during the introduction. Give each group a copy of accelerometer.jpg. Ask the class “what happens when air is heated?” Hot air rises because it is less dense. Inside the accelerometer there are 4 thermometers, 1 at each end of the x and y-axes. There is a heating element in the center of the accelerometer that heats the gas inside. When you tilt the sensor the hot gas will rise to the top, depending on the angle the top will be closer to certain thermometers. The difference in temperatures allows the sensor to calculate where the gas bubble is. It outputs separate x and y values. Our clinometer only needs one connection on the x-axis. It solves for the angle of tilt by using the arcsine of the gravitational force measured on the x-axis. At this point share the code, ClinometerFinal.pde, with the class. Make sure to explain how the program finds d, h1, h2, a, and h. This lesson is focusing on the accelerometer, but you should mention the ultrasonic sensor too. It measures distance by sending a high frequency sound out and listening for the echo to return. Based on the speed of sound, it can calculate a distance. It would be great to have multiple mechatronic clinometers, but we are working with just one. Have each student measure the heights of various boxes on the table, letting the Arduino solve the height of the object. Have them check the accuracy of the mechatronic clinometer, or MC. The MC is limited to measuring a maximum d of 300cm. This is caused by the limitation of the ultrasonic sensor. Also, it uses a fixed h1 which is the height off the surface it is placed on. Since the screen displays a, we can go back to using the meter tape along with a tangent table. Have the students measure some larger items by using the aforementioned method.
Lesson Closure Ask the students to explain how we could measure the height of the trees near the site for building our imaginary swimming pool. What would be the best method?
Assessment Review students’ data sheets. Have students independently solve problems by providing them with d, h1, a, and a tangent table. Sample problems are located on angletest.pdf. Answers can be found on KEYangletest.pdf. It would also be useful to have each child use the clinometer for a practical assessment.
Lesson Extension Activities Take the class to a park to make a scale map of the park and include the heights of the trees.

Additional Multimedia Support
References
Attachments accelerometer.jpg angletest.pdf clinometer.pdf ClinometerFinal.pde datasheet.pdf KEYangletest.pdf MechaClinometer.pdf
Other
Redirect URL
Contributors Ryan Cain Russ Holstein
Copyright
Supporting Program
This work is supported in part by the National Science Foundation under a Research Experience for Teachers (RET) Site grant EEC-0807286. We thank the Mechatronics Lab and the Soil Mechanics Lab for hosting us during our summer research program.
Version: September 2010

accelerometer.jpg
tree.jpg

clinometer.pdf

datasheet.pdf

angletest.pdf

KEYangletest.pdf

MechaClinometer.pdf
clinometerFinal.pde /* This program is based on the following two sample codes: Memsic2125 created 6 Nov 2008 by David A. Mellis modified 30 Jun 2009 by Tom Igoe http://arduino.cc/en/Tutorial/Memsic2125 PING))) Sensor created 3 Nov 2008 by David A. Mellis modified 30 Jun 2009 by Tom Igoe http://www.arduino.cc/en/Tutorial/Ping */ // these constants won't change:

const int xPin = 2; // X output of the accelerometer const unsigned int PING_SENSOR_IO_PIN = 7; const float calibrate =2.5; void setup() { // initialize serial communications: Serial.begin(9600); // initialize the pins connected to the accelerometer // as inputs: pinMode(xPin, INPUT); Serial.print(22, BYTE); } void loop() { // variables to read the pulse widths: float pulseX, pulseY; // variables to contain the resulting accelerations float accelerationX; float h; //describes the height int distance; float angleRAD; float angle; // read pulse from x-axis: pulseX = pulseIn(xPin,HIGH); // convert the pulse width into acceleration accelerationX = ((pulseX / 10) - 500) * 8/1000; // clear the LCD Serial.print(12, BYTE); delay(5); angleRAD = (asin(accelerationX)); angle = (180/PI) * angleRAD + calibrate; angleRAD= angle * PI / 180; Serial.print("a="); Serial.print(angle, 1); //Final angle based on x-axis of Acc. delay(10);

pinMode(PING_SENSOR_IO_PIN, OUTPUT); // <label id="code.input.start_init_pin"/> digitalWrite(PING_SENSOR_IO_PIN, LOW); delayMicroseconds(2); // <label id="code.input.end_init_pin"/> digitalWrite(PING_SENSOR_IO_PIN, HIGH); // <label id="code.input.start_send_chirp"/> delayMicroseconds(5); digitalWrite(PING_SENSOR_IO_PIN, LOW); // <label id="code.input.end_send_chirp"/> pinMode(PING_SENSOR_IO_PIN, INPUT); const unsigned long duration = pulseIn(PING_SENSOR_IO_PIN, HIGH); // <label id="code.input.read_duration"/> delay(100); distance = 12 + (microseconds_to_cm(duration)); Serial.print (" d="); Serial.print (distance); Serial.print(13, BYTE); h = distance * tan(angleRAD); h =h+12; //Serial.print (tan(angleRAD)); Serial.print("Height= "); Serial.print(h); Serial.print(" cm"); delay(1000); } unsigned long microseconds_to_cm(const unsigned long microseconds) { return microseconds / 29 / 2; }