Java Programming, 3e Concepts and Techniques Chapter 2 Creating a Java Application and Applet.
17
Java Programming, 3e Concepts and Techniques Chapter 2 Creating a Java Application and Applet
-
Upload
poppy-phelps -
Category
Documents
-
view
233 -
download
3
Transcript of Java Programming, 3e Concepts and Techniques Chapter 2 Creating a Java Application and Applet.
Java Programming, 3eConcepts and Techniques
Chapter 2Creating a Java
Application and Applet

2Chapter 2: Creating a Java Application and Applet
Chapter Objectives
• Write a simple Java application
• Understand the different types and uses of comments
• Use proper naming conventions for classes and files
• Identify the parts of a class header and method header
3Chapter 2: Creating a Java Application and Applet
Introduction
• Users enter data and instructions into a computer and receive feedback from the computer through a user interface
• Programmers can create many types of user interfaces in Java
• We will create a program with two types of user interfaces– Console application
• Command line interface
– Applet• Graphical user interface displayed in a browser
4Chapter 2: Creating a Java Application and Applet
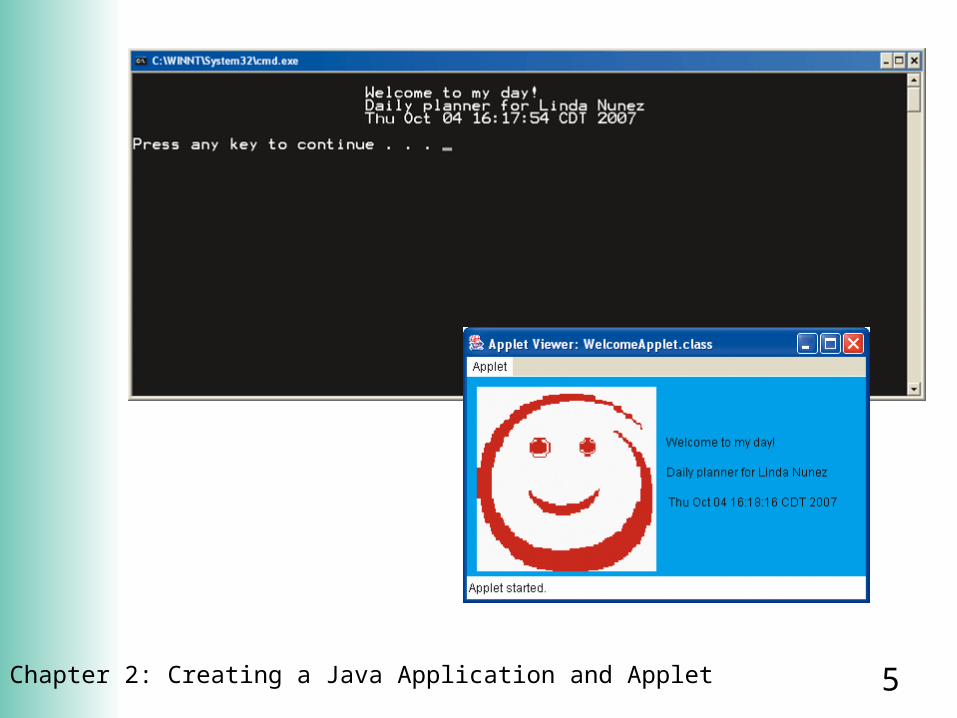
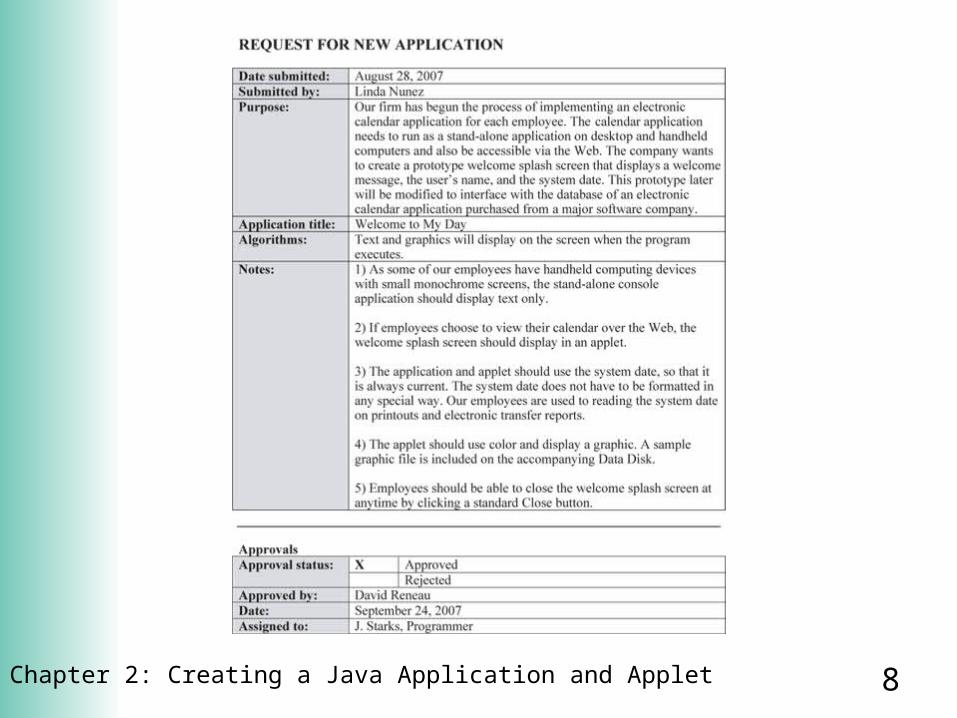
The Welcome to My Day Program
• This program will display a splash screen– A splash screen is a screen that is displayed
before the main program starts
• The screen will contain a welcome message, user’s name, and system date – The console application will display text only– The applet will contain text, color, and a
graphic
5Chapter 2: Creating a Java Application and Applet

6Chapter 2: Creating a Java Application and Applet
Program Development
7Chapter 2: Creating a Java Application and Applet
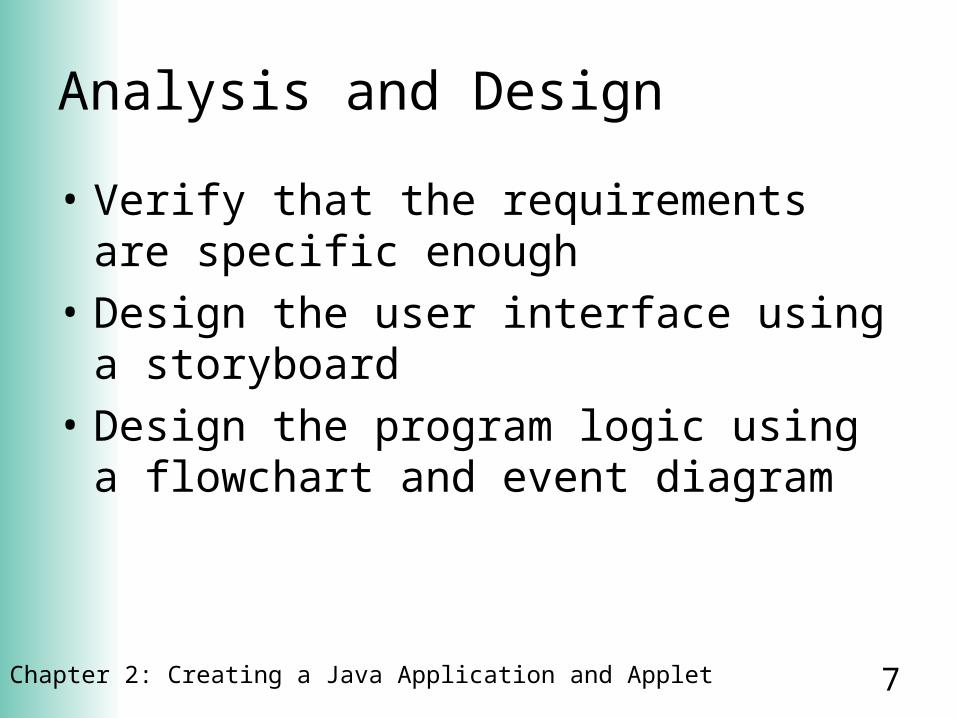
Analysis and Design
• Verify that the requirements are specific enough
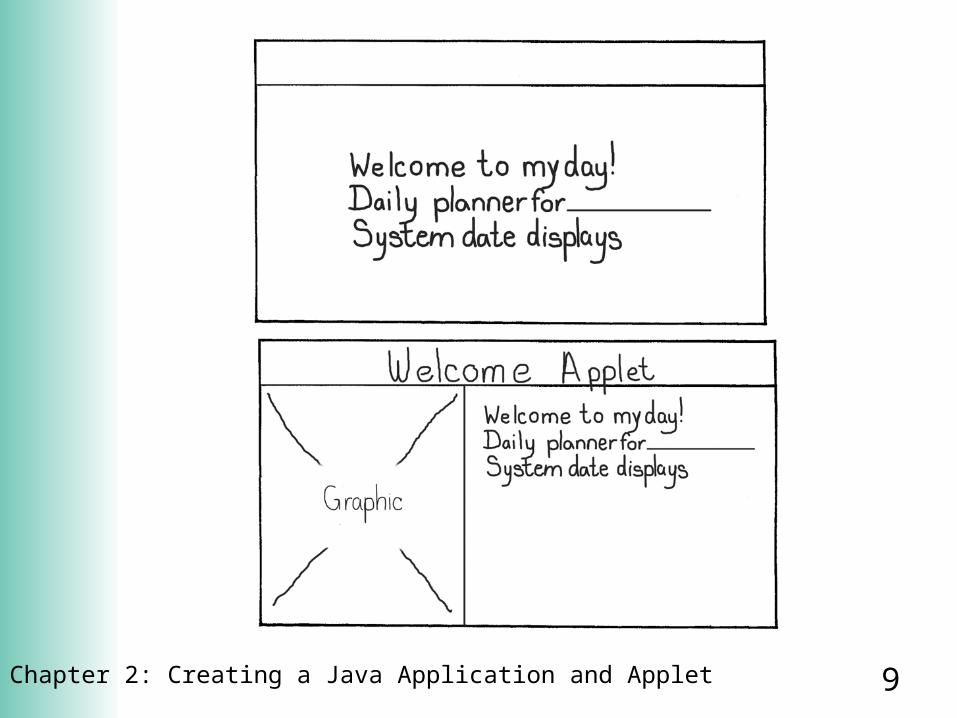
• Design the user interface using a storyboard
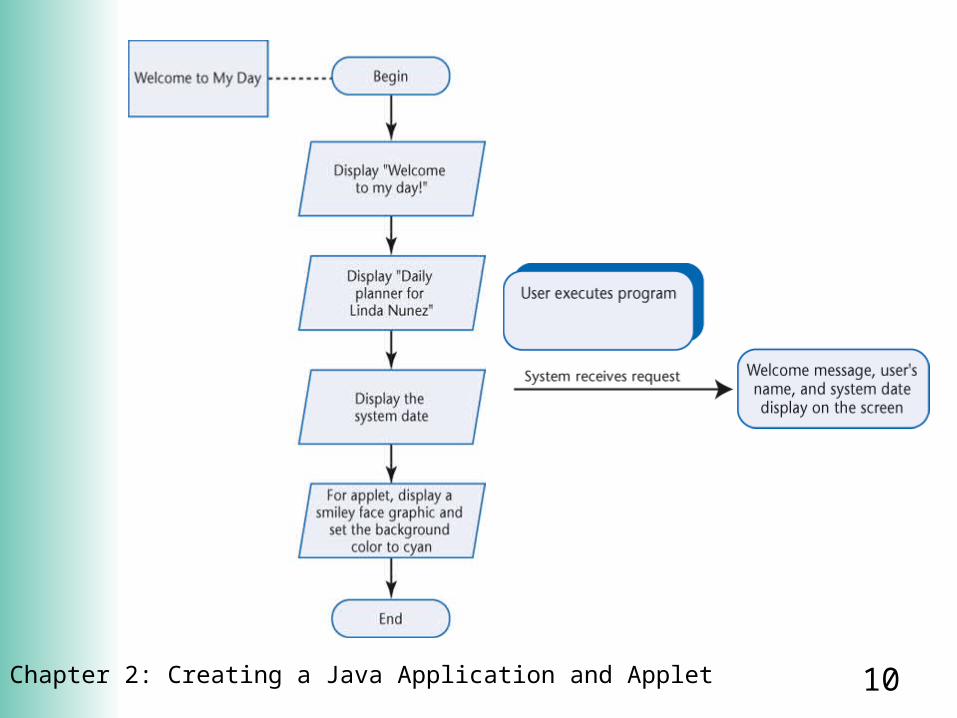
• Design the program logic using a flowchart and event diagram
8Chapter 2: Creating a Java Application and Applet
9Chapter 2: Creating a Java Application and Applet
10Chapter 2: Creating a Java Application and Applet

11Chapter 2: Creating a Java Application and Applet
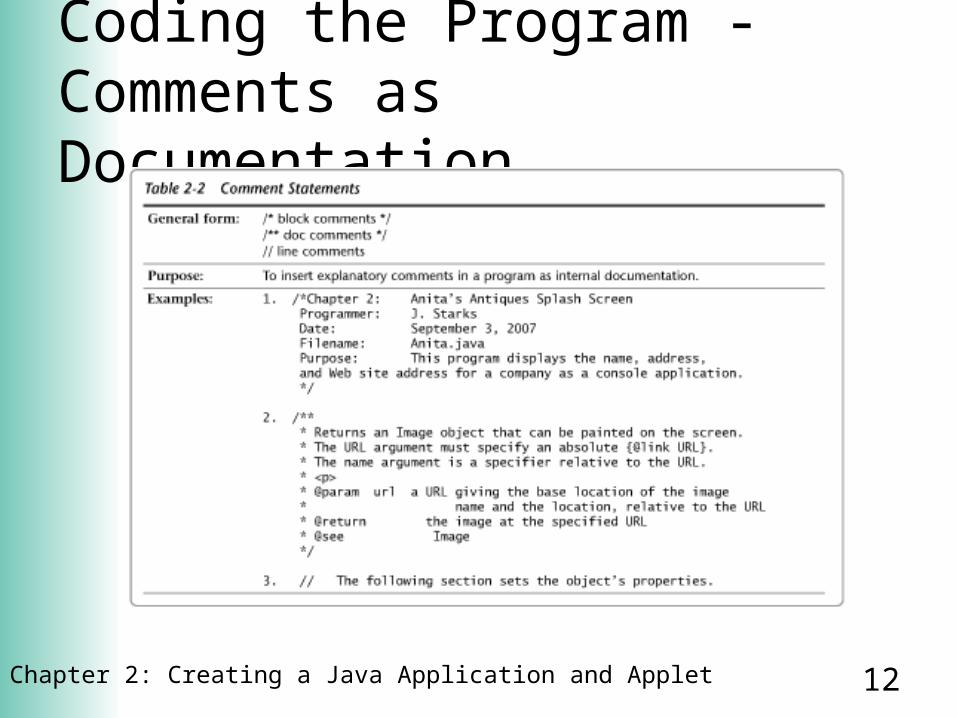
Coding the Program -Comments as Documentation • Purpose of comments
– Provides clear description when reviewing code– Helps programmer think clearly when coding
• Placement of comments– Use a comment header to identify a file and its
purpose– Place a comment at the beginning of code for each
event and method– Place comments near portions of code that need
clarification
12Chapter 2: Creating a Java Application and Applet
Coding the Program -Comments as Documentation
13Chapter 2: Creating a Java Application and Applet
Coding the Program - Define the Project • For this assignment create a new project called
“Welcome” with a class of “welcome.Welcome”
14Chapter 2: Creating a Java Application and Applet
Coding the Program - The Class Header • Identify how the code can be accessed with an
access modifier– public indicates that the code can be accessed by all
objects in the program and can be extended for a subclass
• Specify a unique name for the class– The class name at the beginning of the program must
match the file name exactly– Java is case-sensitive – By convention, uppercase letters are used for class
names and to distinguish words in class names

15Chapter 2: Creating a Java Application and Applet
Coding the Program - The Class Header
• Use braces { } after the class header to enclose the class body

16Chapter 2: Creating a Java Application and Applet
The Welcome Class/* * To change this template, choose Tools | Templates * and open the template in the editor. */
package welcome;
/** * * @author gjschmidt */public class Welcome {
}
17Chapter 2: Creating a Java Application and Applet
Rest of Today
• Make sure you create and save your Welcome project
• Review your grade. Progress report grades are due on Friday.
• Make sure your write-up for the Alice project has been turned in.