IWebFolio Using a Template Tutorial Images in this tutorial:
56
iWebFolio Using a Template Tutorial Images in this tutorial: http://www.freeimages.co.uk/
-
Upload
dustin-lamb -
Category
Documents
-
view
219 -
download
0
Transcript of IWebFolio Using a Template Tutorial Images in this tutorial:

iWebFolio Using a Template
Tutorial
Images in this tutorial: http://www.freeimages.co.uk/

Part 1: Overview
iWebfolio Overview
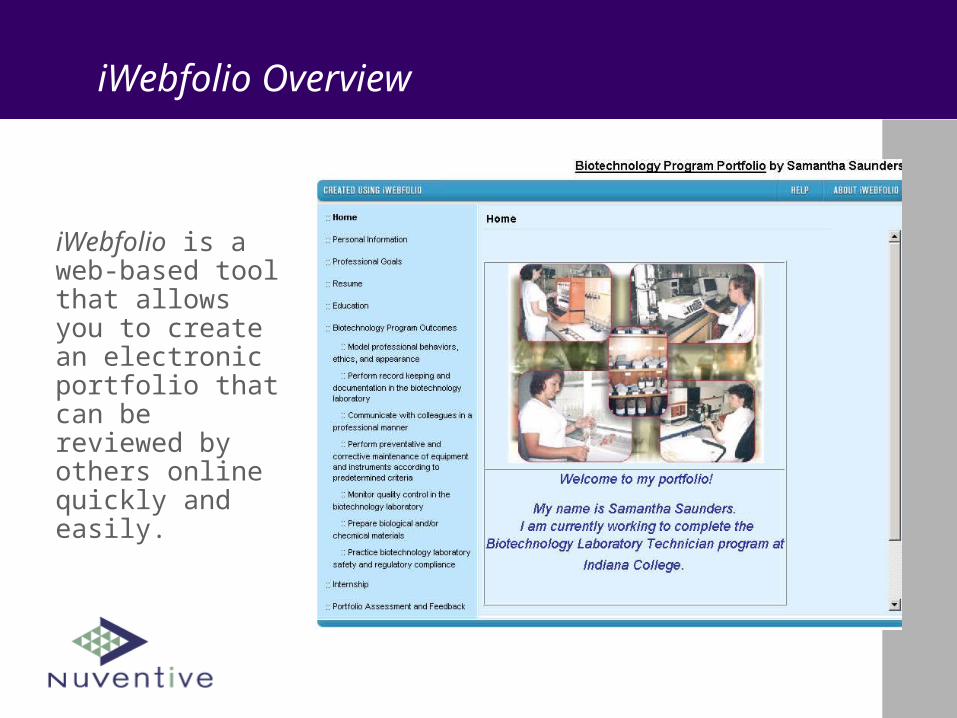
iWebfolio is a web-based tool that allows you to create an electronic portfolio that can be reviewed by others online quickly and easily.

iWebfolio Overview
A portfolio is a carefully selected collection of artifacts used to show an individual’s growth, capabilities, competencies, and experiences.
iWebfolio Overview
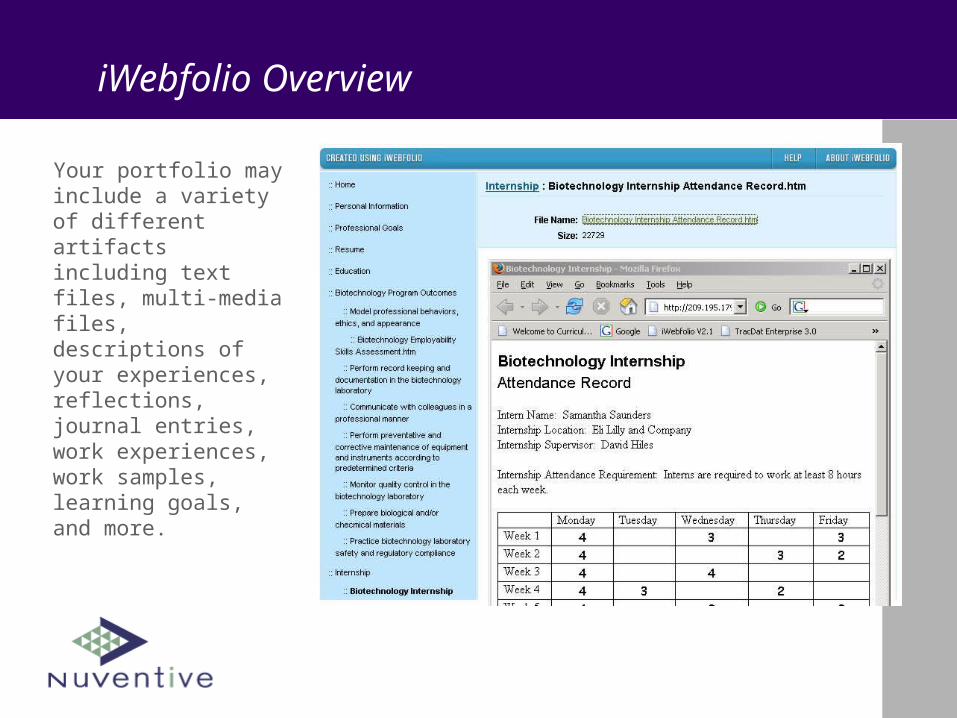
Your portfolio may include a variety of different artifacts including text files, multi-media files, descriptions of your experiences, reflections, journal entries, work experiences, work samples, learning goals, and more.

iWebfolio Templates
Typically the template is provided for you by your instructor for your portfolio assignment and includes instructions for how your portfolio should be built and what should be included.

iWebfolio Templates
A template provides the structure for your portfolio through designated categories and establishes parameters for the types of artifacts that you can include in your portfolio. You simply attach the required artifacts according to the instructions!

iWebfolio Templates
The template may only allow you to attach files in your portfolio or it may allow you to create items to present your information.

iWebfolio Tutorial
This tutorial will show you how to use a variety of iWebfolio tools to create your portfolio using a template but remember that your template may not allow you to use all of these features.

Part 2: Create a New Portfolio

Create a New Portfolio
To begin, log in to your iWebfolio account. Select Portfolios from the navigation tabs at the top of your screen. Click Create New Portfolio.

Create a New Portfolio
When asked if you want to use a template, select Yes. Select the template from the appropriate folder.

Portfolio Information
Enter the title for your portfolio if it is not entered for you. Click Save.

Template Categories
Select the Contents tab at the top of your screen. Scroll through the categories included in your template. Review the directions for each category. Take note of the kinds of artifacts that you will need to include in your portfolio.

Part 3: Edit Your Portfolio

Edit Portfolio
Click Portfolios on the navigation tabs at the top of your screen. Click Edit next to the portfolio that you are working on.

Categories and Directions
Click the Contents tab at the top of your screen. Select the category in your portfolio that you wish to work on from the category list in the middle left of your screen. Read the instructions provided by your instructor.
Category
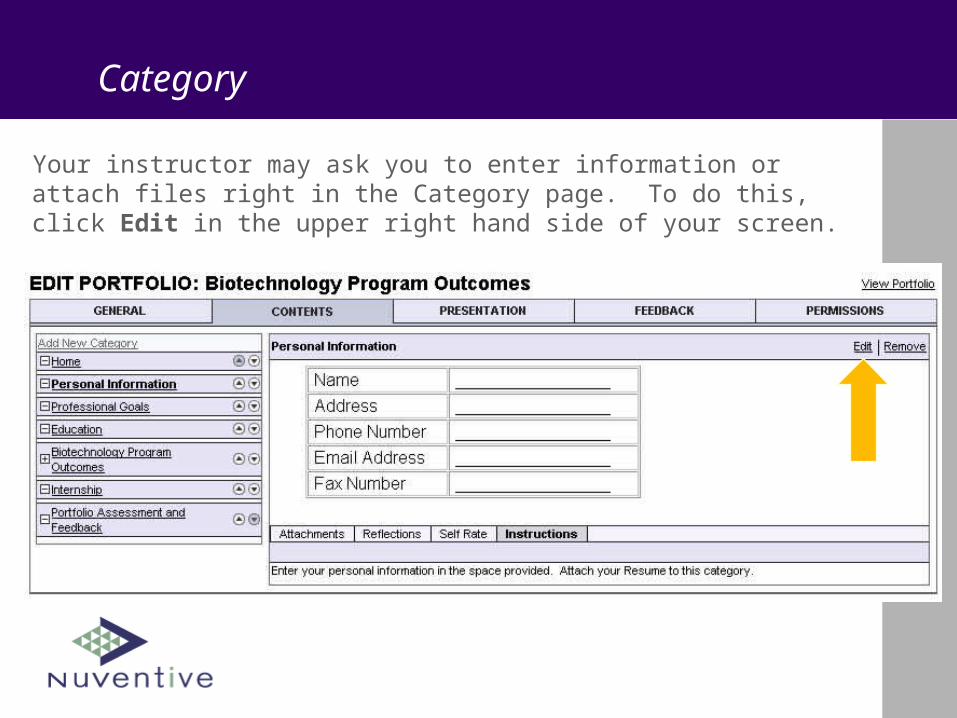
Your instructor may ask you to enter information or attach files right in the Category page. To do this, click Edit in the upper right hand side of your screen.

Editing Toolbar
Use the Editing Toolbar to edit the contents of the category page.

Attachments
Your instructor may ask you to attach your files, items or websites to the category page. Click the Attachments button at the bottom of the category page and select the file, item or web page that you wish to attach. If the Attachments button is disabled, your template will not allow you to attach artifacts to this category.

Reflections
If your instructor has asked you to add a reflection to your portfolio category, select the Add Reflection button at the bottom right corner of the editing window. Write your reflection and click Save.

View Portfolio
If you wish to see how your portfolio will look to a reviewer select View Portfolio from the top right hand corner of your screen.

View Portfolio
Your portfolio will open in a new window. Use the categories as a
“Table of Contents” to view various parts of your portfolio.

Part 4: Files, Items, and Websites

Artifacts
Artifacts used in iWebfolio fall into one of three categories: Files, Items, or Websites.

Artifacts
• A File can be any type of electronic file.
• An Item is something that you create in iWebfolio.
• A Website is a collection of linked html pages that you have uploaded into iWebfolio.

My Files
• You can easily upload and store many different kinds of files in your iWebfolio account for use in your portfolios including electronic documents, spreadsheets, digital photographs, and images.
• Keep in mind that anyone who views your portfolio will need the appropriate software to view your files.

My Files
Files can be included in your portfolio as attachments or they can be incorporated into an Item using a hot link.

My Files
To upload files to iWebfolio, select Files from the navigation tabs at the top of your screen. Click Add New File. Notice that your files can be organized into folders.

My Files
Browse your computer hard drive, CD, or disk to locate the file that you wish to upload. Select your file and click Open.

My Files
If desired, you can locate a second file to be uploaded at the same time. Once you have selected your file(s) click Save.

My Items
My Items allows you to design pages that include text, tables, images and hotlinks to present your artifacts and information.

My Items
To create an item, select Items from the navigation tabs at the top of your screen. Select Add New Item.

My Items
Give your item a name and use the Editing Toolbar to create your item.

Editing Toolbar
The Editing Toolbar allows you to designate text fonts, create hot links to websites or files, and incorporate tables and images into your item page.
Text Fonts Hot Links
Tables
Images Color

Editing Text
Enter text in the editing window of your item. Use the Editing Toolbar to change the font, size, color and other characteristics of your text.

Saving Edits
• When you are finished editing your item click Save and Continue if you wish to continue editing this Item or Save and Return if you wish to return to the Contents screen.
• Note: If you leave the page without saving, your editing changes will be lost.

Tables
Click the Tables icon on the Editing Tool Bar. Change the table settings and add a caption if desired. Click OK.
Tables
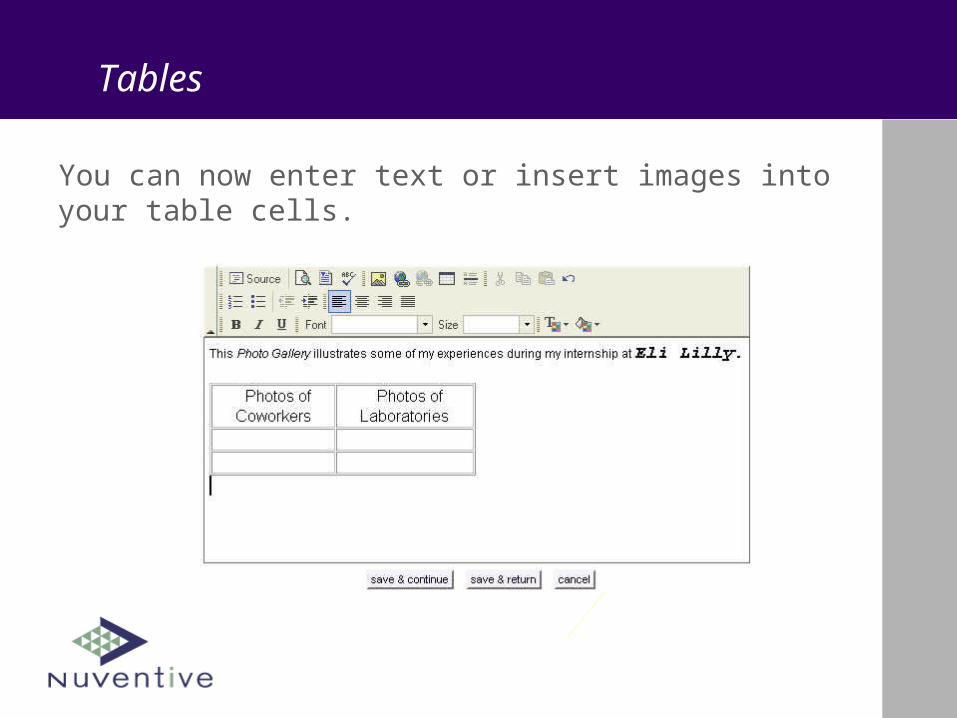
You can now enter text or insert images into your table cells.

Hotlinks
You can create a hot link to a web address, a file in My Files, or a website in My Websites. Highlight your text or image. Click the Hotlink icon on the Editing Toolbar.

Hotlinks
Enter a URL address if you want the link to access an internet address or click on the Browse Server button to locate a file from My Files or a website in My Websites. Click OK to save your hotlink information.

Images
Click the Image icon on the Editing Toolbar to locate and insert an image from My Files.
Images
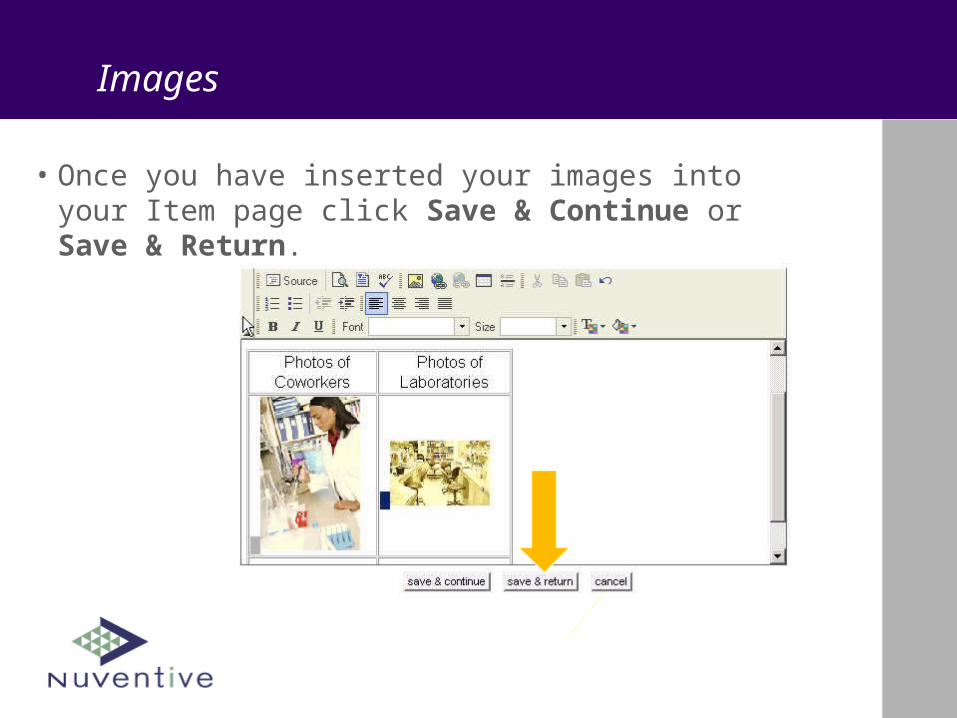
• Once you have inserted your images into your Item page click Save & Continue or Save & Return.

Websites
If you have a website (a group of linked html pages and graphic files) that you would like to display in your portfolio you will need to zip your website files into a compressed file or zip file using Winzip or another file compression tool.

Websites
Select Websites from the navigation tabs at the topof your screen.

Websites
Click Upload New Website. Name your website and locate your zip file to upload. Click Save.

Websites
Indicate which file should be the home page of your website. Click Save.

Part 5: Presentation Choices and Permissions

Presentation Choices
Unless your portfolio template prohibits changes in the presentation, you can change the color and format of your portfolio. Select the Presentation tab at the top of your screen.

Presentation Choices
Select the Style, Layout, Navigation, and Color that you would like.

Presentation Choices
Click View Portfolio in the upper right hand corner of your screen. Notice the changes in the presentation of your portfolio.

Permissions
• Your portfolio can be shared with one or more portfolio reviewers. You can select Affiliated Reviewers associated with your institution or Custom Reviewers from outside of your institution.

Permissions
Click on the Permissions tab at the top of your screen. Select Affiliated Reviewers from the list provided.

Permissions
To add a Custom Reviewer select Custom Reviewer from the dropdown list next to Permissions in the upper left hand side of your screen. Click Add Custom Reviewer. Enter the contact information for your custom reviewer and click Save.

View Portfolio
Click View Portfolio in the upper right hand corner of your screen to view your completed portfolio!

View Portfolio