IRRIGATION 2 - Tufts University
15
This material is funded in partnership by USDA, Risk Management Agency, under award number RM17RMEPP522C029. What is this user’s guide? This guide will assist trainers who want to teach non-literate and/or non- English speaking farmers about how to select the best irrigaon system (flood, drip, or overhead sprinkler) for their situaon. The advantage and disadvantages of each system are discussed using illustraons and examples from the farmers’ field experience. It covers how to disnguish between sources of sanitary drinking water which can be used for washing vegetables and sources of water which are only appropriate for irrigaon, laws and regulaons governing water use and access rights, and how to assess the potenal for irrigaon on a new parcel of land. IRRIGATION 2: IRRIGATION SYSTEM DESIGN GLOBAL GARDENS REFUGEE PROGRAM AT THE IDAHO OFFICE FOR REFUGEES
Transcript of IRRIGATION 2 - Tufts University

This material is funded in partnership by USDA, Risk Management Agency, under award number RM17RMEPP522C029.
What is this user’s guide?This guide will assist trainers who want to teach non-literate and/or non-English speaking farmers about how to select the best irrigation system (flood, drip, or overhead sprinkler) for their situation. The advantage and disadvantages of each system are discussed using illustrations and examples from the farmers’ field experience. It covers how to distinguish between sources of sanitary drinking water which can be used for washing vegetables and sources of water which are only appropriate for irrigation, laws and regulations governing water use and access rights, and how to assess the potential for irrigation on a new parcel of land.
IRRIGATION 2: IRRIGATION SYSTEM DESIGNGLOBAL GARDENS REFUGEE PROGRAM AT THE IDAHO OFFICE FOR REFUGEES

IRRIGATION 2: IRRIGATION SYSTEM DESIGN / PAGE 2 OF 15
Who made this guide? ACKNOWLEDGMENTS: This teaching resource was developed by Katie Painter of Global
Gardens Refugee Agriculture Program at the Idaho Office for Refugees, in partnership with the Institute for Social and Economic Development (ISED Solutions). This material is funded in partnership by USDA, Risk Management Agency, under award number RM17RMEPP522C029.
WHY IS THIS TRAINING NEEDED?
Crop irrigation equipment, and laws and regulations governing water rights and water treatment used in the United States are unfamiliar to New American farmers.
VARIATION: Throughout this guide, boxes (like this one) contain variations and adaptations
that serve varying programs and farmers. They are suggestions and reflections from other programs based on how they made this workshop work for them.
TEACHING TIP: Throughout this guide, boxes (like this one) contain teaching tips to help you
better facilitate farmer learning. Most come from other programs who have tested and reflected on using this lesson.
IRRIGATION 2: IRRIGATION SYSTEM DESIGNGLOBAL GARDENS REFUGEE PROGRAM AT THE IDAHO OFFICE FOR REFUGEES
IRRIGATION 2: IRRIGATION SYSTEM DESIGN / PAGE 3 OF 15

NEW VOCABULARY: • Drip irrigation• Flood irrigation• Sprinkler system
OBJECTIVES: At the end of this module, growers will be able to: • Understand the difference between sanitary, treated, drinking water -that is
also safe for washing vegetables- and irrigation water. • Describe where their irrigation water comes from • Have confidence that ‘tap water,’ i.e. treated municipal drinking water, is safe
for themselves and their families to drink. • Choose the best irrigation delivery system for their farm or for specific fields. • Assess the potential for crop irrigation on a parcel of land.
PROOF OF LEARNING: I will know that farmers have achieved learning objectives because: • They use sanitary, drinking water vs. untreated irrigation water
appropriately. • They adapt new irrigation practices where appropriate• They carefully assess factors affecting irrigation before renting or purchasing
land.
Objectives and Skills
IRRIGATION 2: IRRIGATION SYSTEM DESIGN / PAGE 3 OF 15
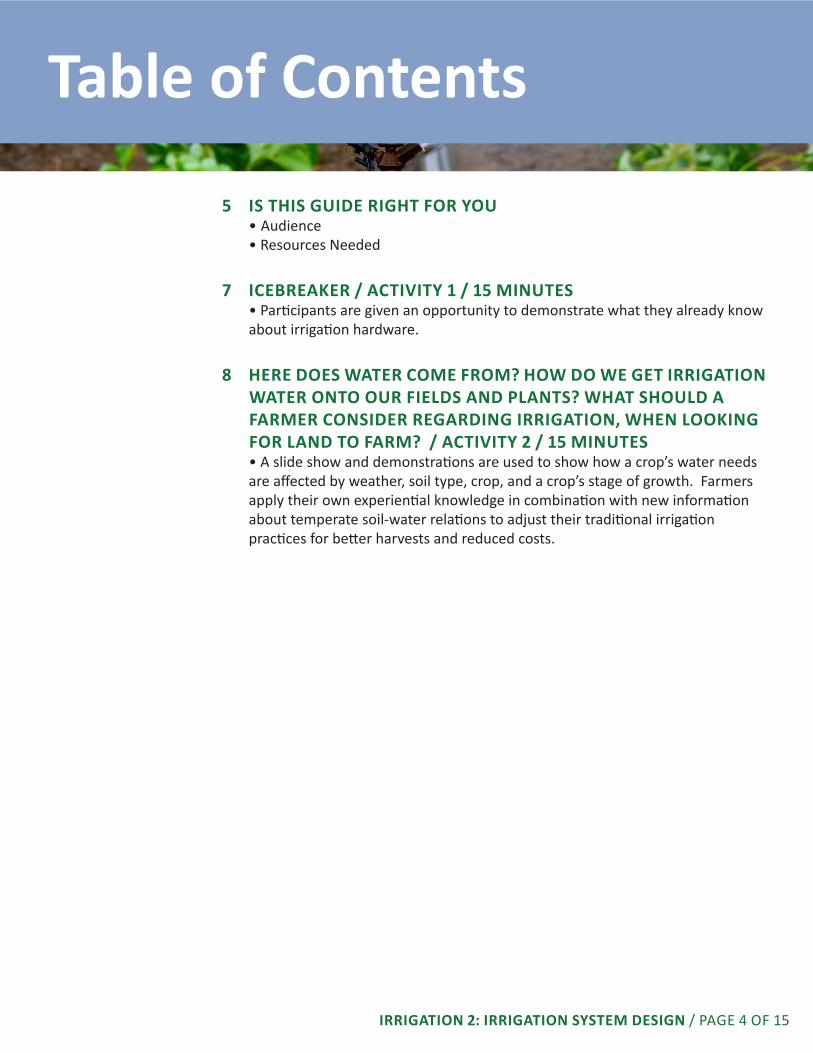
Table of Contents
5 IS THIS GUIDE RIGHT FOR YOU • Audience • Resources Needed
7 ICEBREAKER / ACTIVITY 1 / 15 MINUTES • Participants are given an opportunity to demonstrate what they already know
about irrigation hardware.
8 HERE DOES WATER COME FROM? HOW DO WE GET IRRIGATION WATER ONTO OUR FIELDS AND PLANTS? WHAT SHOULD A FARMER CONSIDER REGARDING IRRIGATION, WHEN LOOKING FOR LAND TO FARM? / ACTIVITY 2 / 15 MINUTES
• A slide show and demonstrations are used to show how a crop’s water needs are affected by weather, soil type, crop, and a crop’s stage of growth. Farmers apply their own experiential knowledge in combination with new information about temperate soil-water relations to adjust their traditional irrigation practices for better harvests and reduced costs.
third, and fourth year farmers all together.
IRRIGATION 2: IRRIGATION SYSTEM DESIGN / PAGE 4 OF 15

Audience
WHO: Refugee farmers and growers
LANGUAGE / LITERACY: All language levels
FARMING EXPERIENCE: Beginner to advanced Appropriate for any experience level.
PREREQUISITES: Skills, experience and knowledge Previous field experience with irrigation equipment is helpful. Or this guide can
also serve as an orientation and companion to hands-on learning for farmers who will assemble and operate irrigation equipment in the field.
REGION / CLIMATE: This module was developed in Idaho, where summer rain is rare and farmers therefore have almost total control over how much water crops receive.
PROGRAM STRUCTURE: Incubator Farm Farmers sell at farmer’s markets, restaurants, and a program-supported CSA
where each farmer has their own members.
SEASON: Any season This is a classroom session. We deliver it in the off-season but it could be used
any time.
IRRIGATION 2: IRRIGATION SYSTEM DESIGN / PAGE 5 OF 15
Resources needed
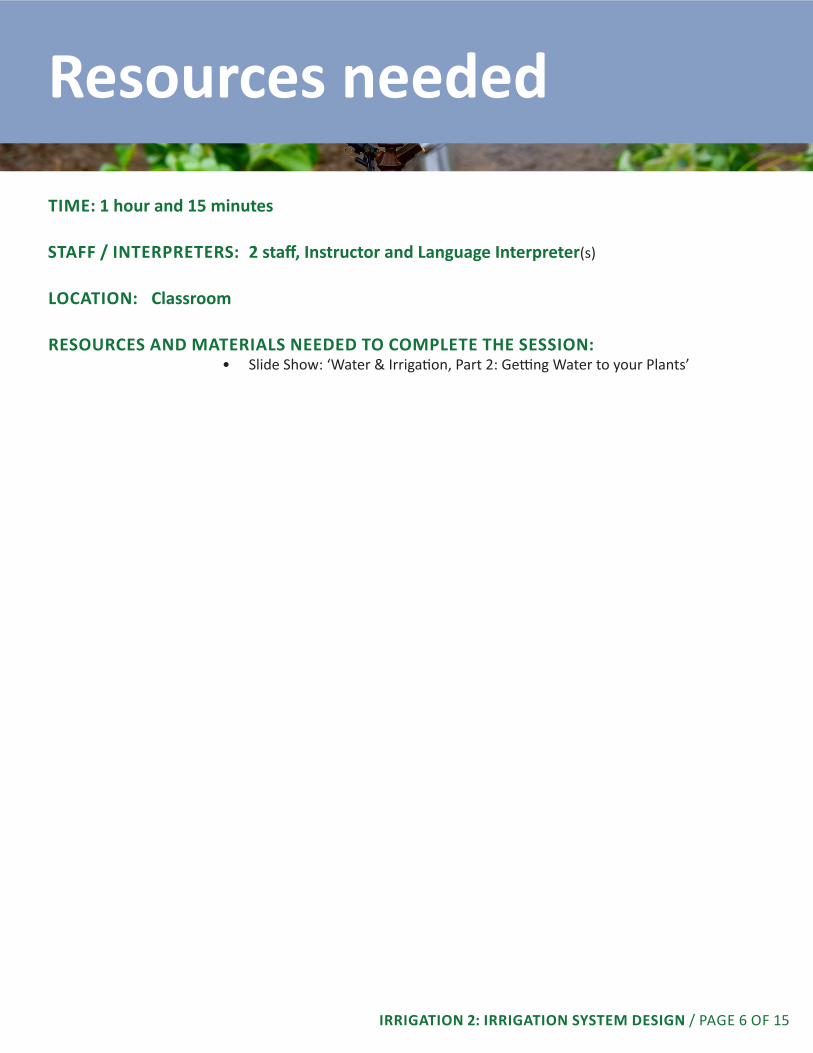
TIME: 1 hour and 15 minutes
STAFF / INTERPRETERS: 2 staff, Instructor and Language Interpreter(s)
LOCATION: Classroom
RESOURCES AND MATERIALS NEEDED TO COMPLETE THE SESSION: • Slide Show: ‘Water & Irrigation, Part 2: Getting Water to your Plants’
IRRIGATION 2: IRRIGATION SYSTEM DESIGN / PAGE 6 OF 15

LESSON STEPS:
1. Pass out a variety of irrigation system parts to students. These could include sprinkler heads, pieces of drip tape, various connectors, valves, irrigation control boxes, etc. Participants have to explain what the part is and how it’s used in irrigation.
TIME: 15 Minutes
OVERVIEW:Participants are given an opportunity to demonstrate what they already know about irrigation hardware.
MATERIALS NEEDED: • Parts and/or equipment from an irrigation
system that can be passed around.
IRRIGATION 2: IRRIGATION SYSTEM DESIGN / PAGE 7 OF 15
1Icebreaker

LESSON STEPS:
1. Ask where growers got their water in their home countries. They may have had modern plumbing or may have had to collect water from somewhere like a well or a natural spring. They may also be used to drinking bottled water for lack of a clean water source somewhere in their personal history (Slide 19)
2. In Idaho we have two water systems, one for drinking water and a different one for irrigation water. Drinking water either comes from the city water facility, with a system of pipes delivering it to homes, or, from a well drilled below the ground, that has been tested to be safe to drink (Slide 20). In Boise, 70% of the city drinking water supply comes from large wells, and 30% comes from the Boise River but is cleaned at the water facility before it’s delivered to homes (Slide 21). (Other instructors can look up this info for their city.) City water costs money because it
TIME: 1 Hour
OVERVIEW:Through a discussion with pictures, partici-pants learn how to measure the amount of water delivered to crops via rainfall, irrigation, drip irrigation, and flooding. Participants learn how to use a rain gauge.
MATERIALS NEEDED: ● Slide Show: ‘Water & Irrigation, Part 2: Get-ting Water to your Plants’
NEW VOCABULARY:● Drip irrigation● Flood irrigation● Sprinkler system
OBJECTIVES : By the end of this activity, participants can: ● Understand the difference between sani-tary, treated, drinking water -that is also safe for washing vegetables- and irrigation water.● Describe where their irrigation water comes from● Have confidence that ‘tap water,’ i.e. treated municipal drinking water, is safe for them-selves and their families to drink.● Choose the best irrigation delivery system for their farm or for specific fields.● Assess the potential for crop irrigation on a parcel of land.
IRRIGATION 2: IRRIGATION SYSTEM DESIGN / PAGE 8 OF 15
2 Where does water come from? How do we get
irrigation water onto our fields and plants? What should a farmer consider regarding irrigation, when looking for land to farm?

IRRIGATION 2: IRRIGATION SYSTEM DESIGN / PAGE 9 OF 15
costs the city money to clean and deliver it. It’s not a good idea to water large gardens with this water, because of the cost
Growers tend to have a lot of questions about this and some are uneasy about drinking tap water. It’s possible to visit your local water treatment facility. We have done this in the past. For a classroom session, maybe just show a photo of domestic water use while having this discussion.
3. Where we live, irrigation water can come from either Lucky Peak Dam or from an irrigation well (Slide 22). Lucky Peak Dam catches water from melting snow in the mountains. It is distributed into a system of canals that move it to farms and homes all over the valley (Slide 23). Properties must have a “water right” in order to access this water, and some properties are entitled to more water than others depending on their water right. The flood irrigation water at Pond Street comes from Lucky Peak via the New York Canal (show map). In some neighborhoods this water is pressurized and used in sprinkler systems. Irrigation water should not be used for drinking or washing vegetables.
4. Irrigation wells are used on some farms. A farm must also have a water right and get permission to drill a new well. Depending on the depth of the well and the aquifer in the area, it is possible for a well to be overused and run out of water. Wells require a water pump and electricity to get the water out of the ground. The sprinkler system at the Five Mile Farm gets its water from a well, and the wash station water at both farms are from wells. This water has been tested and is safe to drink and wash vegetables.
There are three main possibilities for delivering water to a small-scale vegetable operation, a flood irrigation system, a sprinkler system, or a drip system. All of these have some advantages and some disadvantages.
1. Flood Irrigation (Slides 25 & 26)
● This is one of the oldest kinds of irrigation systems. Did you use flood irrigation in your home country? (show photos from other countries)
● In a flood system, there is an opening that lets the water out of the canal and into the farmer’s field. The water is spread out over the field by gravity. (show picture of an irrigation gate)
● Usually the field is corrugated or furrowed to help the water run between the rows of plants (show picture). Some farmers use siphon tubes to help the water flow out of the ditch and toward the plants. (show picture).

IRRIGATION 2: IRRIGATION SYSTEM DESIGN / PAGE 10 OF 15
● Advantages of Flood Irrigation
1. Flood irrigation is the least expensive to install and maintain because no equipment is required. Water is provided at very low cost and no electricity source is required.
2. Plants get a nice, deep watering and you don’t need to flood very often.
3. Water arrives on the ground, so some plants that don’t like their leaves wet, such as tomatoes, thrive on flood irrigation.
4. Flood is also good for corn because corn can easily grow taller than sprinkler risers, making it difficult to water corn with sprinklers.
5. It is not difficult to block some parts of the field from getting water if needed.
● Disadvantages of Flood Irrigation
1. Not every property has a water right or a way to access this kind of water.
2. Irrigation water is often tied to a neighborhood schedule that might not be often enough or at a convenient time. In many neighborhoods, each user gets a turn just once a week, and that turn can come in the middle of the night.
3. In Idaho this water begins around April 15 and ends around October 15, which can limit early and late season plantings.
4. The field must be flat and slightly sloped downward from the water source. Water won’t run uphill and even a small high spot can make flooding difficult.
5. Flooded fields usually have a lot of weeds, because the water goes everywhere, and weed seed can come in via runoff from other fields.
6. Overwatering can result in flooding neighbors’ properties.
7. Corrugates made by a tractor aren’t designed to be walked over too much. Weeding and harvesting on a vegetable operation tends to knock them apart a little bit, so they have to be maintained throughout the season to make sure the water is running correctly.

IRRIGATION 2: IRRIGATION SYSTEM DESIGN / PAGE 11 OF 15
8. Water can’t be used for washing and drinking, so you need another water source or produce must be transported elsewhere to wash.
9. It is difficult to give different amounts of water to different crops. All the plants in a field usually get either all the flood or none of it.
2. Sprinkler Systems (Slides 27 & 28)
● There are several kinds of sprinkler systems. The water is pumped into pipes and sprayed on top of the plants and soil. Usually the water comes from a well, but sometimes irrigation ditch water can be pumped into a sprinkler system.
● Advantages of Sprinkler Systems:
1. Many farmers like sprinkler systems to get seeds started in the field.
2. Sprinklers make it easy to water a large area.
3. Sprinkler systems are easy to build and maintain, and most of the pieces are available locally at hardware stores. The initial setup cost can be high, but the pieces usually last for several years.
4. It is easy to measure how much water your plants are getting.
5. If you are using a well, you can begin your water earlier than April 15, and usually can turn the well on anytime, rather than waiting for your turn in a neighborhood irrigation schedule.
6. You can also use the same well to wash your vegetables.
7. When using a well, there is no cost for the water itself, only for the electricity to pump it.
8. Sprinklers can be put on a timer, so farmers can water a field at night when they are sleeping, or when they are working at another job.
9. Sprinklers can be set up to be moveable, to either access different parts of a field at different times, or to move to a different site sometime in the future.
10. Sprinklers are easy to mow and till around.

IRRIGATION 2: IRRIGATION SYSTEM DESIGN / PAGE 12 OF 15
● Disadvantages of Sprinkler Systems:
1. Wind can cause the water from sprinklers to blow around, so that some areas don’t get enough water.
2. Some crops don’t like water on their leaves.
3. It can be difficult to give different amounts of water to different crops.
4. All of the soil gets watered, so sprinklers allow weeds to grow between the rows of crops.
5. It’s difficult to work in the field when the water is on.
6. Sprinkler systems require an electrical source for the pump, and the electric bill must be paid.
7. If a sprinkler timer box is used, this also requires electricity and some knowledge of electrical wiring to set it up and maintain it.
8. Sprinkler heads break fairly often and have to be replaced, so the farmer must monitor the field for problems, especially if the sprinklers are on timers and the farmer is not there during watering.
9. Sprinklers require a lot of water pressure, and the number of sprinklers you can use at the same time depends on the size of the pump and water pipes.
10. It can be difficult to water the edges of your field without also sprinkling onto a neighbor’s property.
11. Sometimes sprinkler irrigation can spread pathogens (plant diseases)
around a field. 12. Sprinklers can splash muddy droplets onto produce, so the farmer spends
more time washing. 13. To help them last longer, sprinkler heads should be dismantled and
put away in the winter, so some time must be spent on spring and fall maintenance.
3. Drip Systems (Slides 29 & 30)
● Drip systems deliver water using hoses that lie on the ground and have small holes in them. The water drips out right near the base of the plants. The water usually comes

IRRIGATION 2: IRRIGATION SYSTEM DESIGN / PAGE 13 OF 15
from a well or can be pumped from a ditch system or storage tank. Drip irrigate usually takes a long time because the water comes out very slowly.
● Advantages of Drip Irrigation:
1. Drip systems make the most efficient use of water because the water goes exactly where it is needed.
2. Drip systems reduce weeds, because pathways and areas between rows are not watered.
3. Drip systems don’t require a lot of water pressure.
4. It is easy to measure how much water your plants are getting.
5. If you’re using a well, you can begin your water earlier than April 15 and usually can turn the well on anytime, rather than waiting for your turn in a neighborhood irrigation schedule.
6. You can also use the same well to wash your vegetables.
7. When using a well, there is no cost for the water itself, only for the electricity to pump it.
8. It is easy to work in the field when the water is on.
9. Fields get less muddy than with sprinkler or flood irrigation, making it easier to work when water is on. This also keeps produce cleaner so you spend less time washing.
● Disadvantages of Drip Irrigation:
1. Drip systems are the most expensive and difficult to build and maintain.
2. Parts have a tendency to get clogged and may not last more than one season. Old drip tape results in a lot of plastic waste that goes into landfills.
3. Many parts are not available in local hardware stores and have to be ordered online. It is least expensive to order in larger quantities.
4. Drip irrigation can require filters to keep soil out of the drip tape.

IRRIGATION 2: IRRIGATION SYSTEM DESIGN / PAGE 14 OF 15
5. Drip irrigation can require pressure reducers to make sure there’s not too much water pressure for the drip tape.
6. Fields need to be relatively flat.
7. Drip irrigation requires an electrical source for the pump, and the electric bill must be paid.
8. Drip tape is not easy to mow and till around. There is a lot of drip tape in your field that has to be removed at the end of the season or before any tilling can be done.
TEACHING TIP: To reinforce learning, after the slideshow, create a large grid like the one below. This can be done by taping up pictures of each of the three types of irrigation system shown below with a separate space for the farmers to place images of the advantages and challenges of each type. Provide the farmers with printed images and symbols from the slide show. Deciding where to place each images can be a group decision.
Flood Irrigation
SprinklerIrrigation
Drip Irrigation

IRRIGATION 2: IRRIGATION SYSTEM DESIGN / PAGE 15 OF 15
What should a farmer consider regarding irrigation, when looking for land to farm? (Slide 31)
a. Does the site have an irrigation water right, a well, or permission to add a new well?
b. How often does irrigation water come, and on what schedule? Who manages this schedule?
c. Are there other sprinklers on the property and when will the landowner be using those? The well may not have enough pressure for all the sprinklers at the same time.
d. Does the site have an electrical source and who pays the bill? It can be hard to separate the cost of running a pump from the other electrical costs at a site.
e. Is the site flat or slightly sloped in way that flood irrigation would be possible?
f. Are there neighbors who might be bothered by drift from overhead sprinklers, or who could be flooded by excess flood water?
g. What water is available for washing produce, and where?