INSTRUCTION BOOKLET OMELETTE MAKER2 OMELETTE MAKER Thank you for choosing the Omelette Maker. Please...
16
INSTRUCTION BOOKLET OMELETTE MAKER Model: 62158
Transcript of INSTRUCTION BOOKLET OMELETTE MAKER2 OMELETTE MAKER Thank you for choosing the Omelette Maker. Please...
INSTRUCTION BOOKLET
OMELETTE MAKER
Model: 62158
2
OMELETTE MAKER Thank you for choosing the Omelette Maker.
Please take a little time to read this booklet before getting started and keep it in a safe place for future reference.
The Omelette Maker cooks delicious fluffy omelettes in 10 minutes. Small and easy to store, it’s perfect for making snacks or cooking when space is tight.
Here at Lakeland, our award-winning family-owned business still offers the same excellent quality, value for money and exceptional customer service as when we founded the company back in the 1960s.
Our products are hand-picked and thoroughly tested so you can be sure that everything you purchase will be a pleasure to use for many years to come.
CONTENTSProduct features ..............................................................................................................3
Safety cautions .............................................................................................................4-5
Using your Omelette Maker for the first time ...................................................................6
Instructions for use .........................................................................................................7
Hints and Tips .................................................................................................................8
Recipes ......................................................................................................................9-11
Frequently asked questions ............................................................................................12
Care and cleaning .........................................................................................................13
Electrical connections ....................................................................................................14
Recycling your electricals ...............................................................................................14

3
PRODUCT FEATURES
1. Heating light
2. Lid
3. Lid handle
4. Non-slip feet
5. Hotplates
6. Cord and plug3
2
1
6
5
4

4
SAFETY CAUTIONSCarefully read all the instructions before using the appliance and keep in a safe place for future reference. Always follow these safety cautions when using the appliance to avoid personal injury or damage to the appliance. This appliance should be used only as described in this instruction book.
• This appliance can be used by children aged from 8 years and above and persons with reduced physical, sensory or mental capabilities or lack of experience and knowledge if they have been given supervision or instruction concerning use of the appliance in a safe way and understand the hazards involved. Children shall not play with the appliance. Cleaning and user maintenance shall not be done by children unless they are older than 8 and supervised.
• Make sure your electricity supply matches the voltage shown on the appliance.
• Ensure all packaging materials and any promotional labels or stickers are removed from the appliance before the first use.
• Always inspect the appliance before use for noticeable signs of damage. Do not use if damaged or has been dropped. In the event of damage, or if the appliance develops a fault contact the Lakeland customer care team on 015394 88100.
• Do not use this appliance if the lead is damaged. If the lead is damaged it must be replaced with a special lead. Contact the Lakeland customer care team on 015394 88100.
• Always use the appliance on a dry, level, heat resistant surface.
• Unplug from the mains when not in use and before cleaning. Allow to cool before cleaning the appliance. To disconnect, turn the socket to “off“ and remove the plug from the mains socket.
• Do not use any accessories or attachments with this appliance other than those recommended by Lakeland.
• To protect against fire, electric shock or personal injury, do not immerse cord, plug or lid in water or other liquids.
• Do not leave the lead hanging over the edge of a kitchen table or worktop. Avoid contact between the lead and hot surfaces.
• For indoor use only.
• For domestic use only.
• This appliance should be used for preparation of food as described within the instructions for use that accompany it.

5
• Always ensure that your hands are dry before removing the plug from the mains socket. Never pull the plug out of the mains socket by its lead.
• To avoid injury or possible fire, do not cover the appliance when in use.
• Do not connect this appliance to an external timer or remote control system.
• An extension cable may be used with care. The electrical rating of the cable should be at least as great as the appliance. Do not allow the cable to hang over the edge of the worktop or touch any hot surfaces.
• This appliance complies with the basic requirements of Directives 2014/30/EU (Electromagnetic Compatibility) and 2014/35/EU (Low Voltage Directive).
• WARNING: A cut off plug inserted into a 13amp socket is a serious safety (shock) hazard. Ensure the cut off plug is disposed of safely.
• CAUTION: The plastic bags used to wrap this appliance or the packaging may be dangerous. To avoid risk of suffocation, keep these bags out of reach of babies and children. These bags are not toys.
• Do not use the appliance on or near a hot gas or electric burner, or in a heated oven.
• We recommend standing the appliance on a heatproof board or baking tray, to catch any juices which may come out during cooking.

6
USING YOUR OMELETTE MAKER FOR THE FIRST TIME• Unpack the Omelette Maker, remove all the packaging materials.
• Wipe the hotplates with a damp soapy cloth, then wipe with a clean damp cloth and dry thoroughly.
• When you switch on the Omelette Maker for the first time there may be a slight burning smell. This is normal for a new product and will disappear after a few uses.
WARNING – HOT SURFACES
All surfaces marked with this symbol will become hot during use. To prevent injury, DO NOT TOUCH. Let the product cool completely before touching these surfaces for cleaning and before storing.
Always lift the lid by the lid handle, when adding food to the Omelette Maker. Take great care not to touch any other surfaces – they will be hot.
DO NOT lift the lid so that your arm is over the hotplates as it is hot and may cause injury. Lift from the side.
Use oven gloves when cooking with the Omelette Maker. Take care when opening the lid as hot steam can escape from the hotplates and may cause injury.

7
INSTRUCTIONS FOR USEWe recommend placing the Omelette Maker on a heatproof board or baking tray to catch any juices that may escape during cooking.
1. Plug into the socket and switch on. The heating light will come on to show the Omelette Maker is switched on and heating up. The Omelette Maker has one temperature setting. After a few minutes, the heating light will go out, the Omelette Maker is ready to use.
2. Lift the lid carefully by the lid handle and spray both the hotplates with a little spray oil. You can also brush the hotplates with oil before or after switching on the Omelette Maker. If brushing oil onto the heated plates, use a heat resistant silicone basting or pastry brush.Take care, the hotplates are hot and oil may spit.
3. Place your food or pour your batter onto the lower hotplate and close the lid to cook.
4. Once your food is cooked, remove it from the hotplate with a plastic, wooden or silicone spatula. Do not use metal utensils as these will damage non-stick coatings.
5. Switch off and unplug the Omelette Maker, allow it to cool completely before cleaning and storing.
6. Cooking times will vary depending on the foods you are cooking, lift the lid and cook for a couple more minutes if needed.
8
HINTS AND TIPSOnce you’ve tried some of the recipes in this booklet, you may wish to adapt them, using our suggestions as a guide.
Cooking times will vary depending on the foods you are cooking, lift the lid and cook for a couple more minutes if needed.
Do not overfill the Omelette Maker as the ingredients will not cook through properly and they may escape from the sides. Always wait for the heating light to go out before adding food.
If cooking meat, make sure it is thoroughly cooked through before eating.
The product should not be used for cooking or defrosting frozen food.
Do not force the lid if the Omelette Maker will not close completely. Simply remove some of your ingredients so it closes, or rest the lid on top of your food.
9
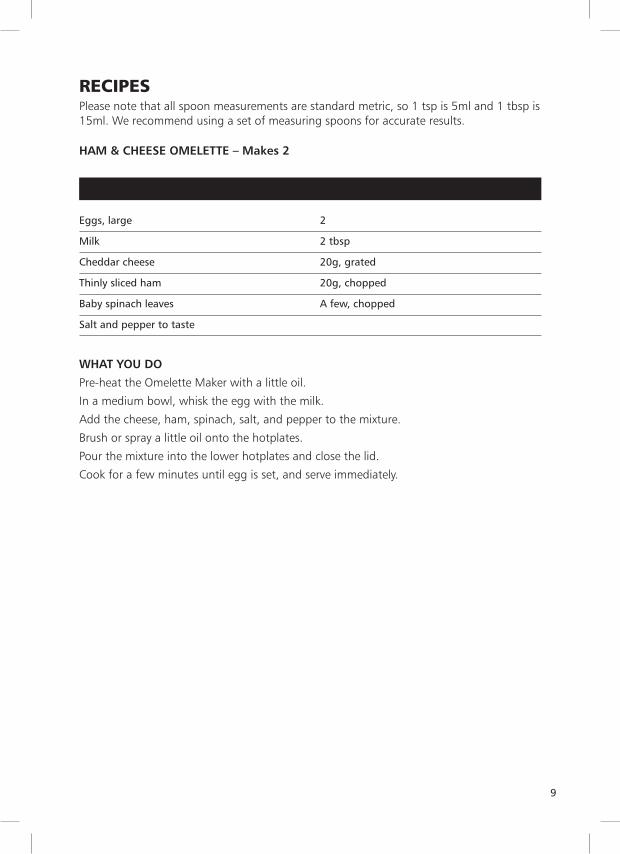
RECIPES Please note that all spoon measurements are standard metric, so 1 tsp is 5ml and 1 tbsp is 15ml. We recommend using a set of measuring spoons for accurate results.
Ingredients Quantity
HAM & CHEESE OMELETTE – Makes 2
WHAT YOU DO
Pre-heat the Omelette Maker with a little oil.
In a medium bowl, whisk the egg with the milk.
Add the cheese, ham, spinach, salt, and pepper to the mixture.
Brush or spray a little oil onto the hotplates.
Pour the mixture into the lower hotplates and close the lid.
Cook for a few minutes until egg is set, and serve immediately.
Eggs, large 2
Milk 2 tbsp
Cheddar cheese 20g, grated
Thinly sliced ham 20g, chopped
Baby spinach leaves A few, chopped
Salt and pepper to taste
10
Ingredients Quantity
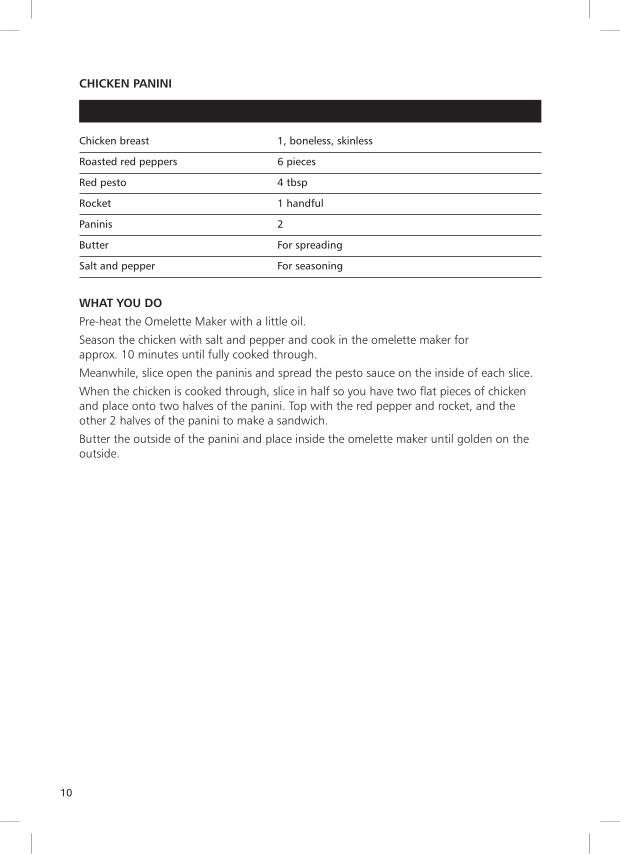
CHICKEN PANINI
WHAT YOU DO
Pre-heat the Omelette Maker with a little oil.
Season the chicken with salt and pepper and cook in the omelette maker for approx. 10 minutes until fully cooked through.
Meanwhile, slice open the paninis and spread the pesto sauce on the inside of each slice.
When the chicken is cooked through, slice in half so you have two flat pieces of chicken and place onto two halves of the panini. Top with the red pepper and rocket, and the other 2 halves of the panini to make a sandwich.
Butter the outside of the panini and place inside the omelette maker until golden on the outside.
Chicken breast 1, boneless, skinless
Roasted red peppers 6 pieces
Red pesto 4 tbsp
Rocket 1 handful
Paninis 2
Butter For spreading
Salt and pepper For seasoning

11
Ingredients Quantity
TRIPLE CHOCOLATE BROWNIES
WHAT YOU DO
Heat a large saucepan over a medium heat, melt the dark chocolate, plain chocolate and the butter until smooth. Take off the heat and set aside.
In a separate bowl, whisk the eggs, then stir in the sugar and vanilla extract.
Add the egg mixture to the chocolate and mix, then gently stir in the flour and the salt until combined. Fold in the chocolate chips.
Once the Omelette Maker has pre-heated, pour the mixture on to the lower hotplates, so they are covered. Be careful not to over fill.
Close the lid and cook for 12 minutes.
Tip: The brownie will still be a little wobbly once cooked for a gooey centre. Leave to cool before cutting.
Dark chocolate 170g
Plain chocolate 60g
Butter 170g
Eggs, medium 4
Sugar 300g
Vanilla extract 2 tsp
Plain flour 125g
Salt 1 tsp
Milk chocolate chips 160g
12
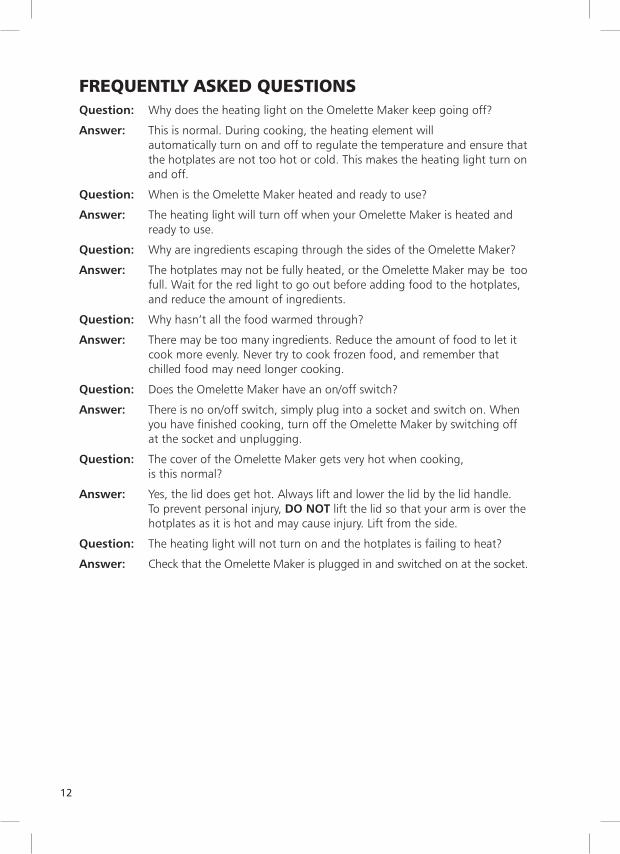
FREQUENTLY ASKED QUESTIONSQuestion: Why does the heating light on the Omelette Maker keep going off?
Answer: This is normal. During cooking, the heating element will automatically turn on and off to regulate the temperature and ensure that the hotplates are not too hot or cold. This makes the heating light turn on and off.
Question: When is the Omelette Maker heated and ready to use?
Answer: The heating light will turn off when your Omelette Maker is heated and ready to use.
Question: Why are ingredients escaping through the sides of the Omelette Maker?
Answer: The hotplates may not be fully heated, or the Omelette Maker may be too full. Wait for the red light to go out before adding food to the hotplates, and reduce the amount of ingredients.
Question: Why hasn’t all the food warmed through?
Answer: There may be too many ingredients. Reduce the amount of food to let it cook more evenly. Never try to cook frozen food, and remember that chilled food may need longer cooking.
Question: Does the Omelette Maker have an on/off switch?
Answer: There is no on/off switch, simply plug into a socket and switch on. When you have finished cooking, turn off the Omelette Maker by switching off at the socket and unplugging.
Question: The cover of the Omelette Maker gets very hot when cooking, is this normal?
Answer: Yes, the lid does get hot. Always lift and lower the lid by the lid handle. To prevent personal injury, DO NOT lift the lid so that your arm is over the hotplates as it is hot and may cause injury. Lift from the side.
Question: The heating light will not turn on and the hotplates is failing to heat?
Answer: Check that the Omelette Maker is plugged in and switched on at the socket.
13
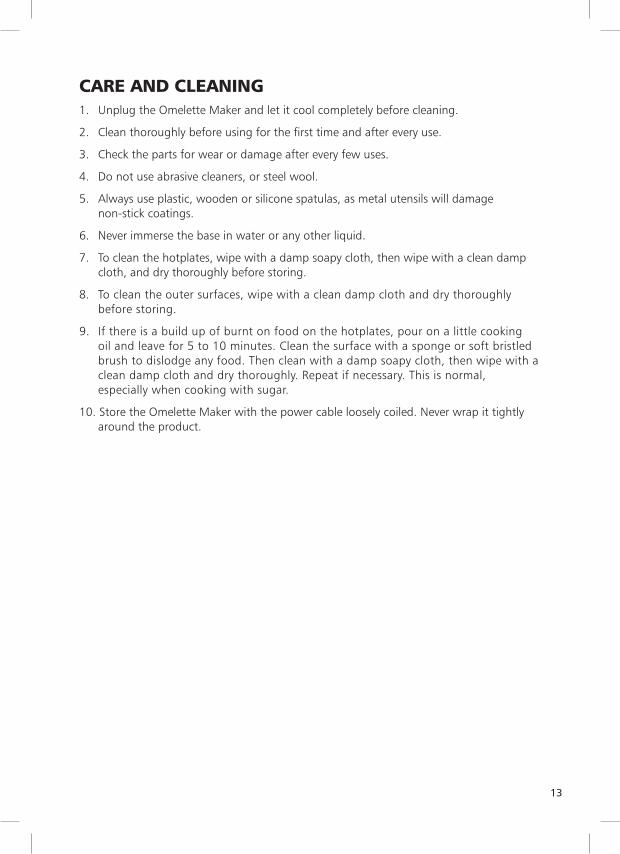
CARE AND CLEANING1. Unplug the Omelette Maker and let it cool completely before cleaning.
2. Clean thoroughly before using for the first time and after every use.
3. Check the parts for wear or damage after every few uses.
4. Do not use abrasive cleaners, or steel wool.
5. Always use plastic, wooden or silicone spatulas, as metal utensils will damage non-stick coatings.
6. Never immerse the base in water or any other liquid.
7. To clean the hotplates, wipe with a damp soapy cloth, then wipe with a clean damp cloth, and dry thoroughly before storing.
8. To clean the outer surfaces, wipe with a clean damp cloth and dry thoroughly before storing.
9. If there is a build up of burnt on food on the hotplates, pour on a little cooking oil and leave for 5 to 10 minutes. Clean the surface with a sponge or soft bristled brush to dislodge any food. Then clean with a damp soapy cloth, then wipe with a clean damp cloth and dry thoroughly. Repeat if necessary. This is normal, especially when cooking with sugar.
10. Store the Omelette Maker with the power cable loosely coiled. Never wrap it tightly around the product.
14
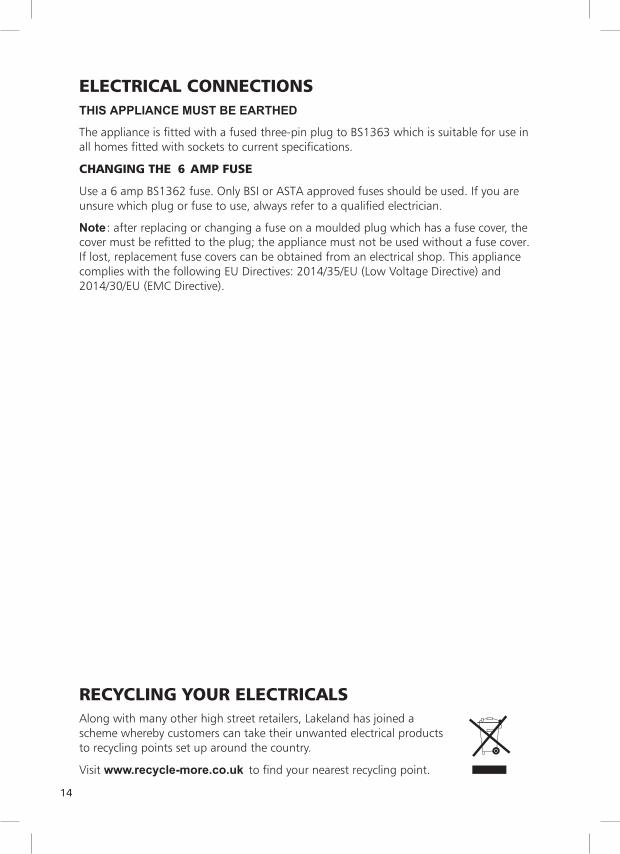
ELECTRICAL CONNECTIONS
The appliance is fitted with a fused three-pin plug to BS1363 which is suitable for use in all homes fitted with sockets to current specifications.
CHANGING THE
THIS APPLIANCE MUST BE EARTHED
6 AMP FUSE
Use a 6 amp BS1362 fuse. Only BSI or ASTA approved fuses should be used. If you are unsure which plug or fuse to use, always refer to a qualified electrician.
Note : after replacing or changing a fuse on a moulded plug which has a fuse cover, the cover must be refitted to the plug; the appliance must not be used without a fuse cover. If lost, replacement fuse covers can be obtained from an electrical shop. This appliance complies with the following EU Directives: 2014/35/EU (Low Voltage Directive) and 2014/30/EU (EMC Directive).
RECYCLING YOUR ELECTRICALSAlong with many other high street retailers, Lakeland has joined a scheme whereby customers can take their unwanted electrical products to recycling points set up around the country.
Visit www.recycle-more.co.uk to find your nearest recycling point.

15

16
LakelandAlexandra Buildings, Windermere, Cumbria, UK LA23 1BQ
Tel: +44(0)15394 88100 lakeland.co.uk


![Business Plan Omelette[1]](https://static.fdocuments.net/doc/165x107/55cf9161550346f57b8d154d/business-plan-omelette1.jpg)