Installing Windows Vista Lesson 2. Skills Matrix Technology SkillObjective DomainObjective #...
37
Installing Windows Installing Windows Vista Vista Lesson 2
-
Upload
frederick-ford -
Category
Documents
-
view
230 -
download
1
Transcript of Installing Windows Vista Lesson 2. Skills Matrix Technology SkillObjective DomainObjective #...

Installing Windows Installing Windows VistaVista
Lesson 2
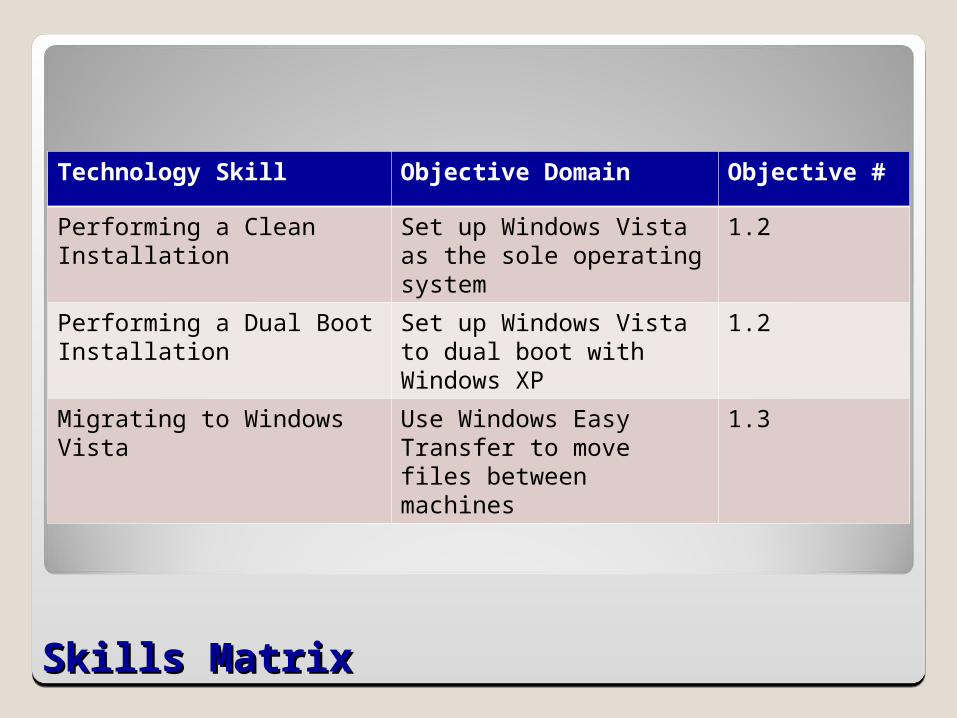
Skills MatrixSkills Matrix
Technology Skill Objective Domain Objective #
Performing a Clean Installation
Set up Windows Vista as the sole operating system
1.2
Performing a Dual Boot Installation
Set up Windows Vista to dual boot with Windows XP
1.2
Migrating to Windows Vista
Use Windows Easy Transfer to move files between machines
1.3

Skills MatrixSkills Matrix
Technology Skill Objective Domain Objective #
Identifying Upgrade Paths Identify valid upgrade paths
1.3
Upgrading to Windows Vista
Upgrade to Windows Vista from previous versions of Windows
1.3
Preparing to Upgrade Identify application compatibility requirements
1.3
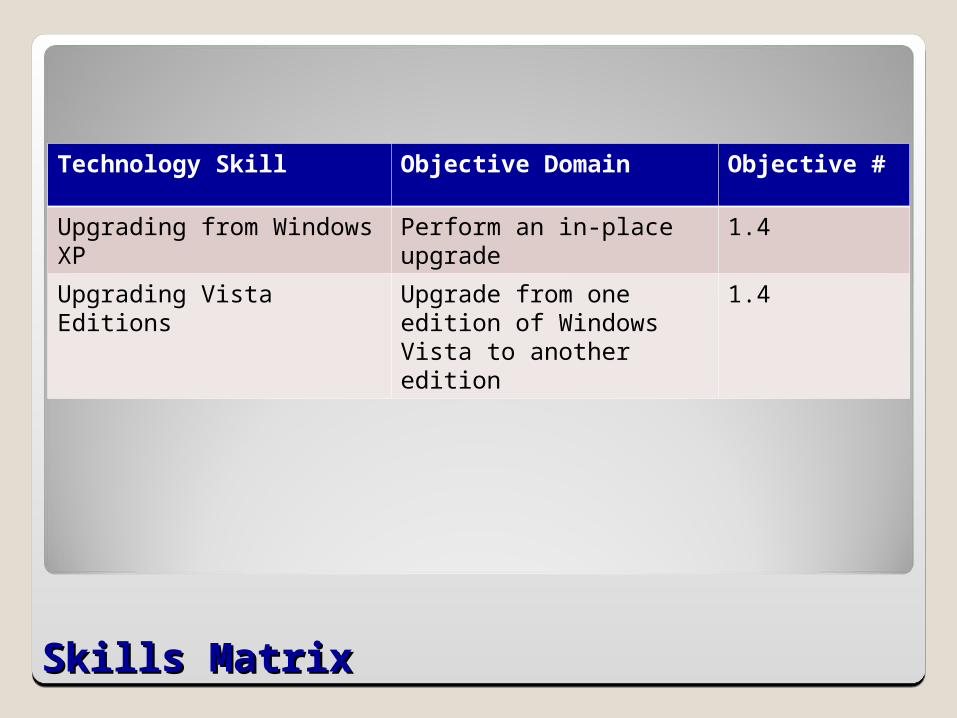
Skills MatrixSkills Matrix
Technology Skill Objective Domain Objective #
Upgrading from Windows XP
Perform an in-place upgrade
1.4
Upgrading Vista Editions Upgrade from one edition of Windows Vista to another edition
1.4
Chapter 2Chapter 2
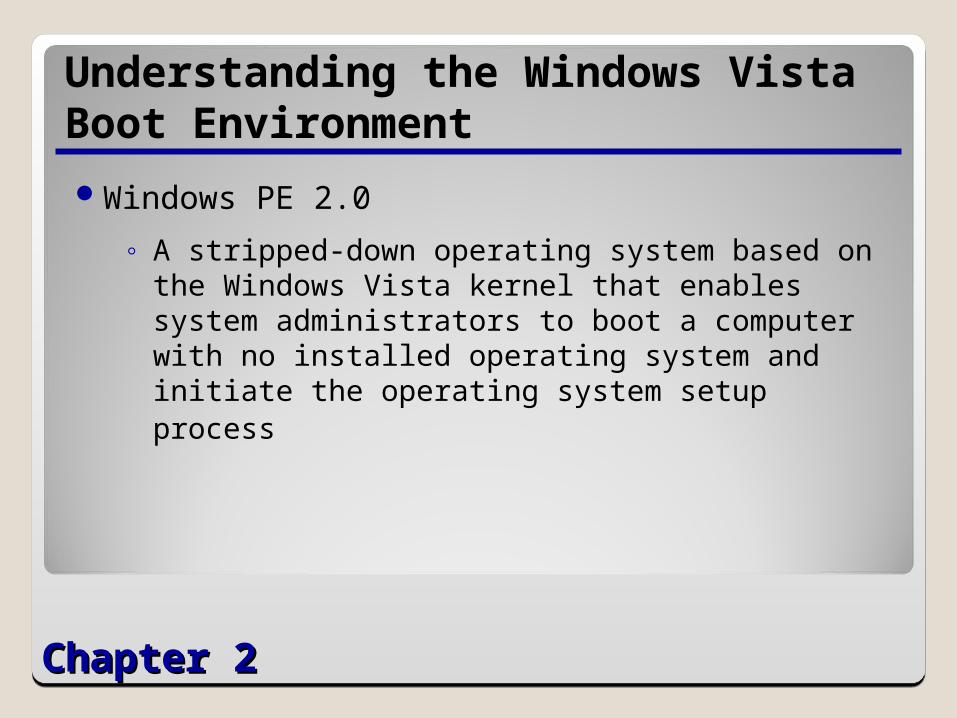
Understanding the Windows Vista Boot Environment
Windows PE 2.0
◦ A stripped-down operating system based on the Windows Vista kernel that enables system administrators to boot a computer with no installed operating system and initiate the operating system setup process
Chapter 2Chapter 2
Using Windows PE
Custom deployments
System troubleshooting
System recovery
Chapter 2Chapter 2
Performing a Clean Installation Turn on the computer and insert the Windows
Vista installation disk into the DVD drive.
Press any key to boot from the DVD (if necessary). A progress indicator screen appears as Windows is loading files.

Chapter 2Chapter 2
Performing a Clean Installation (cont.)
The computer switches to the Windows graphical interface and the Install Windows page appears.
Chapter 2Chapter 2
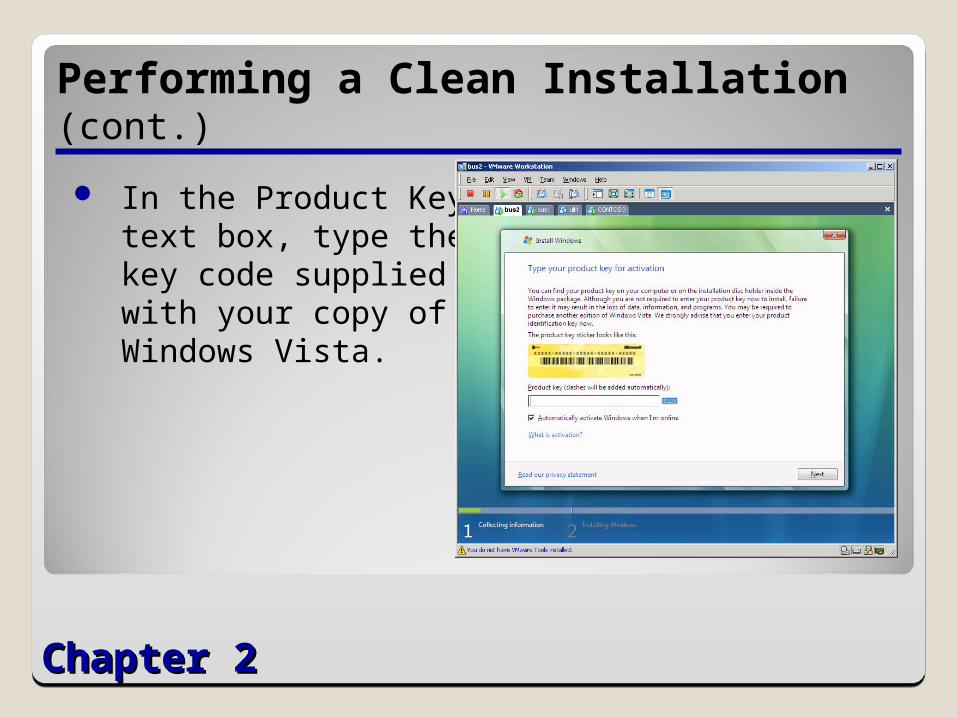
Performing a Clean Installation (cont.)
In the Product Key text box, type the key code supplied with your copy of Windows Vista.

Chapter 2Chapter 2
Performing a Clean Installation (cont.)
Select the I Accept The License Terms checkbox and click Next.
Click the Custom (Advanced) option.
From the list provided, select the partition on which you want to install Windows Vista, or select an area of unallocated disk space where the setup program can create a new partition and click Next.

Chapter 2Chapter 2
Performing a Clean Installation (cont.)
After several minutes during which the setup program installs Windows Vista, the computer reboots. The Choose A User Name And Picture page appears.

Chapter 2Chapter 2
Performing a Clean Installation (cont.)
In the Type A User Name text box, enter a name for the first user account on the system.
In the Type A Password text box, enter the password to be associated with the user account. You can also click one of the thumbnails to select a picture that will be associated with the user account.
Click Next to continue.

Chapter 2Chapter 2
Performing a Clean Installation (cont.)
In the Type A Computer Name checkbox, enter a name of no more than 15 characters long by which the computer will be known on the network.
Click one of the thumbnails to select a background image for your Windows desktop and click Next to continue.

Chapter 2Chapter 2
Performing a Clean Installation (cont.)
Select one of the three options specifying what security settings you want the computer to use.
From the Time Zone dropdown list, select the time zone in which the computer will be running and click Next.
Click the appropriate option specifying the computer’s normal location.
Chapter 2Chapter 2
Performing a Clean Installation (cont.)
Click Start. The computer runs through a series of optimization routines as it starts Windows Vista for the first time.
A few minutes later, the system completes its new startup routine, and the Welcome Center window appears.
Chapter 2Chapter 2
Installing Third-Party Drivers
If, during a Windows Vista installation, no disk partitions or unallocated space appear on the Where Do You Want To Install Windows? page, you must install the appropriate driver for your disk controller using the following procedure before the installation can continue.

Chapter 2Chapter 2
Installing Third-Party Drivers (cont.)
On the Where Do You Want To Install Windows? page, click the Load Driver button.
Insert the storage medium containing the disk driver into the computer.

Chapter 2Chapter 2
Installing Third-Party Drivers (cont.)
Click OK if the driver is in the root directory of the storage medium, or click Browse if it is necessary to locate the driver in the directory structure of the disk.
Select the partition or area of unallocated space where you want to install Windows Vista and continue with the rest of the installation procedure.
Chapter 2Chapter 2
Migrating to Windows Vista
Windows Easy Transfer
User State Migration Tool 3.0

Chapter 2Chapter 2
Identifying Upgrade Paths
Only computers running the following operating systems are eligible for upgrades to Windows Vista
◦ Windows 2000
◦ Windows XP
◦ Windows Vista (another edition)
Chapter 2Chapter 2
Upgrading to Windows Vista
Run Upgrade Advisor
Check hardware compatibility
Search for updated drivers
Print a device manager summary

Chapter 2Chapter 2
Upgrading to Windows Vista (cont.)
Check application compatibility
Check disk space
Ensure computer functionality
Perform a full backup
Purchase Windows Vista

Chapter 2Chapter 2
Upgrading Windows XP to Windows Vista
Insert the Windows Vista installation disk into the DVD drive.
Click Install Now.
Click Do Not Get The Latest Updates For Installation.
Chapter 2Chapter 2
Upgrading Windows XP to Windows Vista (cont.)
In the Product Key text box, enter the product key supplied with your Windows Vista upgrade package.
Select the I Accept The License Terms checkbox and click Next.
Click Upgrade.
Chapter 2Chapter 2
Upgrading Windows XP to Windows Vista (cont.)
Click Next.
After several minutes during which the setup program installs Windows Vista, the computer reboots.
Select one of the three options specifying what security settings you want the computer to use.

Chapter 2Chapter 2
Upgrading Windows XP to Windows Vista (cont.)
From the Time Zone dropdown list, select the time zone in which the computer will be running and click Next.
Click the appropriate option specifying the computer’s normal location.
Chapter 2Chapter 2
Upgrading Windows XP to Windows Vista (cont.)
Click Start. The computer runs through a series of optimization routines as it starts Windows Vista for the first time.
A few minutes later, the system completes its new startup routine, and the Welcome Center window appears.
Chapter 2Chapter 2
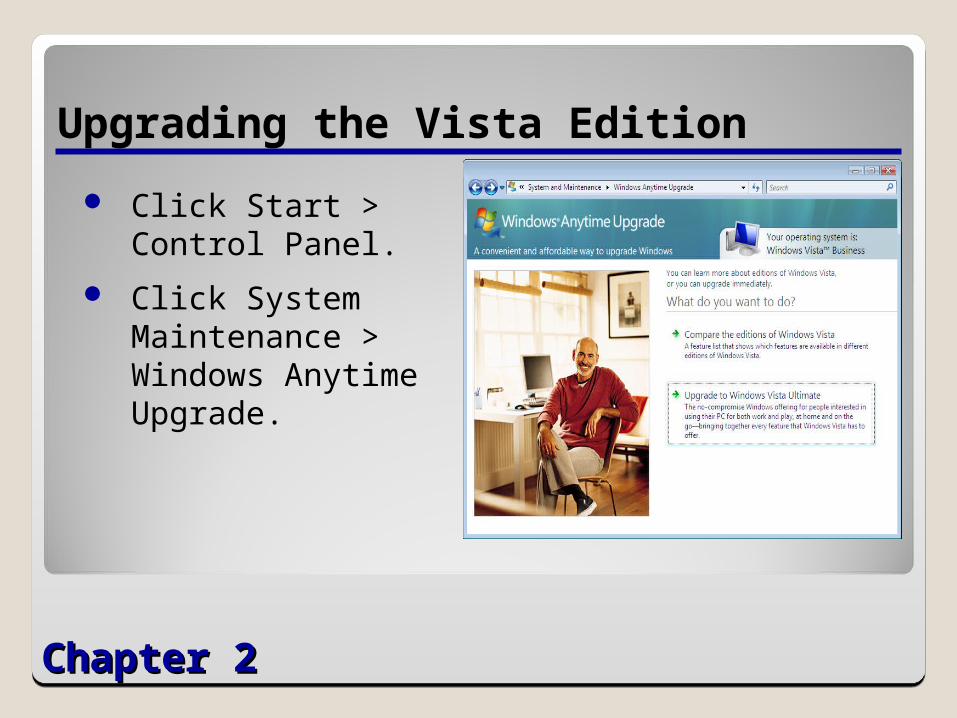
Upgrading the Vista Edition
Click Start > Control Panel.
Click System Maintenance > Windows Anytime Upgrade.

Chapter 2Chapter 2
Upgrading the Vista Edition (cont.)
Click Upgrade To Windows Vista Ultimate.
Click the Begin Upgrade Process button, and follow the instructions to purchase and install the upgrade.

Chapter 2Chapter 2
Performing a Dual Boot Installation
To perform this installation, you must have
◦ Two disk partitions
◦ Two full product licenses
◦ A full system backup

Chapter 2Chapter 2
Installing Windows Vista in a Dual Boot Environment
Insert the Windows Vista installation disk into the DVD drive.
Click Install Now.
Click Do Not Get The Latest Updates For Installation.

Chapter 2Chapter 2
Installing Windows Vista in a Dual Boot Environment (cont.)
In the Product Key text box, enter the product key supplied with your Windows Vista package and click Next.
Select the I Accept The License Terms checkbox and click Next.
Click Custom (Advanced).

Chapter 2Chapter 2
Installing Windows Vista in a Dual Boot Environment (cont.)
Select the partition on which you want to install Windows Vista (not the partition where Windows XP is installed), and click Next.
After several minutes during which the setup program installs Windows Vista, the computer reboots.
Complete the installation process as if you were performing a clean installation.

Chapter 2Chapter 2
You Learned
Windows Vista includes a new preinstallation environment called Windows PE.
In a clean installation, you boot from the Windows Vista setup disk and create or select a blank partition where Vista will reside.
Chapter 2Chapter 2
You Learned (cont.)
It is possible to migrate files and settings from an existing Windows installation to a newly installed Windows Vista installation using either Windows Easy Transfer or the User State Migration Tool.
Windows Vista supports in-place upgrades only from Windows XP or another Windows Vista edition.

Chapter 2Chapter 2
You Learned (cont.)
To perform an in-place upgrade, you must launch the Windows Vista setup program from within Windows XP.
To upgrade from one Windows Vista edition to another, you can use the Windows Anytime Upgrade tool found in the Windows Vista Control Panel.

Chapter 2Chapter 2
You Learned (cont.)
A dual boot installation is one in which two operating systems are installed on separate disk partitions, providing access to both at boot time.