Installing and Upgrading Cisco Video Surveillance Manager ... › ... ›...
26
Americas Headquarters: Cisco Systems, Inc., 170 West Tasman Drive, San Jose, CA 95134-1706 USA Installing and Upgrading Cisco Video Surveillance Manager Release 6.3.1 Overview This document provides information about installing Cisco Video Surveillance Manager (VSM), which includes Cisco Video Surveillance Operations Manager (VSOM), Cisco Video Surveillance Media Server (VSMS), Cisco Video Surveillance Encoding Server (VSES), and Cisco Video Surveillance Virtual Matrix (VSVM). Note The software build or version numbers that are included in the code samples in this document may differ slightly from the versions that you have on your system. This document includes these topics: • System Requirements and Recommended Baseline Configuration, page 2 • Installation Notes, page 5 • Preparing Your System to Install VSM, page 6 • Installing VSM, page 12 • Configuring VSM, page 15
Transcript of Installing and Upgrading Cisco Video Surveillance Manager ... › ... ›...
Installing and Upgrading Cisco Video Surveillance Manager Release 6.3.1
OverviewThis document provides information about installing Cisco Video Surveillance Manager (VSM), which includes Cisco Video Surveillance Operations Manager (VSOM), Cisco Video Surveillance Media Server (VSMS), Cisco Video Surveillance Encoding Server (VSES), and Cisco Video Surveillance Virtual Matrix (VSVM).
Note The software build or version numbers that are included in the code samples in this document may differ slightly from the versions that you have on your system.
This document includes these topics:
• System Requirements and Recommended Baseline Configuration, page 2
• Installation Notes, page 5
• Preparing Your System to Install VSM, page 6
• Installing VSM, page 12
• Configuring VSM, page 15
Americas Headquarters: Cisco Systems, Inc., 170 West Tasman Drive, San Jose, CA 95134-1706 USA

System Requirements and Recommended Baseline Configuration
• Upgrading VSM, page 16
• Backing Up and Restoring VSOM and VSMS, page 21
System Requirements and Recommended Baseline Configuration
The following sections describe the requirements for the server on which you install VSM, and describe the requirements and recommended baseline configuration for the client PC that you use to access video on VSM.
• Server, page 2
• Client PC, page 3
ServerThe server must meet the following requirements:
• Operating system (one of the following):
– Red Hat Enterprise Linux (RHEL) 4.2
– SuSE Enterprise 9 Service Pack 3 (SLES9-SP3)
– SuSE Enterprise 10 Service Pack 1 (SLES10-SP1)
Recommended; preinstalled on the Cisco Physical Security Multiservices Platform
– SuSE Enterprise 10 Service Pack 1 64-bit (SLES10-SP1-64)
• Hardware—Cisco Physical Security Multiservices series devices are recommended. For additional information about these devices, go to this URL:
http://www.cisco.com/en/US/products/ps10823/tsd_products_support_series_home.html
2Installing and Upgrading Cisco Video Surveillance Manager Release 6.3.1
OL-24009-03
System Requirements and Recommended Baseline Configuration
Client PCThis section provides information about the configuration of a dedicated client PC. It includes baseline recommendations, which are designed to ensure that a client PC provides the desired quality of the monitoring experience.
The performance of a client PC on which you display multiple windows of surveillance video depends on many variables, including, CPU, memory, bus speeds, graphics card capabilities, and other applications that are installed on the client PC. The quality of the monitoring experience also can vary depending on the type of system used, the number of video streams being rendered, and the characteristics of those streams.
This section also describes the minimum requirements for any client PC. A client PC must meet these requirements so that it can install and run the Cisco Video Surveillance Client and display a single video stream.
Note When you first access a new or upgraded version of VSOM from a client PC, you may be prompted to install the Cisco Video Surveillance Client. If you are using a client PC that is running Microsoft Windows 7, Cisco recommends that you perform this installation as a user with a Windows administrator account. Otherwise, you are prompted for a Windows administrator password when you perform the installation and each time you run VSVM.
For related information, see Video Surveillance Monitoring Workstation Recommended Baseline Specification, which is available here:
http://www.cisco.com/en/US/products/ps9153/prod_technical_reference_list.html
Minimum System Requirements
• Operating system—Microsoft Windows XP SP3 32-bit with DirectX 9.0 or later; Microsoft Windows 7 64-bit
• Browser:
– For Microsoft Windows XP SP3 32-bit with DirectX 9.0 or later: Microsoft Internet Explorer 7.0 or 8.0
– For Microsoft Windows 7 64-bit: Internet Explorer 8.0 32-bit
• Network connection—Gigabit Ethernet (GigE)
3Installing and Upgrading Cisco Video Surveillance Manager Release 6.3.1
OL-24009-03
System Requirements and Recommended Baseline Configuration
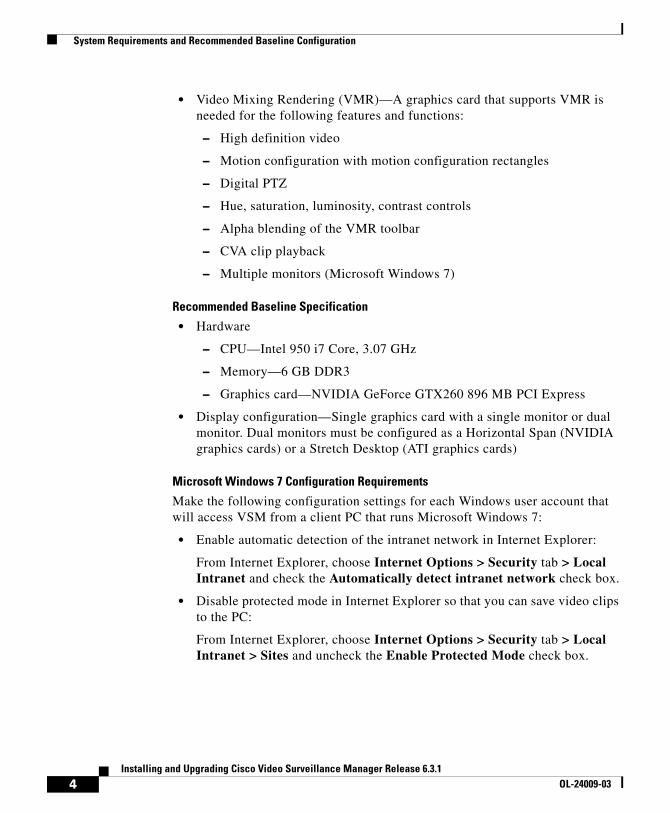
• Video Mixing Rendering (VMR)—A graphics card that supports VMR is needed for the following features and functions:
– High definition video
– Motion configuration with motion configuration rectangles
– Digital PTZ
– Hue, saturation, luminosity, contrast controls
– Alpha blending of the VMR toolbar
– CVA clip playback
– Multiple monitors (Microsoft Windows 7)
Recommended Baseline Specification
• Hardware
– CPU—Intel 950 i7 Core, 3.07 GHz
– Memory—6 GB DDR3
– Graphics card—NVIDIA GeForce GTX260 896 MB PCI Express
• Display configuration—Single graphics card with a single monitor or dual monitor. Dual monitors must be configured as a Horizontal Span (NVIDIA graphics cards) or a Stretch Desktop (ATI graphics cards)
Microsoft Windows 7 Configuration Requirements
Make the following configuration settings for each Windows user account that will access VSM from a client PC that runs Microsoft Windows 7:
• Enable automatic detection of the intranet network in Internet Explorer:
From Internet Explorer, choose Internet Options > Security tab > Local Intranet and check the Automatically detect intranet network check box.
• Disable protected mode in Internet Explorer so that you can save video clips to the PC:
From Internet Explorer, choose Internet Options > Security tab > Local Intranet > Sites and uncheck the Enable Protected Mode check box.
4Installing and Upgrading Cisco Video Surveillance Manager Release 6.3.1
OL-24009-03
Installation Notes
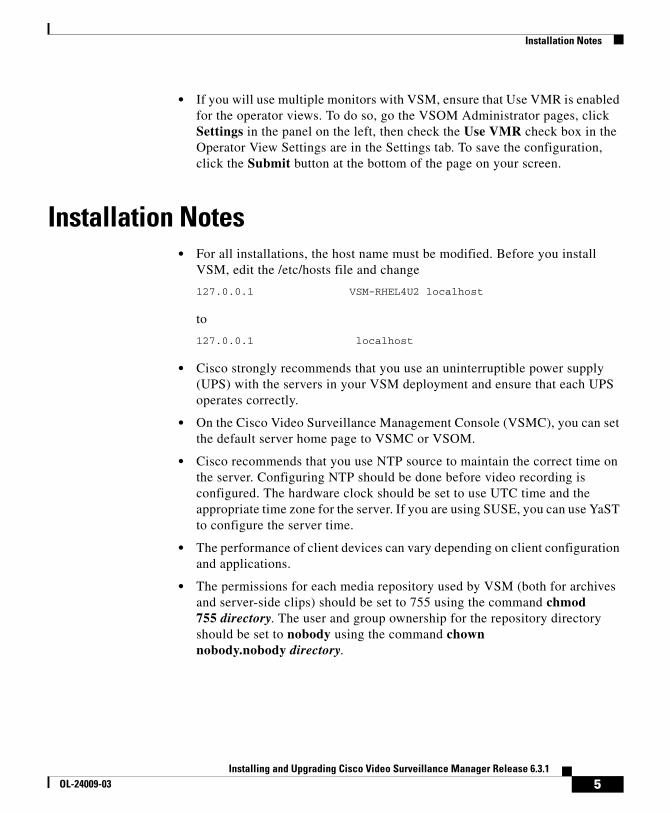
• If you will use multiple monitors with VSM, ensure that Use VMR is enabled for the operator views. To do so, go the VSOM Administrator pages, click Settings in the panel on the left, then check the Use VMR check box in the Operator View Settings are in the Settings tab. To save the configuration, click the Submit button at the bottom of the page on your screen.
Installation Notes• For all installations, the host name must be modified. Before you install
VSM, edit the /etc/hosts file and change
127.0.0.1 VSM-RHEL4U2 localhost
to
127.0.0.1 localhost
• Cisco strongly recommends that you use an uninterruptible power supply (UPS) with the servers in your VSM deployment and ensure that each UPS operates correctly.
• On the Cisco Video Surveillance Management Console (VSMC), you can set the default server home page to VSMC or VSOM.
• Cisco recommends that you use NTP source to maintain the correct time on the server. Configuring NTP should be done before video recording is configured. The hardware clock should be set to use UTC time and the appropriate time zone for the server. If you are using SUSE, you can use YaST to configure the server time.
• The performance of client devices can vary depending on client configuration and applications.
• The permissions for each media repository used by VSM (both for archives and server-side clips) should be set to 755 using the command chmod 755 directory. The user and group ownership for the repository directory should be set to nobody using the command chown nobody.nobody directory.
5Installing and Upgrading Cisco Video Surveillance Manager Release 6.3.1
OL-24009-03
Preparing Your System to Install VSM
Preparing Your System to Install VSMBefore you install VSM, you must install MySQL and the appropriate dependencies for VSMS, as described in the following sections:
• Installing MySQL, page 6
• Installing Dependencies for VSMS, page 7
• Configuring Hostname Resolution on VSM Servers, page 8
• Preparing Video Repositories, page 9
• Repository Greater than 2 TiB, page 9
• Creating Partitions, page 10
Installing MySQLVSOM requires MySQL 5.0.x, which is included with SLES10 SP1. For other Linux distributions, go to the MySQL website to obtain the software. The MySQL server, client, and shared libraries are required. There are also additional package dependencies, as listed in the following procedure.
Note You must install the 32-bit version of the MySQL shared libraries, even if you are running a 64-bit operating system (such as SLES 10, SP1, 64 bit). You do not need to install the 32-bit versions of MySQL server or client packages.
To install MySQL, follow these steps:
Procedure
Step 1 Install the following RPMs:
• MySQL-server 5.0.x
• MySQL-client 5.0.x
• MySQL-shared 5.0.x
6Installing and Upgrading Cisco Video Surveillance Manager Release 6.3.1
OL-24009-03
Preparing Your System to Install VSM
Step 2 Install the following additional dependencies, depending upon your operating system:
RHEL 4 Update 2 (4.2):
• perl-DBI
SLES10 SP1:
• perl-DBI
• perl-DBD
SLES10 SP1 (64-bit):
• MySQL-shared (32-bit)
• perl-DBI
• perl-DBD
Step 3 Start the MySQL database by running the following command:
shell> service mysql start
Step 4 Set the MySQL database to start on boot by running the following command:
shell> chkconfig mysql on
Installing Dependencies for VSMSBefore installing VSMS, you must install the following RPMs. For information about installing the RPMs, see your Linux documentation.
• SLES9 SP3:
– libelf-0.8.5-47.2.i586.rpm
– db1-1.85-101.2.i586.rpm
– sysstat-6.0.2-16.19.i586.rpm
• SLES10 SP1 (32-bit and 64-bit):
– libelf-0.8.5-47.2.i586.rpm
– db1-1.85-101.2.i586.rpm
– sysstat-6.0.2-16.19.i586.rpm
7Installing and Upgrading Cisco Video Surveillance Manager Release 6.3.1
OL-24009-03
Preparing Your System to Install VSM
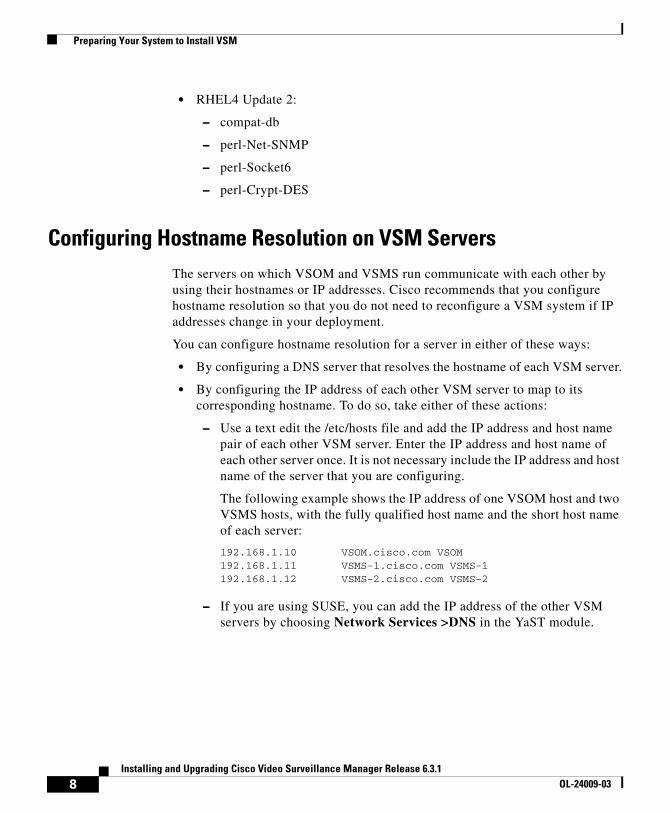
• RHEL4 Update 2:
– compat-db
– perl-Net-SNMP
– perl-Socket6
– perl-Crypt-DES
Configuring Hostname Resolution on VSM ServersThe servers on which VSOM and VSMS run communicate with each other by using their hostnames or IP addresses. Cisco recommends that you configure hostname resolution so that you do not need to reconfigure a VSM system if IP addresses change in your deployment.
You can configure hostname resolution for a server in either of these ways:
• By configuring a DNS server that resolves the hostname of each VSM server.
• By configuring the IP address of each other VSM server to map to its corresponding hostname. To do so, take either of these actions:
– Use a text edit the /etc/hosts file and add the IP address and host name pair of each other VSM server. Enter the IP address and host name of each other server once. It is not necessary include the IP address and host name of the server that you are configuring.
The following example shows the IP address of one VSOM host and two VSMS hosts, with the fully qualified host name and the short host name of each server:
192.168.1.10 VSOM.cisco.com VSOM192.168.1.11 VSMS-1.cisco.com VSMS-1192.168.1.12 VSMS-2.cisco.com VSMS-2
– If you are using SUSE, you can add the IP address of the other VSM servers by choosing Network Services >DNS in the YaST module.
8Installing and Upgrading Cisco Video Surveillance Manager Release 6.3.1
OL-24009-03
Preparing Your System to Install VSM
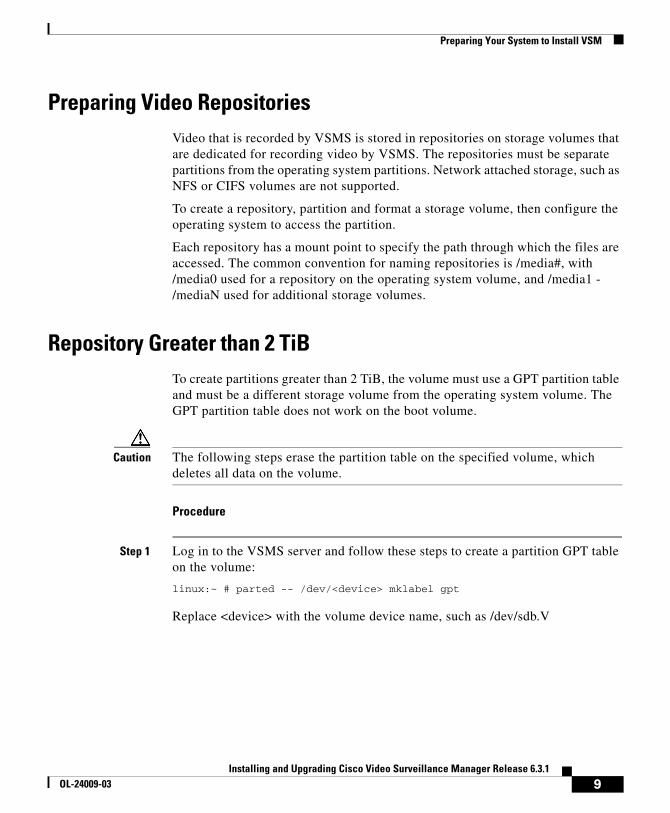
Preparing Video RepositoriesVideo that is recorded by VSMS is stored in repositories on storage volumes that are dedicated for recording video by VSMS. The repositories must be separate partitions from the operating system partitions. Network attached storage, such as NFS or CIFS volumes are not supported.
To create a repository, partition and format a storage volume, then configure the operating system to access the partition.
Each repository has a mount point to specify the path through which the files are accessed. The common convention for naming repositories is /media#, with /media0 used for a repository on the operating system volume, and /media1 - /mediaN used for additional storage volumes.
Repository Greater than 2 TiBTo create partitions greater than 2 TiB, the volume must use a GPT partition table and must be a different storage volume from the operating system volume. The GPT partition table does not work on the boot volume.
Caution The following steps erase the partition table on the specified volume, which deletes all data on the volume.
Procedure
Step 1 Log in to the VSMS server and follow these steps to create a partition GPT table on the volume:
linux:~ # parted -- /dev/<device> mklabel gpt
Replace <device> with the volume device name, such as /dev/sdb.V
9Installing and Upgrading Cisco Video Surveillance Manager Release 6.3.1
OL-24009-03
Preparing Your System to Install VSM
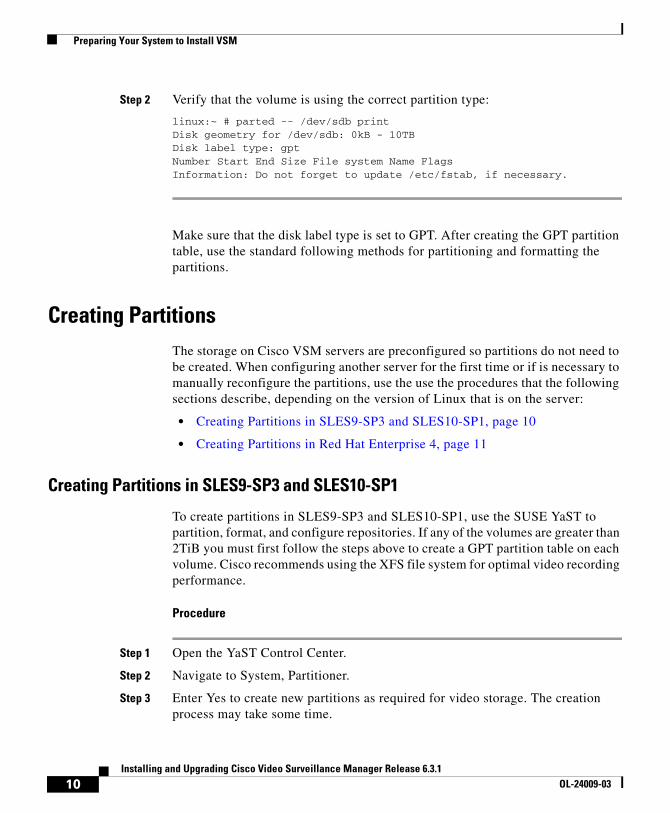
Step 2 Verify that the volume is using the correct partition type:
linux:~ # parted -- /dev/sdb printDisk geometry for /dev/sdb: 0kB - 10TBDisk label type: gptNumber Start End Size File system Name FlagsInformation: Do not forget to update /etc/fstab, if necessary.
Make sure that the disk label type is set to GPT. After creating the GPT partition table, use the standard following methods for partitioning and formatting the partitions.
Creating PartitionsThe storage on Cisco VSM servers are preconfigured so partitions do not need to be created. When configuring another server for the first time or if is necessary to manually reconfigure the partitions, use the use the procedures that the following sections describe, depending on the version of Linux that is on the server:
• Creating Partitions in SLES9-SP3 and SLES10-SP1, page 10
• Creating Partitions in Red Hat Enterprise 4, page 11
Creating Partitions in SLES9-SP3 and SLES10-SP1
To create partitions in SLES9-SP3 and SLES10-SP1, use the SUSE YaST to partition, format, and configure repositories. If any of the volumes are greater than 2TiB you must first follow the steps above to create a GPT partition table on each volume. Cisco recommends using the XFS file system for optimal video recording performance.
Procedure
Step 1 Open the YaST Control Center.
Step 2 Navigate to System, Partitioner.
Step 3 Enter Yes to create new partitions as required for video storage. The creation process may take some time.
10Installing and Upgrading Cisco Video Surveillance Manager Release 6.3.1
OL-24009-03
Preparing Your System to Install VSM
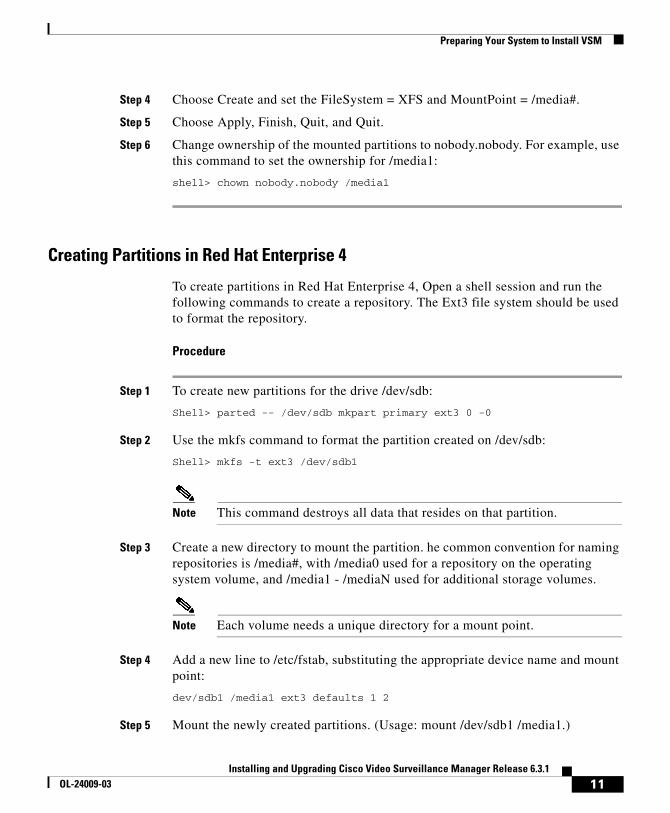
Step 4 Choose Create and set the FileSystem = XFS and MountPoint = /media#.
Step 5 Choose Apply, Finish, Quit, and Quit.
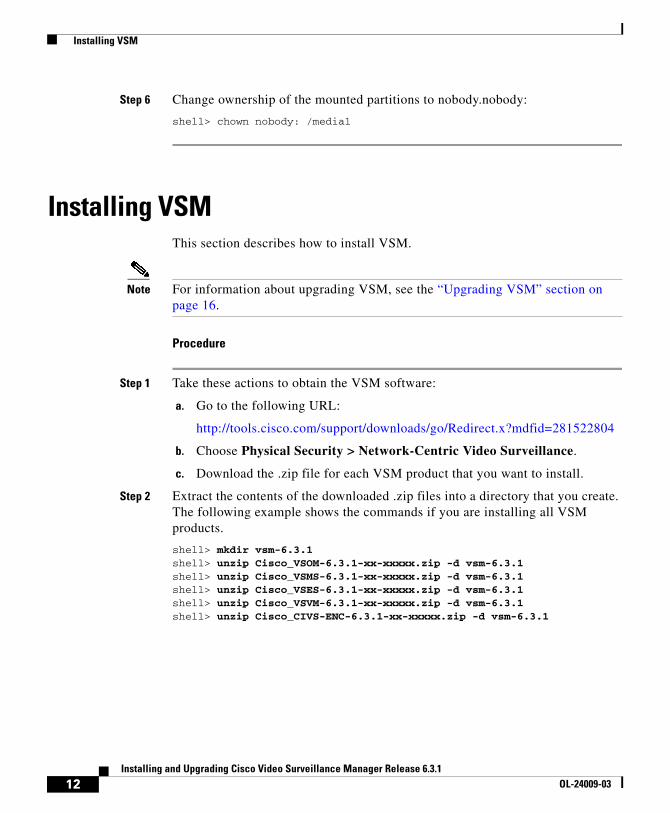
Step 6 Change ownership of the mounted partitions to nobody.nobody. For example, use this command to set the ownership for /media1:
shell> chown nobody.nobody /media1
Creating Partitions in Red Hat Enterprise 4
To create partitions in Red Hat Enterprise 4, Open a shell session and run the following commands to create a repository. The Ext3 file system should be used to format the repository.
Procedure
Step 1 To create new partitions for the drive /dev/sdb:
Shell> parted -- /dev/sdb mkpart primary ext3 0 -0
Step 2 Use the mkfs command to format the partition created on /dev/sdb:
Shell> mkfs -t ext3 /dev/sdb1
Note This command destroys all data that resides on that partition.
Step 3 Create a new directory to mount the partition. he common convention for naming repositories is /media#, with /media0 used for a repository on the operating system volume, and /media1 - /mediaN used for additional storage volumes.
Note Each volume needs a unique directory for a mount point.
Step 4 Add a new line to /etc/fstab, substituting the appropriate device name and mount point:
dev/sdb1 /media1 ext3 defaults 1 2
Step 5 Mount the newly created partitions. (Usage: mount /dev/sdb1 /media1.)
11Installing and Upgrading Cisco Video Surveillance Manager Release 6.3.1
OL-24009-03
Installing VSM
Step 6 Change ownership of the mounted partitions to nobody.nobody:
shell> chown nobody: /media1
Installing VSMThis section describes how to install VSM.
Note For information about upgrading VSM, see the “Upgrading VSM” section on page 16.
Procedure
Step 1 Take these actions to obtain the VSM software:
a. Go to the following URL:
http://tools.cisco.com/support/downloads/go/Redirect.x?mdfid=281522804
b. Choose Physical Security > Network-Centric Video Surveillance.
c. Download the .zip file for each VSM product that you want to install.
Step 2 Extract the contents of the downloaded .zip files into a directory that you create. The following example shows the commands if you are installing all VSM products.
shell> mkdir vsm-6.3.1shell> unzip Cisco_VSOM-6.3.1-xx-xxxxx.zip -d vsm-6.3.1shell> unzip Cisco_VSMS-6.3.1-xx-xxxxx.zip -d vsm-6.3.1shell> unzip Cisco_VSES-6.3.1-xx-xxxxx.zip -d vsm-6.3.1shell> unzip Cisco_VSVM-6.3.1-xx-xxxxx.zip -d vsm-6.3.1shell> unzip Cisco_CIVS-ENC-6.3.1-xx-xxxxx.zip -d vsm-6.3.1
12Installing and Upgrading Cisco Video Surveillance Manager Release 6.3.1
OL-24009-03
Installing VSM
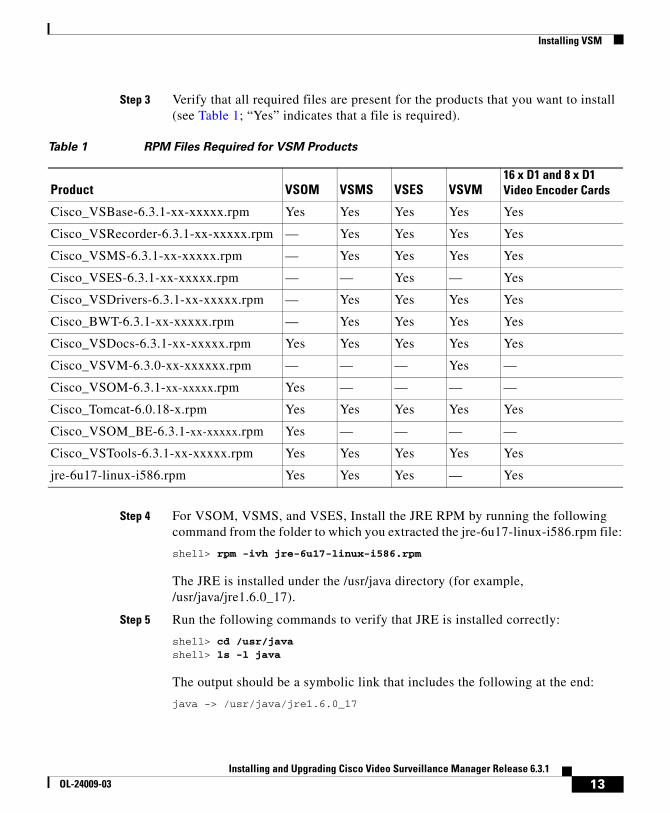
Step 3 Verify that all required files are present for the products that you want to install (see Table 1; “Yes” indicates that a file is required).
Step 4 For VSOM, VSMS, and VSES, Install the JRE RPM by running the following command from the folder to which you extracted the jre-6u17-linux-i586.rpm file:
shell> rpm -ivh jre-6u17-linux-i586.rpm
The JRE is installed under the /usr/java directory (for example, /usr/java/jre1.6.0_17).
Step 5 Run the following commands to verify that JRE is installed correctly:
shell> cd /usr/javashell> ls -l java
The output should be a symbolic link that includes the following at the end:
java -> /usr/java/jre1.6.0_17
Table 1 RPM Files Required for VSM Products
Product VSOM VSMS VSES VSVM16 x D1 and 8 x D1Video Encoder Cards
Cisco_VSBase-6.3.1-xx-xxxxx.rpm Yes Yes Yes Yes Yes
Cisco_VSRecorder-6.3.1-xx-xxxxx.rpm — Yes Yes Yes Yes
Cisco_VSMS-6.3.1-xx-xxxxx.rpm — Yes Yes Yes Yes
Cisco_VSES-6.3.1-xx-xxxxx.rpm — — Yes — Yes
Cisco_VSDrivers-6.3.1-xx-xxxxx.rpm — Yes Yes Yes Yes
Cisco_BWT-6.3.1-xx-xxxxx.rpm — Yes Yes Yes Yes
Cisco_VSDocs-6.3.1-xx-xxxxx.rpm Yes Yes Yes Yes Yes
Cisco_VSVM-6.3.0-xx-xxxxxx.rpm — — — Yes —
Cisco_VSOM-6.3.1-xx-xxxxx.rpm Yes — — — —
Cisco_Tomcat-6.0.18-x.rpm Yes Yes Yes Yes Yes
Cisco_VSOM_BE-6.3.1-xx-xxxxx.rpm Yes — — — —
Cisco_VSTools-6.3.1-xx-xxxxx.rpm Yes Yes Yes Yes Yes
jre-6u17-linux-i586.rpm Yes Yes Yes — Yes
13Installing and Upgrading Cisco Video Surveillance Manager Release 6.3.1
OL-24009-03
Installing VSM
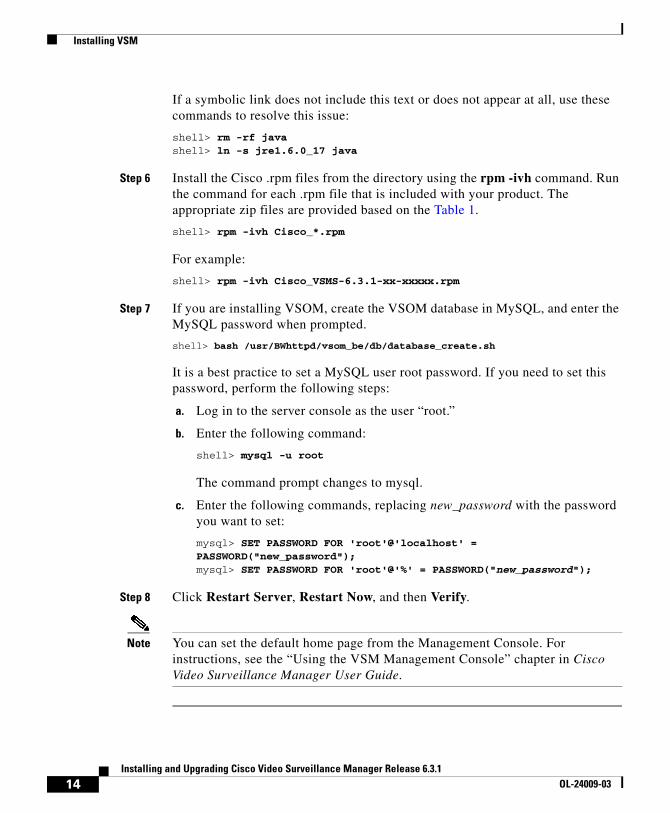
If a symbolic link does not include this text or does not appear at all, use these commands to resolve this issue:
shell> rm -rf javashell> ln -s jre1.6.0_17 java
Step 6 Install the Cisco .rpm files from the directory using the rpm -ivh command. Run the command for each .rpm file that is included with your product. The appropriate zip files are provided based on the Table 1.
shell> rpm -ivh Cisco_*.rpm
For example:
shell> rpm -ivh Cisco_VSMS-6.3.1-xx-xxxxx.rpm
Step 7 If you are installing VSOM, create the VSOM database in MySQL, and enter the MySQL password when prompted.
shell> bash /usr/BWhttpd/vsom_be/db/database_create.sh
It is a best practice to set a MySQL user root password. If you need to set this password, perform the following steps:
a. Log in to the server console as the user “root.”
b. Enter the following command:
shell> mysql -u root
The command prompt changes to mysql.
c. Enter the following commands, replacing new_password with the password you want to set:
mysql> SET PASSWORD FOR 'root'@'localhost' = PASSWORD("new_password");mysql> SET PASSWORD FOR 'root'@'%' = PASSWORD("new_password");
Step 8 Click Restart Server, Restart Now, and then Verify.
Note You can set the default home page from the Management Console. For instructions, see the “Using the VSM Management Console” chapter in Cisco Video Surveillance Manager User Guide.
14Installing and Upgrading Cisco Video Surveillance Manager Release 6.3.1
OL-24009-03
Configuring VSM
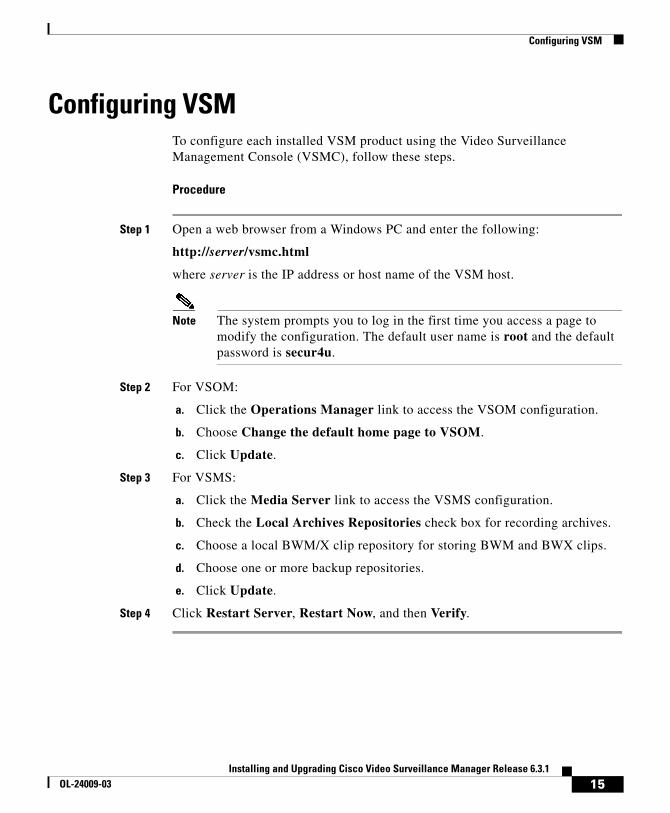
Configuring VSMTo configure each installed VSM product using the Video Surveillance Management Console (VSMC), follow these steps.
Procedure
Step 1 Open a web browser from a Windows PC and enter the following:
http://server/vsmc.html
where server is the IP address or host name of the VSM host.
Note The system prompts you to log in the first time you access a page to modify the configuration. The default user name is root and the default password is secur4u.
Step 2 For VSOM:
a. Click the Operations Manager link to access the VSOM configuration.
b. Choose Change the default home page to VSOM.
c. Click Update.
Step 3 For VSMS:
a. Click the Media Server link to access the VSMS configuration.
b. Check the Local Archives Repositories check box for recording archives.
c. Choose a local BWM/X clip repository for storing BWM and BWX clips.
d. Choose one or more backup repositories.
e. Click Update.
Step 4 Click Restart Server, Restart Now, and then Verify.
15Installing and Upgrading Cisco Video Surveillance Manager Release 6.3.1
OL-24009-03
Upgrading VSM
Upgrading VSMThis section describes how to upgrade VSM. Upgrading includes these general steps:
1. Upgrade the VSM software
2. Upgrade IP camera firmware
The following sections describe these steps in more detail:
• Upgrading the VSM Software, page 16
• Upgrading IP Camera Firmware, page 20
Upgrading the VSM SoftwareTo upgrade VSM, perform the following steps.
Note You can upgrade VSMS 6.3.0 to VSMS 6.3.1 by using the server upgrade procedure from the VSM Management Console. For more information, see the “Server Upgrade Page” section in Cisco Video Surveillance Manager User Guide, Release 6.3.1.
Procedure
Step 1 Take one of the following actions to back up the VSOM database and the VSMS configuration:
• If you are upgrading software on a server that includes VSOM but not VSMS, back up the VSOM database
• If you are upgrading software on a server that includes VSMS but not VSOM, back up the VSMS configuration
• If you are upgrading software on a server that includes VSOM and VSMS, back up the VSOM database and the VSMS configuration
For information about performing a backup, see the “Backing Up and Restoring VSOM and VSMS” section on page 21
16Installing and Upgrading Cisco Video Surveillance Manager Release 6.3.1
OL-24009-03
Upgrading VSM
Step 2 Stop the Cisco service:
shell> /etc/init.d/cisco stop
Step 3 If you are upgrading from VSM 4.2.1/6.2.1, take these actions to uninstall all existing versions of Java:
a. Check for existing Java RPMs by using the following commands:
shell> rpm -qa | grep j2sdkshell> rpm -qa | grep jdkshell> rpm -qa | grep javashell> rpm -qa | grep jre
b. If there are any RPMs, remove them by using the following command, where java_rpm refers to each RPM that was returned in the previous step:
shell> rpm -e java_rpm
c. Use the following commands to verify that there are no versions of Java RPMs remaining on the system:
shell> rpm -qa | grep j2sdkshell> rpm -qa | grep jdkshell> rpm -qa | grep javashell> rpm -qa | grep jre
Step 4 Use the following command to obtain a list of older Cisco .rpm files to uninstall:
shell> rpm -qa | grep Cisco
Step 5 Uninstall each RPM by using the following command, where rpmname is the name of the package:
shell> rpm -e rpmname
Step 6 Take these actions to obtain the VSM software:
a. Go to the following URL:
http://tools.cisco.com/support/downloads/go/Redirect.x?mdfid=281522804
b. Choose Physical Security > Network-Centric Video Surveillance.
c. Download the .zip file for each VSM product that you want to install.
Step 7 Extract the contents of the downloaded .zip files into a directory that you create.
The following example shows the commands if you are installing all VSM products.
17Installing and Upgrading Cisco Video Surveillance Manager Release 6.3.1
OL-24009-03
Upgrading VSM
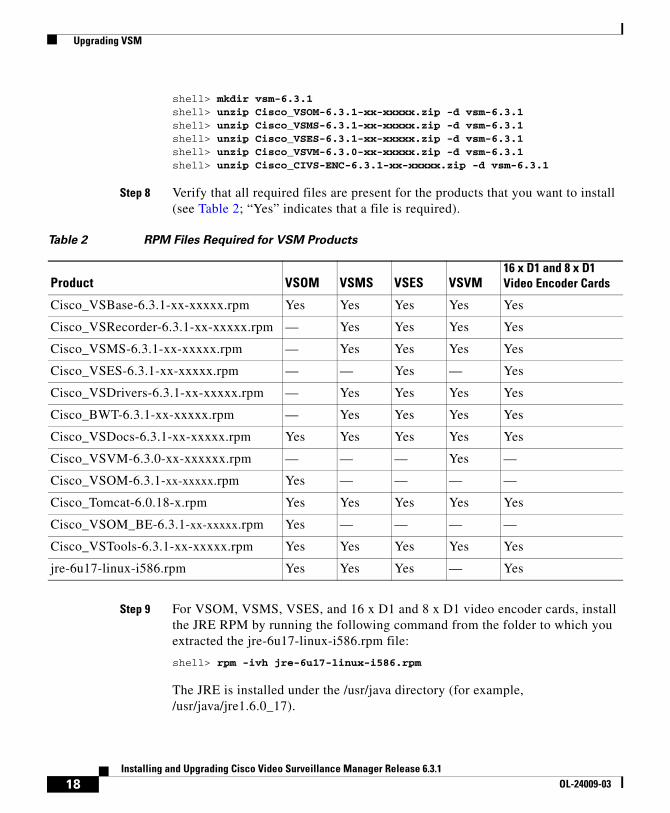
shell> mkdir vsm-6.3.1shell> unzip Cisco_VSOM-6.3.1-xx-xxxxx.zip -d vsm-6.3.1shell> unzip Cisco_VSMS-6.3.1-xx-xxxxx.zip -d vsm-6.3.1shell> unzip Cisco_VSES-6.3.1-xx-xxxxx.zip -d vsm-6.3.1shell> unzip Cisco_VSVM-6.3.0-xx-xxxxx.zip -d vsm-6.3.1shell> unzip Cisco_CIVS-ENC-6.3.1-xx-xxxxx.zip -d vsm-6.3.1
Step 8 Verify that all required files are present for the products that you want to install (see Table 2; “Yes” indicates that a file is required).
Step 9 For VSOM, VSMS, VSES, and 16 x D1 and 8 x D1 video encoder cards, install the JRE RPM by running the following command from the folder to which you extracted the jre-6u17-linux-i586.rpm file:
shell> rpm -ivh jre-6u17-linux-i586.rpm
The JRE is installed under the /usr/java directory (for example, /usr/java/jre1.6.0_17).
Table 2 RPM Files Required for VSM Products
Product VSOM VSMS VSES VSVM16 x D1 and 8 x D1Video Encoder Cards
Cisco_VSBase-6.3.1-xx-xxxxx.rpm Yes Yes Yes Yes Yes
Cisco_VSRecorder-6.3.1-xx-xxxxx.rpm — Yes Yes Yes Yes
Cisco_VSMS-6.3.1-xx-xxxxx.rpm — Yes Yes Yes Yes
Cisco_VSES-6.3.1-xx-xxxxx.rpm — — Yes — Yes
Cisco_VSDrivers-6.3.1-xx-xxxxx.rpm — Yes Yes Yes Yes
Cisco_BWT-6.3.1-xx-xxxxx.rpm — Yes Yes Yes Yes
Cisco_VSDocs-6.3.1-xx-xxxxx.rpm Yes Yes Yes Yes Yes
Cisco_VSVM-6.3.0-xx-xxxxxx.rpm — — — Yes —
Cisco_VSOM-6.3.1-xx-xxxxx.rpm Yes — — — —
Cisco_Tomcat-6.0.18-x.rpm Yes Yes Yes Yes Yes
Cisco_VSOM_BE-6.3.1-xx-xxxxx.rpm Yes — — — —
Cisco_VSTools-6.3.1-xx-xxxxx.rpm Yes Yes Yes Yes Yes
jre-6u17-linux-i586.rpm Yes Yes Yes — Yes
18Installing and Upgrading Cisco Video Surveillance Manager Release 6.3.1
OL-24009-03

Upgrading VSM
Step 10 For VSOM, VSMS, VSES, and 16 x D1 and 8 x D1 video encoder cards, run the following commands to verify that JRE is installed correctly:
shell> cd /usr/javashell> ls -l java
The output should be a symbolic link that includes the following at the end:
java -> /usr/java/jre1.6.0_17
If a symbolic link does not include this text or does not appear at all, use these commands to resolve this issue:
shell> rm -rf javashell> ln -s jre1.6.0_17 java
Step 11 Install the Cisco .rpm files from the directory using the rpm -ivh command. Run the command for each .rpm file that is included with your product. The appropriate zip files are provided based on the Table 2.
shell> rpm -ivh Cisco_*.rpm
For example:
shell> rpm -ivh Cisco_VSMS-6.3.1-xx-xxxxx.rpm
Step 12 If you are upgrading VSOM, update the VSOM database in MySQL, entering the MySQL password when prompted.
shell> bash /usr/BWhttpd/vsom_be/db/database_update.sh
Step 13 Open a browser and log in to the Management Console at http://server/vsmc.html, where server is the IP address or host name of the VSM host.
a. Click the Restart Server link under Monitoring at the left side of the console window.
b. Click Restart Now.
19Installing and Upgrading Cisco Video Surveillance Manager Release 6.3.1
OL-24009-03
Upgrading VSM
Upgrading IP Camera FirmwareAfter you perform the VSM upgrade, upgrade the firmware on your Cisco IP cameras, if needed. Cisco recommends that you upgrade the firmware in each camera in your VSM deployment to the latest version.
VSM 6.3.1 is compatible with the following IP camera versions:
• Standard definition IP cameras—Firmware release 2.1.5 or later
• High definition IP cameras:
– If you will not use the Cisco video analytics feature—Firmware release 1.2.1 or later
– If you will use the Cisco video analytics feature—Firmware release 1.9.1.6 or later
To update IP camera firmware, follow these guidelines:
• Upgrading firmware on a standard definition camera from release 1.x to release 2.x requires the Video Surveillance IP Camera Utility. You can download this utility by going to Cisco.com and choosing Support > Download Software > Physical Security and Building Systems > Physical Security > Video Surveillance IP Cameras > Cisco Video Surveillance 2500 Series IP Cameras > Cisco Video Surveillance 2500 IP Camera > Video Surveillance IP Camera Utility. For related information, see your IP camera documentation.
• Upgrading firmware on a standard definition camera from release 2.x to release 2.x can be performed by using the Camera Firmware Upgrade feature in the VSM Management Console. For instructions, see the “Using the VSM Management Console” chapter in Cisco Video Surveillance Manager User Guide.
• Upgrading firmware on a high definition camera HD can be performed by using the Camera Firmware Upgrade feature in the VSM Management Console. For instructions, see the “Using the VSM Management Console” chapter in Cisco Video Surveillance Manager User Guide.
20Installing and Upgrading Cisco Video Surveillance Manager Release 6.3.1
OL-24009-03
Backing Up and Restoring VSOM and VSMS
Backing Up and Restoring VSOM and VSMSAfter configuring VSM, you can back up the VSOM database and configuration and the VSMS configuration. Make sure to back up the configuration before upgrading. For related information, see Cisco Video Surveillance Manager User Guide.
The following sections describe how to back up and restore VSOM and VSMS:
• Backing up VSOM, page 21
• Backing up VSMS, page 22
• Restoring VSOM, page 23
• Restoring VSMS, page 24
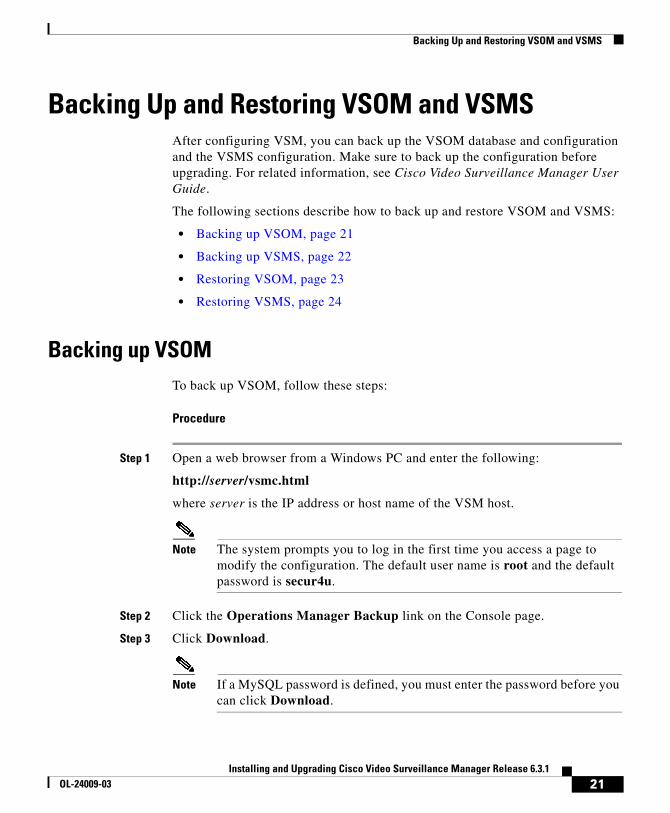
Backing up VSOMTo back up VSOM, follow these steps:
Procedure
Step 1 Open a web browser from a Windows PC and enter the following:
http://server/vsmc.html
where server is the IP address or host name of the VSM host.
Note The system prompts you to log in the first time you access a page to modify the configuration. The default user name is root and the default password is secur4u.
Step 2 Click the Operations Manager Backup link on the Console page.
Step 3 Click Download.
Note If a MySQL password is defined, you must enter the password before you can click Download.
21Installing and Upgrading Cisco Video Surveillance Manager Release 6.3.1
OL-24009-03
Backing Up and Restoring VSOM and VSMS
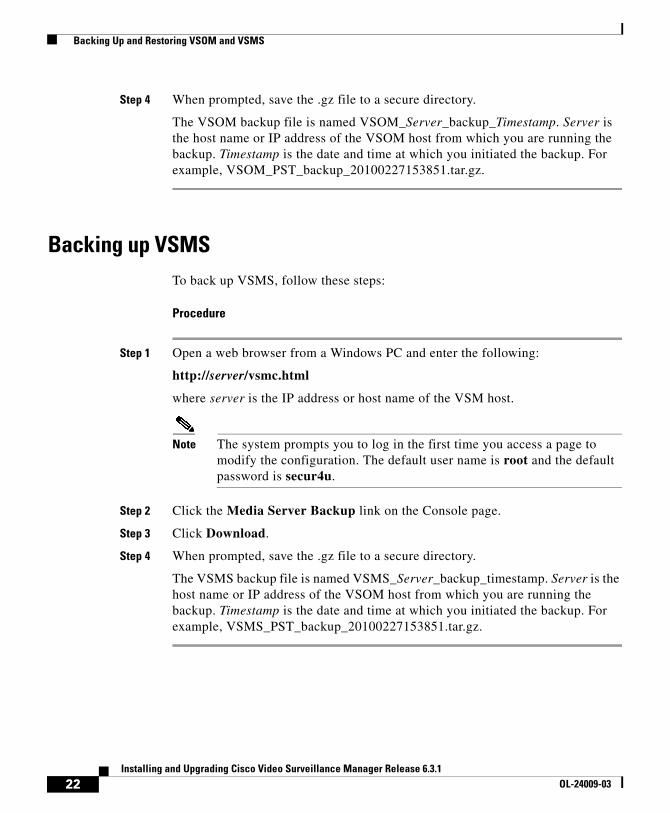
Step 4 When prompted, save the .gz file to a secure directory.
The VSOM backup file is named VSOM_Server_backup_Timestamp. Server is the host name or IP address of the VSOM host from which you are running the backup. Timestamp is the date and time at which you initiated the backup. For example, VSOM_PST_backup_20100227153851.tar.gz.
Backing up VSMSTo back up VSMS, follow these steps:
Procedure
Step 1 Open a web browser from a Windows PC and enter the following:
http://server/vsmc.html
where server is the IP address or host name of the VSM host.
Note The system prompts you to log in the first time you access a page to modify the configuration. The default user name is root and the default password is secur4u.
Step 2 Click the Media Server Backup link on the Console page.
Step 3 Click Download.
Step 4 When prompted, save the .gz file to a secure directory.
The VSMS backup file is named VSMS_Server_backup_timestamp. Server is the host name or IP address of the VSOM host from which you are running the backup. Timestamp is the date and time at which you initiated the backup. For example, VSMS_PST_backup_20100227153851.tar.gz.
22Installing and Upgrading Cisco Video Surveillance Manager Release 6.3.1
OL-24009-03
Backing Up and Restoring VSOM and VSMS
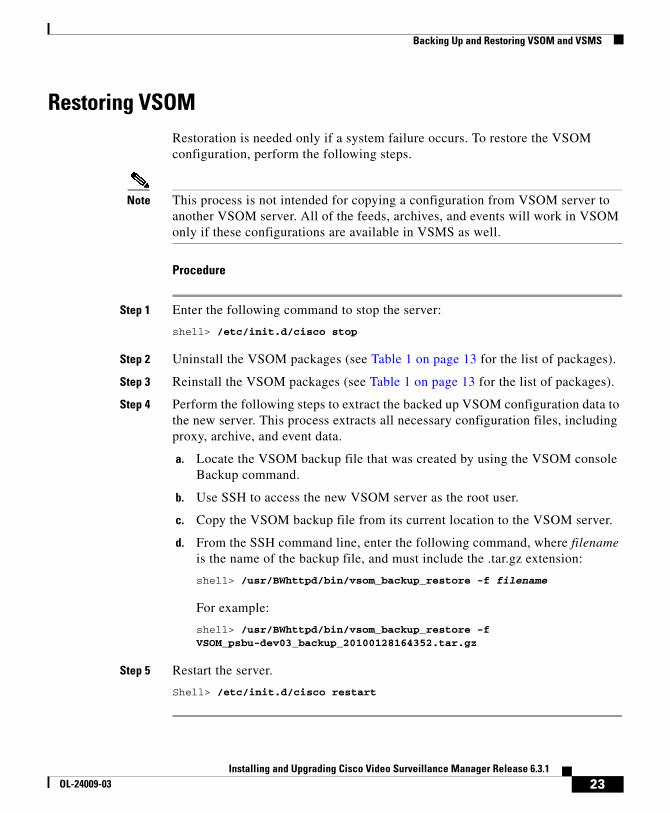
Restoring VSOMRestoration is needed only if a system failure occurs. To restore the VSOM configuration, perform the following steps.
Note This process is not intended for copying a configuration from VSOM server to another VSOM server. All of the feeds, archives, and events will work in VSOM only if these configurations are available in VSMS as well.
Procedure
Step 1 Enter the following command to stop the server:
shell> /etc/init.d/cisco stop
Step 2 Uninstall the VSOM packages (see Table 1 on page 13 for the list of packages).
Step 3 Reinstall the VSOM packages (see Table 1 on page 13 for the list of packages).
Step 4 Perform the following steps to extract the backed up VSOM configuration data to the new server. This process extracts all necessary configuration files, including proxy, archive, and event data.
a. Locate the VSOM backup file that was created by using the VSOM console Backup command.
b. Use SSH to access the new VSOM server as the root user.
c. Copy the VSOM backup file from its current location to the VSOM server.
d. From the SSH command line, enter the following command, where filename is the name of the backup file, and must include the .tar.gz extension:
shell> /usr/BWhttpd/bin/vsom_backup_restore -f filename
For example:
shell> /usr/BWhttpd/bin/vsom_backup_restore -f VSOM_psbu-dev03_backup_20100128164352.tar.gz
Step 5 Restart the server.
Shell> /etc/init.d/cisco restart
23Installing and Upgrading Cisco Video Surveillance Manager Release 6.3.1
OL-24009-03
Backing Up and Restoring VSOM and VSMS
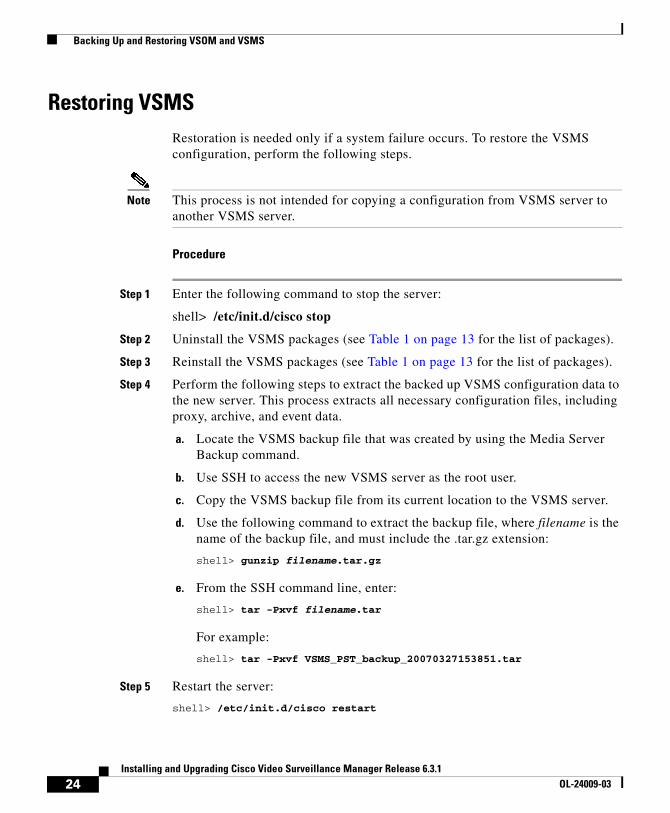
Restoring VSMSRestoration is needed only if a system failure occurs. To restore the VSMS configuration, perform the following steps.
Note This process is not intended for copying a configuration from VSMS server to another VSMS server.
Procedure
Step 1 Enter the following command to stop the server:
shell> /etc/init.d/cisco stop
Step 2 Uninstall the VSMS packages (see Table 1 on page 13 for the list of packages).
Step 3 Reinstall the VSMS packages (see Table 1 on page 13 for the list of packages).
Step 4 Perform the following steps to extract the backed up VSMS configuration data to the new server. This process extracts all necessary configuration files, including proxy, archive, and event data.
a. Locate the VSMS backup file that was created by using the Media Server Backup command.
b. Use SSH to access the new VSMS server as the root user.
c. Copy the VSMS backup file from its current location to the VSMS server.
d. Use the following command to extract the backup file, where filename is the name of the backup file, and must include the .tar.gz extension:
shell> gunzip filename.tar.gz
e. From the SSH command line, enter:
shell> tar -Pxvf filename.tar
For example:
shell> tar -Pxvf VSMS_PST_backup_20070327153851.tar
Step 5 Restart the server:
shell> /etc/init.d/cisco restart
24Installing and Upgrading Cisco Video Surveillance Manager Release 6.3.1
OL-24009-03
Backing Up and Restoring VSOM and VSMS
Step 6 Open the Management Console and set the storage, PTZ, and other configuration information as needed.
Cisco and the Cisco Logo are trademarks of Cisco Systems, Inc. and/or its affiliates in the U.S. and other countries. A listing of Cisco's trademarks can be found at www.cisco.com/go/trademarks. Third party trademarks mentioned are the property of their respective owners. The use of the word partner does not imply a partnership relationship between Cisco and any other company. (1005R)
© 2011 Cisco Systems, Inc. All rights reserved.
25Installing and Upgrading Cisco Video Surveillance Manager Release 6.3.1
OL-24009-03

Backing Up and Restoring VSOM and VSMS
26Installing and Upgrading Cisco Video Surveillance Manager Release 6.3.1
OL-24009-03